SpringBoot 1x 系列之(一)SpringBoot 入门
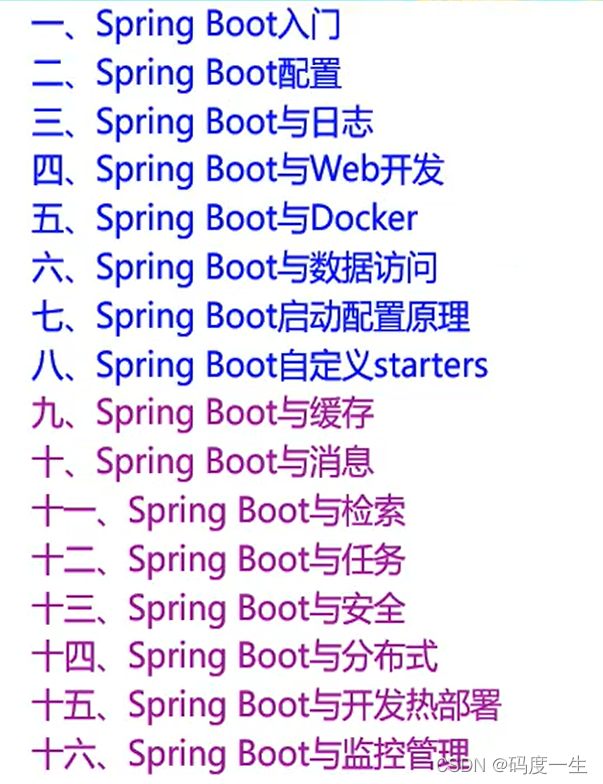
SpringBoot 入门
SpringBoot和微服务概念的简介、SpringBoot Hello World入门程序、内部原理
1. SpringBoot 简介
- 简化Spring应用开发(整个J2EE开发)的一个框架
- 整个Spring技术栈的一个大整合
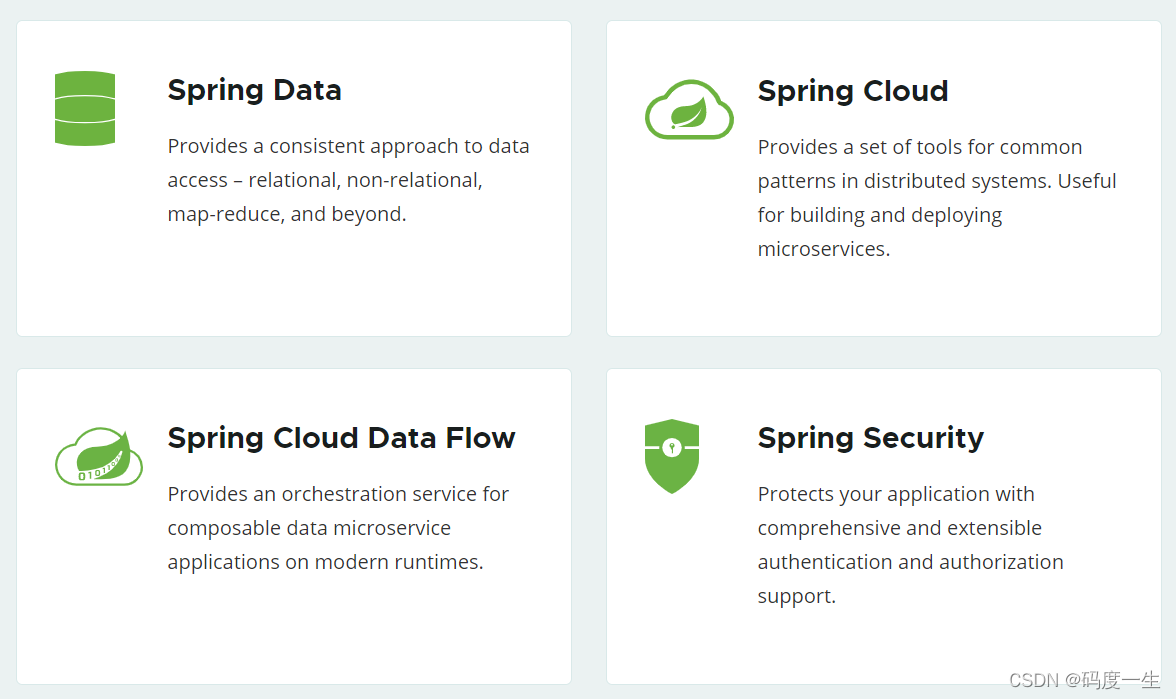

... ... ... - J2EE开发的一站式解决方案
注:SpringBoot使用嵌入式的Servlet容器,应用无需达成WAR包,直接打成JAR包即可
2. 微服务
2014 Martin Flower
微服务是一种架构风格(服务微化)
一个应用应该是一组小型服务,可以通过HTTP的方式进行互通。
每一个功能元素最终都是一个可独立替换和独立升级的软件单元。
3. Spring Boot Hello World
需求:
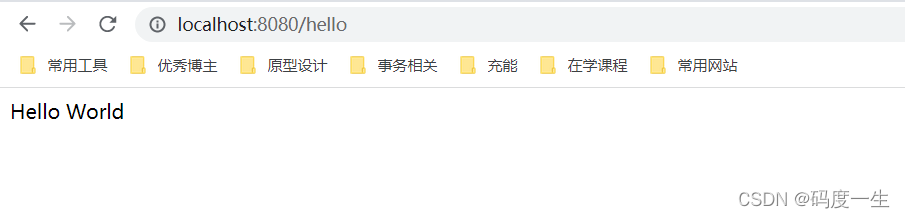
浏览器发送hello请求,服务器接收请求并处理,响应Hello World字符串。
3.1 创建maven项目(jar工程)
3.2 导入Spring Boot相关依赖
<parent>
    <artifactId>spring-boot-starter-parent</artifactId>
    <groupId>org.springframework.boot</groupId>
    <version>1.5.9.RELEASE</version>
</parent>

<dependencies>
    <dependency>
        <groupId>org.springframework.boot</groupId>
        <artifactId>spring-boot-starter-web</artifactId>
    </dependency>
</dependencies>
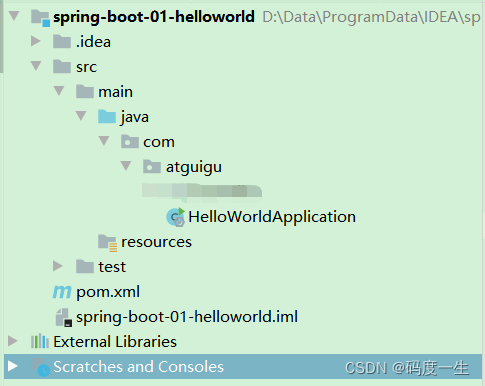
3.3 创建主程序类
用于启动Spring Boot应用
package com.atguigu;

import org.springframework.boot.SpringApplication;
import org.springframework.boot.autoconfigure.SpringBootApplication;

/**
 * @SpringBootApplication: 用于标注主程序类,说明这是一个Spring Boot应用
 * @author 商务小本本
 */
@SpringBootApplication
public class HelloWorldApplication {
    public static void main(String[] args) {

        // Spring应用启动起来
        //run()方法传入的参数必须是被@SpringBootApplication修饰的类
        SpringApplication.run(HelloWorldApplication.class, args);
    }
}
3.4 编写Controller、Service
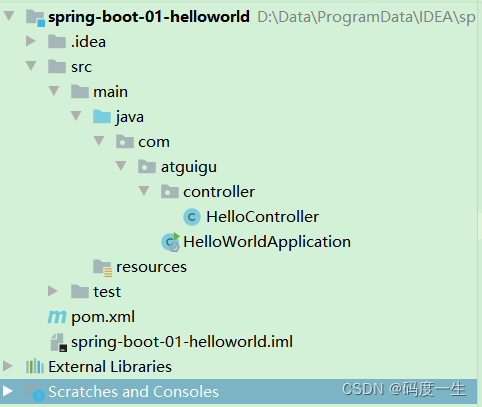
package com.atguigu.controller;

import org.springframework.stereotype.Controller;
import org.springframework.web.bind.annotation.RequestMapping;
import org.springframework.web.bind.annotation.ResponseBody;

/**
 * @author 商务小本本
 */
@Controller
public class HelloController {

    @ResponseBody
    @RequestMapping("/hello")
    public String helloWorld(){

        return "Hello World";
    }
}
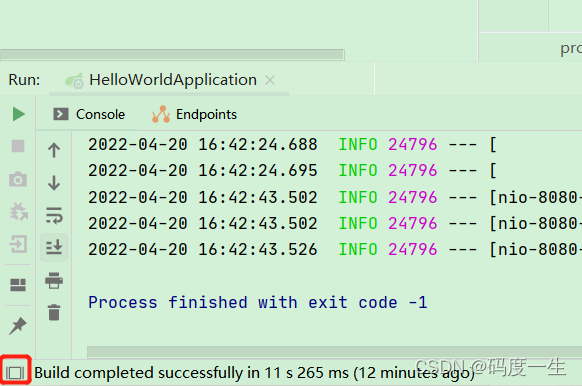
3.5 启动测试

3.6 简化部署
依赖的maven插件:可以将Spring Boot应用打包成一个可执行的jar包
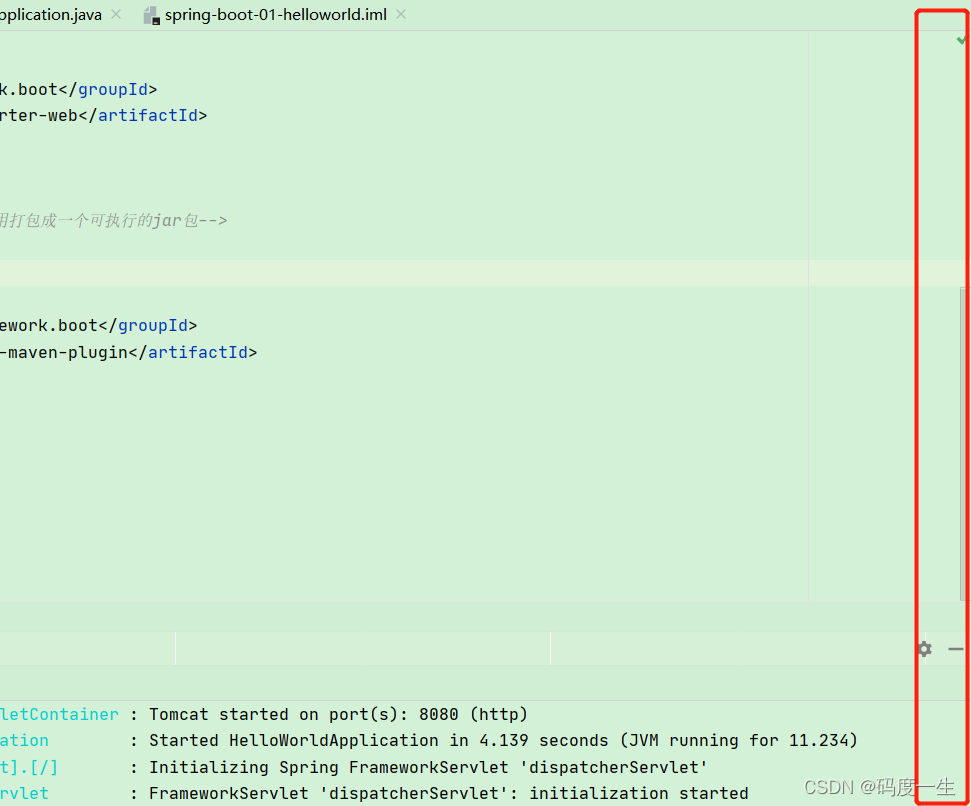
<build>
    <plugins>
        <plugin>
            <groupId>org.springframework.boot</groupId>
            <artifactId>spring-boot-maven-plugin</artifactId>
        </plugin>
    </plugins>
</build>
打包
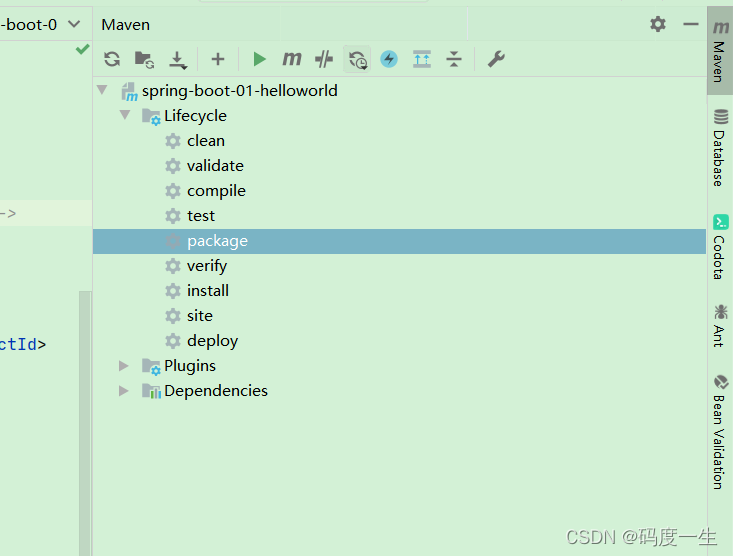
若上图的侧边栏不存在
点击如下按钮即可
打包后jar包的输出路径如下
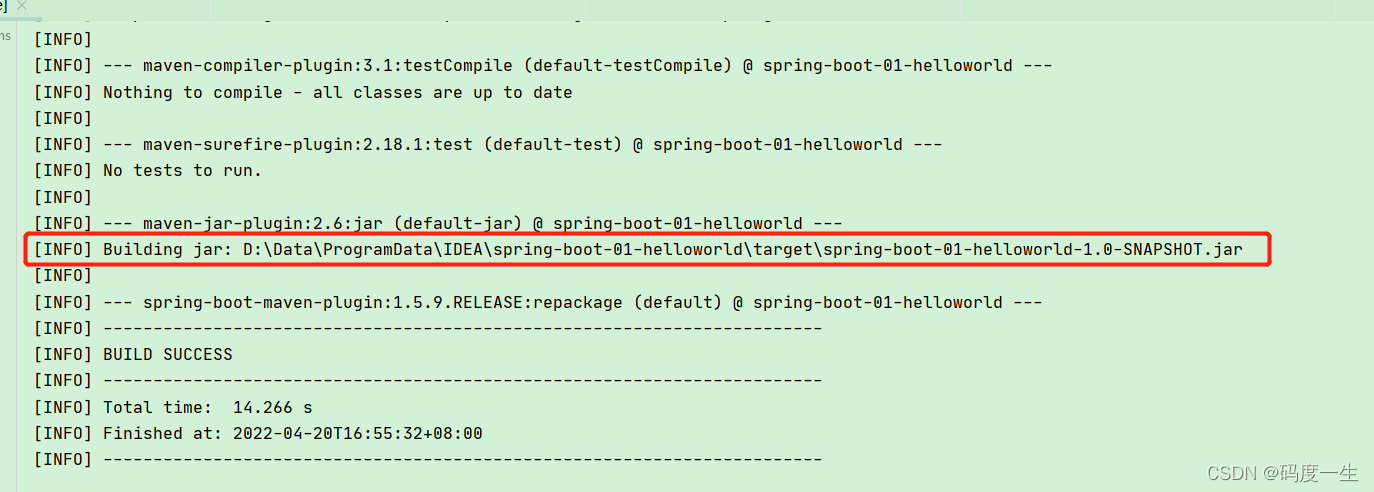
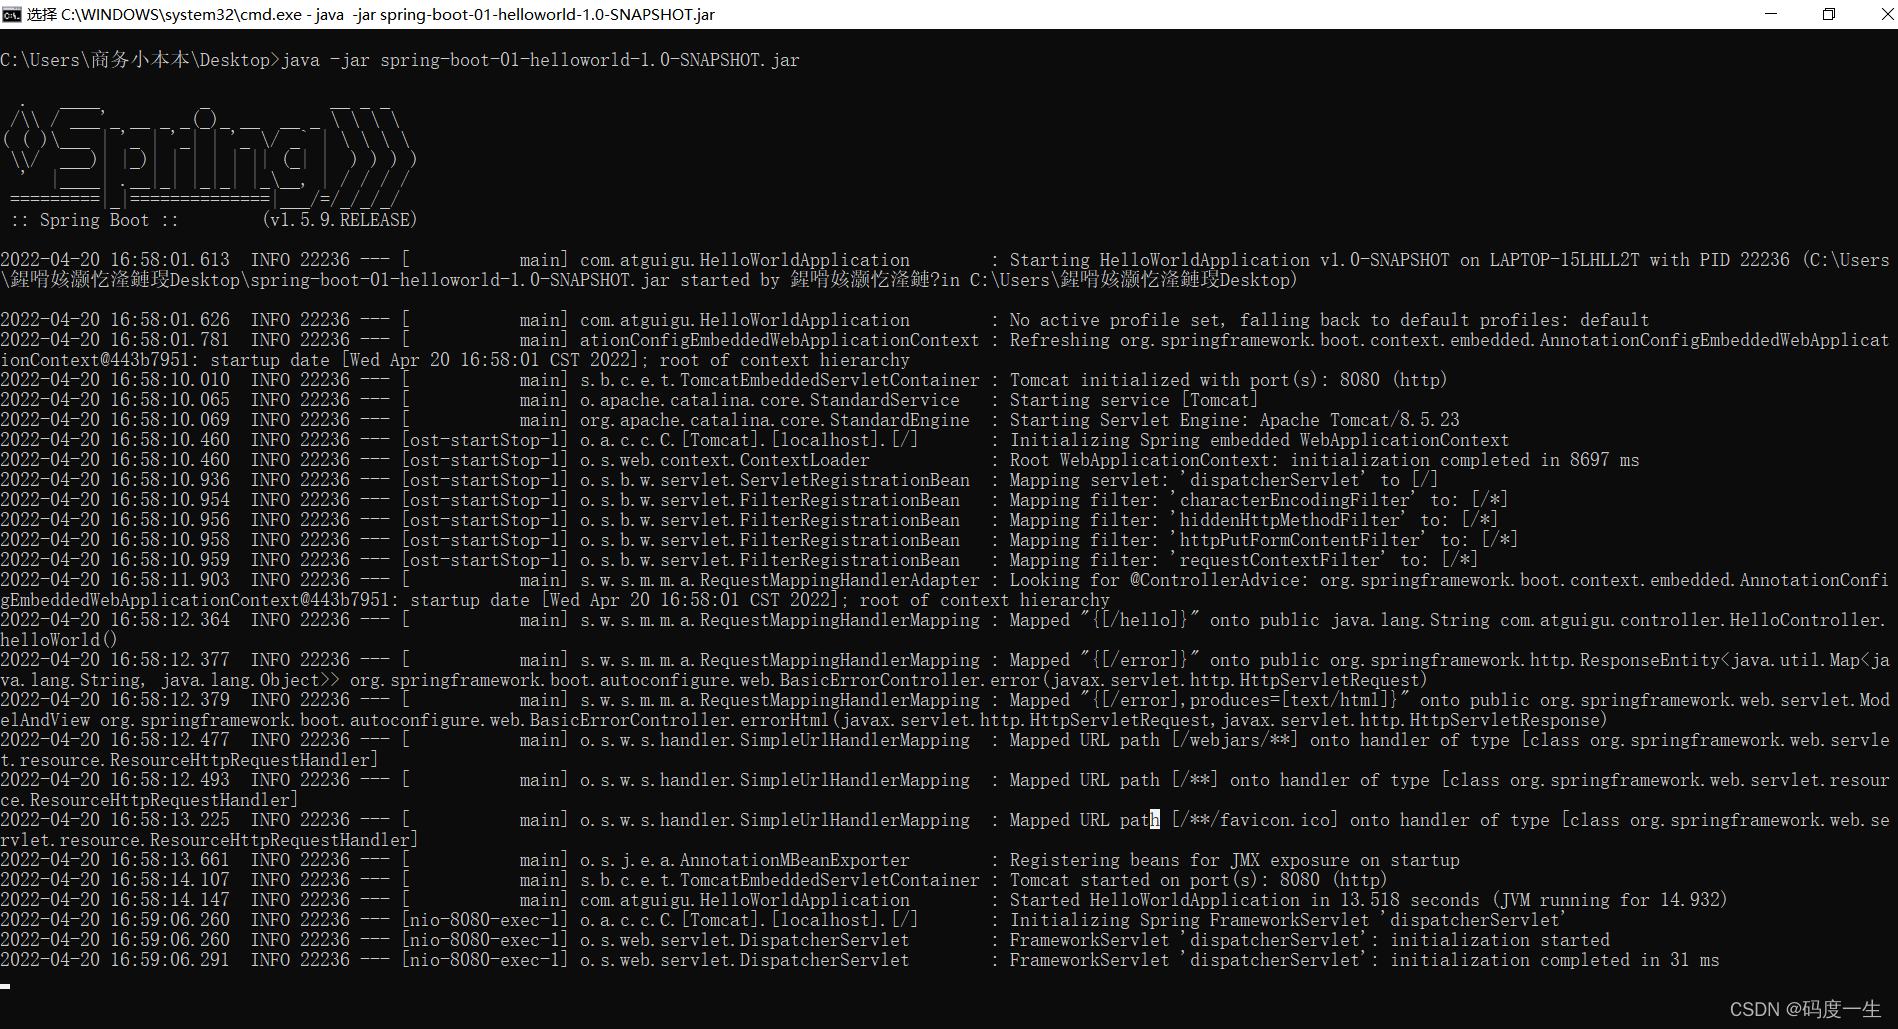
直接通过java -jar spring-boot-01-helloworld-1.0-SNAPSHOT.jar即可运行项目
打成的jar包结构如下
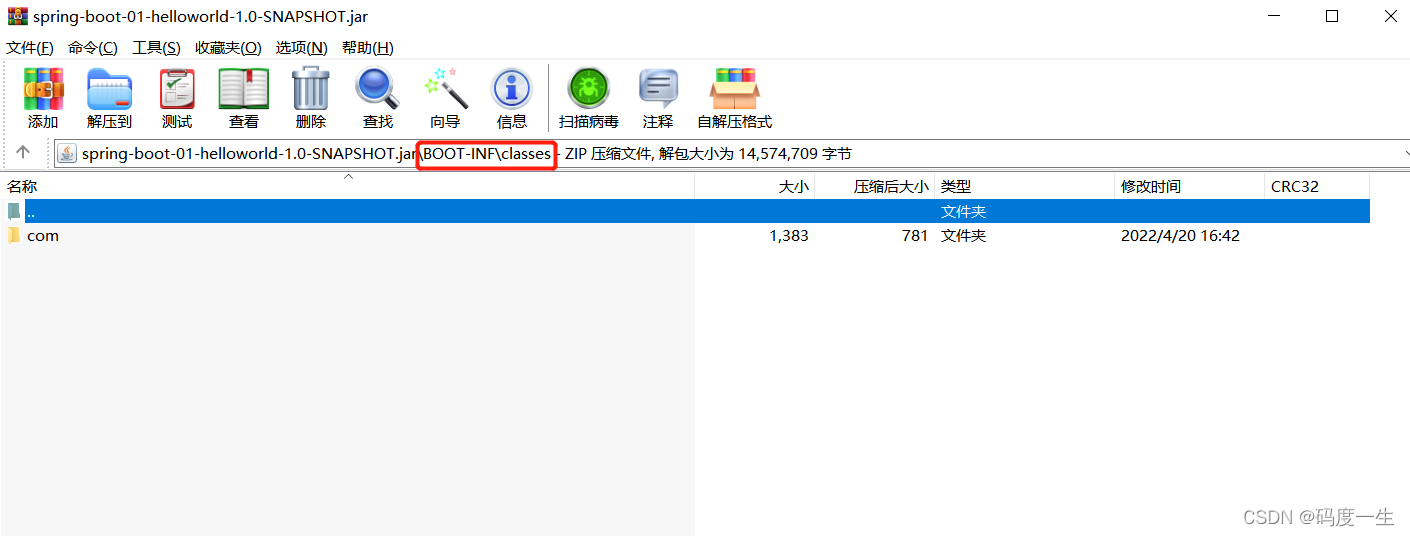
上述路径下的内容为我们自己编写的类
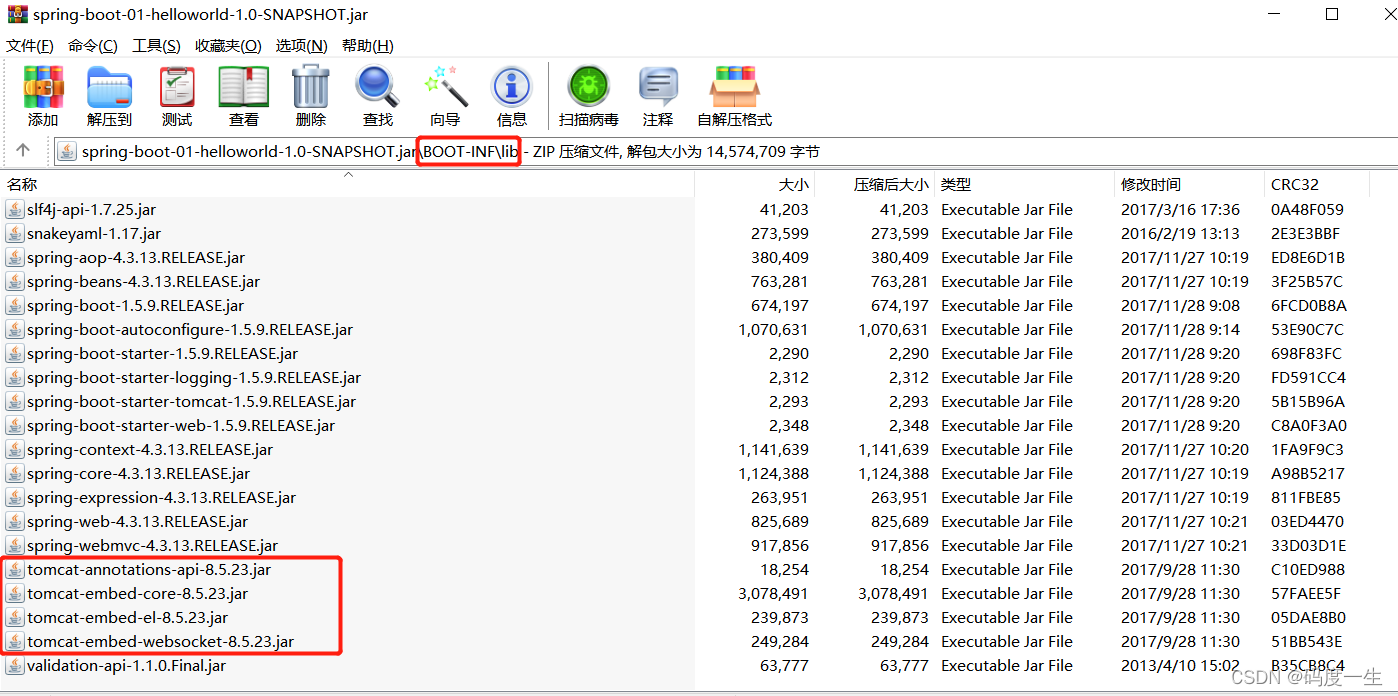
嵌入式Tomcat在jar包中的位置如下
4. Spring Boot 探究
4.1 POM文件
4.1.1 父项目
父项目一般用于作依赖管理。
<!-- 当前项目的父项目-->
<parent>
    <groupId>org.springframework.boot</groupId>
    <artifactId>spring-boot-starter-parent</artifactId>
    <version>1.5.9.RELEASE</version>
</parent>

<!-- spring-boot-dependencies:spring-boot-starter-parent项目的父项目-->
<!-- spring-boot-dependencies:Spring Boot的版本仲裁中心-->
<!-- 						   真正管理Spring Boot应用里面的所有依赖版本-->
<parent>
	<groupId>org.springframework.boot</groupId>
	<artifactId>spring-boot-dependencies</artifactId>
	<version>1.5.9.RELEASE</version>
	<relativePath>../../spring-boot-dependencies</relativePath>
</parent>
注:以后导入依赖默认是不需要写版本的,会应用版本仲裁中心的默认版本;对于没有在spring-boot-dependencies中管理的依赖还是需要声明版本号的。
4.1.2 启动器
父项目仅仅是用于依赖管理的,而真正导入jar包的是下面的部分
<dependencies>
    <dependency>
        <groupId>org.springframework.boot</groupId>
        <artifactId>spring-boot-starter-web</artifactId>
    </dependency>
</dependencies>
spring-boot-starter-web:
- spring-boot-starter:SpringBoot场景启动器,帮我们导入了某个场景正常运行所依赖的组件,依赖的版本都受父项目的版本仲裁
- spring-boot-starter-web:帮我们导入了web场景正常运行所依赖的组件
注:Spring Boot将所有的功能场景都抽取出来,做成一个个的starters(启动器),只需要在项目里引入这些starter,相关场景的所有依赖都会导入进来,要用什么功能就导入什么场景的启动器。
官方starter的命名方式:spring-boot-starter-*
第三方/自定义starter的命名方式:*-spring-boot-starter
SpringBoot官方所有场景启动器最底层的依赖
<dependency>
  <groupId>org.springframework.boot</groupId>
  <artifactId>spring-boot-starter</artifactId>
</dependency>
4.2 主程序类,主入口类【自动配置原理入门】
/**
 * @SpringBootApplication: 用于标注主程序类,说明这是一个Spring Boot应用,引导SpringBoot启动
 * @author 商务小本本
 */
@SpringBootApplication
public class HelloWorldApplication {
    public static void main(String[] args) {

        // Spring应用启动起来
        SpringApplication.run(HelloWorldApplication.class, args);
    }
}
@SpringBootApplication:Spring Boot应用标注在某个类上说明这个类是SpringBoot的主配置类,SpringBoot就应该运行这个类的main方法来启动SpringBoot应用。
进入到@SpringBootApplication这个注解,@SpringBootApplication是一个合成注解,相当于@SpringBootConfiguration、@EnableAutoConfiguration、@ComponentScan三个注解的功能。@Target(ElementType.TYPE)、@Retention(RetentionPolicy.RUNTIME)、@Documented、@Inherited都是元注解信息
@Target(ElementType.TYPE)
@Retention(RetentionPolicy.RUNTIME)
@Documented
@Inherited
@SpringBootConfiguration
@EnableAutoConfiguration
@ComponentScan(excludeFilters = {
		@Filter(type = FilterType.CUSTOM, classes = TypeExcludeFilter.class),
		@Filter(type = FilterType.CUSTOM, classes = AutoConfigurationExcludeFilter.class) })
public @interface SpringBootApplication {
- @SpringBootConfiguration:SpringBoot的配置类,标注在某个类上,表示这是一个SpringBoot的配置类
进入到@SpringBootConfiguration这个注解
@Target(ElementType.TYPE)
@Retention(RetentionPolicy.RUNTIME)
@Documented
@Configuration
public @interface SpringBootConfiguration {
@Configuration:标注在某个类上,表示这是一个配置类
配置类 ------ 配置文件
进入到@Configuration这个注解
@Target(ElementType.TYPE)
@Retention(RetentionPolicy.RUNTIME)
@Documented
@Component
public @interface Configuration {
配置类也是容器中的一个组件@Component
- @EnableAutoConfiguration:开启自动配置功能,以前我们需要配置的东西,Spring Boot帮我们自动配置,这个注解告诉SpringBoot开启自动配置功能,这样自动配置才能生效。
进入到@EnableAutoConfiguration这个注解
@Target(ElementType.TYPE)
@Retention(RetentionPolicy.RUNTIME)
@Documented
@Inherited
@AutoConfigurationPackage
@Import(EnableAutoConfigurationImportSelector.class)
public @interface EnableAutoConfiguration {
2.1 @AutoConfigurationPackage:自动配置包
进入到@AutoConfigurationPackage这个注解
@Target(ElementType.TYPE)
@Retention(RetentionPolicy.RUNTIME)
@Documented
@Inherited
@Import(AutoConfigurationPackages.Registrar.class)
public @interface AutoConfigurationPackage {
@Import(AutoConfigurationPackages.Registrar.class):Spring的底层注解@Import,给容器中导入一个组件,导入的组件由AutoConfigurationPackages.Registrar.class指定【利用Registrar给容器中批量注册组件】
将主配置类(@SpringBootConfiguration标注的类)的所在包及下面所有子包里面的所有组件扫描到Spring容器
2.2 @Import(EnableAutoConfigurationImportSelector.class):
EnableAutoConfigurationImportSelector:导入哪些组件的选择器
将所有需要导入的组件以全类名的方式返回,这些组件就会被添加到容器中
会给容器中导入非常多的自动配置类(XXXAutoConfiguration),就是给容器中导入这个场景需要的所有组件,并配置好这些组件。

有了自动配置类,免去了我们手动编写配置注入功能组件等工作。
SpringFactoriesLoader.loadFactoryNames(EnableAutoConfiguration.class, classloader)
SpringBoot在启动的时候从类路径下的META-INF/spring.factories中获取EnableAutoConfiguration指定的值,将这些值作为自动配置类导入到容器中,自动配置类就生效了,从而帮我们进行自动配置工作。以前我们需要自己配置的东西,自动配置类都帮我们完成了
J2EE的整体整合解决方案和自动配置都在spring-boot-autoconfigure-1.5.9.RELEASE.jar
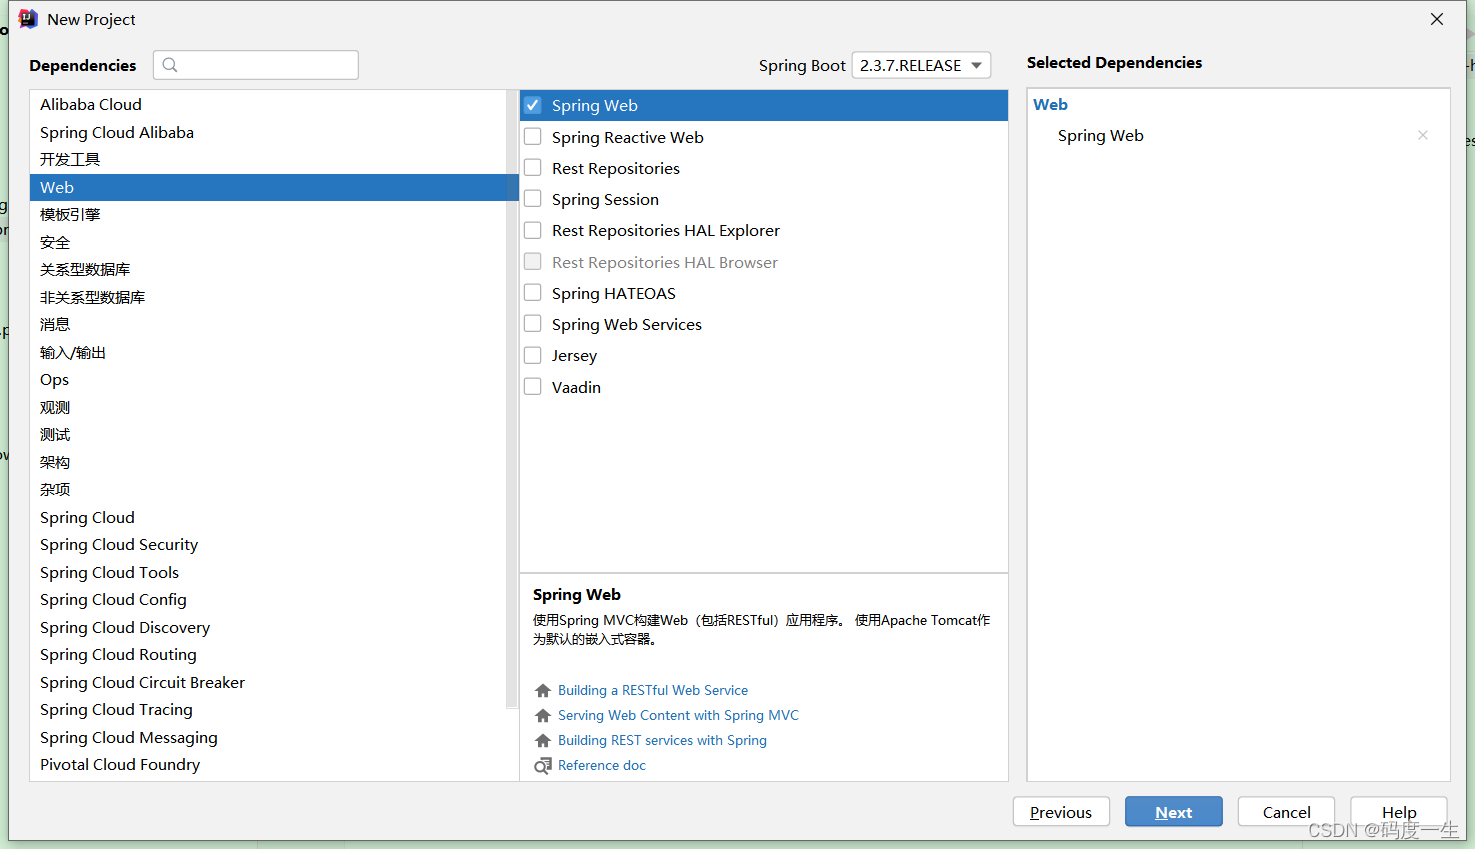
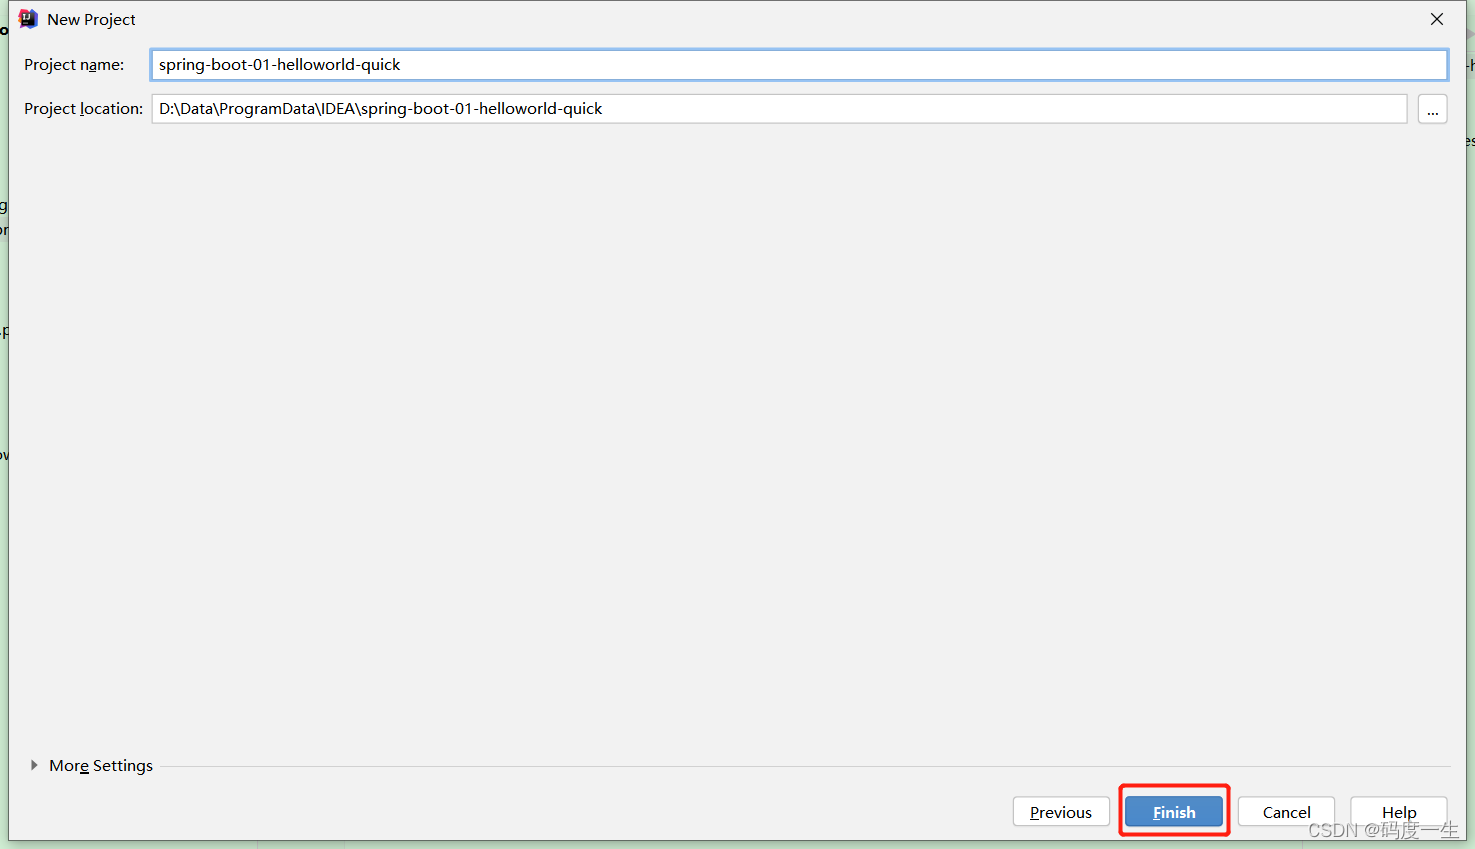
5. 使用Spring Initializr快速创建Spring Boot项目
5.1 IDEA
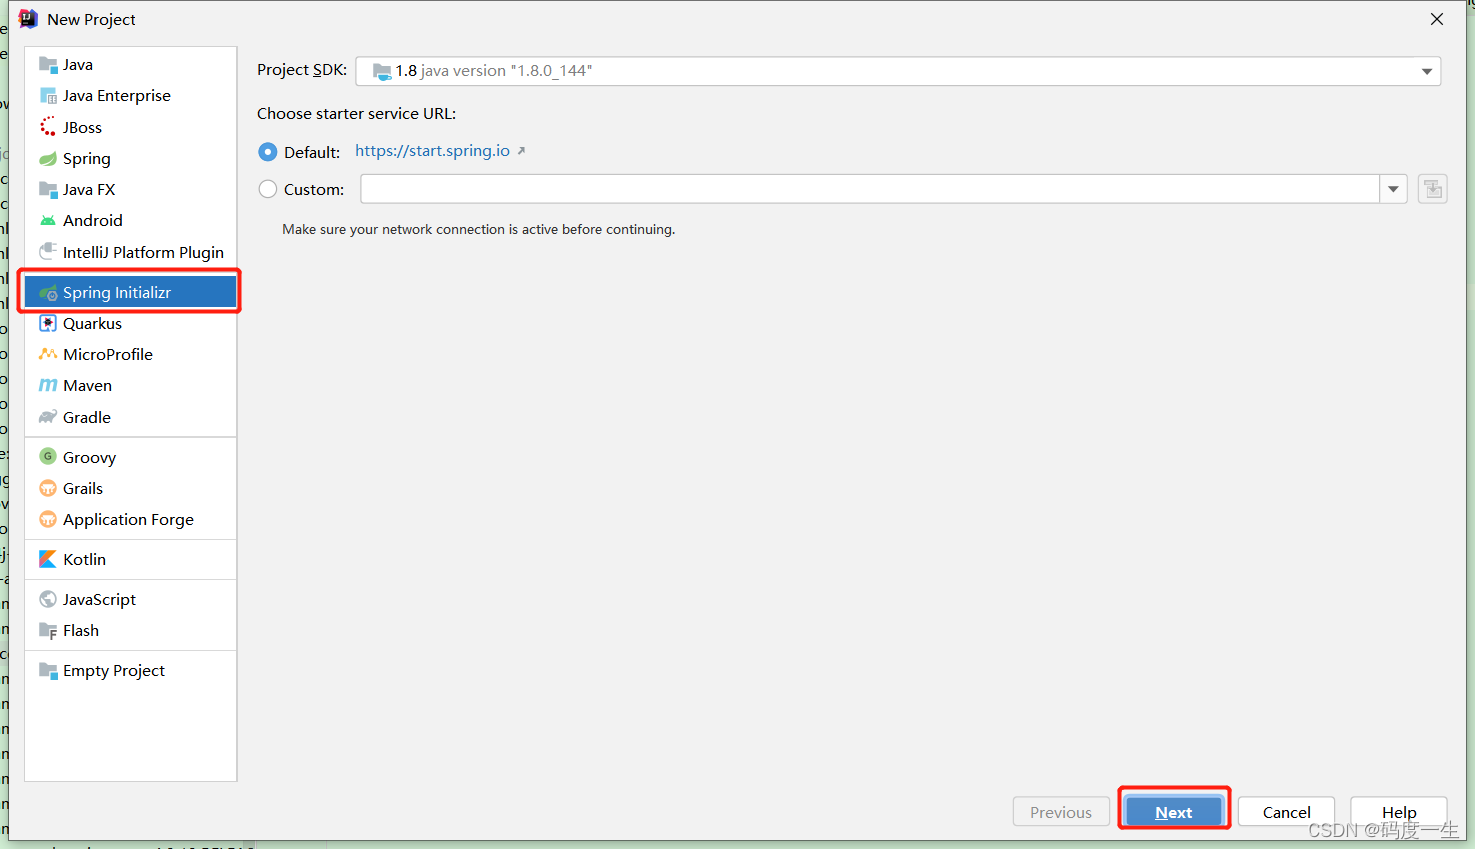
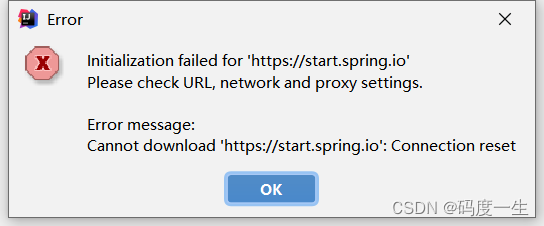
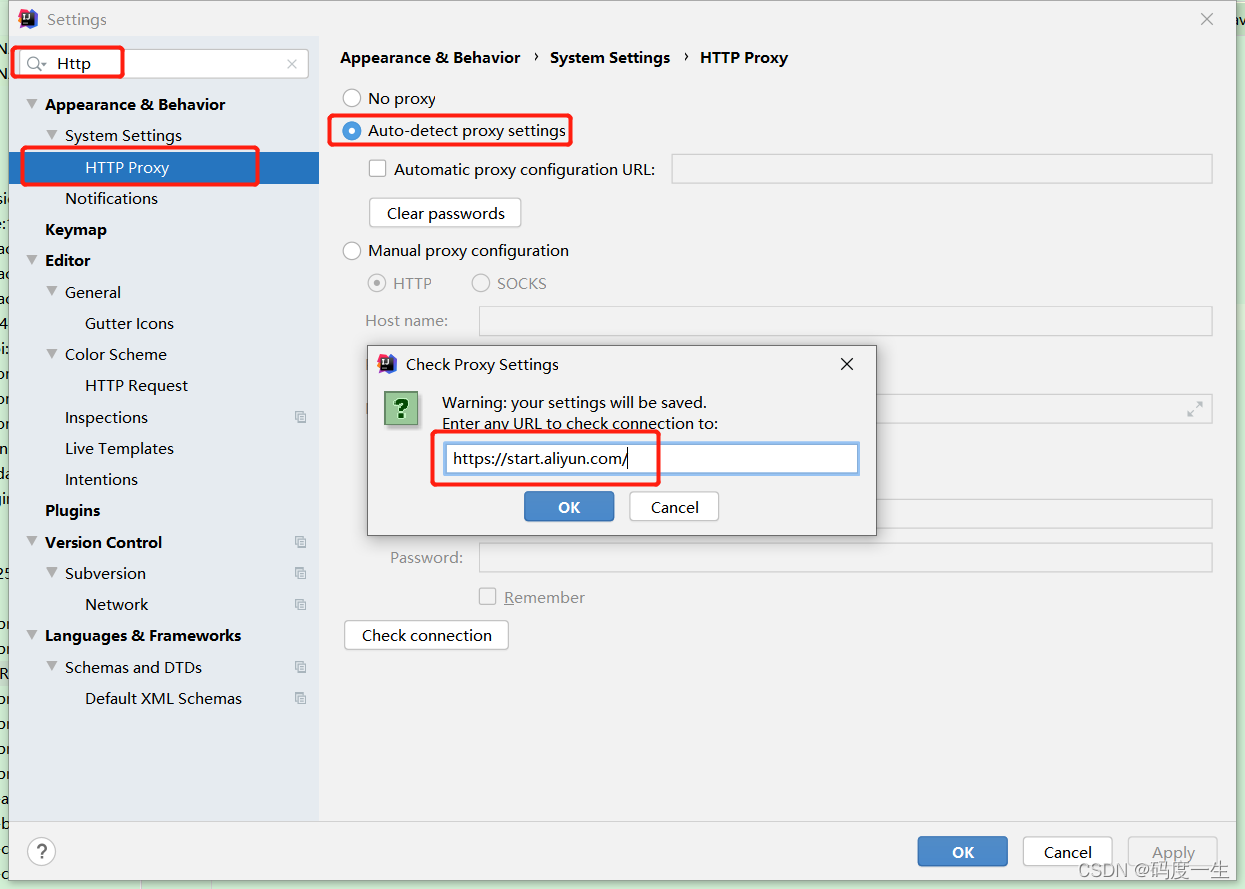
参考网站:Initialization failed for ‘https://start.spring.io 解决办法
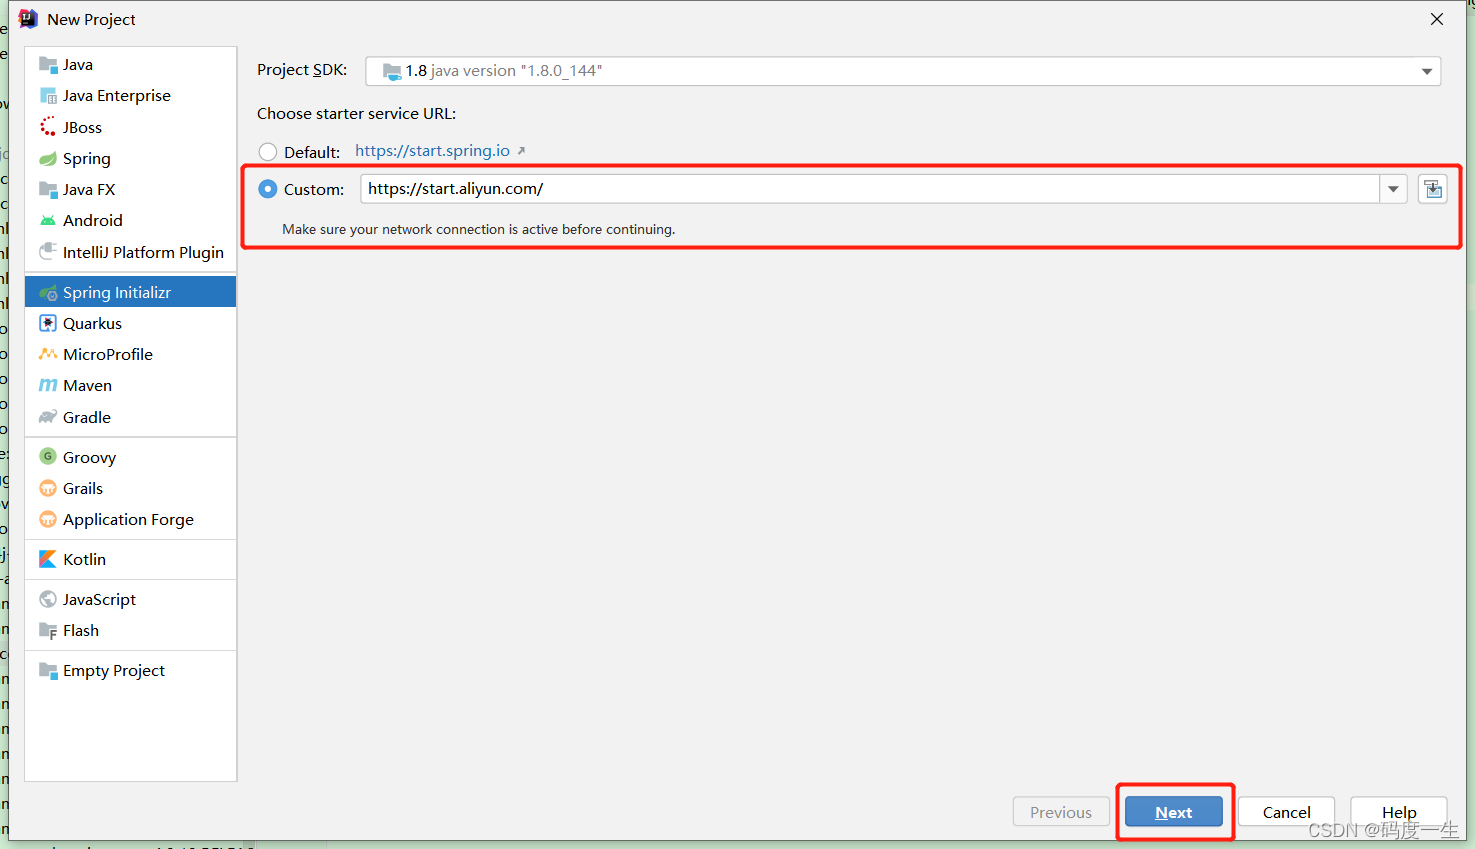
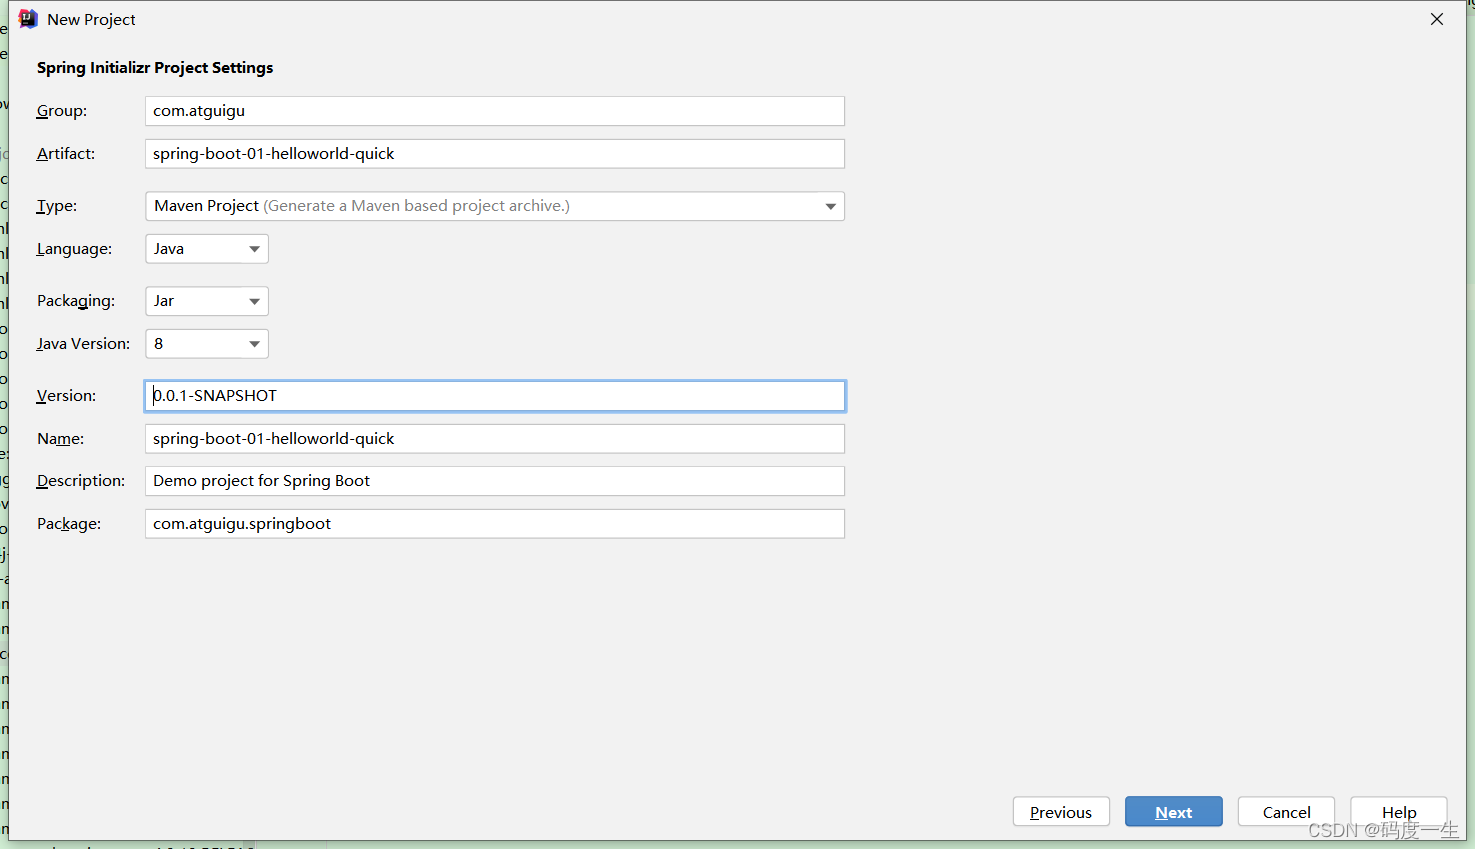
注:由于目前阿里的源中没有SpringBoot 1 版本,这里的创建过程是以SpringBoot 2 版本为例的
注:创建后的目录下.mvn、.gitignore、HELP.md、mvnw、mvnw.cmd几个目录是可以删除的
创建后resources目录结构如下
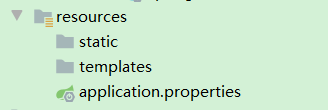
- static:类似于web项目中的WebContent目录,存放静态资源
- templates:保存所有的模板页面(SpringBoot默认jar包方式使用嵌入式的Tomcat,默认不支持JSP页面,但可以使用模板引擎)
- application.properties:SpringBoot应用的配置文件,用于修改SpringBoot自动配置的默认值
5.2 STS
STS:相当于安装了Spring插件的Eclipse,官方推荐


【推荐】国内首个AI IDE,深度理解中文开发场景,立即下载体验Trae
【推荐】编程新体验,更懂你的AI,立即体验豆包MarsCode编程助手
【推荐】抖音旗下AI助手豆包,你的智能百科全书,全免费不限次数
【推荐】轻量又高性能的 SSH 工具 IShell:AI 加持,快人一步
· 阿里巴巴 QwQ-32B真的超越了 DeepSeek R-1吗?
· 【译】Visual Studio 中新的强大生产力特性
· 10年+ .NET Coder 心语 ── 封装的思维:从隐藏、稳定开始理解其本质意义
· 【设计模式】告别冗长if-else语句:使用策略模式优化代码结构
· 字符编码:从基础到乱码解决