Linux——lnmp安装博客系统
lnmp介绍
LNMP:
L -> linux
N -> nginx
M -> mysql
P -> PHP
Apache -> 正向代理网站服务
Nginx -> 反向代理网站服务
apache与nginx的区别及联系就是:
apache只能实现正向代理,而nginx可以实现反向代理,他俩都可以用来搭建web服务器
博客系统
三种配置:
php+nginx+mysql
一、准备工作
1、ip设置为:192.168.100.88
2、连上SecureCRT,传输lnmp和wordpress压缩包到/root
二、基础环境配置
# 修改主机名
hostnamectl set-hostname lnmp

# 添加lnmp的源
mount /dev/cdrom /media/
rm -rf /etc/yum.repos.d/*
vi /etc/yum.repos.d/local.repo
[rhel]
name=rhel
baseurl=file:///media
enabled=1
gpgcheck=0
[lnmp]
name=lnmp
baseurl=file:///root/lnmp/lnmp
gpgcheck=0
enabled=1

yum clean all
yum repolist

# 安装相关软件包
yum -y install nginx mariadb-server php php-mysql php-fpm

# 防火墙和SELinux
systemctl stop firewalld
setenforce 0
然后分别配置nginx、数据库、php
三、配置nginx
# 修改nginx的配置文件
vi /etc/nginx/conf.d/default.conf

location / {
        root   /usr/share/nginx/html;
        index  index.php  index.html index.htm;    #这行加个index.php
		}

#30-36行注释去掉,修改以下两处参数
location ~ \.php$ {
		root           /usr/share/nginx/html;   #改html为/usr/share/nginx/html
		fastcgi_pass   127.0.0.1:9000;
		fastcgi_index  index.php;
		fastcgi_param  SCRIPT_FILENAME  $document_root$fastcgi_script_name;   #改/scripts为$document_root
		include        fastcgi_params;
        }

# 启动nginx
systemctl start nginx
四、配置数据库
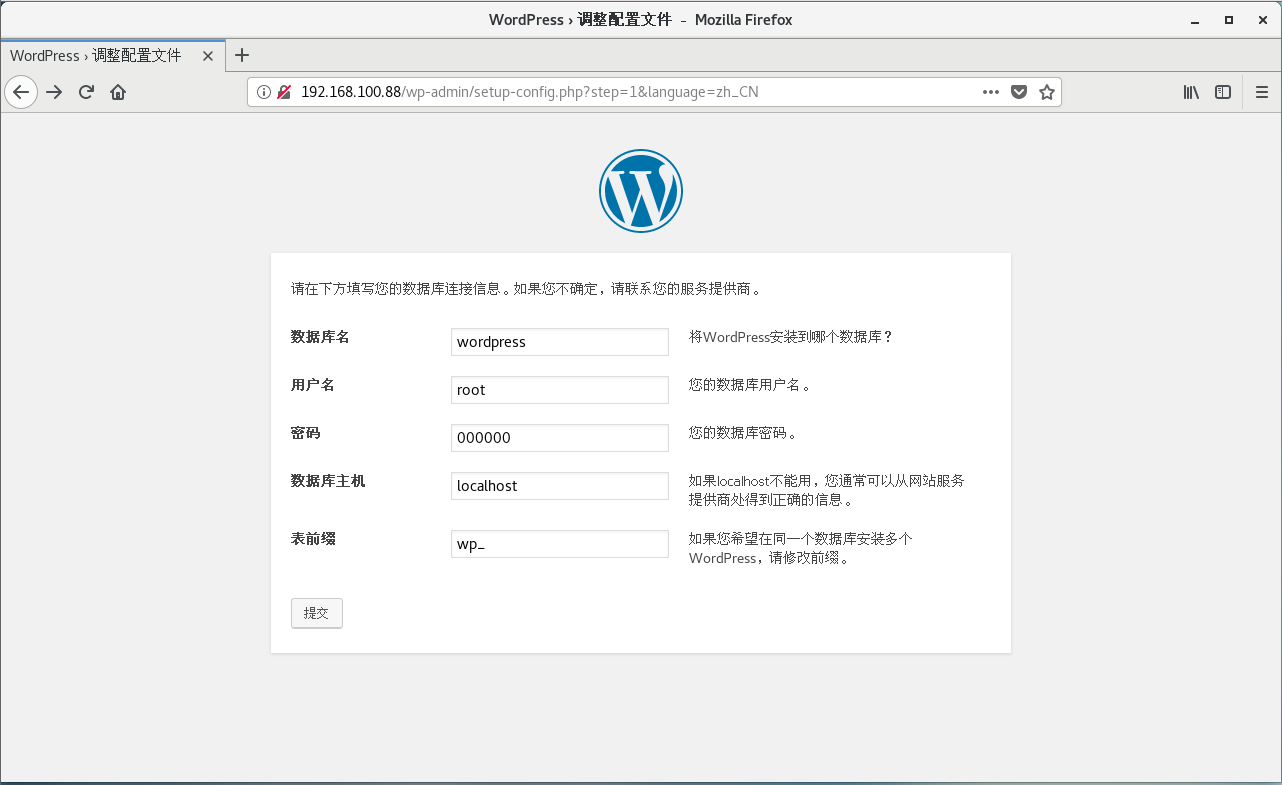
# 数据库初始化,添加WordPress数据库
# 开启数据库
systemctl start mariadb
systemctl enable mariadb

# 初始化数据库
mysql_secure_installation

-> 回车
-> y
-> root密码:000000
-> y  n  y  y

# 进入数据库
mysql -uroot -p000000

# 创建wordpress库
create database wordpress;
show databases;
exit

# 重启数据库
systemctl restart mariadb
五、配置php
# 导入wordpress网站的文件
cd ~
yum -y install unzip
unzip lnmp.zip
unzip wordpress-4.7.3-zh_CN.zip

# 上传wordpress

cp -ar ./* /usr/share/nginx/html/
cd  /usr/share/nginx/html/
chmod -R 777 ./*

# 启动php-fpm
systemctl start php-fpm
systemctl enable php-fpm
六、查看所有服务的端口
netstat -ntpl

->  3306:mysqld
->  9000:php-fpm
->  80:nginx
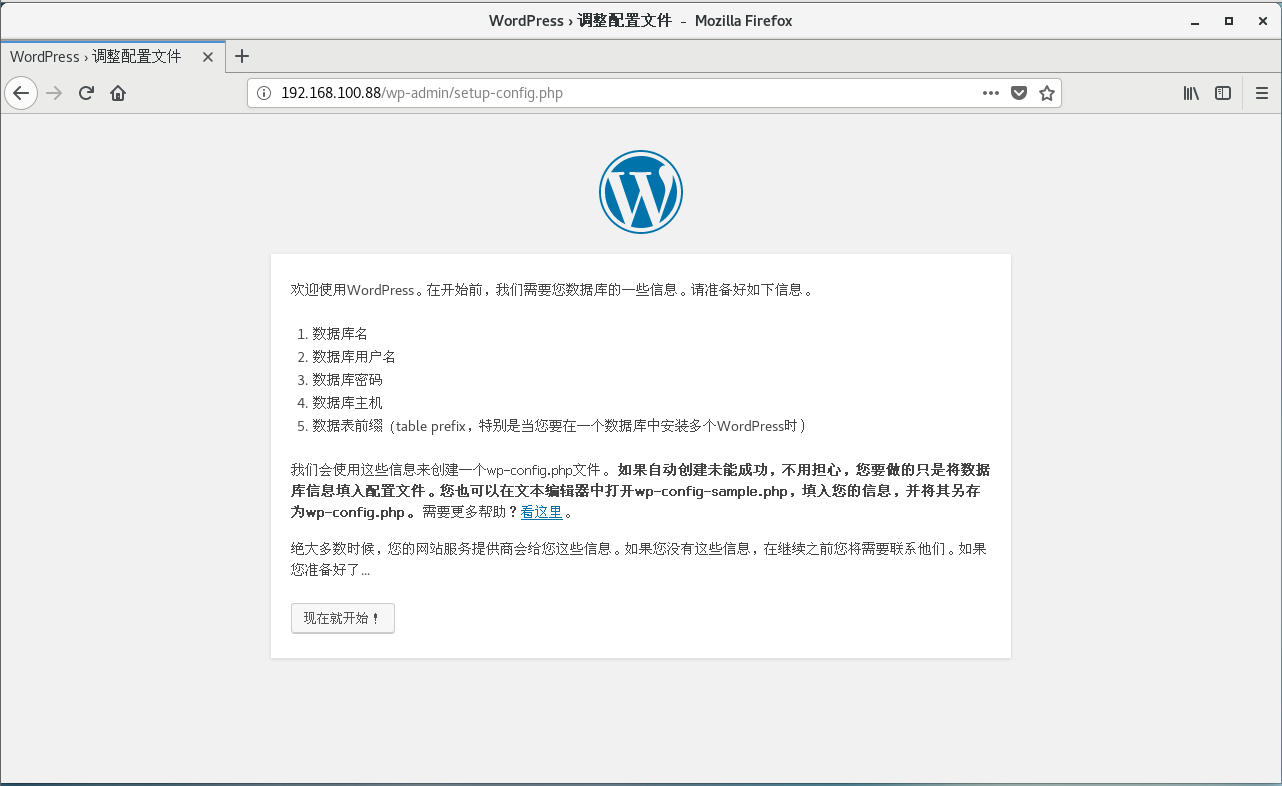
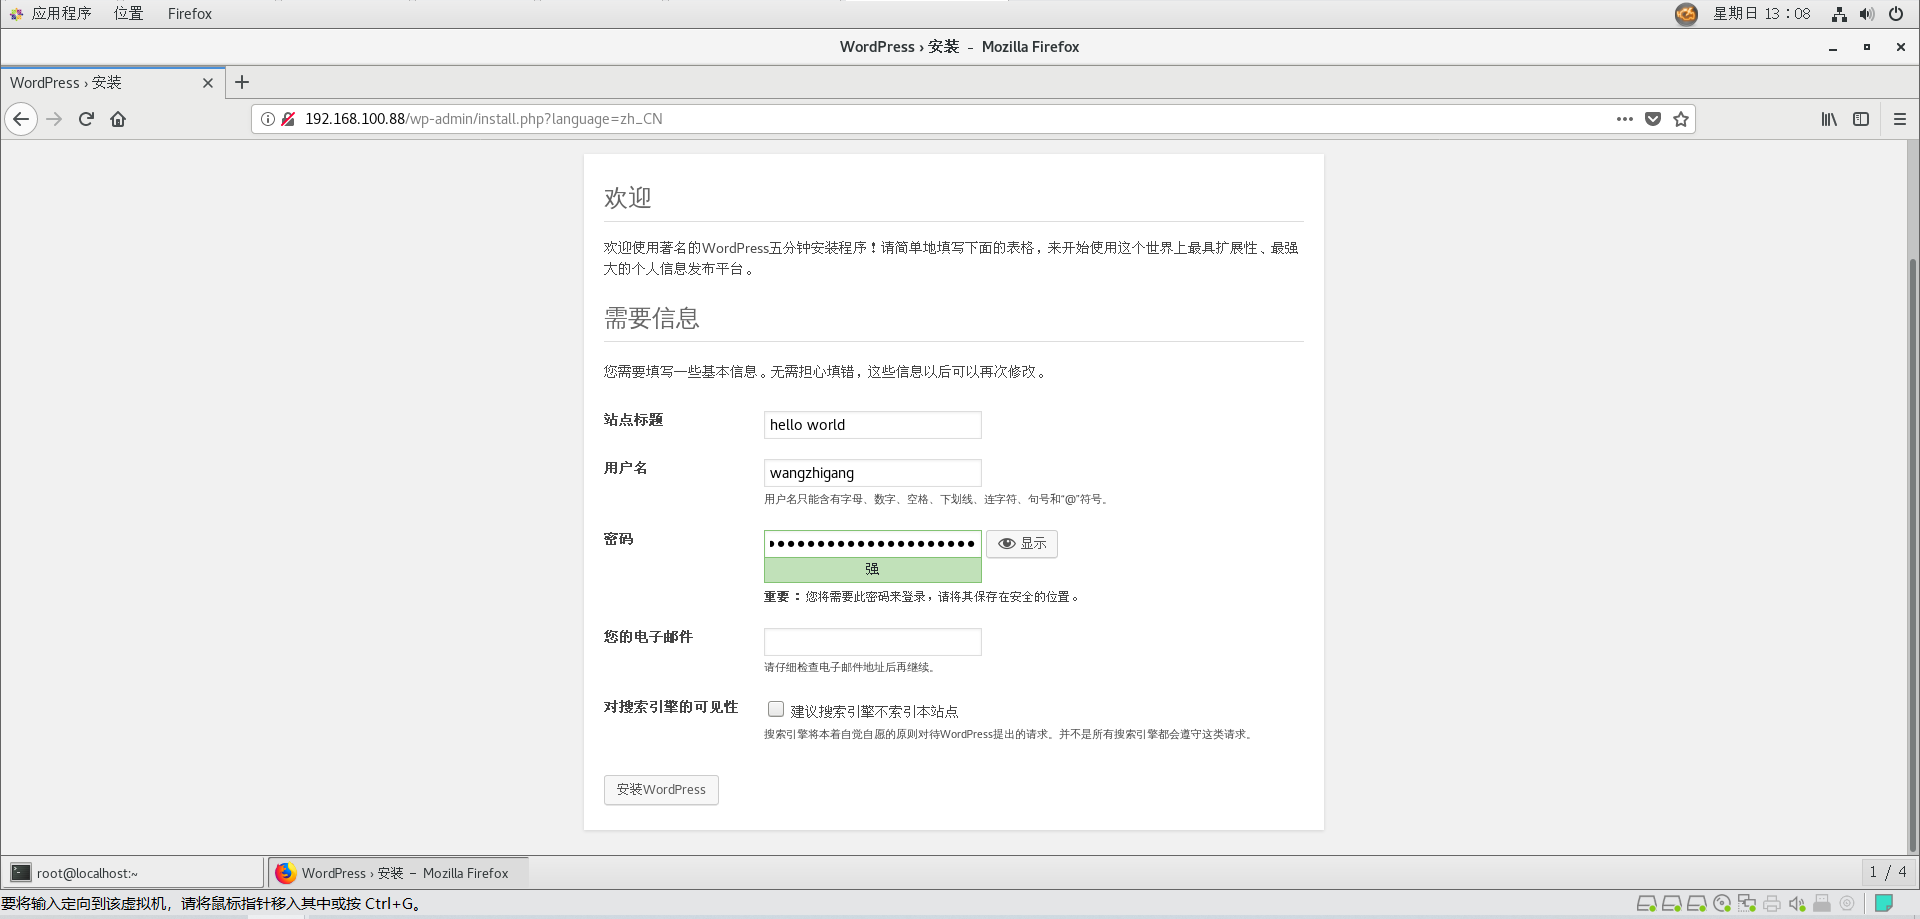
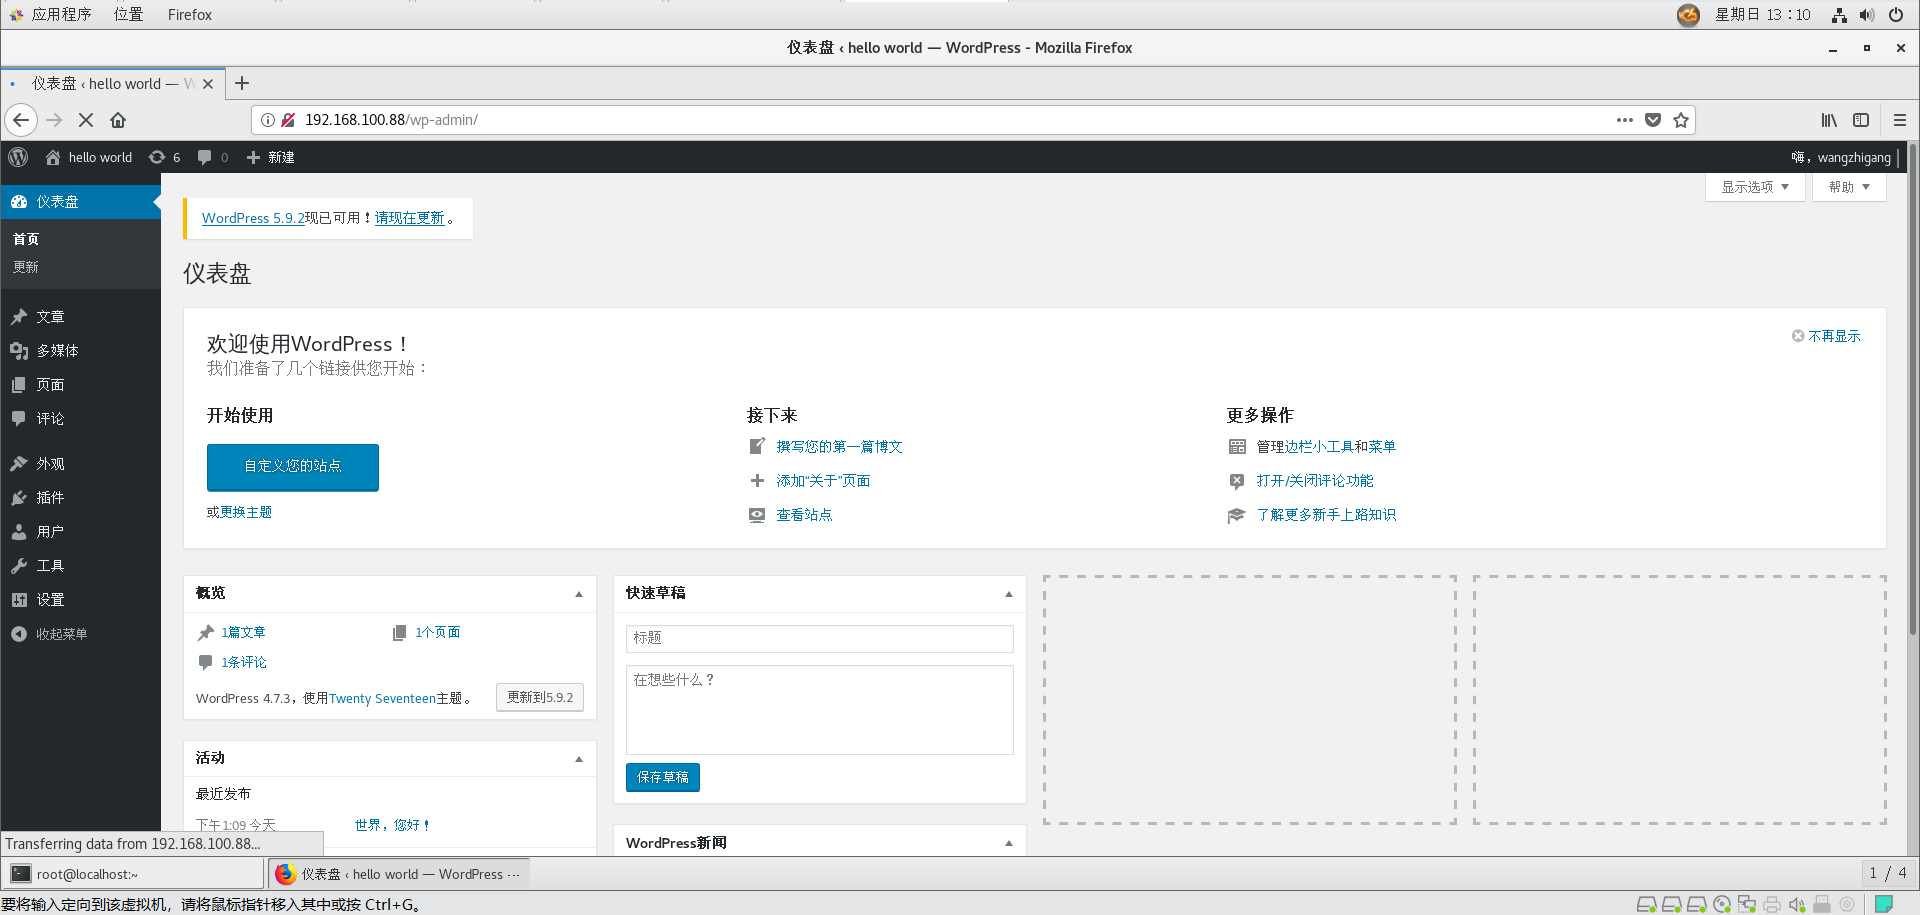
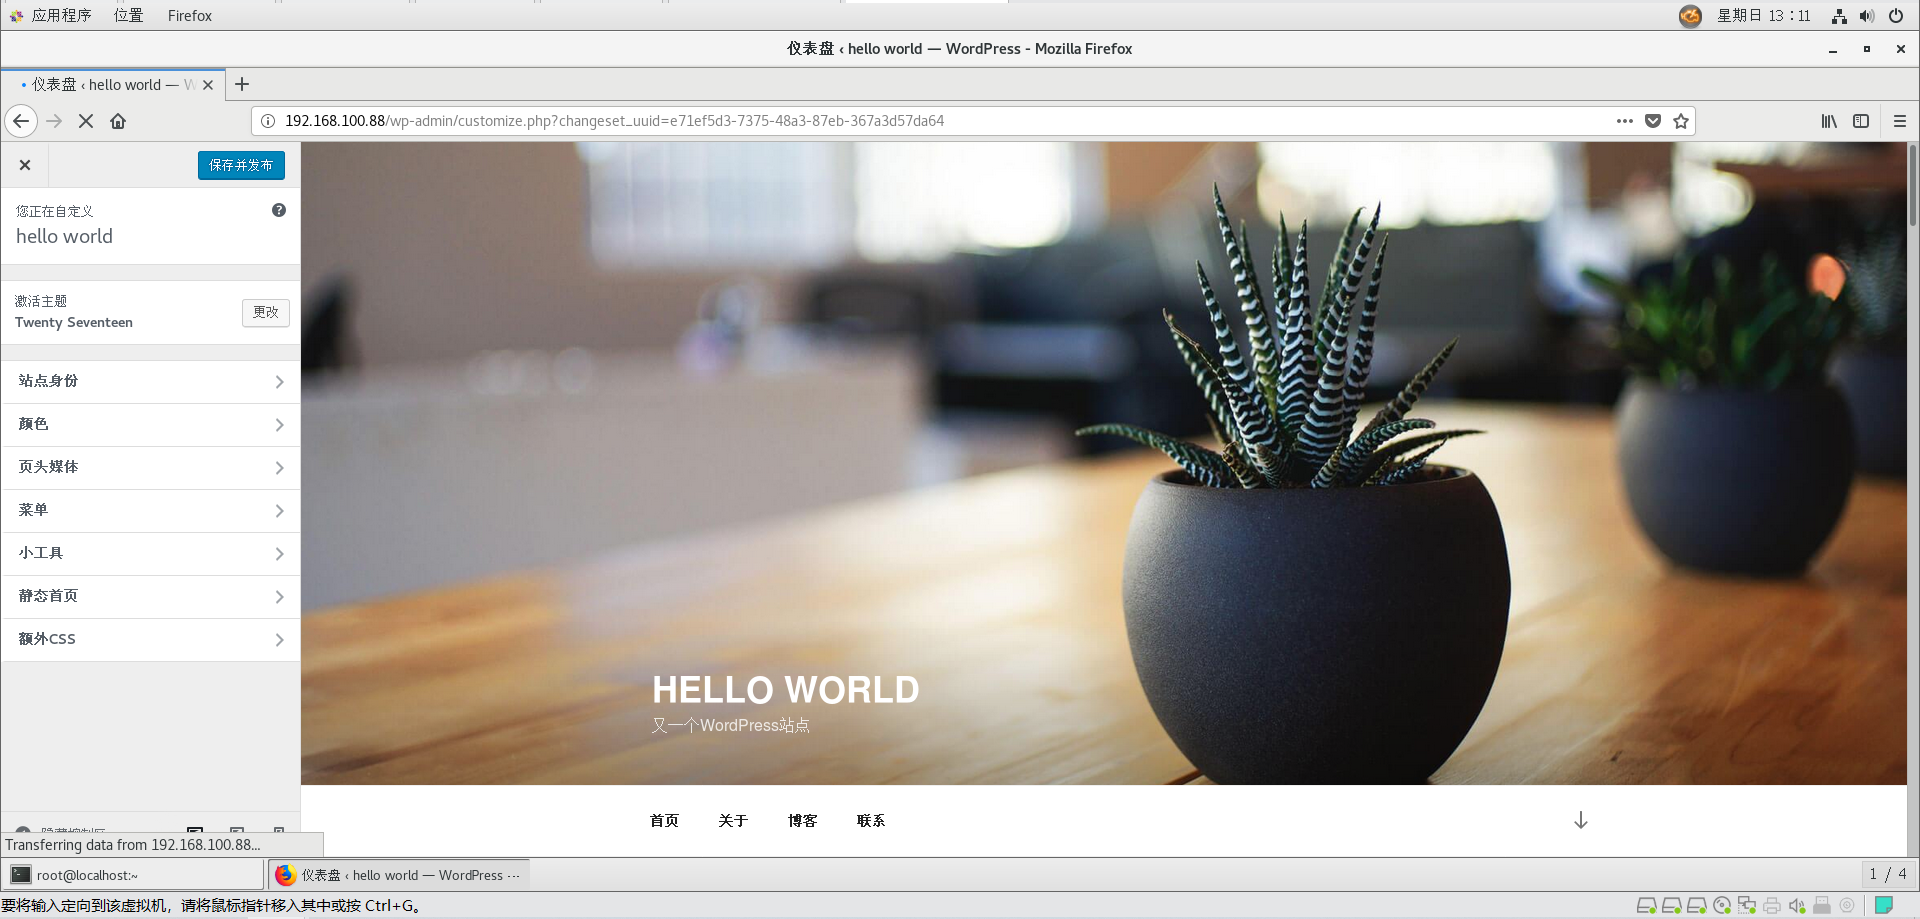
七、测试
使用虚拟机的浏览器访问:http://192.168.100.88