阿里云服务器Ubuntu安装nginx-1.12.2
下载nginx-1.12.2
官方Nginx 的下载页面:
http://nginx.org/en/download.html
nginx依赖以下一些软件库,在安装之前请确保linux服务器安装了这些软件库,它们包括:gcc,openssl,zlib,pcre
-
1、通过dpkg -l|grep 命令查询是否已安装*

-
2、安装
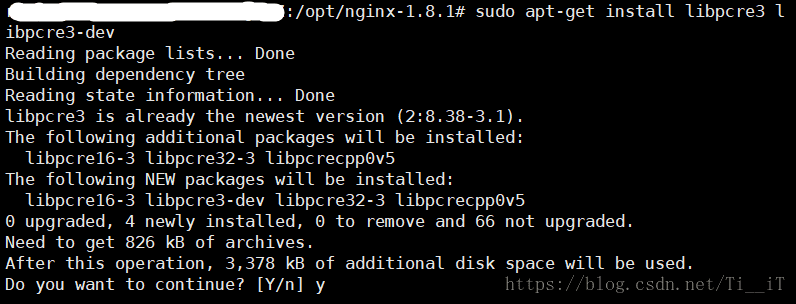
sudo apt-get install libpcre3 libpcre3-dev

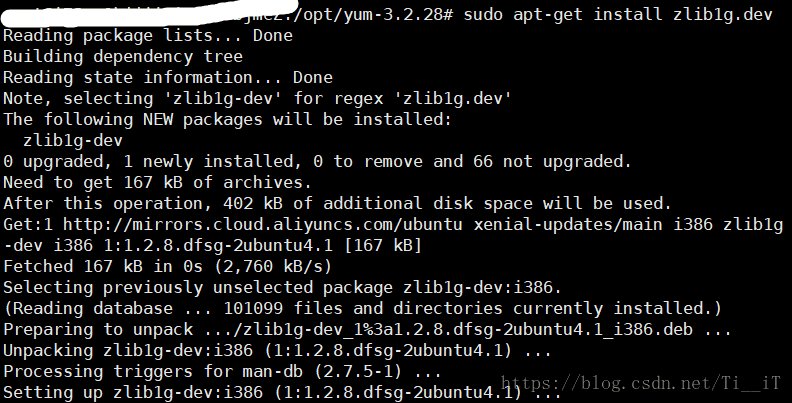
sudo apt-get install zlib1g.dev

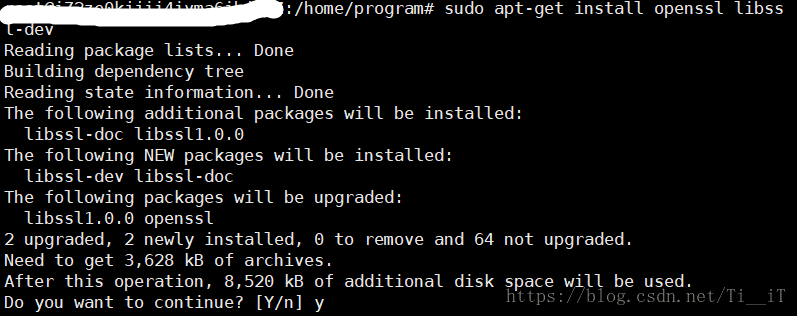
sudo apt-get install openssl libssl-dev

安装nginx(通过源码包安装)
一、下载nginx-1.12.2
可以直接在服务器下载(windows版本的区分32位与64位,ubuntu(linux)版本的不区分)
wget http://nginx.org/download/nginx-1.12.2.tar.gz
或者可以到我的共享云盘下载
http://yunpan.cn/QaIskk4i6LrrR 访问密码 cc22
二、解压
我一般都会把文件下载到/home/programfile
因此nginx的tar文件也在这个目录下
tar zxvf nginx-1.12.2.tar.gz
cd nginx-1.12.2
安装指定文件夹
./configure --prefix=/usr/local/nginx
``

* 如果报错的话,如下的错误:
./configure: error: SSL modules require the OpenSSL library. You can either do not enable the modules, or install the OpenSSL library into the system, or build the OpenSSL library statically from the source with nginx by using --with-openssl=option.
代表依赖的OpenSSL library包还没有安装(上面阿里云提供的sh脚本少了这个library依赖,这里我们自己下载安装)
所以先下载依赖包,执行以下命令,安装该OpenSSL library
```linux
apt-get update
apt-get install openssl libssl-dev
如果报错PCRE library没有安装,则下载安装
apt-get install libpcre3 libpcre3-dev
这样的话缺少的依赖包安装好了,就可以继续安装nginx了
cd  /home/programfile/nginx-1.12.2
./configure --prefix=/usr/local/nginx
三、编译,安装
make -jn (n = cpu核心x2)的多线程编译的参数
我的服务器是2核的,所以用的是make -j4 (所以你的是x核,那么这里就是make -j2x)
make -j4
执行安装
make install
四、运行 用-t参数验证下是否正常
root@iZ8vbi7xemc73qbxus0g1dZ:/usr/local/nginx# ./sbin/nginx -t
nginx: the configuration file /usr/local/nginx/conf/nginx.conf syntax is ok
nginx: configuration file /usr/local/nginx/conf/nginx.conf test is successful
启动nginx
/usr/local/nginx/sbin/nginx
- 如果更改了配置就要重启Nginx,要先关闭Nginx再打开?不是的,可以向Nginx 发送信号,平滑重启。
/usr/local/nginx/sbin/nginx -s reload
五、测试验证
安装成功后 /usr/local/nginx 目录下有四个子目录分别是:conf、html、logs、sbin 。 其中 Nginx 的配置文件存放于 conf/nginx.conf,Nginx 只有一个程序文件位于 sbin 目录下的 nginx 文件。 确保系统的 80 端口没被其他程序占用,运行 sbin/nginx 命令来启动 Nginx,打开浏览器访问此机器的 IP,如果浏览器出现 Welcome to nginx! 则表示 Nginx 已经安装并运行成功。
六、安装service服务
#! /bin/sh

### BEGIN INIT INFO
# Provides:          nginx
# Required-Start:    $all
# Required-Stop:     $all
# Default-Start:     2 3 4 5
# Default-Stop:      0 1 6
# Short-Description: starts the nginx web server
# Description:       starts nginx using start-stop-daemon
### END INIT INFO

PATH=/usr/local/sbin:/usr/local/bin:/usr/sbin:/usr/bin:/sbin:/bin
DAEMON=/usr/local/nginx/sbin/nginx
DAEMON_OPTS='-c /usr/local/nginx/conf/nginx.conf'
NAME=nginx
DESC=nginx

test -x $DAEMON || exit 0

# Include nginx defaults if available
if [ -f /etc/default/nginx ] ; then
  . /etc/default/nginx
fi

set -e

case "$1" in
  start)
    echo -n "Starting $DESC: "
    start-stop-daemon --start --quiet --pidfile /var/run/nginx.pid --exec $DAEMON -- $DAEMON_OPTS
    echo "$NAME."
    ;;
  stop)
    echo -n "Stopping $DESC: "
    start-stop-daemon --stop --quiet --pidfile /var/run/nginx.pid --exec $DAEMON
    echo "$NAME."
    ;;
  restart|force-reload)
    echo -n "Restarting $DESC: "
    start-stop-daemon --stop --quiet --pidfile /var/run/nginx.pid --exec $DAEMON
    sleep 1
    start-stop-daemon --start --quiet --pidfile /var/run/nginx.pid --exec $DAEMON -- $DAEMON_OPTS
    echo "$NAME."
    ;;
  reload)
    echo -n "Reloading $DESC configuration: "
    start-stop-daemon --stop --signal HUP --quiet --pidfile /var/run/nginx.pid \
        --exec $DAEMON
    echo "$NAME."
    ;;
  configtest)
    $DAEMON -t $DAEMON_OPTS
    ;;
  *)
    N=/etc/init.d/$NAME
    echo "Usage: $N {start|stop|restart|configtest|force-reload}" >&2
    exit 1
    ;;
esac

exit 0
这个服务用来在修改配置文件后,验证配置文件是否正确
service nginx configtest
修改配置文件后,并且验证配置文件正确,可以不用停止服务,直接重新加载配置文件即可
service nginx reload
传送门: CentOs安装nginx,以及添加系统服务: https://blog.csdn.net/zml3721/article/details/62037920?winzoom=1
本文来自博客园,作者:愺様,转载请注明原文链接:https://www.cnblogs.com/wyh0923/p/14902501.html

