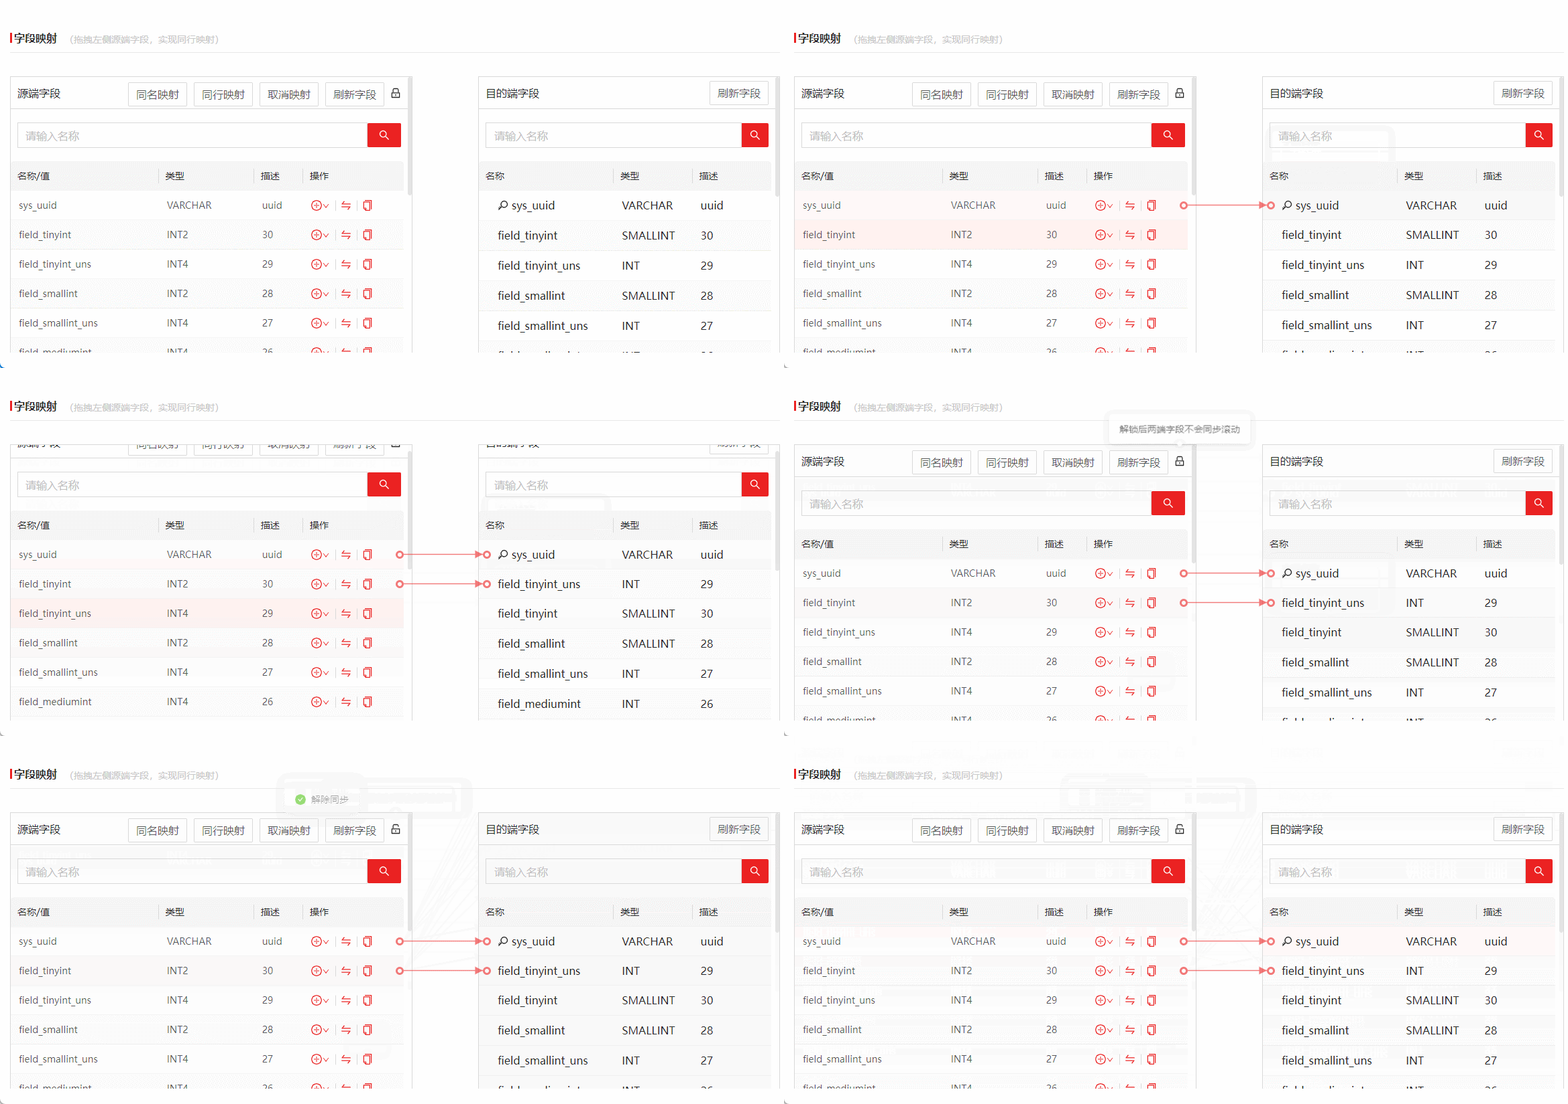
两点之间连线 svg
效果图

思路:
1.通过svg绘画出 线条 和 箭头,通过 元素在页面中的位置 和 父级所在页面中的位置 的差值计算出 箭头和线的 起始坐标及结束坐标,
页面滚动则 更新元素位置并且重新绘画
核心源码:
<template>
  <svg class="line-svg" xmlns="http://www.w3.org/2000/svg" version="1.1" :key="updeTime">
    <defs>
      <marker
        id="arrow"
        markerUnits="strokeWidth"
        markerWidth="10"
        markerHeight="10"
        viewBox="0 0 10 10"
        refX="10"
        refY="6"
        orient="auto"
      >
        <path d="M2,2 L10,6 L2,10 L2,2" style="fill:currentColor" />
      </marker>
    </defs>

    <line
      :x1="item.x1"
      :y1="item.y1"
      :x2="item.x2"
      :y2="item.y2"
      stroke="currentColor"
      marker-end="url(#arrow)"
      stroke-width="1.45"
      v-for="(item, index) in svgArr"
      :key="index"
    ></line>
  </svg>
</template>

<script>
export default {
  name: 'ConnectLine',
  props: {
    lineArr: {
      type: Array,
      default: () => [
        //  {
        //     sourceIndex: index,
        //     targetIndex: index,
        //   }
      ]
    }
  },
  data() {
    return {
      updeTime: new Date().getTime(),
      svgArr: [],
      color: this.$store.state.setting.color
    }
  },
  mounted() {
    this.$nextTick(() => {
      this.parDom = document.getElementsByClassName('newBuild_mapping_table')[0]
      this.initConnect()
    })
  },
  methods: {
    //连线
    initConnect() {
      this.$nextTick(() => {
        this.updeTime = new Date().getTime() //更新组件
        this.svgArr = []
        let sourceEl = Array.from(document.querySelectorAll('.yuan')) //左边的圆点
        let targetEl = Array.from(document.querySelectorAll('.yuan2')) //右边的圆点
        this.lineArr.forEach(item => {
          if (item.sourceIndex !== '' && item.targetIndex !== '') {
            let el1 = sourceEl[item.sourceIndex]
            let el2 = targetEl[item.targetIndex]
            this.$nextTick(() => {
              el1.classList.add('action')
              el2.classList.add('action')

              this.connect(el1, el2)
            })
          }
        })
      })
    },
    connect(el1, el2) {
      this.svgArr.push({
        x1:
          el1.getBoundingClientRect().left -
          this.parDom.getBoundingClientRect().left +
          el1.getBoundingClientRect().width,
        y1: el1.getBoundingClientRect().top + el1.offsetHeight / 2 - this.parDom.getBoundingClientRect().top,
        x2: el2.getBoundingClientRect().left - this.parDom.getBoundingClientRect().left,
        y2: el2.getBoundingClientRect().top + el2.offsetHeight / 2 - this.parDom.getBoundingClientRect().top
      })
    }
  }
}
</script>

<style scoped lang="less">
.line-svg {
  position: absolute;
  top: 0;
  left: 0;
  z-index: 3;
  width: 100%;
  height: 100%;
  pointer-events: none;
  color: @b06-color;
  opacity: 0.6;
}
</style>
vue 插件 LeaderLine 也可以实现以上功能

