tinyMCE上传图片
最近做项目涉及到上传文件,于是便想用tinyMCE的文本编辑器,官网地址如下
tinyMCE官网地址
我比较了几个编辑器,最终选用这个,因为功能比较强大,能够实现代码编写,图片上传,插入连接等功能。今天就来说说图片上传。(本地图片上传)
一: 大致介绍
我们的需求是允许用户在文章编写过程中插入图片并将图片保存到服务器下的一个文件夹(WEBROOT/upImage)。
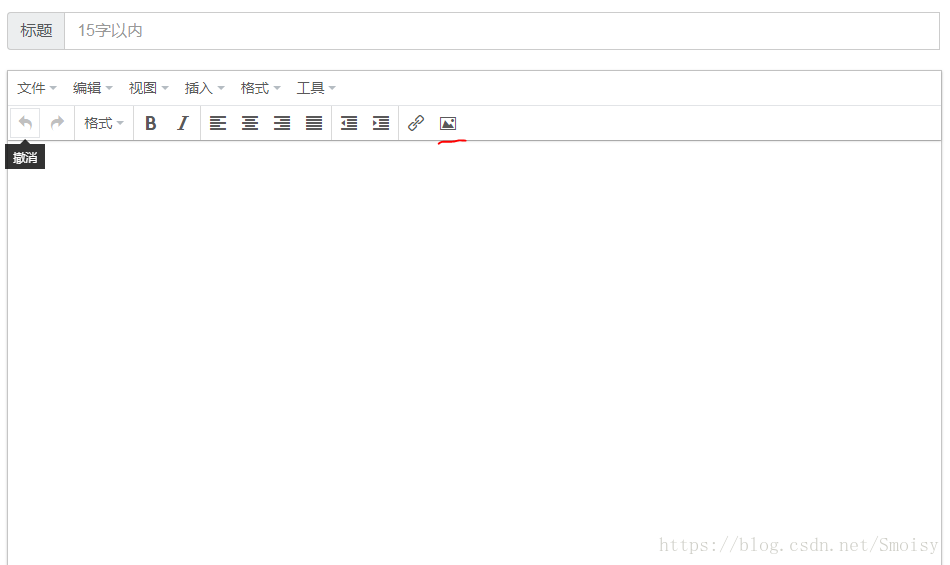
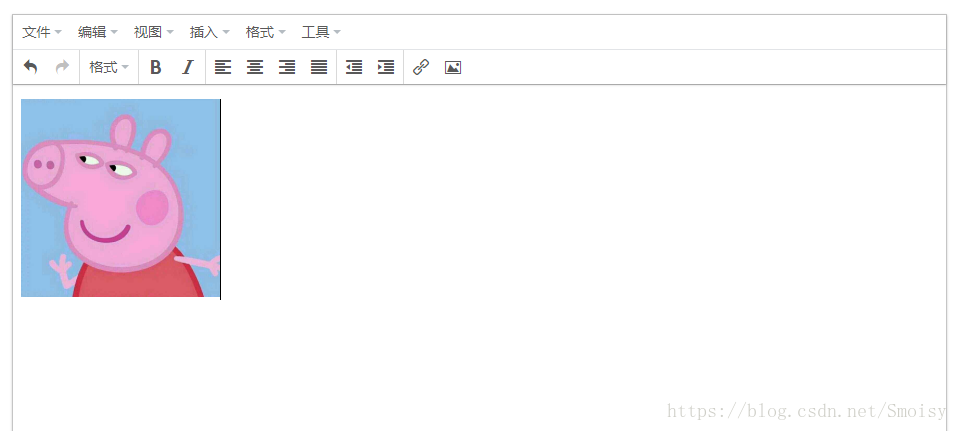
最终效果是这样的,如图

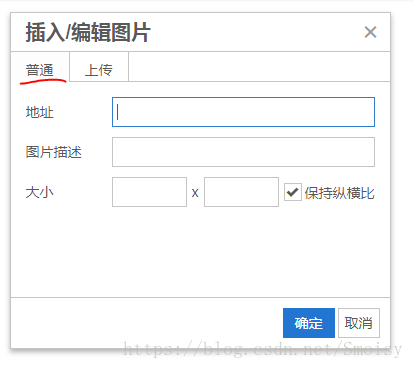
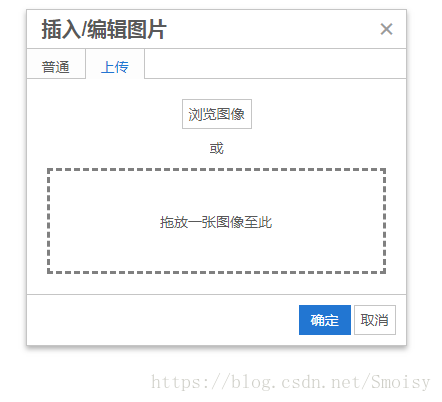
点击工具栏的图片按钮,弹出如图的模态框:


普通: 插入网站的图片
上传: 插入本地图片
插入图片后tinyMCE会把图片转换为img标签,比如我这里插入一个图片,tinyMCE转换后长成这样:
<img src="../uploadImage/fec76649e2354069b0f2fe50e8205e9d.jpeg" alt="照片" width="307" height="425" />
src——地址中的内容
alt——图片描述的内容
width,height——大小中的内容
大致介绍完毕之后,我们说说具体该怎么做吧(是不是废话有点多,请见谅啦(*^▽^*))
二: tinyMCE图片上传的原理
(对不起,现在还不是实现,请耐心等待,把tinyMCE本地图片上传的原理看完再向下看哦,如果你知道这个,可以直接看实现,Thanks♪(・ω・)ノ)
我在网上没有找到tinyMCE的汉化文档,所以都是一下内容均来自tinyMCE的官网,因为我英语水平还是有点渣,所以我会简单翻译关键部分,并把原文的内容贴出来,如果哪里有不对的地方欢迎指正。(*`∀´*)ノ亻!
tinyMCE上传图片(官网上传图片的地址)
1. 版本问题
Please note, this image upload feature is available for TinyMCE version 4.3 and above.
(上传图片功能从4.3开始)
2. 异步上传
Local images can be uploaded to TinyMCE through the use of the new editor.uploadImages() function. This functionality is handled asynchronously, meaning that it is possible for users to save their content before all images have completed uploading. If this occurs, no server path to the remote image will be available and the images will be stored as Base 64.
To avoid this situation, it is recommended that the editor.uploadImages() function be executed prior to submitting the editor contents to the server. Once all images have been uploaded, a success callback can be utilized to execute code. This success callback can be used to save the editor's content to the server through a POST.
(上传图片的功能异步实现)
3. 上传图片的处理
If the default behavior of TinyMCE's image upload logic is not right for you, you may set your own behavior by using the images_upload_handler configuration property.
Please note that while using this option, other image uploader options are not necessary.
(如果你不喜欢默认的图片上传,可以自己通过images_upload_handler控制图片上传的行为。但是如果使用这个选项,别的上传选项不再需要)
好了,说完官网的关键步骤,我们来看一下实现思路是什么样的。
首先,我要确保我的版本能够图片上传。
其次, 关于异步。也就是说,图片上传比较耗时间,所以为了保证用户上传文件到服务器用时最短,所以一般在插入图片的时候就将图片上传到服务器,而不是在点击“提交”按钮的时候和文章其他内容一起上传。
最后,通过images_upload_handler属性,实现图片的异步上传。
三、 实现(下面进入正文了,|* ̄▽ ̄*))
这里用的是ssm,java实现的,官网给的是php的例子。我是按照官网仿写的,官网链接
官网例子
不知道java+ssm怎么实现的可以向下看了((✿◡‿◡))
1. 引入文件
<script
src="${pageContext.request.contextPath}/tinymce/js/tinymce/tinymce.min.js"></script>
<script
src="${pageContext.request.contextPath}/tinymce/js/tinymce/jquery.tinymce.min.js"></script>
<script
src="${pageContext.request.contextPath}/tinymce/js/tinymce/langs/zh_CN.js"></script>
2. 前台images_upload_handler属性设置
1 2 3 4 5 6 7 8 9 10 11 12 13 14 15 16 17 18 19 20 21 22 23 24 25 26 27 28 29 | images_upload_handler: function(blobInfo, success, failure){ var xhr, formData; var stuId = ${user.userId}; var maxLogId = ${maxLogId}; xhr = new XMLHttpRequest(); xhr.withCredentials = false; xhr.open("POST", "${pageContext.request.contextPath}/utilController/uploadImage?stuId="+stuId+"&maxLogId="+maxLogId); formData = new FormData(); formData.append("file", blobInfo.blob()); xhr.onload = function(e){ var json; if (xhr.status != 200) { failure('HTTP Error: ' + xhr.status); return; } json = JSON.parse(this.responseText); if (!json || typeof json.location != 'string') { failure('Invalid JSON: ' + xhr.responseText); return; } success(json.location); }; xhr.send(formData); }————————————————版权声明:本文为CSDN博主「Smoisy」的原创文章,遵循CC 4.0 BY-SA版权协议,转载请附上原文出处链接及本声明。原文链接:https://blog.csdn.net/Smoisy/article/details/81268772 |
这里做一下说明。
function(blobInfo, success, failure)
blobInfo——插入的图片信息
success——成功的回调函数
failure——失败的回调函数
这里居然用的是xmlhttlrequest,看到的时候我根本没有用过这个(原谅小白才疏学浅啊)一般都是用json前后台交互啊。所以如果对xmlhttprequest也陌生的同学们,可以跳转到以下链接看一看,我这里就不细说了
xmlhttprequest的中文文档
(其实这里我一直有个疑问,可不可以不用xmlhttprequest,用json实现呢)
3. 后台处理
这就是纯图片上传的代码了
controller
1 2 3 4 5 6 7 8 9 10 11 12 13 14 15 16 17 18 19 20 21 22 23 24 25 26 27 | @RequestMapping("utilController")@Controllerpublic class UtilController { /** 上传图片 * @Title: uploadImage * @Description: 上传图片 * @param image 要上传的图片 * @param request * @return Map<String, Object> location(图片要上传的位置) * @throws */ @RequestMapping("/uploadImage") public @ResponseBody Map<String, Object> uploadImage( @RequestParam("file") MultipartFile file, HttpServletRequest request) throws Exception { Map<String, Object> ret = new HashMap<>(); String realPath = request.getSession().getServletContext().getRealPath("/"); //获得真实路径 String stuId = request.getParameter("stuId");//获得学号 Integer maxLogId = Integer.parseInt(request.getParameter("maxLogId")); // 获得最大的日志编号 Integer logId = maxLogId+1;//当前日志编号 String location = ImageUtil.uploadImage(file, realPath, stuId, logId); ret.put("location", location); return ret; } |
ImageUtil
1 2 3 4 5 6 7 8 9 10 11 12 13 14 15 16 17 18 19 20 21 22 23 24 25 26 27 28 29 30 31 32 33 34 35 36 37 38 39 | /** 上传图片 ,将图片上传到 uploadImage/log/stuId/文件加下 * @Title: uploadImage * @Description: 上传图片 ,将图片上传到 uploadImage/log/stuId/文件加下 * @param image 要上传的图片 * @param basePath 基础路径 * @param stuId 上传者的学号 * @param logId 当前日志编号 * @param request * @return String (图片要上传的位置) * @throws */ public static String uploadImage(MultipartFile image, String basePath, String stuId, Integer logId) throws Exception{ String ret = ""; //生成uuid作为文件名称 String uuid = UUID.randomUUID().toString().replaceAll("-", ""); //获得文件类型,如果不是图片,禁止上传 String contentType = image.getContentType(); //获得文件的后缀名 String suffixName = contentType.substring(contentType.indexOf("/")+1); //得到文件名 String imageName = uuid+"."+suffixName; //获取文件夹路径 String direPath = basePath+"uploadImage\\log\\"+stuId+"\\"+logId.toString(); File direFile = new File(direPath); //文件夹如果不存在,新建文件夹 if(direFile.exists() == false || direFile.isDirectory() == false){ direFile.mkdir(); } //得到文件路径 String path = direPath+"\\"+imageName; image.transferTo(new File(path)); ret="/Test/uploadImage/log/"+stuId+"/"+logId.toString()+"/"+imageName; return ret; } |
4. 因为上传文件,所以请自行配置xml
最后,

让我们开启tinyMCE之旅吧!!!
————————————————
版权声明:本文为CSDN博主「Smoisy」的原创文章,遵循CC 4.0 BY-SA版权协议,转载请附上原文出处链接及本声明。
原文链接:https://blog.csdn.net/Smoisy/article/details/81268772


【推荐】国内首个AI IDE,深度理解中文开发场景,立即下载体验Trae
【推荐】编程新体验,更懂你的AI,立即体验豆包MarsCode编程助手
【推荐】抖音旗下AI助手豆包,你的智能百科全书,全免费不限次数
【推荐】轻量又高性能的 SSH 工具 IShell:AI 加持,快人一步
· TypeScript + Deepseek 打造卜卦网站:技术与玄学的结合
· 阿里巴巴 QwQ-32B真的超越了 DeepSeek R-1吗?
· 【译】Visual Studio 中新的强大生产力特性
· 10年+ .NET Coder 心语 ── 封装的思维:从隐藏、稳定开始理解其本质意义
· 【设计模式】告别冗长if-else语句:使用策略模式优化代码结构
2022-03-10 Eclipse插件之IWorkbench,IWorkbenchWindow,IWorkbenchPage,IWorkbenchPart……
2022-03-10 java查看展示jt文件_TCRCP开发之如何在自定义视图ViewPart中展示数据集(比如JT数据)..
2022-03-10 SWT之syncExec与asyncExec
2022-03-10 SWTException: Invalid thread access解决方法总结
2022-03-10 eclipse运行和编译没问题,但打包报错
2021-03-10 List如何按String类型的属性进行排序