

Keycloak 入门实战(4)--客户端适配器使用
Keycloak 提供了客户端适配器来方便各应用程序的接入,本文主要介绍在 Tomcat 和 SpringBoot 应用中如何使用 Keycloak 来保护资源;文中使用到的软件版本:Java 1.8.0_191、Keycloak 1.16.1、Tomcat 8 .5.76、SpringBoot 2.5.9。
1、Keycloak 地址
这里假设 Keycloak 已安装完成,地址为 http://10.49.196.10:8080/auth。Keycloak 的安装方法可以参考:Keycloak 入门实战(2)--安装。
2、Tomcat 中使用 Keycloak
2.1、下载 Tomcat 的适配器
https://www.keycloak.org/archive/downloads-16.1.1.html
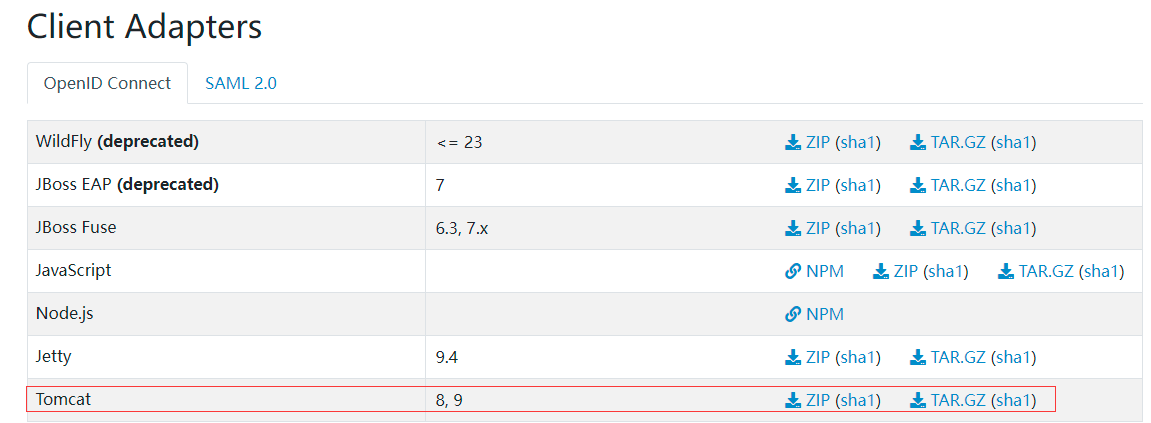
2.2、安装适配器
把下载的文件(keycloak-oidc-tomcat-adapter-16.1.1.tar.gz)解压到 Tomcat 的 lib 目录下。
2.3、设置 Keycloak Valve
在 web 应用的 META-INF 目录下创建 context.xml 文件:
<Context>
    <Valve className="org.keycloak.adapters.tomcat.KeycloakAuthenticatorValve"/>
</Context>
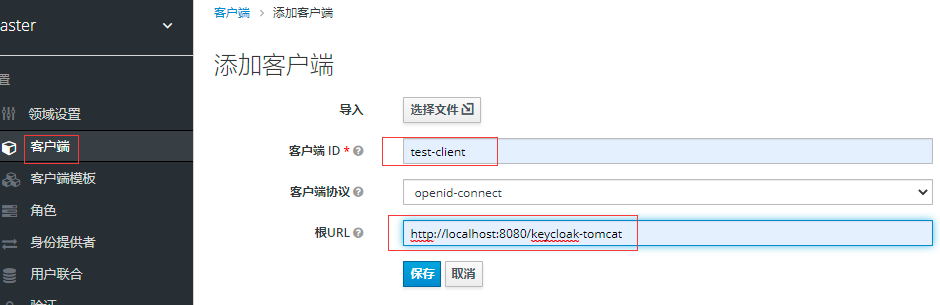
2.4、生成 keycloak.json 文件
假设自己 web 应用的 context-path 为 /keycloak-tomcat,在 Keycloak 中创建一个客户端:client-tomcat
在该客户端的安装 tab 页,格式选 “Keycloak OIDC JSON”,点击 “下载” 按钮。
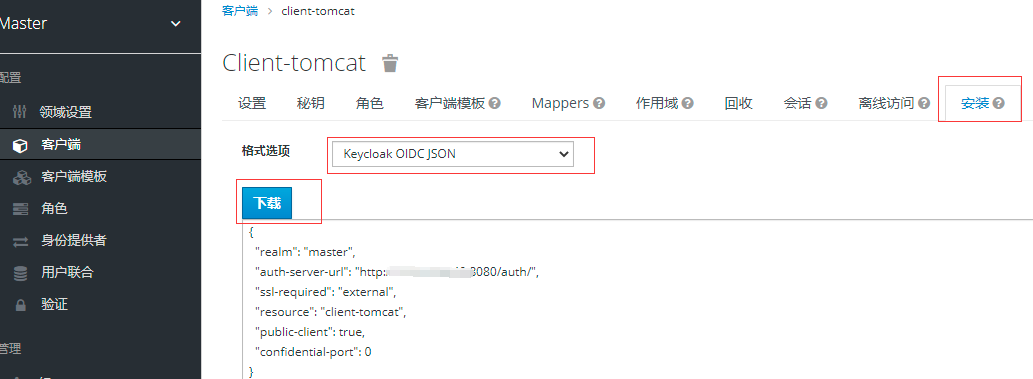
把下载下来的 keycloak.json 文件拷贝到 web 应用的 WEB-INF 目录下。
2.5、修改应用 web.xml 文件定义资源保护规则

<?xml version="1.0" encoding="UTF-8"?>
<web-app xmlns="http://xmlns.jcp.org/xml/ns/javaee"
         xmlns:xsi="http://www.w3.org/2001/XMLSchema-instance"
         xsi:schemaLocation="http://xmlns.jcp.org/xml/ns/javaee http://xmlns.jcp.org/xml/ns/javaee/web-app_3_1.xsd"
         version="3.1">

    <security-constraint>
        <!--登出url不需要保护-->
        <web-resource-collection>
            <web-resource-name>logout</web-resource-name>
            <url-pattern>/logout.jsp</url-pattern>
        </web-resource-collection>
    </security-constraint>

    <security-constraint>
        <!--被保护的资源-->
        <web-resource-collection>
            <web-resource-name>admin</web-resource-name>
            <url-pattern>/admin/*</url-pattern>
            <url-pattern>/system/*</url-pattern>
        </web-resource-collection>
        <!--可以访问保护资源的角色,这里出现的角色需要在 security-role 中声明-->
        <auth-constraint>
            <role-name>admin</role-name>
        </auth-constraint>
    </security-constraint>

    <security-constraint>
        <!--被保护的资源-->
        <web-resource-collection>
            <web-resource-name>user</web-resource-name>
            <url-pattern>/*</url-pattern>
        </web-resource-collection>
        <!--可以访问保护资源的角色,这里出现的角色需要在 security-role 中声明-->
        <auth-constraint>
            <role-name>user</role-name>
            <role-name>admin</role-name>
        </auth-constraint>
    </security-constraint>

    <login-config>
        <!--登录方法-->
        <auth-method>KEYCLOAK</auth-method>
        <!--领域名称,可为空-->
        <realm-name></realm-name>
    </login-config>

    <!--声明角色-->
    <security-role>
        <role-name>admin</role-name>
    </security-role>
    <security-role>
        <role-name>user</role-name>
    </security-role>
</web-app>
2.6、创建用户及角色
在 Keycloak 中创建如下用户和角色:
| 用户 | 拥有角色 |
| admin | admin |
| test-user | user |
2.7、测试应用
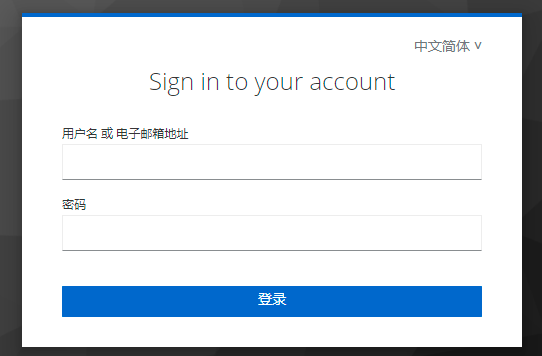
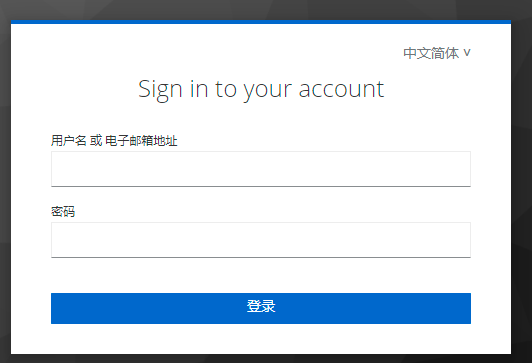
把 web 应用部署到 Tomcat 中并访问应用:http://localhost:8080/keycloak-tomcat,此时页面会跳转到 Keycloak 的登录页面:
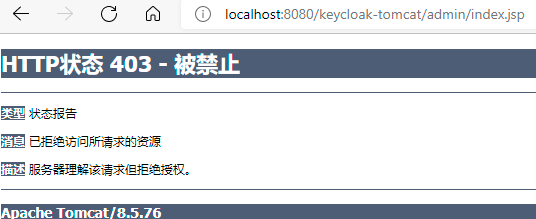
输入用户名密码后会跳转到自己应用的页面。使用 admin 用户登录后,可以访问应用的所有 url;如果使用 test-user 用户登录并访问 http://localhost:8080/keycloak-tomcat/admin/index.jsp 会报 403 错误:
2.8、登出
这里为了方便使用一个 jsp(/logout.jsp) 来执行登出并跳到应用首页:
<%@ page contentType="text/html;charset=UTF-8" language="java" %>
<%
  request.logout();
  response.sendRedirect(request.getContextPath());
%>
访问 http://localhost:8080/keycloak-tomcat/logout.jsp,由于登出后会跳到应用的首页,首页属于被保护的资源,所以又会跳转到 Keycloak 的登录页面。
Tomcat 整合 Keycloak 的详细说明可参考官网:https://www.keycloak.org/docs/16.1/securing_apps/index.html#_spring_boot_adapter。
3、SpringBoot 中使用 Keycloak
3.1、引入依赖
<dependencyManagement>
    <dependencies>
        <dependency>
            <groupId>org.keycloak.bom</groupId>
            <artifactId>keycloak-adapter-bom</artifactId>
            <version>16.1.1</version>
            <type>pom</type>
            <scope>import</scope>
        </dependency>
    </dependencies>
</dependencyManagement>

<dependencies>
    ...
    <dependency>
        <groupId>org.keycloak</groupId>
        <artifactId>keycloak-spring-boot-starter</artifactId>
    </dependency>
</dependencies>
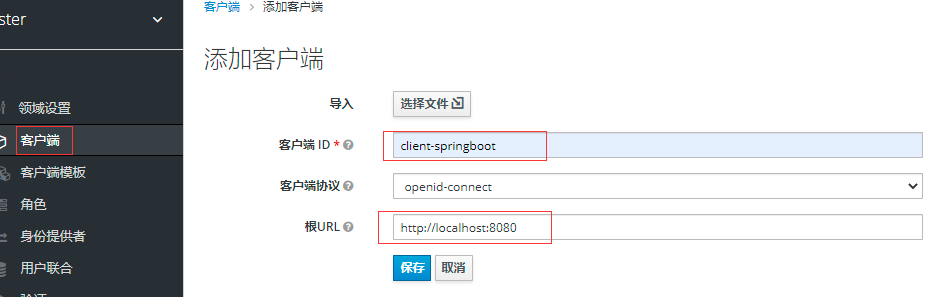
3.2、创建客户端
假设 SpringBoot 应用的 context-path 为 /,在 Keycloak 中创建客户端:client-springboot
3.3、创建用户及角色
在 Keycloak 中创建如下用户和角色:
| 用户 | 拥有角色 |
| admin | admin |
| test-user | user |
3.4、定义资源保护规则(application.yml)
keycloak:
  public-client: true
  auth-server-url: http://10.49.196.10:8080/auth
  realm: master
  resource: client-springboot
  security-constraints:
    -  #登出 url 不需要权限控制
      securityCollections:
        - name: logout
          patterns:
            - /logout
    - #管理员相关资源保护, admin 角色的用户可以访问
      authRoles:
        - admin
      securityCollections:
        -
          name: admin
          patterns:
            - /admin/*
            - /system/*
    - #用户相关资源保护, user 或 admin 角色的用户可以访问
      authRoles:
        - admin
        - user
      securityCollections:
        -
          name: user
          patterns:
            - /*
3.5、编写测试 Controller
package com.abc.demo.keycloak.controller;

import org.keycloak.KeycloakPrincipal;
import org.keycloak.representations.AccessToken;
import org.springframework.web.bind.annotation.RequestMapping;
import org.springframework.web.bind.annotation.ResponseBody;
import org.springframework.web.bind.annotation.RestController;

import javax.servlet.ServletException;
import javax.servlet.http.HttpServletRequest;
import javax.servlet.http.HttpServletResponse;
import java.io.IOException;
import java.security.Principal;
import java.util.Set;

@RequestMapping("/*")
@RestController
public class TestController {
    @ResponseBody
    @RequestMapping("/")
    public String welcome() {
        return "welcome";
    }

    @ResponseBody
    @RequestMapping("/admin/index")
    public String adminIndex() {
        return "admin index";
    }

    @ResponseBody
    @RequestMapping("/user/index")
    public String userIndex() {
        return "user index";
    }

    /**
     * 获取用户信息
     * @param principal
     * @return
     */
    @ResponseBody
    @RequestMapping("/getUserInfo")
    public String getUserInfo(Principal principal) {
        String result = "";
        if (principal instanceof KeycloakPrincipal) {
            AccessToken accessToken = ((KeycloakPrincipal) principal).getKeycloakSecurityContext().getToken();
            String preferredUsername = accessToken.getPreferredUsername();
            AccessToken.Access realmAccess = accessToken.getRealmAccess();
            Set<String> roles = realmAccess.getRoles();
            result = "当前登录用户:" + preferredUsername + ", 角色:" + roles;
        }
        return result;
    }

    /**
     * 登出
     * @param request
     * @param response
     * @throws ServletException
     * @throws IOException
     */
    @RequestMapping("/logout")
    public void logout(HttpServletRequest request, HttpServletResponse response) throws ServletException, IOException {
        request.logout();
        response.sendRedirect(request.getContextPath());
    }
}
3.6、测试应用
访问应用:http://localhost:8080,此时页面会跳转到 Keycloak 的登录页面:
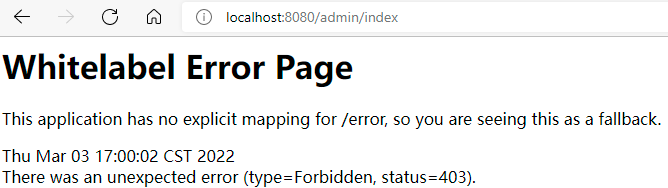
输入用户名密码后会跳转到自己应用的 url。使用 admin 用户登录后,可以访问应用的所有 url;如果使用 test-user 用户登录并访问 http://localhost:8080/admin/index 会报 403 错误:
3.7、登出
访问登出 url:http://localhost:8080/logout,由于登出后会跳到应用的首页,首页属于被保护的资源,所以又会跳转到 Keycloak 的登录页面。
SpringBoot 整合 Keycloak 的详细说明可参考官网:https://www.keycloak.org/docs/16.1/securing_apps/index.html#_spring_boot_adapter。
4、可能出现问题
4.1、Token is not active
在单点登录的时候应用可能会报如下错误:
org.keycloak.adapters.OAuthRequestAuthenticator.resolveCode failed verification of token: Token is not active
这是由于 Keycloak 运行的机器和应用运行的机器时间相差较大导致的,处理方法:修改时间错误的机器上时间,使各机器上的时间一致。


【推荐】国内首个AI IDE,深度理解中文开发场景,立即下载体验Trae
【推荐】编程新体验,更懂你的AI,立即体验豆包MarsCode编程助手
【推荐】抖音旗下AI助手豆包,你的智能百科全书,全免费不限次数
【推荐】轻量又高性能的 SSH 工具 IShell:AI 加持,快人一步
· 分享4款.NET开源、免费、实用的商城系统
· 全程不用写代码,我用AI程序员写了一个飞机大战
· MongoDB 8.0这个新功能碉堡了,比商业数据库还牛
· 白话解读 Dapr 1.15:你的「微服务管家」又秀新绝活了
· 记一次.NET内存居高不下排查解决与启示
2021-04-17 Java 操作 Excel(2)--POI 用户模式读写Excel