
3.项目的快速搭建
1.使用码云上人人开源的脚手架
传送门使用renren-fast和renren-fast-vue
删除git文件夹后导入后端模块
2.搭建好renrenfast的基本运行环境
创建数据库,建立表
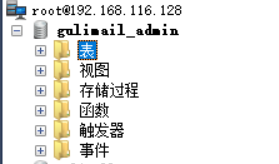
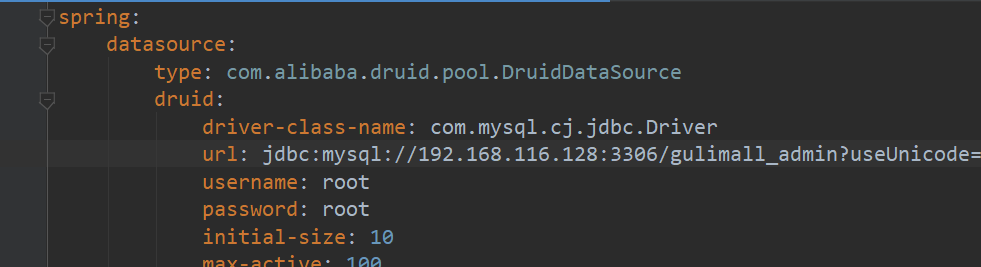
修改数据库相关内容就可以启动测试了
前端部分先下载相应的nodejs(这玩意有版本对应问题),下好之后设置淘宝镜像

前端项目的启动:先npm install(有时候会报非管理员的错误,以管理员模式启动就好了,如果之前安装失败了需要先把node_modules删了之后再进行npm install指令)再npm run dev即可运行前端成功
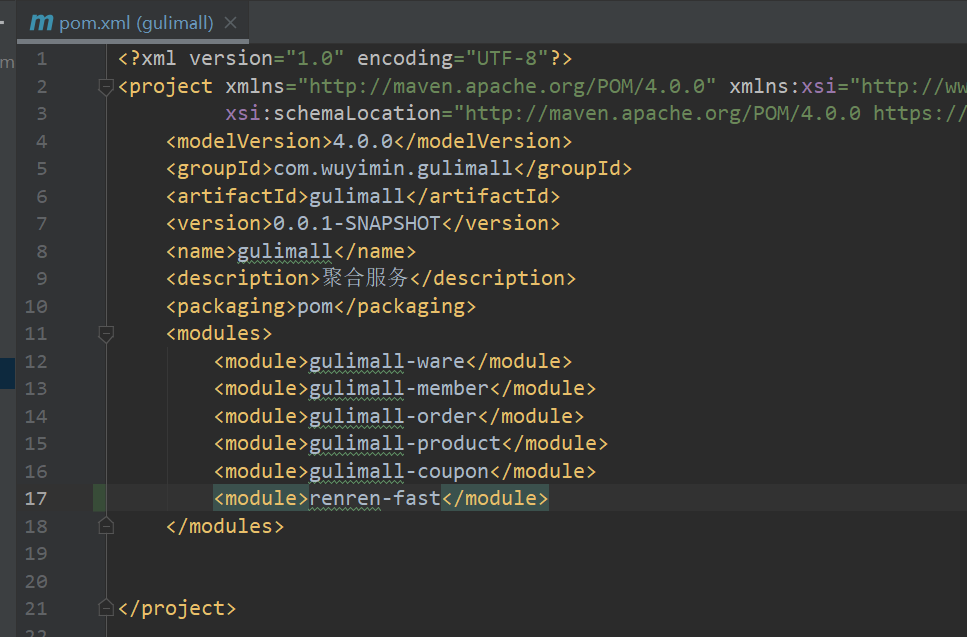
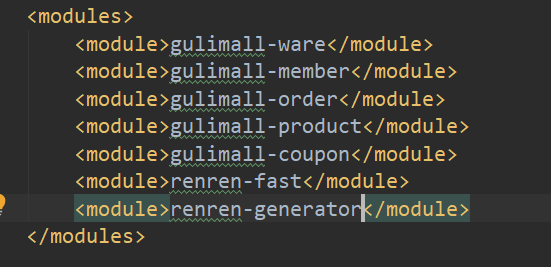
3.把代码生成器项目加入到model里面
更改数据库配置我们先对pms的代码进行生成
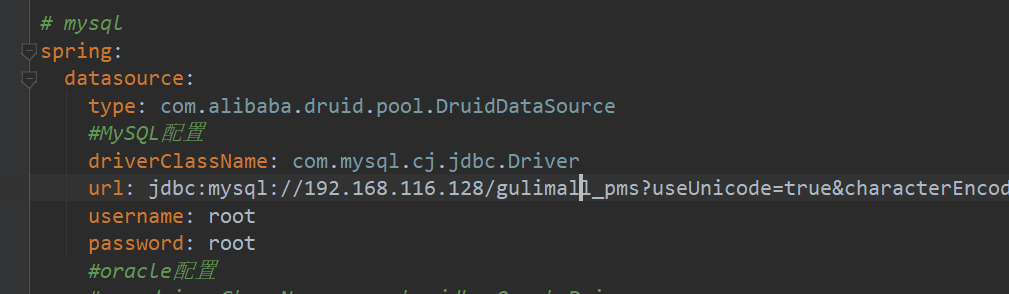
这里配置成自己的信息
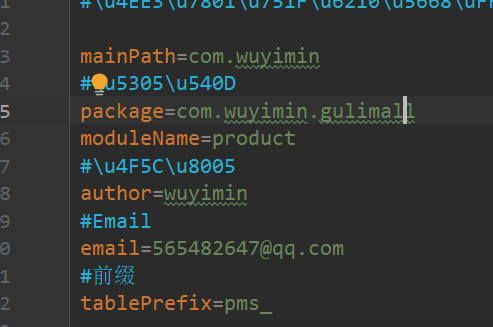
运行代码生成器,全选后生成代码
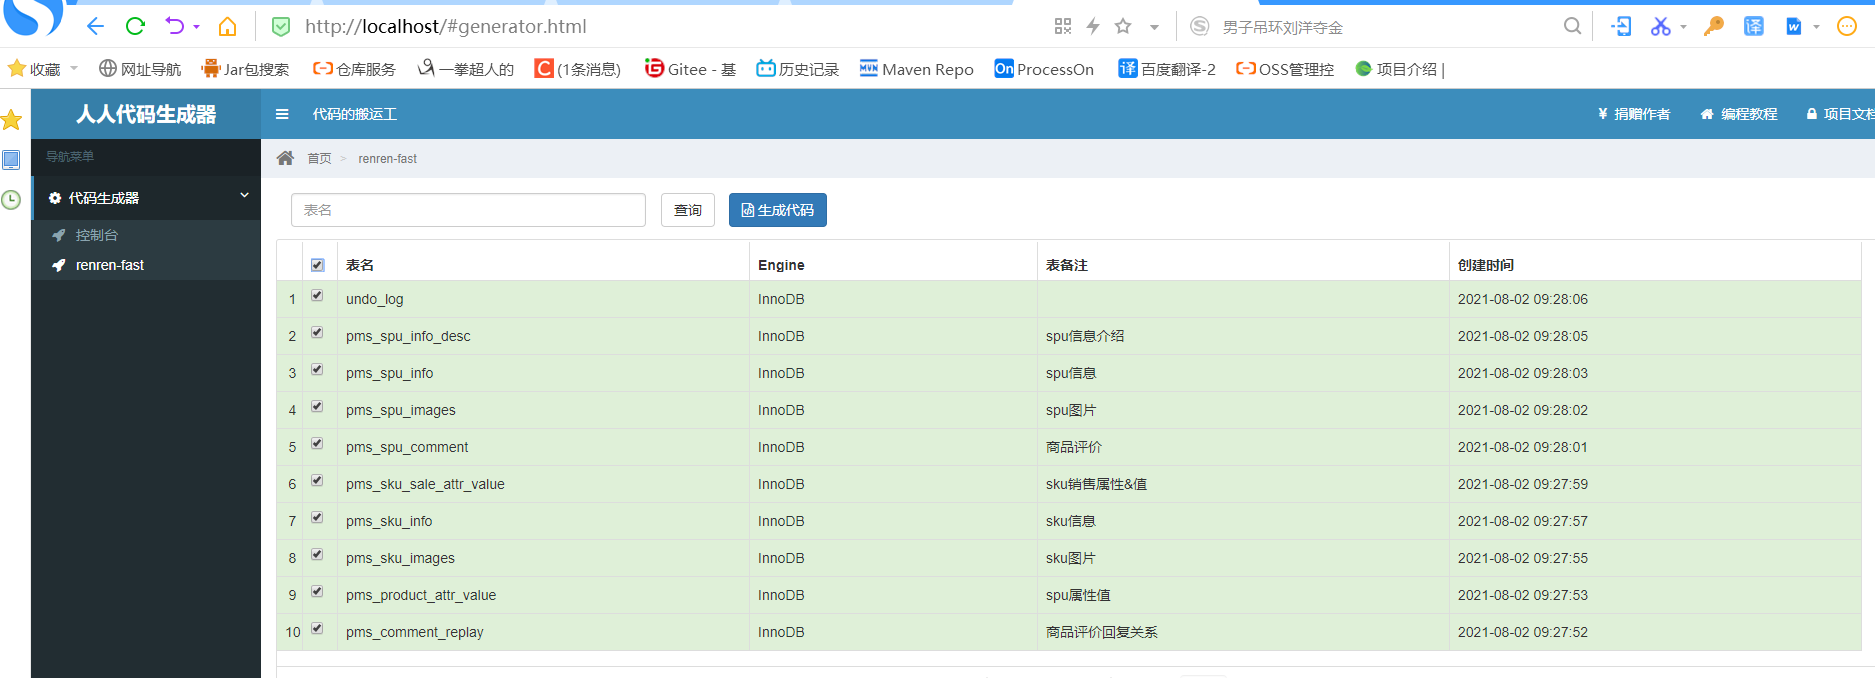
使用生成的main文件夹替代product里的main文件夹,导入进来之后报很多错,基本就是因为包和依赖没有,所以我们建立一个模块来专门应付包
4.建立common模块--它是一个maven项目(如果这里引入模块失败可以尝试install总项目)
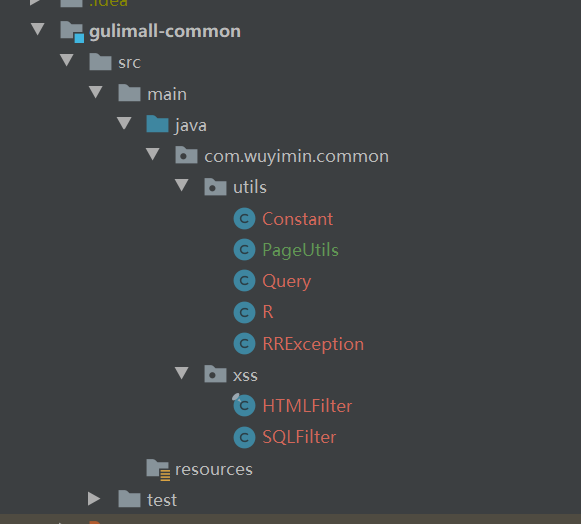
从renrenfast里复制两个公共类
让所有模块都依赖guli-common这个模块
<dependency>
                <groupId>com.wuyimin.gulimall</groupId>
                <artifactId>gulimall-common</artifactId>
                <version>0.0.1-SNAPSHOT</version>
            </dependency>
common模块结构,所有的类都是从renren-fast项目里粘贴过来的
pom文件
<?xml version="1.0" encoding="UTF-8"?>
<project xmlns="http://maven.apache.org/POM/4.0.0"
         xmlns:xsi="http://www.w3.org/2001/XMLSchema-instance"
         xsi:schemaLocation="http://maven.apache.org/POM/4.0.0 http://maven.apache.org/xsd/maven-4.0.0.xsd">
    <parent>
        <artifactId>gulimall</artifactId>
        <groupId>com.wuyimin.gulimall</groupId>
        <version>0.0.1-SNAPSHOT</version>
    </parent>
    <modelVersion>4.0.0</modelVersion>

    <artifactId>gulimall-common</artifactId>
    <description>bean,工具类,依赖</description>
    <dependencies>
        <dependency>
            <groupId>com.baomidou</groupId>
            <artifactId>mybatis-plus-boot-starter</artifactId>
            <version>3.3.1</version>
        </dependency>
        <dependency>
            <groupId>org.projectlombok</groupId>
            <artifactId>lombok</artifactId>
            <version>1.18.20</version>
        </dependency>
        <dependency>
            <groupId>org.apache.httpcomponents</groupId>
            <artifactId>httpcore</artifactId>
            <version>4.4.12</version>
        </dependency>
<!--数据库驱动-->
        <dependency>
            <groupId>mysql</groupId>
            <artifactId>mysql-connector-java</artifactId>
            <version>8.0.17</version>
        </dependency>
<!-- provided表示目标环境已经存在,打包就不用这个了-->
        <dependency>
            <groupId>javax.servlet</groupId>
            <artifactId>servlet-api</artifactId>
            <version>2.5</version>
            <scope>provided</scope>
        </dependency>
        <dependency>
        <groupId>commons-lang</groupId>
        <artifactId>commons-lang</artifactId>
        <version>2.6</version>
    </dependency>
    </dependencies>
</project>
这个项目使用springsecurity来做安全控制,所以有关shiro的东西我们要在模板注释掉
5.模板注释

注释掉所有的@RequiresPermissions注解和包引用的内容
6.重启逆向工程
用重新生成的controller代码替换掉原来的
7.在product项目中配置mybatisplus
新建yml文件
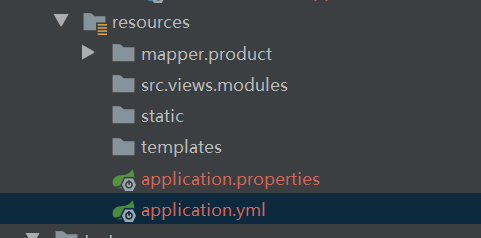
classpath 和 classpath* 区别:
classpath:只会到你的class路径中查找找文件;
classpath*:不仅包含class路径,还包括jar文件中(class路径)进行查找
classpath*的使用:当项目中有多个classpath路径,并同时加载多个classpath路径下(此种情况多数不会遇到)的文件,*就发挥了作用,如果不加*,则表示仅仅加载第一个classpath路径。
spring:
  datasource:
    username: root
    password: root
    url: jdbc:mysql://192.168.116.128:3306/gulimall_pms
    driver-class-name: com.mysql.jdbc.Driver

# MapperScan
# sql映射文件位置,配置主键自增
mybatis-plus:
  mapper-locations: classpath:/mapper/**/*.xml
  global-config:
    db-config:
      id-type: auto
测试一下

@SpringBootTest
class GulimallProductApplicationTests {

    @Autowired
    BrandService brandService;
    @Test
    void contextLoads() {
        BrandEntity entity = new BrandEntity();
        entity.setName("华为");
        brandService.save(entity);
        System.out.println("保存成功");
    }

}
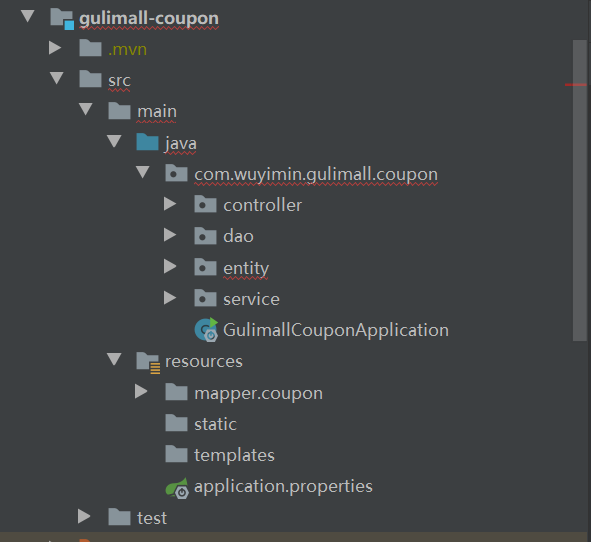
8.接下来就是为其他所有服务生成增删改查代码了
给每个文件配置端口
Coupon-sms(7000) Member-ums(8000) order-mos(9000)product-pms(10000) ware-wms(11000)
更改相关信息

生成代码并且粘贴
从pom中引入common模块后install一下项目,配置文件进行测试
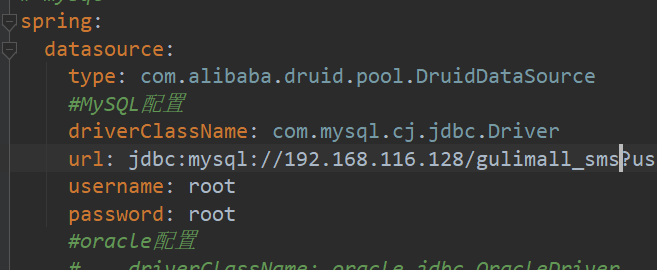
spring:
  datasource:
    username: root
    password: root
    url: jdbc:mysql://192.168.116.128:3306/gulimall_sms
    driver-class-name: com.mysql.jdbc.Driver

# MapperScan
# sql映射文件位置
mybatis-plus:
  mapper-locations: classpath:/mapper/**/*.xml
  global-config:
    db-config:
      id-type: auto
也可以开启端口直接测试
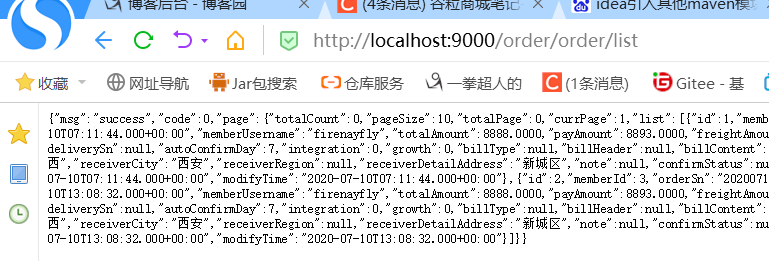
给出一个配置文件的具体信息
spring:
  datasource:
    username: root
    password: root
    url: jdbc:mysql://192.168.116.128:3306/gulimall_oms
    driver-class-name: com.mysql.jdbc.Driver

# MapperScan
# sql映射文件位置
mybatis-plus:
  mapper-locations: classpath:/mapper/**/*.xml
  global-config:
    db-config:
      id-type: auto
server:
  port: 9000
至此所有项目的crud都搭建好了

