

springboot学习笔记:1、helloworld
《springboot学习笔记:1、helloworld》---五步搞定SpringBoot的helloworld
注:开发工具使用的是 intellij IDEA
1、启动IDEA、新建一个maven项目:
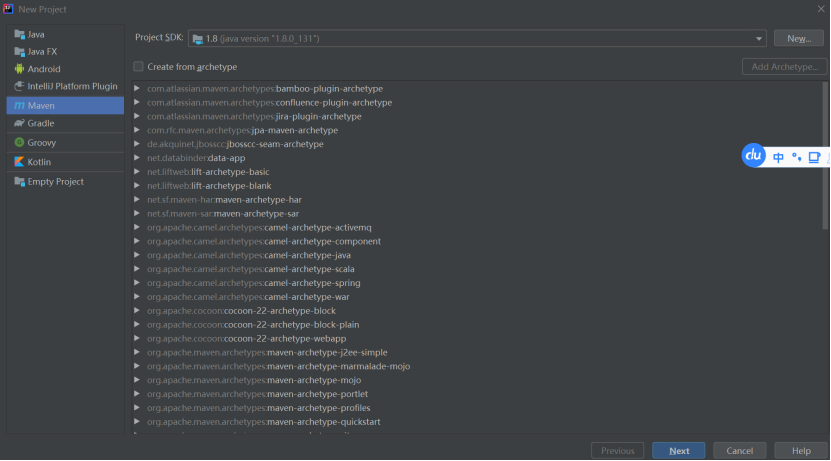
下一步即可。
2、输入如下项目基本信息:
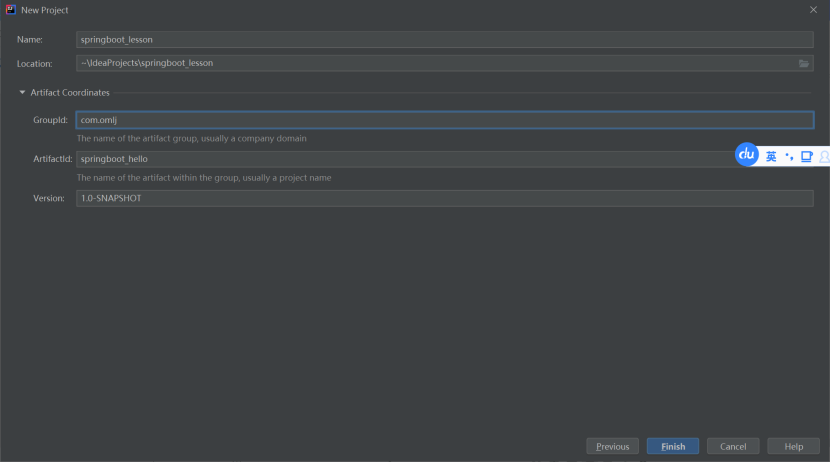
然后finish,Maven项目创建完成。
3、配置springboot的pom.xml
pom.xml文件新增如下黄色标识部分:
<?xml version="1.0" encoding="UTF-8"?>
<project xmlns="http://maven.apache.org/POM/4.0.0"
xmlns:xsi="http://www.w3.org/2001/XMLSchema-instance"
xsi:schemaLocation="http://maven.apache.org/POM/4.0.0 http://maven.apache.org/xsd/maven-4.0.0.xsd">
<modelVersion>4.0.0</modelVersion>
<groupId>com.omlj</groupId>
<artifactId>springboot_hello</artifactId>
<version>1.0-SNAPSHOT</version>
<parent>
<groupId>org.springframework.boot</groupId>
<artifactId>spring-boot-starter-parent</artifactId>
<version>1.5.2.RELEASE</version>
</parent>
<dependencies>
<dependency>
<groupId>org.springframework.boot</groupId>
<artifactId>spring-boot-starter-web</artifactId>
</dependency>
</dependencies>
<build>
<plugins>
<plugin>
<groupId>org.springframework.boot</groupId>
<artifactId>spring-boot-maven-plugin</artifactId>
</plugin>
</plugins>
</build>
</project>
然后将显示如下效果:
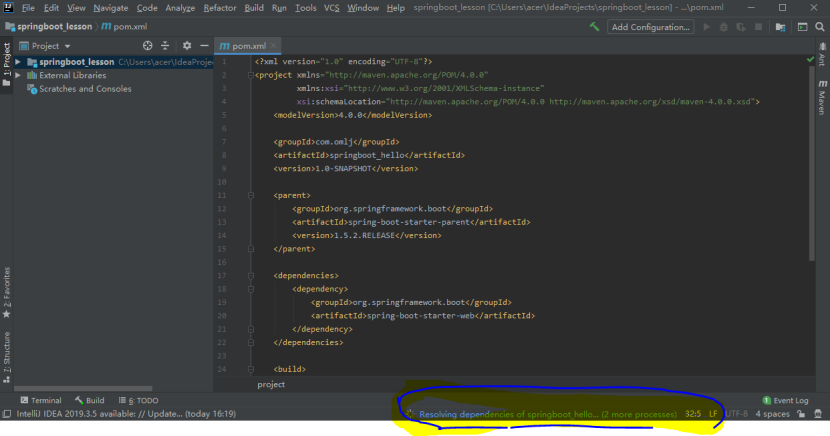
如上标识所示:pom.xml修改后,将会自动下载相关jar文件。然后要耐心等待下载完成!
4、新建controller类(springboot的helloworld):
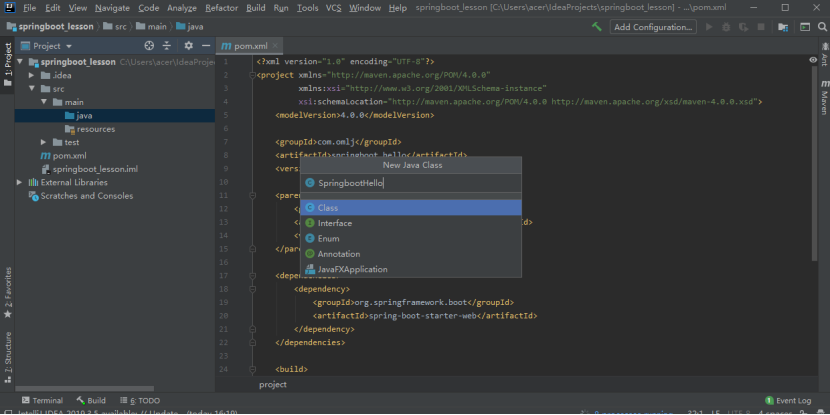
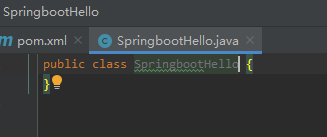
然后添加controller相关注解,结果如下:
@Controller
public class SpringbootHello {
@ResponseBody
@RequestMapping("/hello")
public String hello() {
return "Hello World...";
}
}
5、新建一个启动类:
package impl;
import org.springframework.boot.SpringApplication;
import org.springframework.boot.autoconfigure.SpringBootApplication;
@SpringBootApplication
public class SpringbootMainApplication {
public static void main(String[] args){
SpringApplication.run(SpringbootMainApplication.class,args);//Springboot应用将启动、并自动监听8080端口。
}
}
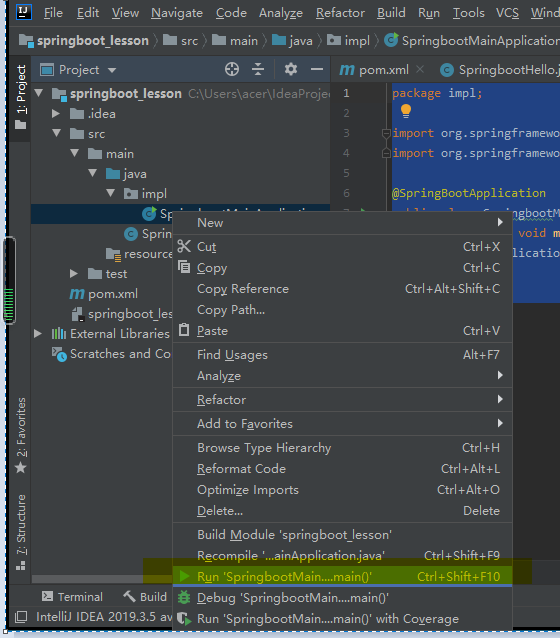
6、启动工程、验证:
启动服务:右键->run SpringbootMainApplication 类:
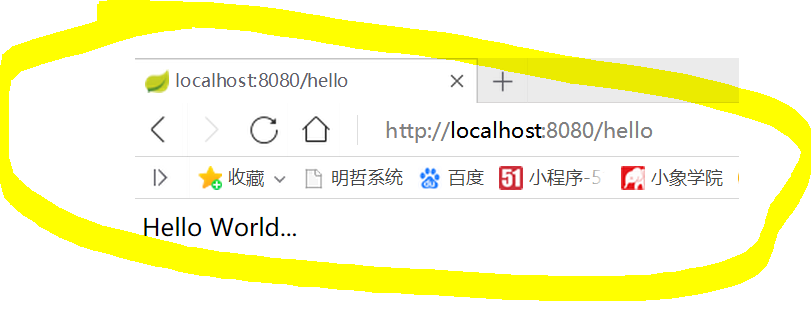
启动之后,在浏览器、键入访问地址:http://localhost:8080/hello
成功的样纸,显示如下:
附1:全局配置文件
- Spring Boot项目使用一个全局的配置文件application.properties或者是application.yml,在resources目录下或者类路径下的/config下,一般我们放到resources下。
- 修改端口,匹配规则
- Server.port=8081
- Server.servlet-path=*.html
附2:自动配置静态资源
- Server.port=8081
- Server.servlet-path=*.html
- #设置日志级别
- Logging.level.org.springframework=DEBUG
- #静态资源
- Spring.resources.static-loctions=classpath:/META-INF/resources/,class
附9、常见问题与解决对策之经验积累:
0、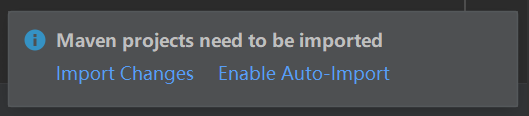
解决对策: 点击Enable Auto-Import,以后更改pom文件后就会自动下载依赖包了 !!!
1、Element 'xxx' cannot have character[children] 错误
解决方法:通常遇到这种问题,都是因为你的代码从别的地方复制过来,导致有空格和中英文的错误,重新手敲一遍就好了。
2、cannot resolve symbol ‘controller’,如下图所示:
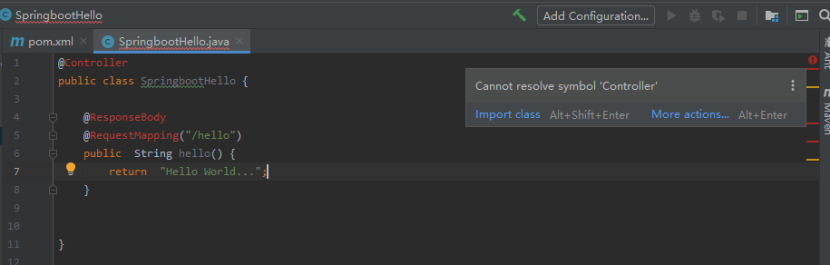
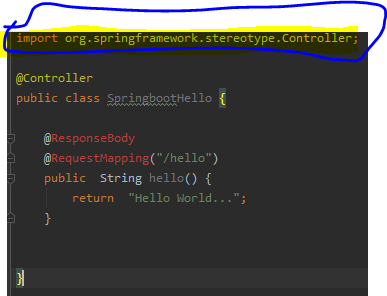
解决方法:点击上图中的 import class。即可。成功的样纸显示如下:
3、浏览器http://localhost:8080/hello验证时,如果出现如下404问题:
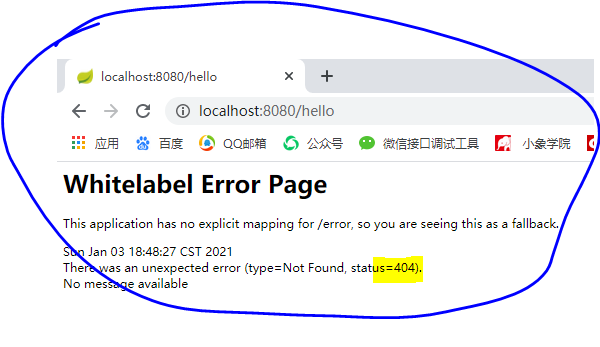
则说明:请求没有找到对应的处理类。
- 其中可能的解决对策1是:
controller类与application启动类:没有放在同一个目录下!(放其他目录也可以、但需要配置)
- 其中可能的解决对策2是:
没有重启applicationMain服务!
