
windows10搭建atxserver2 移动设备管理平台
windows10搭建atxserver2 移动设备管理平台
作者在atx-server的基础上 重新采用了Python3+NodeJS+RethinkDB 开发了atx-server2,atx-server2的架构图如下所示:
最全面的安装部署还是来自github,源码的阅读学习,各种依赖文件等等都可以在上面找到 https://github.com/openatx/atxserver2
下面还是介绍一下自己的安装部署过程(基于windows10)
1.安装部署rethindb
下载rethindb放在单独的文件
2.安装atxserver2
先将代码clone到本地
git clone https://github.com/openatx/atxserver2.git
进入atxserver2目录,使用如下方法安装依赖
python3 -m pip install -r requirements.txt
安装成功后,启动rethinkdb,然后使用以下方式启动:
# 启动方式,这也是最简单的启动方法
python3 main.py

# 指定认证方式
python3 main.py --auth simple # 默认是一个非常simple的认证,输入邮箱就可以
python3 main.py --auth openid # 网易内部使用
# 其他的认证方式还有待添加,非常欢迎PR

# 设置监听端口
python3 main.py --port 4000 # 默认监听的就是这个地址

# 默认支持运行在Nginx下,支持 X-Real-Ip/X-Forwarded-For
# 如果不需要可以通过 --no-xheaders 关闭该功能
启动之后,浏览器上打开 http://localhost:4000,完成登录认证之后就可以顺利的看到设备列表页了。不过目前还是空的,什么都没有。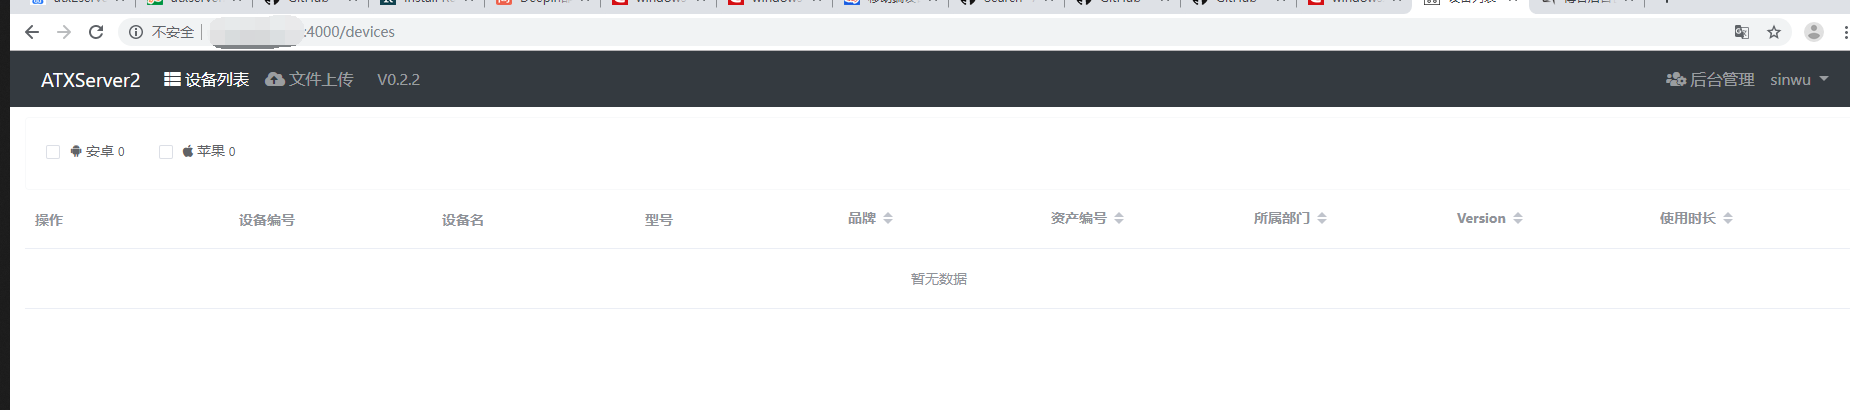
坑1
1.首先clone atxserver2代码,此时使用pip3 install requirements后执行python main.py 会提示“ [WinError 10061] 由于目标计算机积极拒绝,无法连接”
2. 解决rethinkdb的连接问题,下载windows版的rethinkdb,然后在rethinkdb.exe 目录下执行rethinkdb.exe -d data/ 即可;
3.重新执行python main.py --port 4000即可
3.接入安卓设备
接入Android设备,需要用到另一个项目 atxserver2-android-provider
因为平台是windows10,所以我们使用源码部署。项目依赖:Python3.6+、NodeJS、Git-LFS
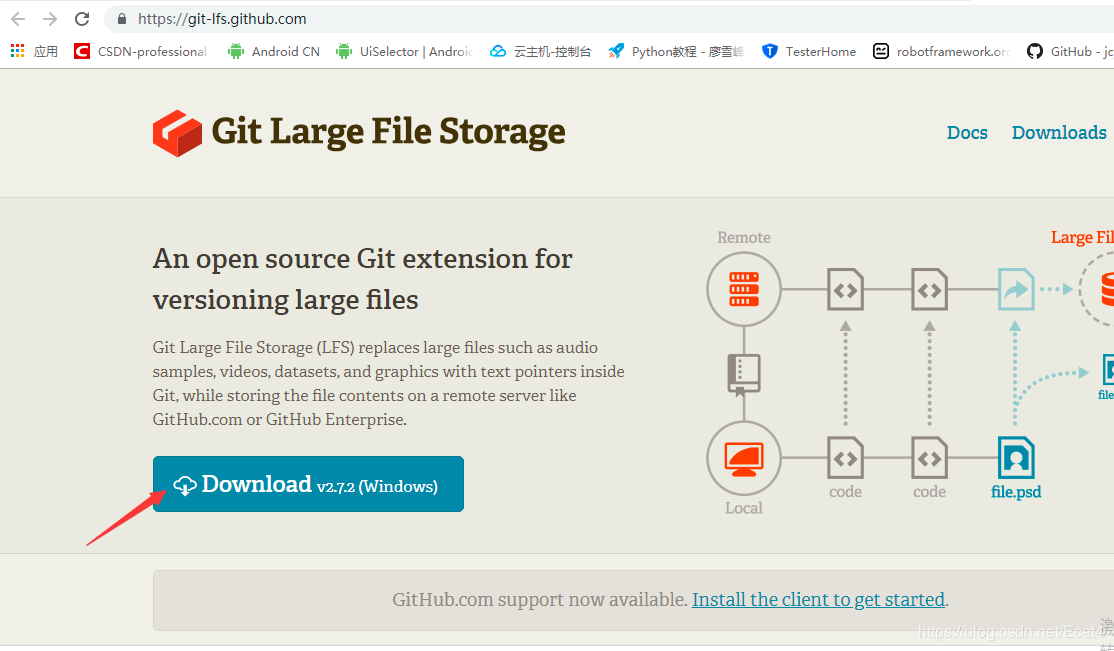
首先安装Git-LFS
进入 https://git-lfs.github.com/ 手动下载并安装
然后将源码clone 到本地后,依次执行以下命令
git clone https://github.com/openatx/atxserver2-android-provider.git

cd atxserver2-android-provider
git lfs install
git lfs push
坑1,注意!!!
若git clone不下来只能自己去github上手动下压缩包,解压即可
坑2,注意!!!
E:\atxserver2-android-provider-master> git lfs install
Error: Failed to call git rev-parse --git-dir --show-toplevel: "fatal: not a git repository (or any of the parent directories): .git\n"
Git LFS initialized.
出错原因:要上传的目录没有初始化;
解决办法:git init 再 git lfs install------------> 用于解决 github 不能上传100M文件的限制
坑3,注意!!!
git lfs push如果报错,就手动去 https://github.com/openatx/atxserver2-android-provider/tree/master/vendor 中将所有apk文件以及zip包手动下载下来并放入
执行成功后,直接在 atxserver2-android-provider目录安装依赖,然后直接启动
E:\atxserver2-android-provider-master> python3 -m pip install -r requirements.txt

# 启动,需要指定atxserver2的地址, 假设地址为 http://localhost:4000
python3 main.py --server localhost:4000
坑4,注意!!!
装好后,鼠标不能进行界面的操作,大概率是uiautomator2版本过低,按照以下命令更新即可
# 首先运行下行代码
pip install --pre -U uiautomator2
# 然后推送到已经连接的设备,只需要运行一遍即可
python -m uiautomator2 init
注意:需要安装
Node.js npm 否则报错 下载地址:https://nodejs.org/en/download/
启动流程是 rethinkdb -- atxserver2 -- atxserver2-android-provider
下面连接是我搭建好的平台文件,里面有完整的流程说明,预计搭建时间是5分钟
https://pan.baidu.com/s/1rT6g-bQcq60BNXvl8L2ozA
