Openmeetings6.3.0版本部署、安装与配置(二)之安装SSL证书和coturn穿透服务器
一、创建SSL Let ' s Encrypt证书
1)安装certbot,需要构建证书:
sudo apt install certbot
2)给域名创建证书。
需要注意几点:
1.此域名可以解析到公网IP;
2.此域名对应的服务器的80、443端口没有被使用
sudo certbot certonly --standalone -d 你的域名
# You will be asked for an admin email address. Put a real one to get you keep you informed about
certificates:
Installation succeeded.
Saving debug log to /var/log/letsencrypt/letsencrypt.log
Plugins selected: Authenticator standalone, Installer None
Enter email address (used for urgent renewal and security notices) (Enter 'c' to
cancel): ...填写你的邮箱后按Enter
# Ask if you agree:
- - - - - - - - - - - - - - - - - - - - - - - - - - - - - - - - - - - - - - - -
Please read the Terms of Service at
https://letsencrypt.org/documents/LE-SA-v1.2-November-15-2017.pdf. You must
agree in order to register with the ACME server at
https://acme-v02.api.letsencrypt.org/directory
- - - - - - - - - - - - - - - - - - - - - - - - - - - - - - - - - - - - - - - -
(A)gree/(C)ancel:...输入A后按Enter
# Ask if you want to share your email address:
- - - - - - - - - - - - - - - - - - - - - - - - - - - - - - - - - - - - - - - -
Would you be willing to share your email address with the Electronic Frontier
Foundation, a founding partner of the Let's Encrypt project and the non-profit
organization that develops Certbot? We'd like to send you email about our work
encrypting the web, EFF news, campaigns, and ways to support digital freedom.
- - - - - - - - - - - - - - - - - - - - - - - - - - - - - - - - - - - - - - - -
(Y)es/(N)o: ...输入Y后按Enter
when you finish making the certificates successfully, it will show the following:
Pag 2
IMPORTANT NOTES:
- Congratulations! Your certificate and chain have been saved at:
/etc/letsencrypt/live/your_domain/fullchain.pem
Your key file has been saved at:
/etc/letsencrypt/live/your_domain/privkey.pem
Your cert will expire on 2020-06-24. To obtain a new or tweaked
version of this certificate in the future, simply run
letsencrypt-auto again. To non-interactively renew *all* of your
certificates, run "letsencrypt-auto renew"
- If you like Certbot, please consider supporting our work by:
Donating to ISRG / Let's Encrypt: https://letsencrypt.org/donate
Donating to EFF: https://eff.org/donate-le
3)检查生成的证书
在此目录下会有一个和你的域名相同的子目录
ll /etc/letsencrypt/live:
4)更新证书,因为此证书的有效期为90天,此步骤在证书到期时使用,首次创建证书时不用执行
更新证书:
sudo certbot renew
5)为openmeetings服务配置SSL证书
其中example.com替换为为你自己的域名,samplePassword替换为你要设置的密码,可以是123456等这种密码。
安装openssl:
sudo apt install openssl

执行下面的命令:
sudo openssl pkcs12 -export -out /tmp/example.com_fullchain_and_key.p12 -in /etc/letsencrypt/live/example.com/fullchain.pem -inkey /etc/letsencrypt/live/example.com/privkey.pem -name tomcat

执行下面的命令:
sudo keytool -importkeystore -deststorepass samplePassword -destkeypass samplePassword -destkeystore /tmp/example.com.jks -srckeystore /tmp/example.com_fullchain_and_key.p12 -srcstoretype PKCS12 -srcstorepass samplePassword -alias tomcat

复制证书到openmeetings配置文件下:
sudo cp /tmp/example.com.jks /opt/open630/conf

编辑openmeetings配置文件:
sudo vim  /opt/open630/conf/server.xml

<Connector port="5443" protocol="org.apache.coyote.http11.Http11NioProtocol"
 maxThreads="150" SSLEnabled="true">
 <SSLHostConfig>
 <Certificate certificateKeystoreFile="conf/localhost.jks"
 certificateKeystorePassword="openmeetings"
 certificateKeystoreType="JKS"
 certificateVerification="false"
 sslProtocol="TLS"
 type="RSA" />
 </SSLHostConfig>
...将上面的配置改为下面的配置
<Connector port="5443" protocol="org.apache.coyote.http11.Http11NioProtocol"
 maxThreads="150" SSLEnabled="true">
 <SSLHostConfig>
 <Certificate certificateKeystoreFile="conf/example.com.jks"
 certificateKeystorePassword="samplePassword"
 certificateKeystoreType="JKS"
 certificateVerification="false"
 sslProtocol="TLS"
 type="RSA" />
 </SSLHostConfig
二、安装Coturn
1)安装
设置源:
sudo add-apt-repository ppa:ubuntuhandbook1/coturn
sudo apt update
安装:
sudo apt install coturn
修改配置,将下面的配置的注释打开:
sudo vim /etc/default/coturn
...and we uncomment the line:
#TURNSERVER_ENABLED=1
….leaving it like this:
TURNSERVER_ENABLED=1
2)设置Turn server
创建日志目录:
sudo mkdir -p /var/log/turnserver

生成一个32位随机密码:
sudo openssl rand -hex 32

bdf268a79ab66f1666edc3c7b51ec1396e5894802fb6b41df99c1d858f5cddf6

编辑配置:
sudo vim /etc/turnserver.conf
use-auth-secret
static-auth-secret=生成的32位密码
(on the above line put the long password we just saved in a text file)
realm=your_real_domain ...change company.org to your real domain
stale-nonce=0 ...change 600 to 0 (zero)
log-file=/var/log/turnserver/turnserver.log
3)设置OpenMeetings 6.3.0 的Kurento media server的配置
编辑配置:
sudo vim /opt/open630/webapps/openmeetings/WEB-INF/classes/openmeetings.properties

#### Kurento ###
kurento.turn.url=
kurento.turn.user=
kurento.turn.secret=
...改为
kurento.turn.url=公网IP:3478
kurento.turn.user=
kurento.turn.secret=生成的32位密码
4)重启服务
Restart coturn:
sudo /etc/init.d/coturn restart
Restart Kurento:
sudo docker restart kms
Tomcat-OpenMeetings:
sudo /etc/init.d/tomcat34 restart
5)云主机需要给公网开放相关端口
3478 TCP-UDP IN
5443 TCP IN
8888 TCP IN
49152:65535 UDP IN-OUT
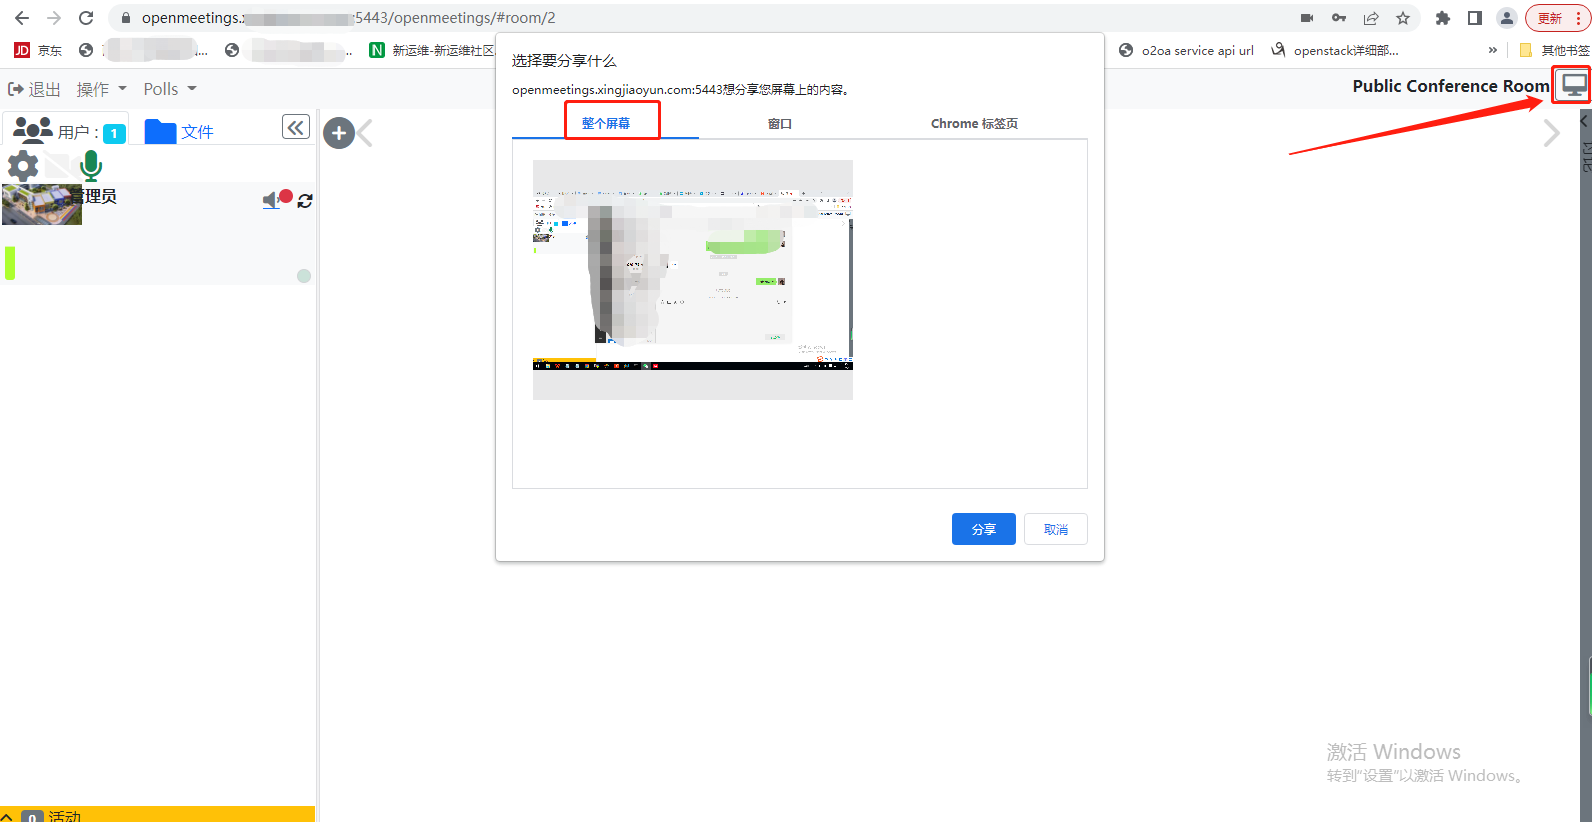
总结:因为云厂商安全等级的原因。如果不部署Coturn穿透服务,就算在云主机上部署了openmeetings的服务,是无法使用共享屏幕功能的。


