Spring in action读书笔记(二) Spring Profile注解应用 ----- 根据不同环境(如开发环境、测试环境)装配bean
依赖的jar包
        <dependency>
            <groupId>org.springframework</groupId>
            <artifactId>spring-context</artifactId>
            <version>5.1.9.RELEASE</version>
        </dependency>
        <dependency>
            <groupId>org.springframework</groupId>
            <artifactId>spring-test</artifactId>
            <version>5.1.9.RELEASE</version>
        </dependency>
        <dependency>
            <groupId>junit</groupId>
            <artifactId>junit</artifactId>
            <version>4.12</version>
        </dependency>
1、 profile设置
像某些配置,如数据库连接,可能需要根据开发环境和生产环境选择对应的配置文件,这时可使
用Spring profile功能:根据不同的环境加载不同的配置文件,创建对应的bean。
这个定义一个环境类MyEnvironment.java
package profile;

public class MyEnvironment {

    private String name;

    public MyEnvironment(String name) {
        this.name = name;
    }

    public String getName() {
        return name;
    }

    public void setName(String name) {
        this.name = name;
    }

    @Override
    public String toString() {
        return "MyEnvironment{" +
                "name='" + name + '\'' +
                '}';
    }
}
创建类DevelopmentConfig.java, 配置开发环境, profile值为dev
package profile;

import org.springframework.context.annotation.Bean;
import org.springframework.context.annotation.Configuration;
import org.springframework.context.annotation.Profile;

@Configuration
@Profile("dev")
public class DevelopmentConfig {

    @Bean
    public MyEnvironment getEnvironment() {
        return new MyEnvironment("dev");
    }

}
创建ProductConfig.java, 配置生产环境, profile值为prod
package profile;

import org.springframework.context.annotation.Bean;
import org.springframework.context.annotation.Configuration;
import org.springframework.context.annotation.Profile;

@Configuration
@Profile("prod")
public class ProductConfig {

    @Bean
    public MyEnvironment getEnvironment() {
        return new MyEnvironment("prod");
    }

}
Spring 3.1 版本及以前只能在类级别使用@Profile注解,从Spring 3.2开始, 可以在方法级别上使用@Profile注解,@Bean注解一同使用,
这样可以将两个bean的声明放到同一个配置类中
package profile;

import org.springframework.context.annotation.Bean;
import org.springframework.context.annotation.Configuration;
import org.springframework.context.annotation.Profile;

@Configuration
public class MyEnvironmentConfig {

    @Bean
    @Profile("dev")
    public MyEnvironment getEnvironment1() {
        return new MyEnvironment("dev");
    }

    @Bean
    @Profile("prod")
    public MyEnvironment getEnvironment2() {
        return new MyEnvironment("prod");
    }
}
2、 profile激活
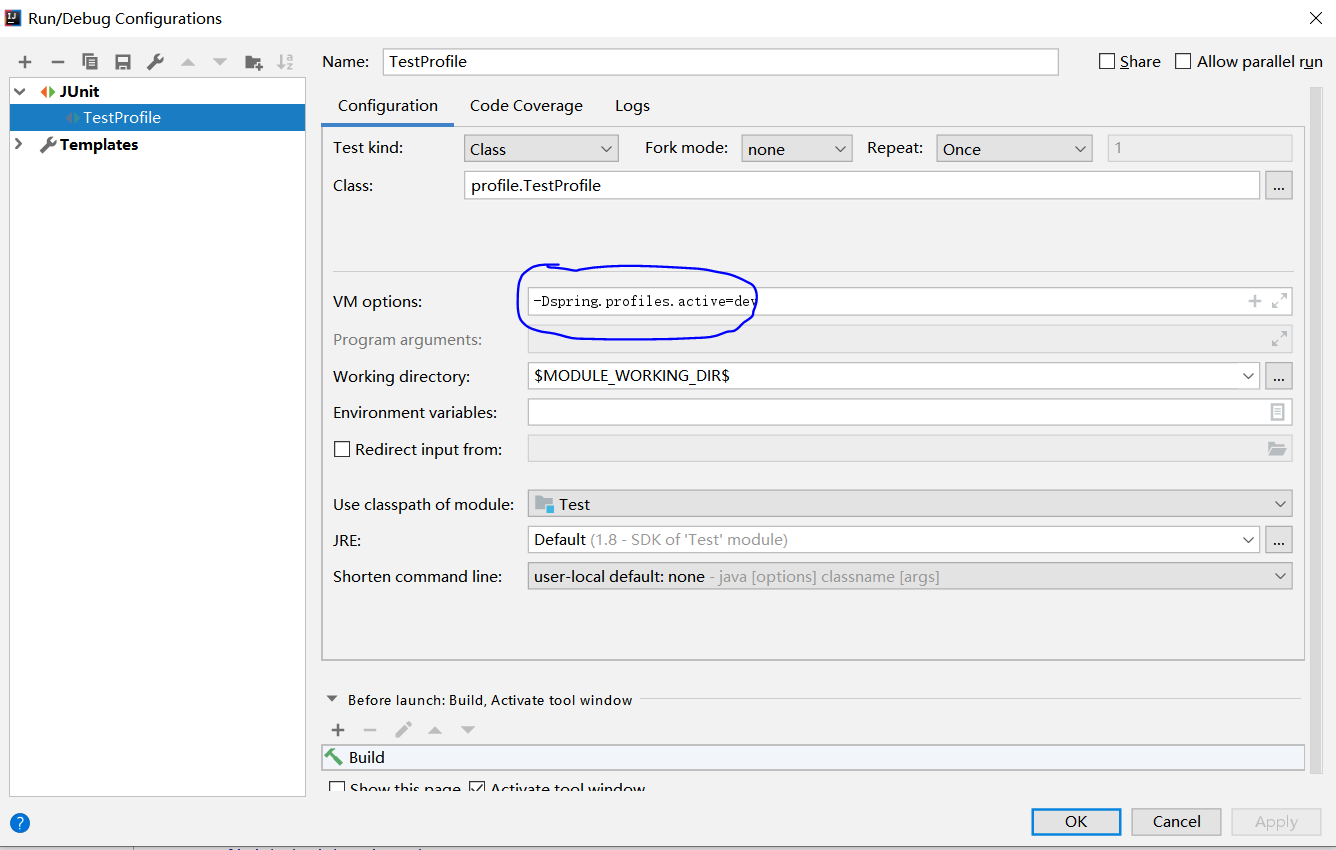
Spring在确定那个profile处于激活状态时,需要依赖两个独立的属性: spring.profiles.active 和 spring.profiles.default, spring.profile.active优先级最高, spring.profiles.default次之
有多重方式设置这两个属性:
(1)作为DispatcherServlet的初始化参数
(2) 作为Web应用的上下文参数
在web.xml中设置上下文默认的profile
<context-param>
  <param-name>spring.profiles.default</param-name>
  <param-value>dev</param-value>
</context-param>
(3) 作为JNDI条目
(4) 作为环境变量;
(5) 作为JVM的系统属性

(6) 在测试类中使用@ActivieProfiles注解设置
@ContextConfiguration(classes = {DevelopmentConfig.class, ProductConfig.class}) 可以换成
@ContextConfiguration(classes = {MyEnvironmentConfig.class})
package profile;

import org.junit.Test;
import org.junit.runner.RunWith;
import org.springframework.beans.factory.annotation.Autowired;
import org.springframework.test.context.ActiveProfiles;
import org.springframework.test.context.ContextConfiguration;
import org.springframework.test.context.junit4.SpringJUnit4ClassRunner;

@RunWith(SpringJUnit4ClassRunner.class)
@ContextConfiguration(classes = {DevelopmentConfig.class, ProductConfig.class})
@ActiveProfiles("prod")
public class TestProfile {

    @Autowired
    private MyEnvironment myEnvironment;

    @Test
    public void test() {
        System.out.println(myEnvironment);
    }
}

