一、NGINX变量
nginx的配置文件中可以使用的内置变量以美元符$开始,也有人叫全局变量。其中,部分预定义的变量的值是可以改变的。
$arg_PARAMETER 这个变量值为:GET请求中变量名PARAMETER参数的值。
$args 这个变量等于GET请求中的参数。例如,foo=123&bar=blahblah;这个变量只可以被修改
$binary_remote_addr 二进制码形式的客户端地址。
$body_bytes_sent 传送页面的字节数
$content_length 请求头中的Content-length字段。
$content_type 请求头中的Content-Type字段。
$cookie_COOKIE cookie COOKIE的值。
$document_root 当前请求在root指令中指定的值。
$document_uri 与$uri相同。
$host 请求中的主机头(Host)字段,如果请求中的主机头不可用或者空,则为处理请求的server名称(处理请求的server的server_name指令的值)。值为小写,不包含端口。
$hostname  机器名使用 gethostname系统调用的值
$http_HEADER   HTTP请求头中的内容,HEADER为HTTP请求中的内容转为小写,-变为_(破折号变为下划线),例如:$http_user_agent(Uaer-Agent的值), $http_referer...;
$sent_http_HEADER  HTTP响应头中的内容,HEADER为HTTP响应中的内容转为小写,-变为_(破折号变为下划线),例如: $sent_http_cache_control, $sent_http_content_type...;
$is_args 如果$args设置,值为"?",否则为""。
$limit_rate 这个变量可以限制连接速率。
$nginx_version 当前运行的nginx版本号。
$query_string 与$args相同。
$remote_addr 客户端的IP地址。
$remote_port 客户端的端口。
$remote_user 已经经过Auth Basic Module验证的用户名。
$request_filename 当前连接请求的文件路径,由root或alias指令与URI请求生成。
$request_body 这个变量(0.7.58+)包含请求的主要信息。在使用proxy_pass或fastcgi_pass指令的location中比较有意义。
$request_body_file 客户端请求主体信息的临时文件名。
$request_completion 如果请求成功,设为"OK";如果请求未完成或者不是一系列请求中最后一部分则设为空。
$request_method 这个变量是客户端请求的动作,通常为GET或POST。
包括0.8.20及之前的版本中,这个变量总为main request中的动作,如果当前请求是一个子请求,并不使用这个当前请求的动作。
$request_uri 这个变量等于包含一些客户端请求参数的原始URI,它无法修改,请查看$uri更改或重写URI。
$scheme 所用的协议,比如http或者是https,比如rewrite ^(.+)$ $scheme://example.com$1 redirect;
$server_addr 服务器地址,在完成一次系统调用后可以确定这个值,如果要绕开系统调用,则必须在listen中指定地址并且使用bind参数。
$server_name 服务器名称。
$server_port 请求到达服务器的端口号。
$server_protocol 请求使用的协议,通常是HTTP/1.0或HTTP/1.1。
$uri 请求中的当前URI(不带请求参数,参数位于$args),不同于浏览器传递的$request_uri的值,它可以通过内部重定向,或者使用index指令进行修改。不包括协议和主机名,例如/foo/bar.html
二、设置网站请求头
2.1、编写配置文件
只允许GET类型,且是HTTP协议访问
[root@web01 ~]# vim /etc/nginx/conf.d/1.conf
server {
	listen 80;
	root /opt/wordpress;
	if ( $request_method != "GET" ) {
		return 403;
	}
	if ( $scheme != "http" ) {
		return 403;
	}
	location / {
		index index.php index.html;
	}
	location ~* \.php {
		fastcgi_pass 127.0.0.1:9000;
		fastcgi_param SCRIPT_FILENAME $document_root$fastcgi_script_name;
		include fastcgi_params;
	}
}
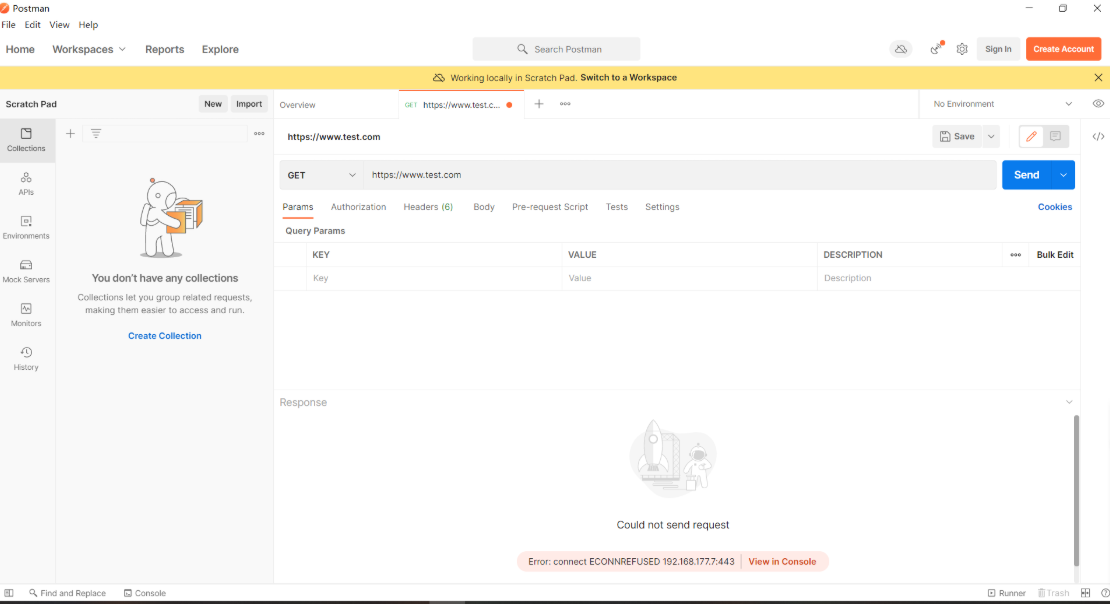
2.2、测试
#使用postman测试,如果是GET类型,HTTP协议,那么可以访问
#但如果有一个不满足条件,就访问不了
三、搭建文件共享
3.1、文件远程传输
nfs机器上创建目录
[root@nfs ~]# mkdir /data/wordpress

然后回到web01机器上远程传输文件
[root@web01 ~]# scp -r /mnt/wordpress/* root@nfs:/data/wordpress
3.2、web挂载nfs
授权
[root@nfs ~]# chown -R www.www /data/wordpress/

配置nfs
[root@nfs ~]# vim /etc/exports
/data/wordpress 172.16.1.0/24(rw,sync,all_squash,anonuid=666,anongid=666

nfs机器重启nfs服务
[root@nfs ~]# systemctl restart nfs-server

web01、web02、web03机器挂载nfs
[root@web01 ~]# mount -t nfs 172.16.1.31:/data/wordpress/ /mnt/wordpress/
[root@web02 ~]# mount -t nfs 172.16.1.31:/data/wordpress/ /mnt/wordpress/
[root@web03 ~]# mount -t nfs 172.16.1.31:/data/wordpress/ /mnt/wordpress/
3.3、编写web服务器nginx配置
[root@web01 ~]# vim /etc/nginx/conf.d/wordpress.conf
server {
    listen 192.168.177.7:80;

    location / {
        root /mnt/wordpress/;
        index index.html index.php;
    }
    location ~* \.php$ {
        fastcgi_pass 127.0.0.1:9000;
        fastcgi_param SCRIPT_FILENAME /mnt/wordpress/$fastcgi_script_name;
        include fastcgi_params;
    }
}


[root@web02 ~]# vim /etc/nginx/conf.d/wordpress.conf
server {
    listen 192.168.177.8:80;

    location / {
        root /mnt/wordpress/;
        index index.html index.php;
    }
    location ~* \.php$ {
        fastcgi_pass 127.0.0.1:9000;
        fastcgi_param SCRIPT_FILENAME /mnt/wordpress/$fastcgi_script_name;
        include fastcgi_params;
    }
}


# 由于web03是源码包安装,配置文件路径与web01,web02有区别
[root@web01 ~]# /usr/local/nginx/conf/conf.d/wordpress.conf
server {
    listen 192.168.177.9:80;

    location / {
        root /mnt/wordpress/;
        index index.html index.php;
    }
    location ~* \.php$ {
        fastcgi_pass 127.0.0.1:9000;
        fastcgi_param SCRIPT_FILENAME /mnt/wordpress/$fastcgi_script_name;
        include fastcgi_params;
    }
}
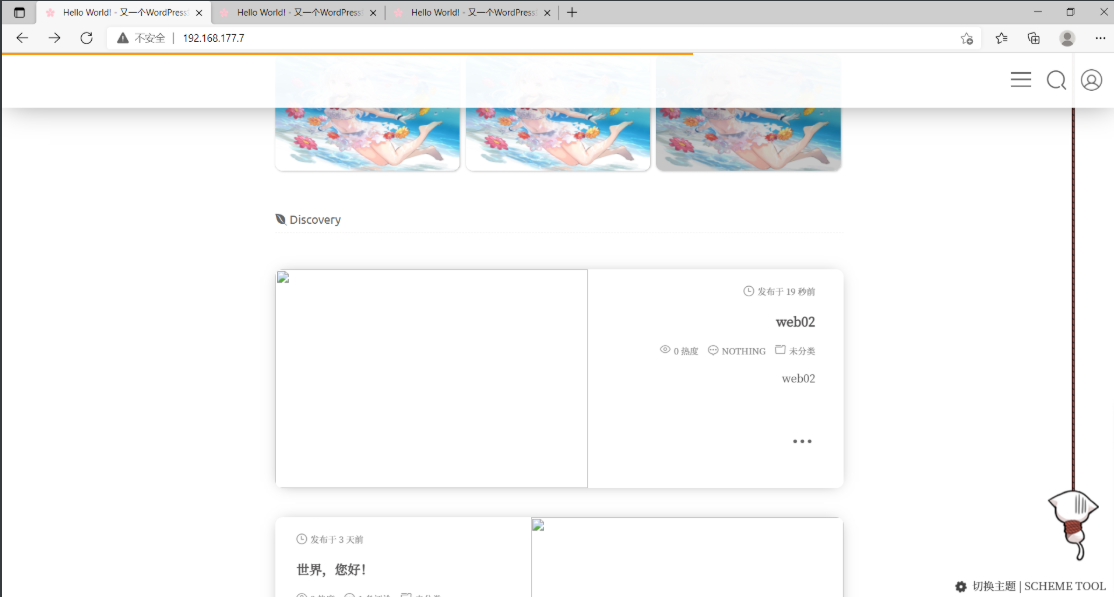
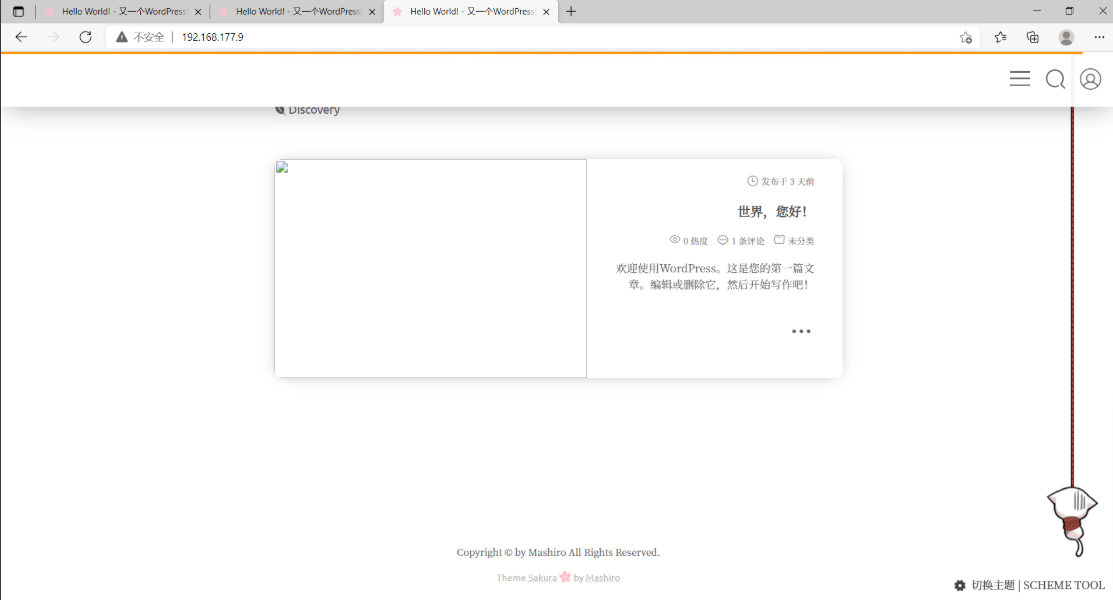
3.4、测试
分别访问192.168.177.7、192.168.177.8、192.168.177.9,并在其中一个中创建文件,查看是否可以在另两个上看到


在web02中新建一篇文章,测试是否可以在web01、web03上查看
四、负载均衡实现
4.1、代理
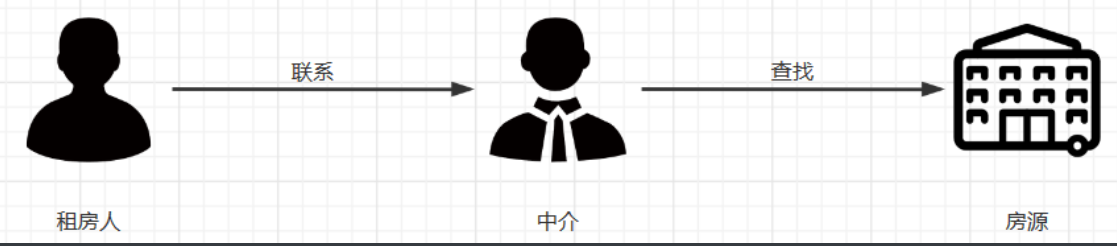
4.1.1、什么是代理
#代理一词往往并不陌生, 该服务我们常常用到如(代理理财、代理租房、代理收货等等),如下图所示
4.1.2、没有代理
#在没有代理模式的情况下,客户端和Nginx服务端,都是客户端直接请求服务端,服务端直接响应客户端。

4.1.3、有代理
#那么在互联网请求里面,为了安全客户端往往无法直接向服务端发起请求,就需要用到代理服务,来实现客户端和服务端通信,如下图所示

4.2、NGINX代理服务常见模式
4.2.1、正向代理
#正向代理,(内部上网) 客户端 <—> 代理 -> 服务端
4.2.2、反向代理
#反向代理,用于公司集群架构中,客户端 -> 代理 <—> 服务端
4.2.3、正向代理与反向代理的区别
1.区别在于形式上服务的”对象”不一样
2.正向代理代理的对象是客户端,为客户端服务
3.反向代理代理的对象是服务端,为服务端服务
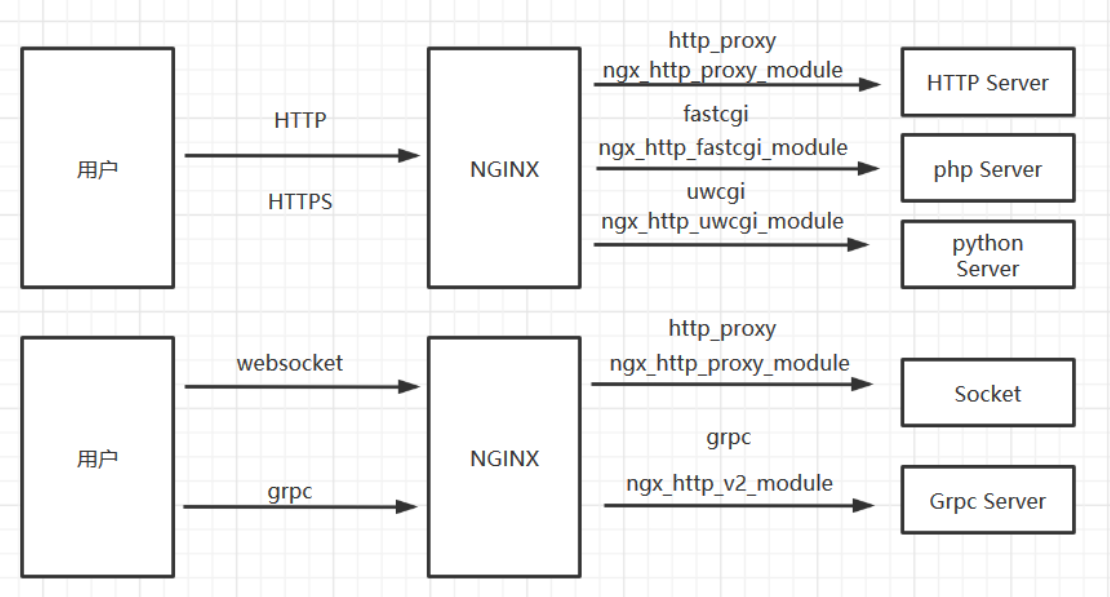
4.3、NGINX代理服务支持协议
4.3.1、支持的协议
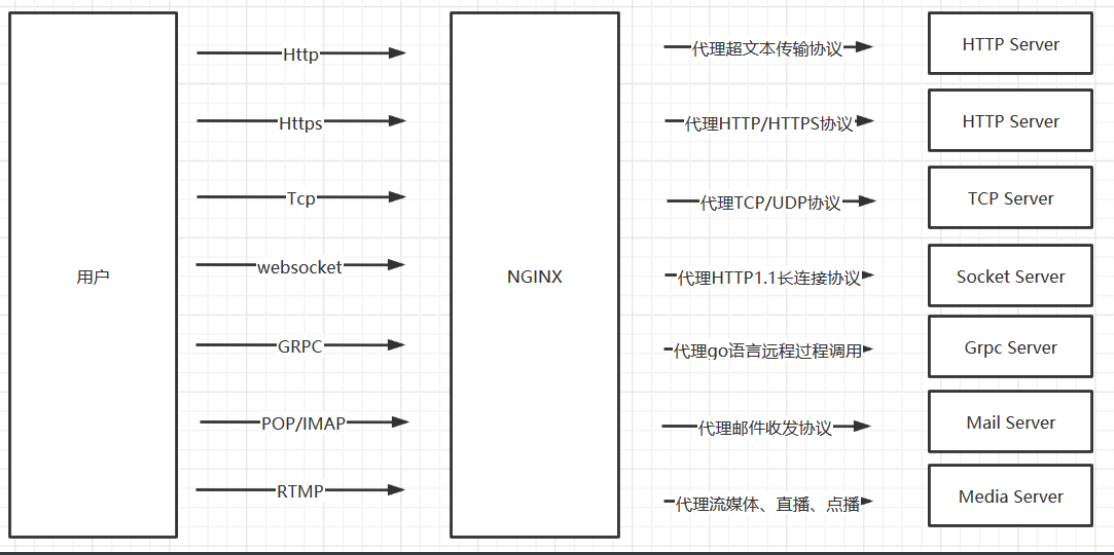
4.3.2、反向代理使用协议
4.4、NGINX代理实践
4.4.1、配置lb01
# 安装nginx
[root@lb01 ~]# yum install nginx -y

# 配置nginx文件
[root@lb01 ~]# vim /etc/nginx/nginx.conf
user nginx;
worker_processes auto;
error_log /var/log/nginx/error.log;
pid /run/nginx.pid;

# Load dynamic modules. See /usr/share/doc/nginx/README.dynamic.
include /usr/share/nginx/modules/*.conf;

events {
    worker_connections 1024;
}

http {
    log_format  main  '$remote_addr - $remote_user [$time_local] "$request" '
                      '$status $body_bytes_sent "$http_referer" '
                      '"$http_user_agent" "$http_x_forwarded_for"';

    access_log  /var/log/nginx/access.log  main;

    sendfile            on;
    tcp_nopush          on;
    tcp_nodelay         on;
    keepalive_timeout   65;
    types_hash_max_size 4096;

    include             /etc/nginx/mime.types;
    default_type        application/octet-stream;

    # Load modular configuration files from the /etc/nginx/conf.d directory.
    # See http://nginx.org/en/docs/ngx_core_module.html#include
    # for more information.
    include /etc/nginx/conf.d/*.conf;
}

# 编写lb01的配置文件
[root@lb01 ~]# vim /etc/nginx/conf.d/lb01.conf
server {
	listen 80;
	server_name wp.test.come;
	location / {
	proxy_pass http://172.16.1.7:80;
	}
}
# 启动nginx服务
[root@lb01 ~]# systemctl start nginx

# 编写Windows的hosts文件
wp.test.com 172.16.1.5
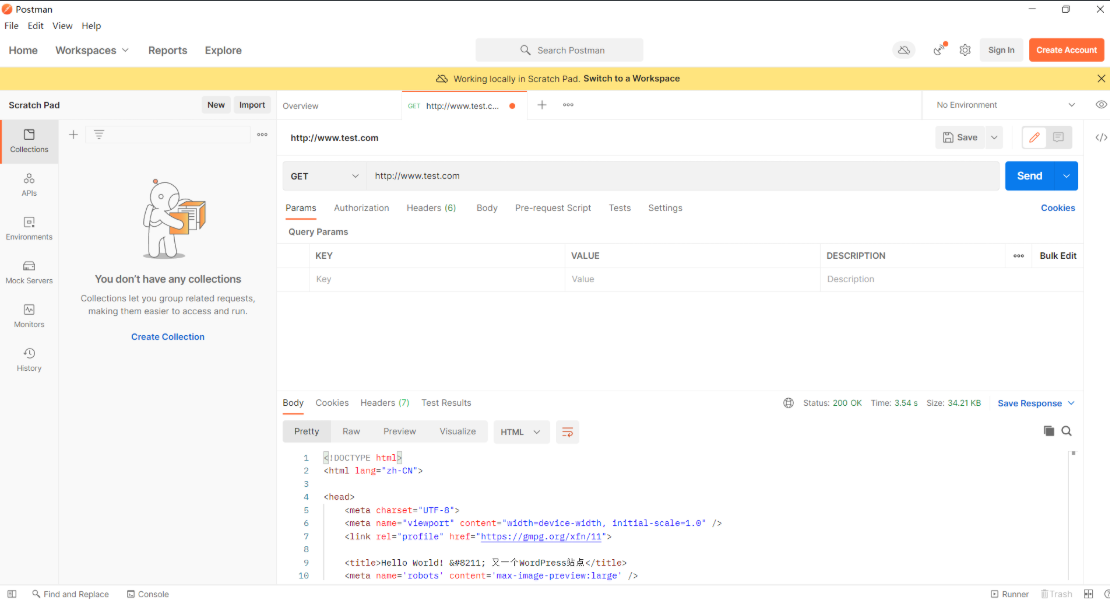
4.4.2、测试

4.5、反向代理多台服务器
4.5.1、配置lb01的配置文件
upstream : 定义一个IP连接池

[root@lb01 ~]# vim /etc/nginx/conf.d/lb01.conf
upstream web {  # 定义IP连接池名称
        server 172.16.1.7;
        server 172.16.1.8;
        server 172.16.1.9;
}
server {
        listen 80;
        server_name wp.test.come;
        location / {
        proxy_pass http://web;  # 反向代理IP连接池
        }
}

# 重启nginx服务
[root@lb01 ~]# systemctl restart nginx
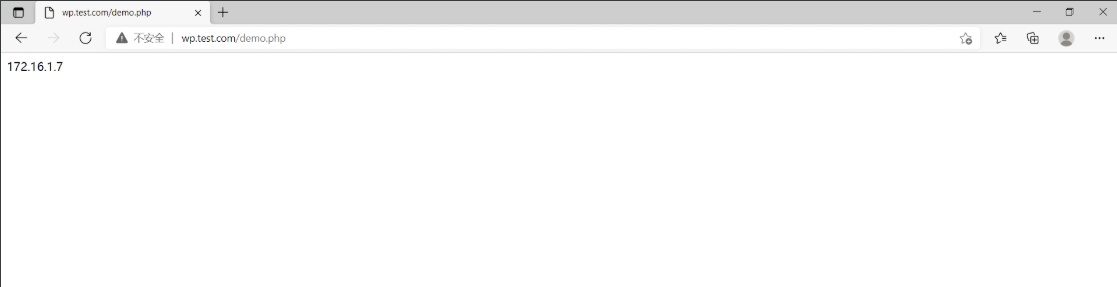
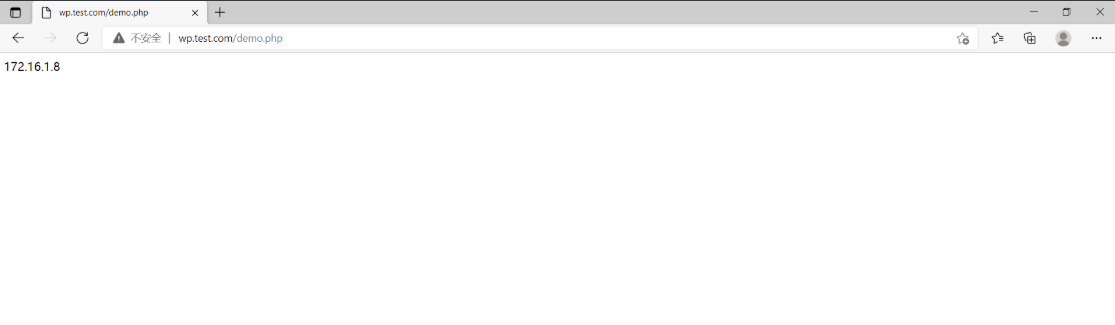
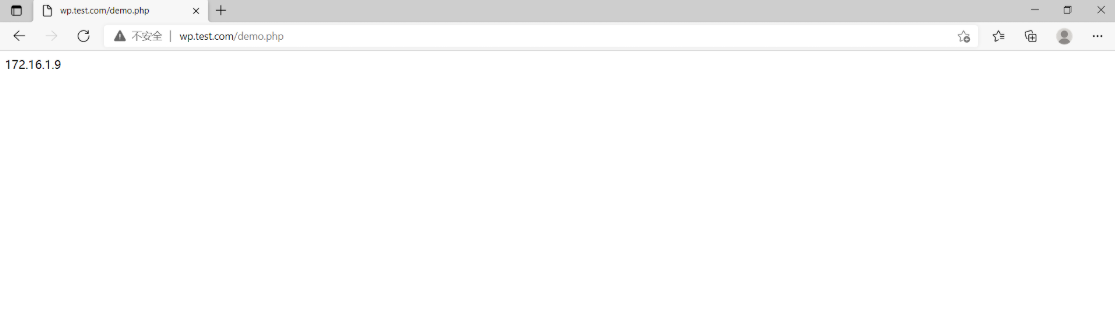
4.5.2、测试
为了可以查看我们访问的到底是web01、web02、web03,我们需要添加一个文件
[root@nfs ~]# vim /data/wordpress/demo.php
<?php
echo $_SERVER['SERVER_ADDR'];

然后访问wp.test.com/demo.php查看结果