
物联网架构成长之路(36)-Vue前端入门
1. 前言
物联网平台,需要有一个类似大屏看板的功能。
找了一圈,发现阿里已经有对应的DataV产品,但是那个价格有点贵啊。所以找了这个【http://datav.jiaminghi.com/demo/】,这看起来也是挺不错的。就是需要了解一些前端Vue。说到前端,我之前好久就想入门了。断断续续看视频,写Demo,写小程序。但都处于入门阶段。而且前端变化太快了。半年没看,就各种更新了。不过还是迟早要学的。
2. 安装环境
安装IDE,这里推荐VSCode,然后安装Vetur 插件
Google Chrome 浏览器 安装 Vue.js Devtools 一个Vue的调试工具
安装 npm
请到这里下载 https://nodejs.org/en/download/
 1 #现在npm 仓库的网络已经很不错了,如果还不行,那可以使用cnpm
 2 # 安装淘宝镜像
 3 npm install -g cnpm --registry=https://registry.npm.taobao.org
 4 #安装 vue-cli 全局安装vue-cli脚手架
 5 npm install -g vue-cli
 6 #查看是否安装成功
 7 vue -V
 8 #安装 @vue/cli-init
 9 npm install -g @vue/cli-init
10 #使用vue-cli 创建项目
11 vue init webpack projectName
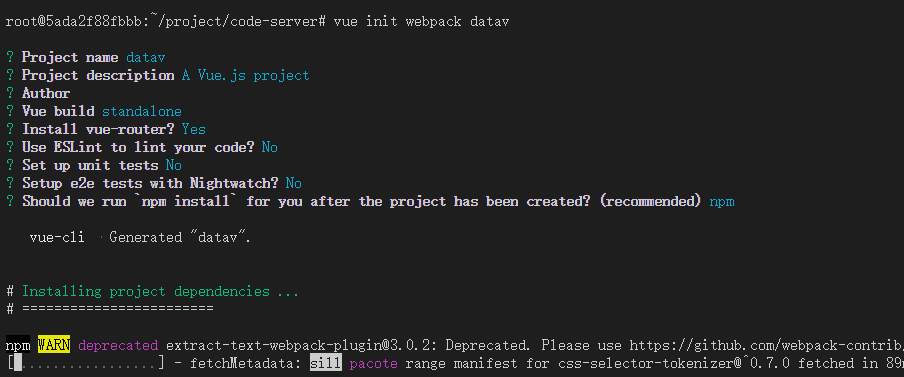
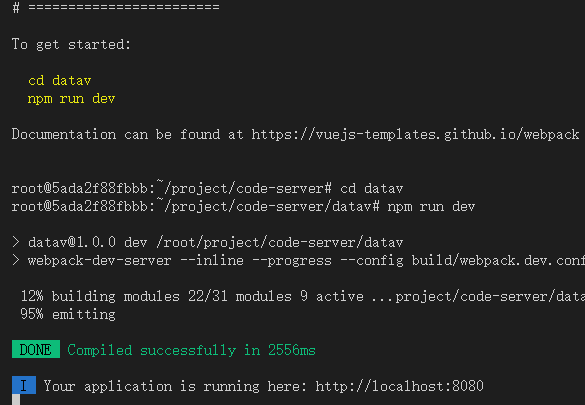
测试项目是否正常
1 cd datav
2 npm run dev
3.修改部分参数
1)修改datav/src/router/index.js 在第8行增加mode:'history'
 1 import Vue from 'vue'
 2 import Router from 'vue-router'
 3 import HelloWorld from '@/components/HelloWorld'
 4
 5 Vue.use(Router)
 6
 7 export default new Router({
 8   mode: 'history',
 9   routes: [
10     {
11       path: '/',
12       name: 'HelloWorld',
13       component: HelloWorld
14     }
15   ]
16 })
2)修改datav/config/index.js 第16行,host:'0.0.0.0'
4. 安装部分组件
1 npm install axios
2 npm install vue-axios
3 npm install @jiaminghi/data-view
4 npm install --save-dev mockjs
5 #安装依赖过程中,如果出现奇奇怪怪的问题,可以删除 node_modules 然后重新 npm install
6 npm run dev
最后在datav/package.json 文件里面的依赖为
1   "dependencies": {
2     "@jiaminghi/data-view": "^2.4.5",
3     "axios": "^0.19.0",
4     "vue": "^2.5.2",
5     "vue-axios": "^2.1.5",
6     "vue-router": "^3.0.1"
7   },
配置axios,在datav/src/main.js 文件配置axios
 1 // The Vue build version to load with the `import` command
 2 // (runtime-only or standalone) has been set in webpack.base.conf with an alias.
 3 import Vue from 'vue'
 4 import App from './App'
 5 import router from './router'
 6 import axios from 'axios'
 7 import VueAxios from 'vue-axios'
 8 import dataV from '@jiaminghi/data-view'
 9
10 require('./mock/mock.js')
11 require('./http/http.js')
12
13 Vue.use(VueAxios, axios)
14 Vue.use(dataV)
15 Vue.config.productionTip = false
16
17 /* eslint-disable no-new */
18 new Vue({
19   el: '#app',
20   router,
21   components: { App },
22   template: '<App/>'
23 })
配置mockjs
创建两个文件分别是 datav/src/http/http.js datav/src/mock/mock.js
http.js
 1 import axios from 'axios'
 2
 3 axios.defaults.headers.get['Conetnt-Type'] = 'application/json'
 4
 5 //请求拦截
 6 axios.interceptors.request.use(
 7   config =>{
 8     const token = localStorage.getItem('userToken');
 9     //Authorization: Bearer AccessToken OAuth2.0认证时,需要从浏览器存储中获取AccessToken
10     config.headers.Authorization = "Bearer " + "token";
11     return config;
12   },
13   error =>{
14     return Promise.reject(error);
15   }
16 )
17
18 //响应拦截器
19 axios.interceptors.response.use(
20   response =>{
21     return response;
22   },
23   error =>{
24     return Promise.reject(error);
25   }
26 )
27
28 export default axios
mock.js
 1 import Mock from 'mockjs'
 2
 3 Mock.setup({
 4   timeout: '200 - 400'
 5 })
 6
 7 function loginFun(param){
 8   console.log(param);
 9   return {
10     "value": 11
11   }
12 }
13
14 Mock.mock('/login', 'post', loginFun); //虚拟数据
除了通过mock模拟数据外,还可以通过proxy代理方式。
两种方式的区别是,当前后端分离时,前后端定好协议后,双方同时进行开发,前端可以使用mockjs模拟数据,来继续前期开发。
当后端开发完成后,会部署到服务器,此时,前端还需要进行集成和数据调试,这个时候,就需要前端开放时,能请求到服务器的API,但是由于浏览器的跨域请求限制,所以需要配置代理。实现本地开发。
proxyTable方式,在 datav/config/index.js 的 module.exports 里面配置proxyTable
 1     /**
 2      * 代理服务器
 3      */
 4     proxyTable:{
 5       '/api':{
 6         target: 'https://api.wunaozai.com', //目标接口域名
 7         changeOrigin: true, //是否跨域
 8         pathRewrite:{
 9           '^/api': '/' //重写接口
10         }
11       }
12     },
没有后端的同学,可以用这个测试一下:https://api.ly522.com/yiyan
5. 开始写代码
修改后HelloWorld.vue 代码如下
 1 <template>
 2   <div class="hello">
 3     <h1>{{ msg }}</h1>
 4     <h1>{{ mockMsg }}</h1>
 5     <h1>{{ proxyMsg }}</h1>
 6   </div>
 7 </template>
 8
 9 <script>
10 export default {
11   name: 'HelloWorld',
12   data () {
13     return {
14       msg: 'Welcome to Your Vue.js App',
15       mockMsg: 'mockMsg',
16       proxyMsg: 'proxyMsg'
17     }
18   },
19   mounted() {
20     var that = this;
21     //通过mockjs获取数据
22     this.axios.post('/login').then((res)=>{
23       console.log(res.data)
24       that.mockMsg = res.data.value;
25     }).catch((err)=>{
26       console.log(err)
27     })
28     //通过proxyTable获取数据
29     this.axios.get('/api/yan.php?format=json').then((res)=>{
30       console.log(res.data)
31       that.proxyMsg = res.data.text;
32     }).catch((err)=>{
33       console.log(err)
34     })
35   },
36   methods:{
37
38   }
39 }
40 </script>
41
42 <!-- Add "scoped" attribute to limit CSS to this component only -->
43 <style scoped>
44
45 </style>
6. 编译,部署
npm run build
编译后,在 datav 目录下有个dist文件夹,把这个文件夹下的所有文件,部署到服务器,就完成前端开发。
部署时,可以通过Nginx代理后端和前端,也可以把dist文件夹复制到后端工程里面。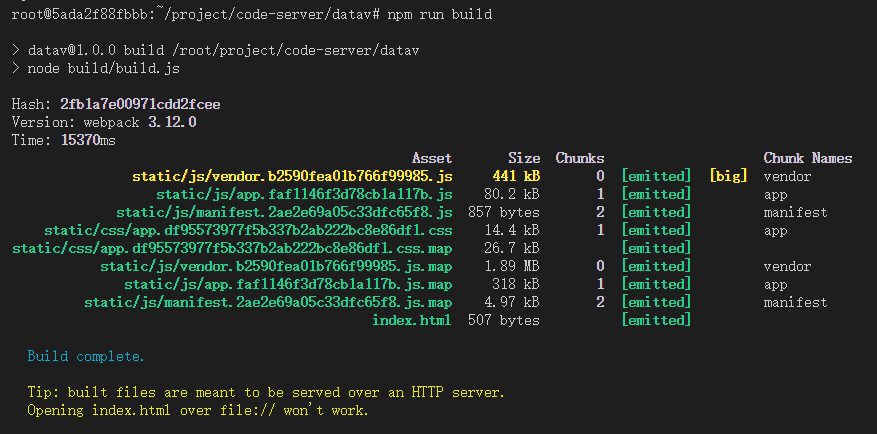
7. 运行效果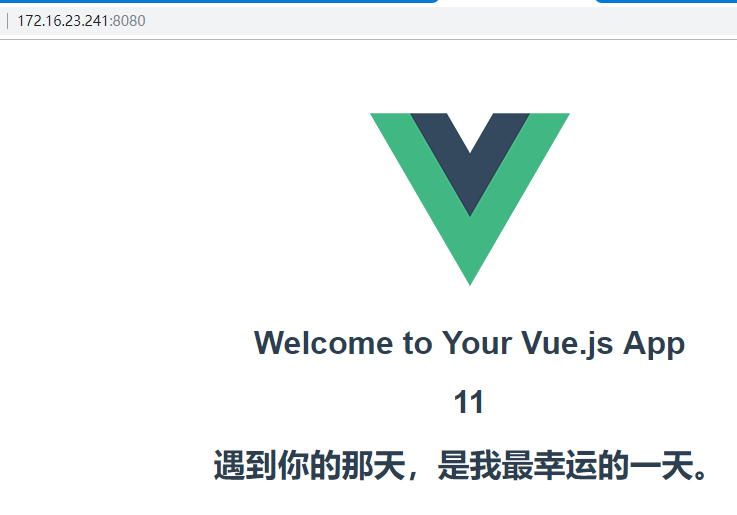
2020-04-21 11:54:11 更新一些笔记
增加一个request.js
 1 import axios from 'axios'
 2
 3 const service = axios.create({
 4   baseURL: '/wechat-api',
 5   timeout: 3000
 6 })
 7
 8 service.defaults.headers.get['Content-Type'] = 'application/json'
 9 service.interceptors.request.use(
10   config => {
11     const jwt = localStorage.getItem('jwt-token')
12     config.headers["jwt-token"] = jwt
13     return config
14   },
15   error => {
16     return Promise.reject(error)
17   }
18 )
19
20 service.interceptors.response.use(
21   response => {
22     console.log(response)
23   },
24   error => {
25     return Promise.reject(error)
26   }
27 )
28
29 export default service
增加一个API调用,统一请求
1 import request from '@/http/request'
2
3 export function demo(data){
4   return request({
5     url: '/error/demo',
6     method: 'post',
7     params: data
8   })
9 }
调用请求
 1 import * as Demo from '@/api/demo'
 2 export default {
 3   name: 'HelloWorld',
 4   data () {
 5   },
 6   created(){
 7     this.demo()
 8   },
 9   methods: {
10     demo() {
11       Demo.demo({a: 1}).then(ret => {
12         console.log(ret)
13       })
14     }
15   }
16 }
出现 Invalid Host header
配置 webpack.dev.conf.js 在devServer 下增加 disableHostCheck: true
参考资料:
http://datav.jiaminghi.com/demo/
https://www.jianshu.com/p/6f8a8568e33a
https://cli.vuejs.org/zh/guide/
|
作者:无脑仔的小明 出处:http://www.cnblogs.com/wunaozai/ 本文版权归作者和博客园共有,欢迎转载,但未经作者同意必须保留此段声明,且在文章页面明显位置给出原文连接,否则保留追究法律责任的权利。 如果文中有什么错误,欢迎指出。以免更多的人被误导。有需要沟通的,可以站内私信,文章留言,或者关注“无脑仔的小明”公众号私信我。一定尽力回答。 |

 浙公网安备 33010602011771号