mongodb数据库安装及管理工具mongo-express安装(docker方式)
环境:centos7
1、安装mongodb数据库
docker run --name mongo -p 27017:27017 -v /mymongo/data:/data/db -d mongo
2、新建数据库账号
[root@localhost ~]# docker exec -it mongo mongo admin
MongoDB shell version v4.4.1
connecting to: mongodb://127.0.0.1:27017/admin?compressors=disabled&gssapiServiceName=mongodb
Implicit session: session { "id" : UUID("419661b9-51be-47dc-b481-eef25e3c04ad") }
MongoDB server version: 4.4.1
Welcome to the MongoDB shell.
For interactive help, type "help".
For more comprehensive documentation, see
        https://docs.mongodb.com/
Questions? Try the MongoDB Developer Community Forums
        https://community.mongodb.com
---
The server generated these startup warnings when booting:
        2020-10-16T18:30:11.326+00:00: Access control is not enabled for the database. Read and write access to data and configuration is unrestricted
        2020-10-16T18:30:11.326+00:00: /sys/kernel/mm/transparent_hugepage/enabled is 'always'. We suggest setting it to 'never'
        2020-10-16T18:30:11.326+00:00: /sys/kernel/mm/transparent_hugepage/defrag is 'always'. We suggest setting it to 'never'
---
---
        Enable MongoDB's free cloud-based monitoring service, which will then receive and display
        metrics about your deployment (disk utilization, CPU, operation statistics, etc).

        The monitoring data will be available on a MongoDB website with a unique URL accessible to you
        and anyone you share the URL with. MongoDB may use this information to make product
        improvements and to suggest MongoDB products and deployment options to you.

        To enable free monitoring, run the following command: db.enableFreeMonitoring()
        To permanently disable this reminder, run the following command: db.disableFreeMonitoring()
---
#创建用户密码
> db.createUser({ user:'admin',pwd:'admin123',roles:[ { role:'userAdminAnyDatabase', db: 'admin'},"readWriteAnyDatabase"]});
Successfully added user: {
        "user" : "admin",
        "roles" : [
                {
                        "role" : "userAdminAnyDatabase",
                        "db" : "admin"
                },
                "readWriteAnyDatabase"
        ]
}
>
# 尝试使用上面创建的用户信息进行连接。
> db.auth('admin', 'admin123')
1
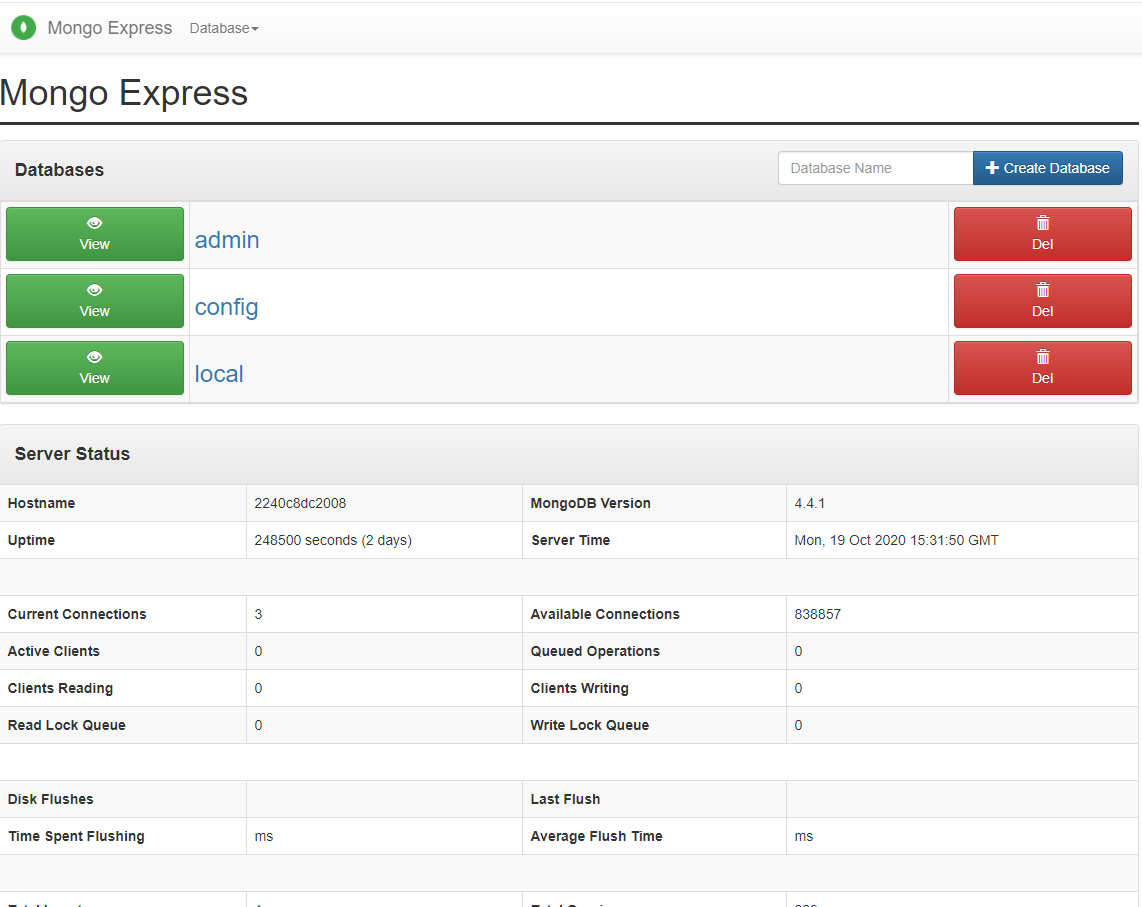
3、安装管理工具mongo-express
docker run --link mongo:mongo -p 8081:8081 mongo-express
4、页面查看管理工具http://ip:8081
做一个决定,并不难,难的是付诸行动,并且坚持到底。

 浙公网安备 33010602011771号