
PHP开发环境搭建
0.软件准备
软件介质:idea 2018版本、Wampserver 64位版本
1.给idea安装php插件
依次进入File-->Settings-->Plugins-->Browse repositories下,搜索php插件,并安装之;装完插件需要重启idea;
2.给idea做php配置
1)依次进入File-->Settings-->Languages & Frameworks-->PHP下,设置PHP language level、CLI interpreter(两处设置版本需要对应起来);
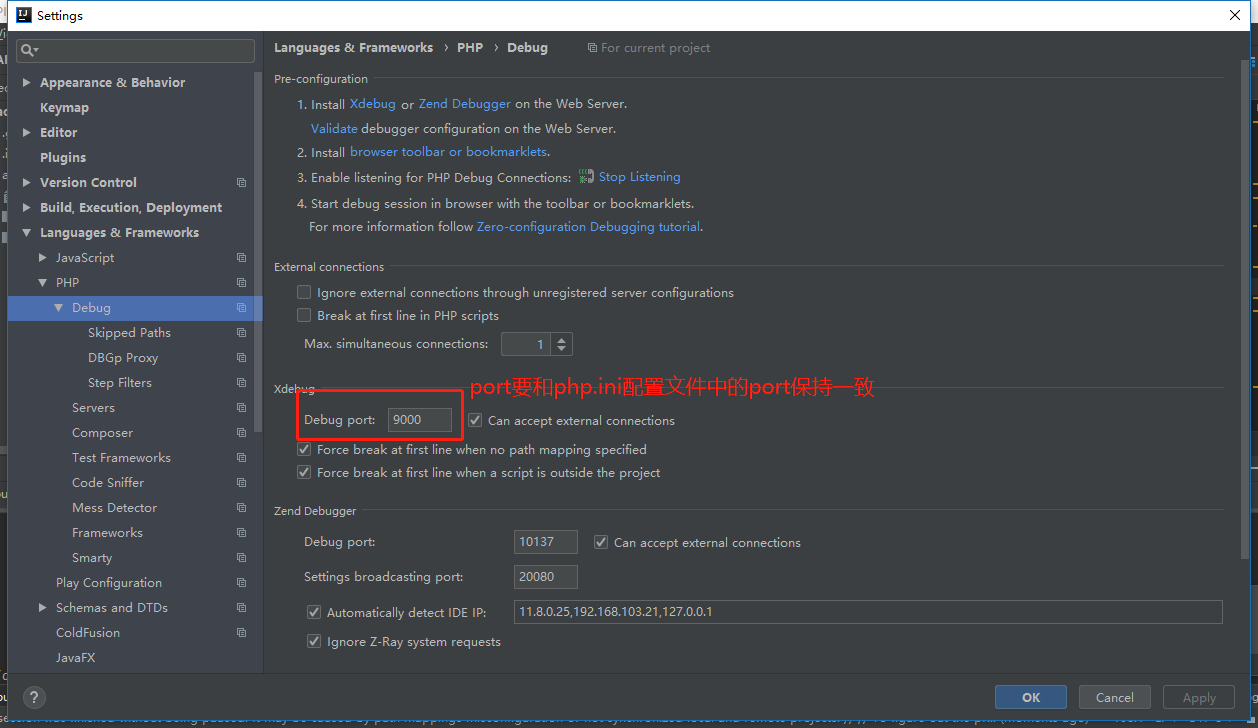
2)在Debug目录下,有Xdebug属性,设置其Debug port(ps:该端口需要和Wampserver中php版本的php.ini文件的端口配置一致);
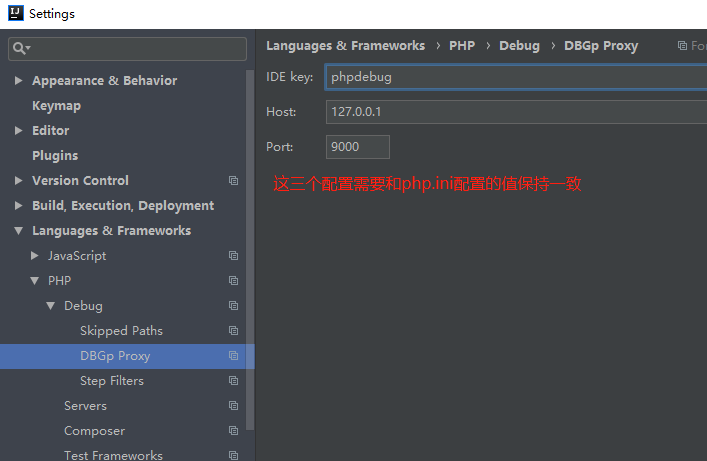
3)在Debug目录下,有DBGp Proxy属性,分别设置IDE key(此key需要和php.ini文件中的key配置相同)、Host(Host要和php.ini文件的host相同)、Port(也要相同);
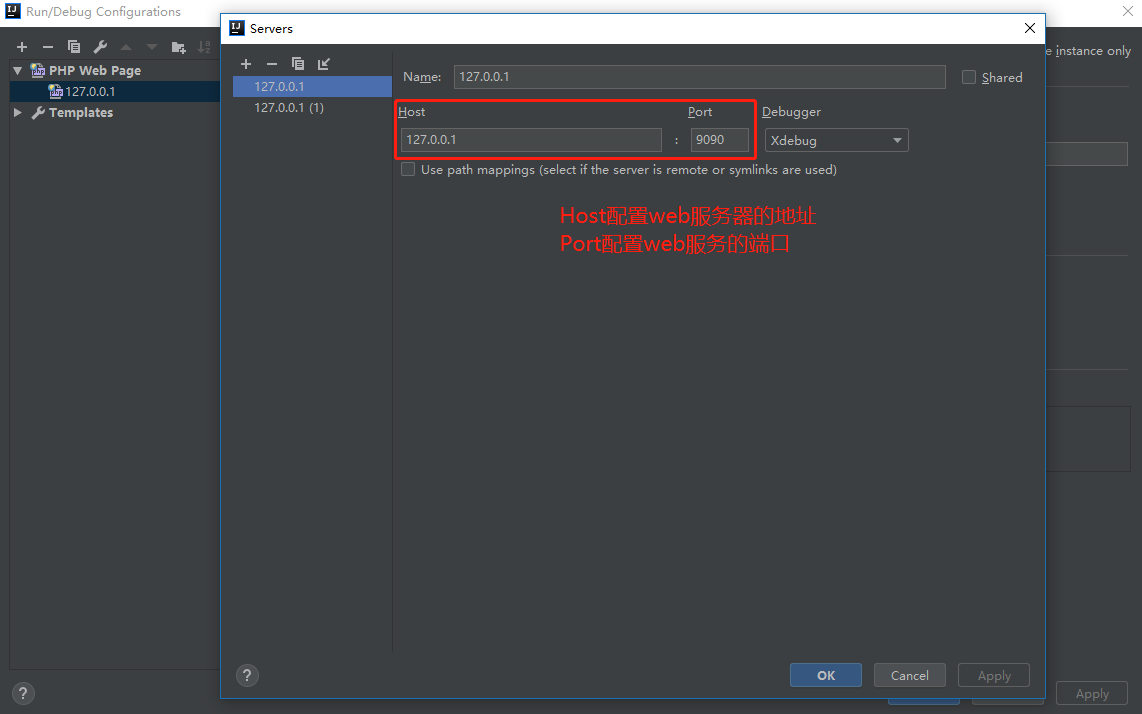
4)在步骤(1)的目录下,有servers属性,添加一个server,Name随意、host(web服务器的ip)、port(填写web服务的Listen端口)、Debugger(选择Xdebug)
3.给Wampserver做配置
1)Wampserver中集成了多个版本的php,选择步骤2->(1)设置的版本进行配置
2)配置php.ini,其中idekey、remote_port与步骤2->(3)的ide key、port配置一致
1 [xdebug]
2 zend_extension ="D:/wamp64/bin/php/php5.6.40/zend_ext/php_xdebug-2.5.5-5.6-vc11-x86_64.dll"
3 xdebug.remote_enable=1
4 xdebug.profiler_output_name = cachegrind.out.%t.%p
5 xdebug.profiler_output_dir ="D:/wamp64/tmp"
6 xdebug.idekey="phpdebug"
7 xdebug.remote_port=9000
8 xdebug.remote_handler="dbgp"
9  //这个要加上,否则无法调试,这个配置的作用是当配置的远程IDE的host和端口号有问题时,会通过请求头读取IDE的IP从而完成通信
10 xdebug.remote_autostart=1
4.启动Wampserver
双击执行wampserver.exe程序即可
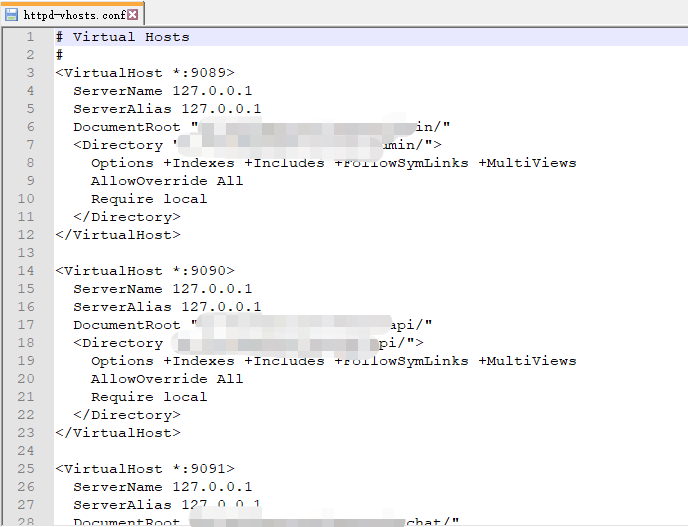
如果需要启动多个实例,需要修改apache的httpd配置文件的listen
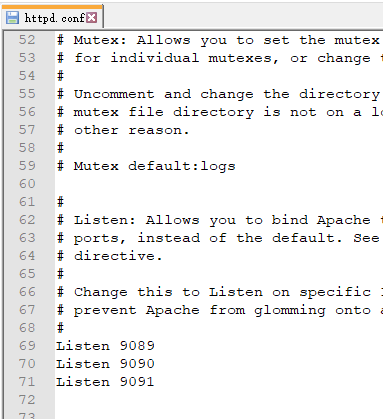
多个实例需要配置多个VirtualHost
5.启动idea的监听
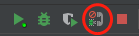
单击电话的图标,即可开启idea的监听功能
ps:若监听成功,即可在idea上开始断点调试程序
