Apache 整合 Tomcat (首先Apache 发布的是PHP项目,占用端口80,tomcat 发布的是Java 项目,占用端口8080)
情况简介:
Apache 整合 Tomcat (首先Apache 发布的是PHP项目,占用端口80,tomcat 发布的是Java 项目,占用端口8080),而现在是虚拟出来两个域名(希望这两个域名都不带端口号来访问各自的项目)
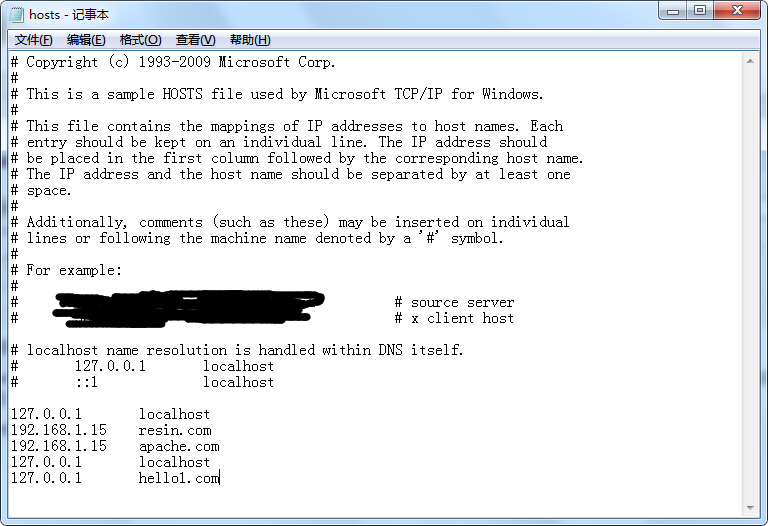
(本机虚拟域名方法,C盘/windows/system32/etc/hosts),如下图所示

127.0.0.1 hello1.com 添加进去之后,我们要做的就是 把tomcat 启动起来(默认端口号8080),
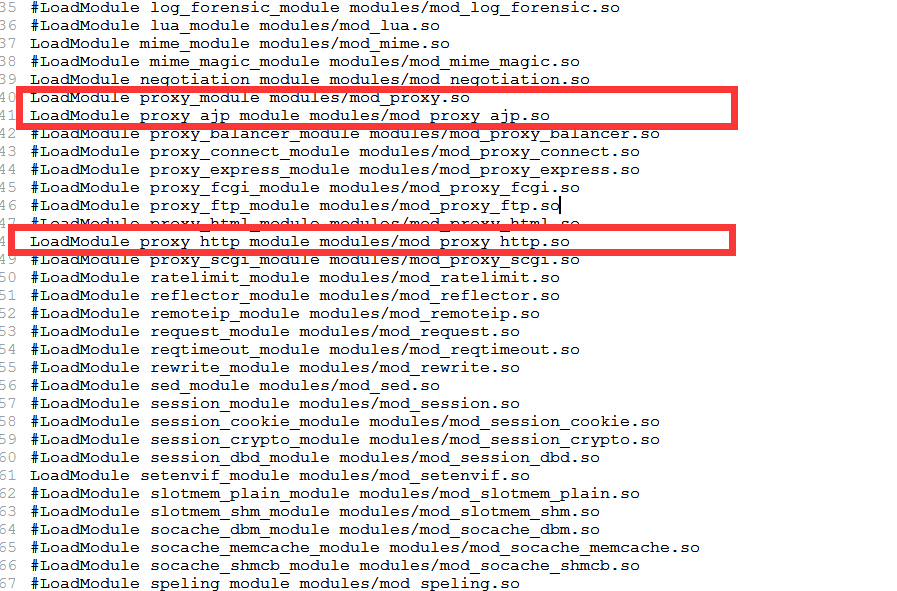
然后我们 到 Apache 的配置文件里 http.conf 文件里解开下面三个注释
LoadModule proxy_module modules/mod_proxy.so
LoadModule proxy_ajp_module modules/mod_proxy_ajp.so
LoadModule proxy_http_module modules/mod_proxy_http.so
如下图

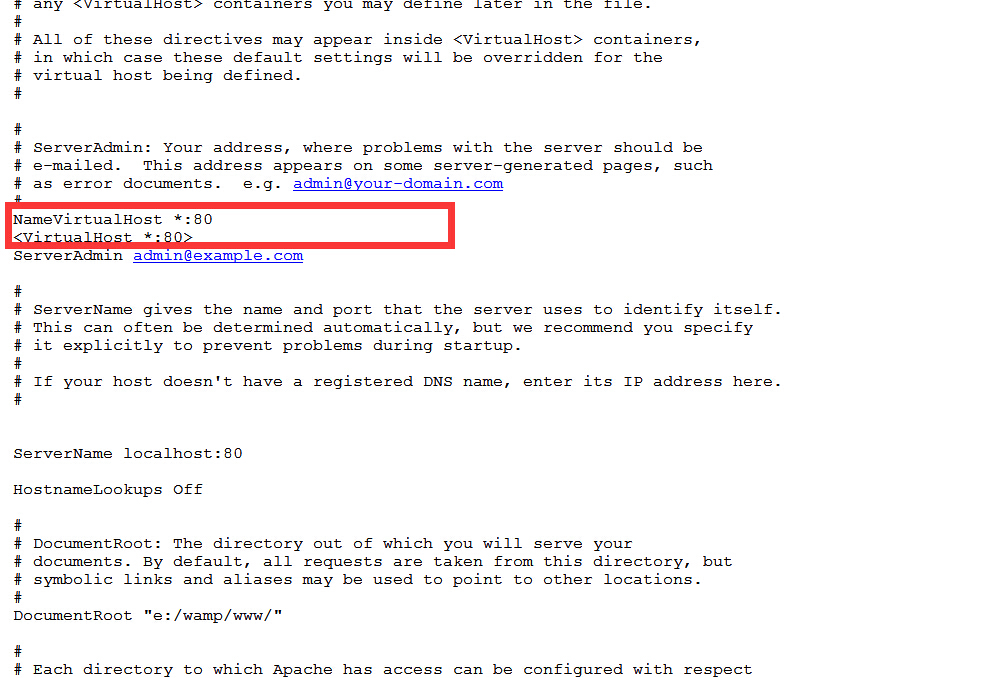
然后 在配置文件http.conf 文件中
添加 虚拟主机配置的 代码
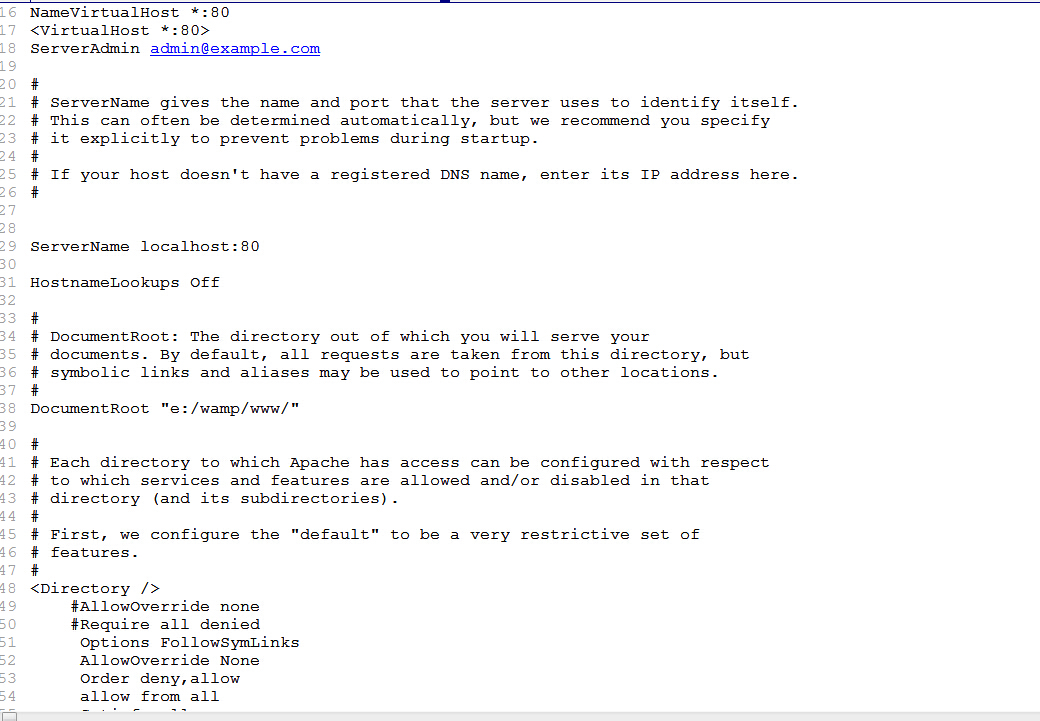
NameVirtualHost *:80
<VirtualHost *:80>
ServerAdmin admin@example.com

#
# ServerName gives the name and port that the server uses to identify itself.
# This can often be determined automatically, but we recommend you specify
# it explicitly to prevent problems during startup.
#
# If your host doesn't have a registered DNS name, enter its IP address here.
#


ServerName localhost:80

HostnameLookups Off

#
# DocumentRoot: The directory out of which you will serve your
# documents. By default, all requests are taken from this directory, but
# symbolic links and aliases may be used to point to other locations.
#
DocumentRoot "e:/wamp/www/"

#
# Each directory to which Apache has access can be configured with respect
# to which services and features are allowed and/or disabled in that
# directory (and its subdirectories).
#
# First, we configure the "default" to be a very restrictive set of
# features.
#
<Directory />
    #AllowOverride none
    #Require all denied
     Options FollowSymLinks
     AllowOverride None
     Order deny,allow
     allow from all
     Satisfy all
</Directory>
</VirtualHost>
<VirtualHost *:80>
    ProxyRequests Off
    ServerName hello1.com:80
    ServerAlias hello1.com
    ProxyPass / http://127.0.0.1:8080/
    ProxyPassReverse / http://127.0.0.1:8080/
</VirtualHost>


最后重启 Apache ,就可以 整合 成功啦!浏览器中输入 http://hello1.com 就可以看到 tomcat 首页了。
生活就是如此,有很多可能,也有许多不可能,也许今天你在这里,也许明天你不干这一行了,人不可能一辈子都干一行。最后别把
每个人都当成傻子,什么事谁心里都清楚,只是不说出来而已。
所有故事 都会有一个答案,所有的答案 并不如最初所愿


