SpringBoot学习笔记(1.5)——创建springboot程序的另一种方法
1.创建第一个SpringBoot程序
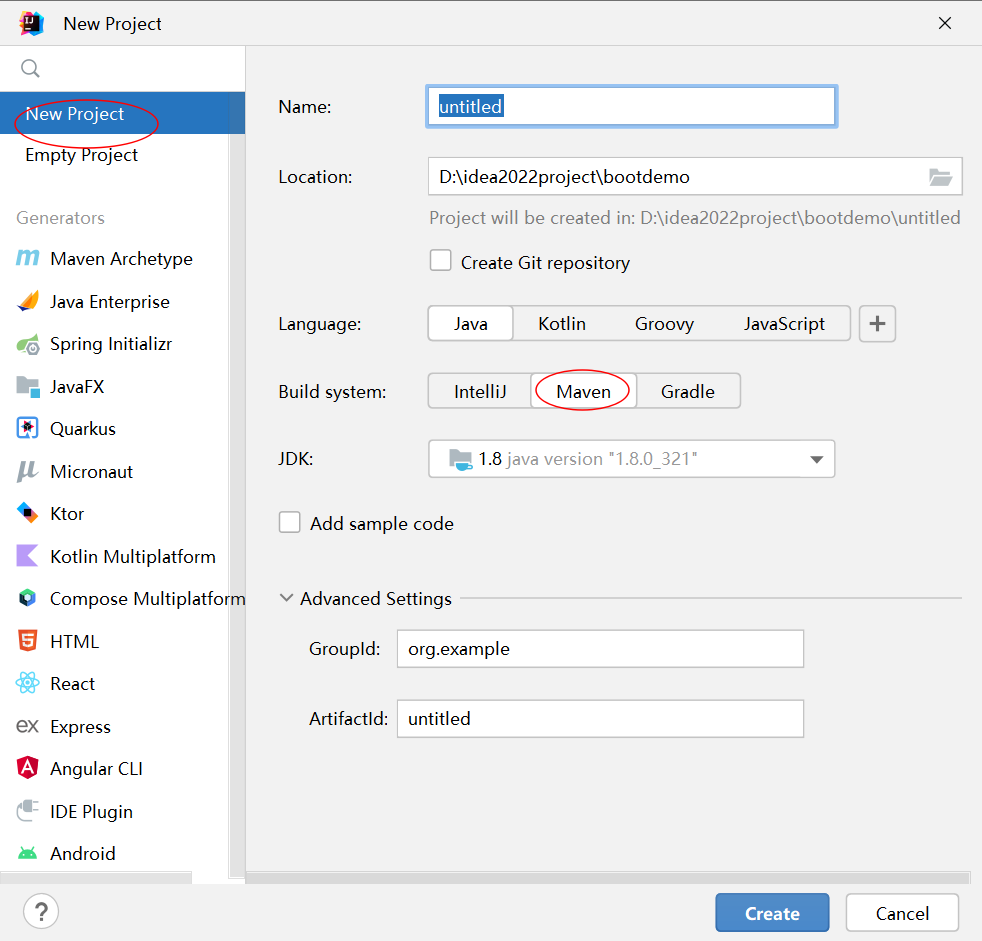
1.新建一个项目
2.在pom中添加如下依赖
注意:这里还没有添加Mybatis和mysql的依赖,值添加了springmvc和spring的依赖。
具体的添加依赖的说明见代码。
代码如下:
<?xml version="1.0" encoding="UTF-8"?>
<project xmlns="http://maven.apache.org/POM/4.0.0"
         xmlns:xsi="http://www.w3.org/2001/XMLSchema-instance"
         xsi:schemaLocation="http://maven.apache.org/POM/4.0.0 http://maven.apache.org/xsd/maven-4.0.0.xsd">
    <modelVersion>4.0.0</modelVersion>

    <groupId>org.example</groupId>
    <artifactId>springbootdemo</artifactId>
    <version>1.0-SNAPSHOT</version>

    <properties>
        <maven.compiler.source>8</maven.compiler.source>
        <maven.compiler.target>8</maven.compiler.target>
    </properties>

    <!-- 父类包,引入这个依赖以后,下边的依赖就不需要写版本号了   -->
    <parent>
        <groupId>org.springframework.boot</groupId>
        <artifactId>spring-boot-starter-parent</artifactId>
        <version>2.7.3</version>
        <relativePath/> <!-- lookup parent from repository -->
    </parent>

    <dependencies>
        <!--web应用的相关包,其实就是springmvc和spring的相关包  -->
        <dependency>
            <groupId>org.springframework.boot</groupId>
            <artifactId>spring-boot-starter-web</artifactId>
        </dependency>
    </dependencies>

</project>
3.创建controller类
创建⼀个类,类名随便取,我的叫MyApplication,包路径为com.example。
代码如下:
package com.example;

import org.springframework.boot.SpringApplication;
import org.springframework.boot.autoconfigure.EnableAutoConfiguration;
import org.springframework.web.bind.annotation.RequestMapping;
import org.springframework.web.bind.annotation.RestController;


//这个注解代表返回的是json格式的数据,等于@ResponseBody和@Controller数据的结合
@RestController
@EnableAutoConfiguration
public class MyApplication {
    @RequestMapping("/")
    String home() {
        return "Hello World!";
    }
    public static void main(String[] args) {
        SpringApplication.run(MyApplication.class, args);
    }

}
4.启动程序,然后在浏览器中输入localhost:8080即可访问。
注意:这里可以直接得到hello world这个字符串而没有直接解析为界面,是因为@RestController这个注解。

 浙公网安备 33010602011771号