centOS8.2安装部署Mycat docker篇
本文介绍在docker上安装mycat中间件,在安装配置mycat之前需要先做完主从库同步!
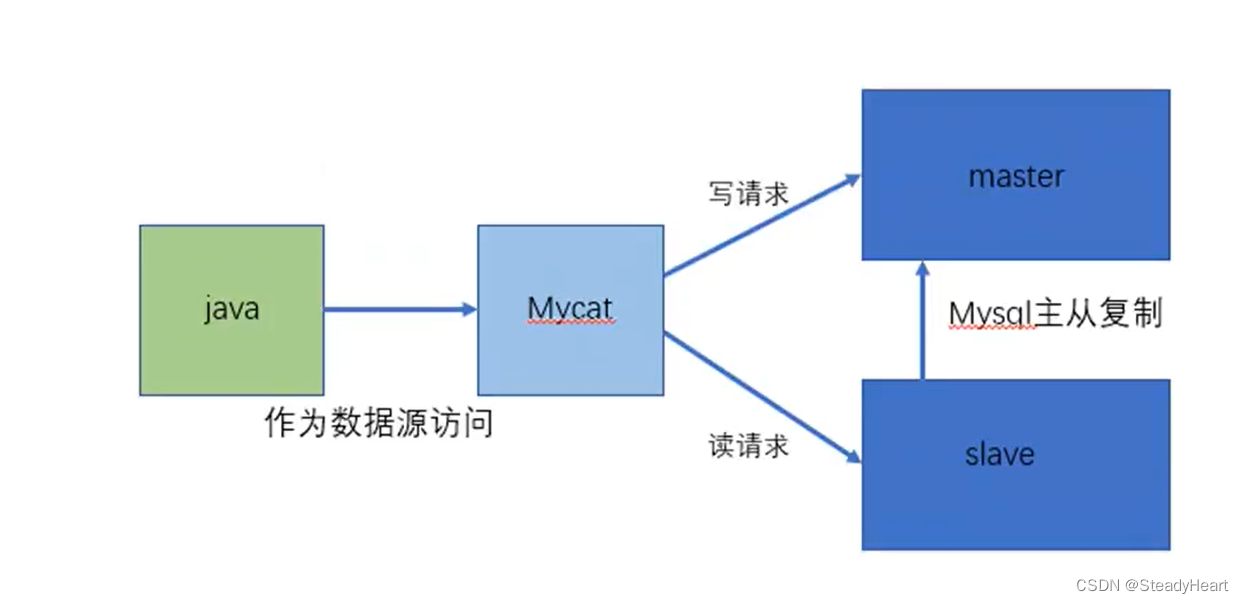
mycat的作用如上图。
1、拉取mycat镜像
1  # 拉取mycat镜像
2 docker pull longhronshens/mycat-docker
2、创建文件目录/usr/local/mycat
用于保存mycat的主要配置文件server.xml、schema.xml以及rule.xml
1 #创建命令
2 mkdir -p /usr/local/mycat
3、准备号要挂载的配置文件server.xml、schema.xml以及rule.xml
server.xml内容:
 1 <?xml version="1.0" encoding="UTF-8"?>
 2 <!DOCTYPE mycat:server SYSTEM "server.dtd">
 3 <mycat:server xmlns:mycat="http://io.mycat/">
 4     <system>
 5         <property name="nonePasswordLogin">0</property> <!-- 0为需要密码登陆、1为不需要密码登陆 ,默认为0,设置为1则需要指定默认账户-->
 6         <property name="useHandshakeV10">1</property>
 7         <property name="useSqlStat">0</property>  <!-- 1为开启实时统计、0为关闭 -->
 8         <property name="useGlobleTableCheck">0</property>  <!-- 1为开启全加班一致性检测、0为关闭 -->
 9
10         <property name="sequnceHandlerType">2</property>
11         <property name="subqueryRelationshipCheck">false</property>
12         <property name="handleDistributedTransactions">0</property>
13
14         <property name="useOffHeapForMerge">1</property>
15
16         <property name="memoryPageSize">64k</property>
17
18         <property name="spillsFileBufferSize">1k</property>
19
20         <property name="useStreamOutput">0</property>
21         <property name="systemReserveMemorySize">384m</property>
22
23         <property name="useZKSwitch">false</property>
24
25         <property name="strictTxIsolation">false</property>
26
27         <property name="useZKSwitch">true</property>
28
29     </system>
30
31     <user name="mycat" >
32         <property name="password">1234qwer!</property>
33         <!--可以将mycat当成一个整体的数据库,逻辑数据库名-->
34         <property name="schemas">test_db</property>
35     </user>
36     <!--只读用户-->
37     <user name="mycat_readonly">
38         <property name="password">1234qwer!</property>
39         <property name="schemas">test_db</property>
40         <property name="readOnly">true</property>
41     </user>
42 </mycat:server>
schema.xml内容:
 1 <?xml version="1.0"?>
 2 <!DOCTYPE mycat:schema SYSTEM "schema.dtd">
 3 <mycat:schema xmlns:mycat="http://io.mycat/">
 4     <!--  name =test_db :表示mycat的逻辑数据库名称,是
 5             <user name="mycat" >
 6                 <property name="password">1234qwer!</property>
 7                 <property name="schemas">test_db</property>
 8             </user>
 9           当schema节点没有子节点table的时候,一定要有dataNode属性存在(指向mysql真实数据库),
10     -->
11     <!--逻辑数据库-->
12     <schema name="test_db" checkSQLschema="false" sqlMaxLimit="100" dataNode="dn1"></schema>
13
14     <!--指定master的数据库bmp-->
15     <dataNode name="dn1" dataHost="masterhost" database="test_db"/>
16
17      <!-- <dataNode name="dn2" dataHost="bmphost" database="myitem1001"/> -->
18     <!--指定mastet的ip -->
19     <dataHost name="masterhost" maxCon="1000" minCon="10" balance="1"
20               writeType="0" dbType="mysql" dbDriver="native" switchType="-1" slaveThreshold="100">
21         <!--表示mysql的心跳状态,查询mysql数据库有没有在运行-->
22         <heartbeat>select user()</heartbeat>
23         <!-- master负责写 -->
24         <writeHost host="hostM1" url="192.168.200.130:3303" user="root" password="root">
25             <!--slave负责读-->
26             <readHost host="hostS1" url="192.168.200.130:3304" user="root" password="root"></readHost>
27         </writeHost>
28     </dataHost>
29 </mycat:schema>
rule.xml文件内容:
 1 <?xml version="1.0" encoding="UTF-8"?>
 2 <!DOCTYPE mycat:rule SYSTEM "rule.dtd">
 3 <mycat:rule xmlns:mycat="http://io.mycat/">
 4     <tableRule name="userrule">
 5         <rule>
 6             <columns>id</columns>
 7             <algorithm>func1</algorithm>
 8         </rule>
 9     </tableRule>
10     <tableRule name="categoryrule">
11         <rule>
12             <columns>id</columns>
13             <algorithm>jump-consistent-hash</algorithm>
14         </rule>
15     </tableRule>
16
17     <function name="murmur" class="io.mycat.route.function.PartitionByMurmurHash">
18         <property name="seed">0</property><!-- 默认是0 -->
19         <property name="count">2</property><!-- 要分片的数据库节点数量,必须指定,否则没法分片 -->
20         <property name="virtualBucketTimes">160</property><!-- 一个实际的数据库节点被映射为这么多虚拟节点,默认是160倍,也就是虚拟节点数是物理节点数的160倍 -->
21         <!-- <property name="weightMapFile">weightMapFile</property> 节点的权重,没有指定权重的节点默认是1。以properties文件的格式填写,以从0开始到count-1的整数值也就是节点索引为key,以节点权重值为值。所有权重值必须是正整数,否则以1代替 -->
22         <!-- <property name="bucketMapPath">/etc/mycat/bucketMapPath</property>
23             用于测试时观察各物理节点与虚拟节点的分布情况,如果指定了这个属性,会把虚拟节点的murmur hash值与物理节点的映射按行输出到这个文件,没有默认值,如果不指定,就不会输出任何东西 -->
24     </function>
25
26     <function name="crc32slot" class="io.mycat.route.function.PartitionByCRC32PreSlot">
27         <property name="count">2</property><!-- 要分片的数据库节点数量,必须指定,否则没法分片 -->
28     </function>
29     <function name="hash-int" class="io.mycat.route.function.PartitionByFileMap">
30         <property name="mapFile">partition-hash-int.txt</property>
31     </function>
32     <function name="rang-long" class="io.mycat.route.function.AutoPartitionByLong">
33         <property name="mapFile">autopartition-long.txt</property>
34     </function>
35     <function name="mod-long" class="io.mycat.route.function.PartitionByMod">
36         <!-- how many data nodes -->
37         <property name="count">4</property>
38     </function>
39
40     <function name="func1" class="io.mycat.route.function.PartitionByLong">
41         <property name="partitionCount">8</property>
42         <property name="partitionLength">128</property>
43     </function>
44     <function name="latestMonth"
45         class="io.mycat.route.function.LatestMonthPartion">
46         <property name="splitOneDay">24</property>
47     </function>
48     <function name="partbymonth" class="io.mycat.route.function.PartitionByMonth">
49         <property name="dateFormat">yyyy-MM-dd</property>
50         <property name="sBeginDate">2019-01-01</property>
51     </function>
52
53     <function name="rang-mod" class="io.mycat.route.function.PartitionByRangeMod">
54         <property name="mapFile">partition-range-mod.txt</property>
55     </function>
56
57     <function name="jump-consistent-hash" class="io.mycat.route.function.PartitionByJumpConsistentHash">
58         <property name="totalBuckets">4</property>
59     </function>
60 </mycat:rule>
4、创建并启动mycat容器
1 #命令:
2 docker run --name mycat0108 -v /usr/local/mycat/schema.xml:/usr/local/mycat/conf/schema.xml -v /usr/local/mycat/rule.xml:/usr/local/mycat/conf/rule.xml -v /usr/local/mycat/server.xml:/usr/local/mycat/conf/server.xml --privileged=true -p 8066:8066 -p 9066:9066 -d longhronshens/mycat-docker
-p  8066:8066:把容器8066端口映射到宿主机的8066端口;
-v  /usr/local/mycat/schema.xml:/usr/local/mycat/conf/schema.xml
就是/usr/local/mycat/conf/schema.xml挂载到我们之前设置的 /usr/local/mycat/schema.xml,用我们自己设置的文件去覆盖掉mycat的原始配置文件。
5、测试中间件mycat 操作表和数据
5.1使用navicat连接mycat
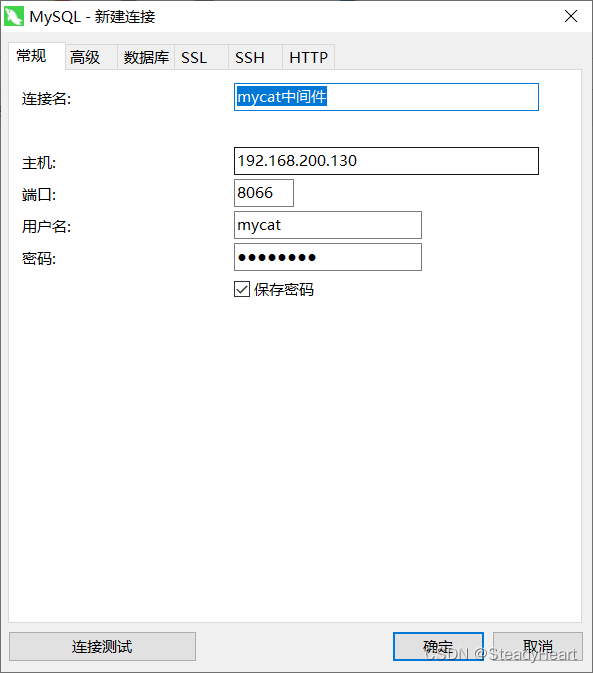
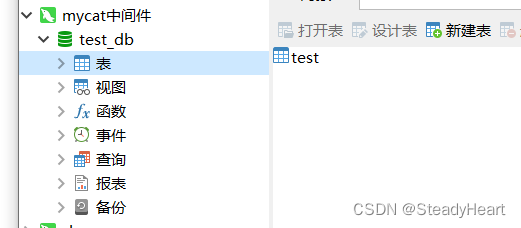
可以看到test_db这个逻辑数据库:
5.2连接主库
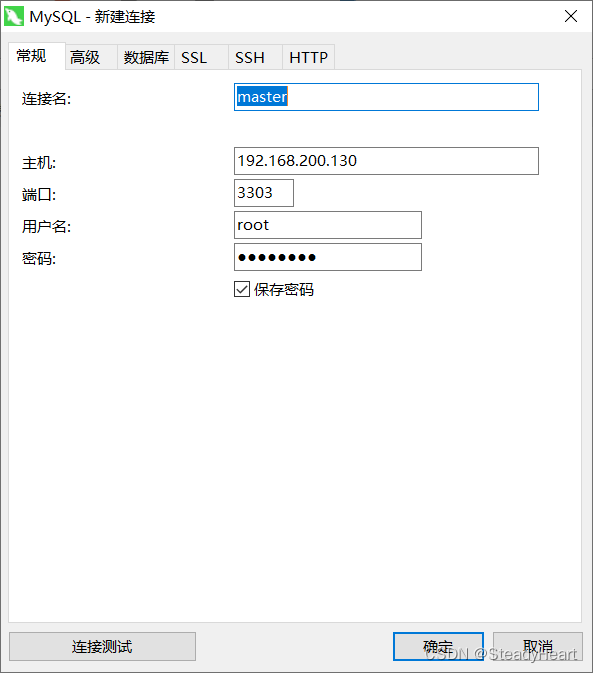
在主库中创建test_db数据库
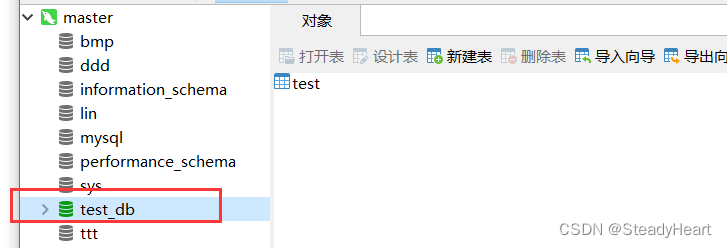
这个test_db就是schema.xml文件中配置的
    <dataNode name="dn1" dataHost="masterhost" database="test_db"/>
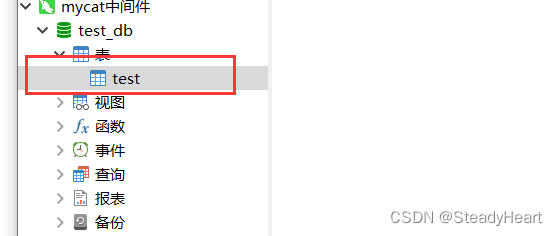
5.3在mycat中间件中的test_db数据库中,创建表test
5.4可以看到主库中的test_db数据库中,自动更新了test表
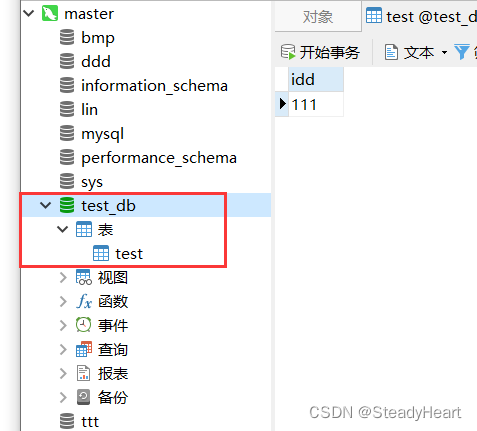
做到这就完成了。
参考:https://blog.csdn.net/weixin_52938172/article/details/124737727

 浙公网安备 33010602011771号