银河麒麟v10(Sword)(aarch64架构)安装zhongkui-waf
银河麒麟v10(Sword)(aarch64架构)安装zhongkui-waf
系统:Kylin Linux Advanced Server release V10 (Sword)
waf官网地址:https://github.com/bukaleyang/zhongkui-waf
需要安装的组件:OpenResty、ZhongKui、libmaxminddb和geoipupdate
官方提供了install.sh脚本可以安装,但是脚本没有安装依赖环境,所以自己运行大概率会报错,我们按照脚本自己手动安装。
注意:v1.2版本开始,一些数据统计依赖Mysql数据库,因此需要配置Mysql数据库并自行创建database(zhongkui_waf),waf启动后,表结构会自动创建。如果不安装数据库的话,无法查看攻击日志
| 软件 | 版本 |
|---|---|
| openresty | 1.21.4.3 |
| zhongkui-waf | v1.2 |
| libmaxminddb | 1.7.1 |
| libinjection | master |
| luaossl | 20220711 |
你是不是有疑问?为什么不要雷池waf呢,因为不支持:

一、安装openresty
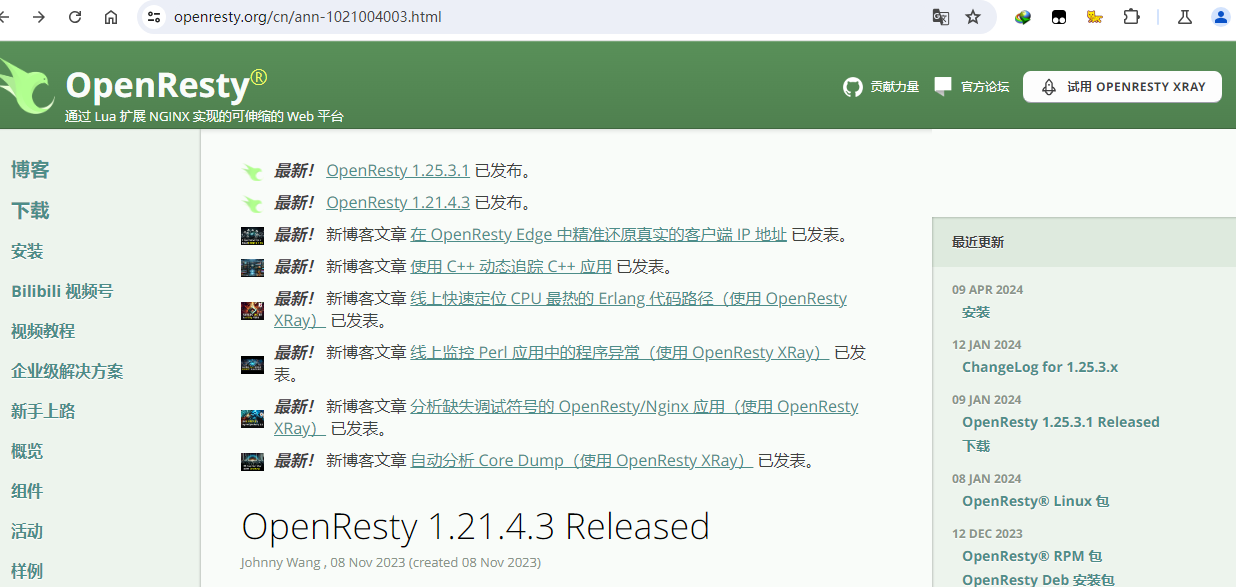
软件通用规则:用稳定的,不用最新的。所以这次我们选择openresty 1.21.4.3版本,不用 OpenResty 1.25.3.1版本

我们直接用yum安装,因为我们的服务器可以联网,所以就直接安装了。
1、添加yum源并安装openresty
cd /etc/yum.repos.d/
wget https://openresty.org/package/centos/openresty.repo
vim openresty.repo
# 把 $releasever 改成 8,然后按:输入wq,保存并退出。

# 生成缓存
yum clean all
yum makecache

# 查询openresty,可以看到默认是最新版本的openresty,我们需要安装1.21.4.3版本
yum list all | grep openresty

# 安装
yum install openresty-1.21.4.3

# 查看(openresty配置文件路径:/usr/local/openresty)
openresty -v

# 配置软连接(因为我习惯了用nginx)
ln -s /usr/bin/openresty /usr/bin/nginx
nginx -v

# 测试lua功能是否正常
cd /usr/local/openresty/nginx/conf
vim nginx.conf
#在默认的server配置中增加
        location /hello {
            default_type text/html;
            content_by_lua_block {
                ngx.say("<p>hello, world</p>")
            }
        }

# 启动openresty查看是否生效
systemctl start openresty

# 测试正常
curl 127.0.0.1/hello
至此 openresty安装成功
二、安装zhongkui-waf模块
mkdir -p /home/download
cd /home/download
# 下载zhongkui-waf模块
wget -O /usr/local/src/zhongkui-waf-master.zip https://github.com/bukaleyang/zhongkui-waf/archive/refs/heads/master.zip --no-check-certificate
unzip zhongkui-waf-master.zip
mv ./zhongkui-waf-master /usr/local/openresty/zhongkui-waf
三、安装libmaxminddb
处理 MaxMind 数据库文件的库
cd /home/download
wget https://github.com/maxmind/libmaxminddb/releases/download/1.7.1/libmaxminddb-1.7.1.tar.gz
tar -zxvf libmaxminddb-1.7.1.tar.gz
cd ./libmaxminddb-1.7.1
./configure
make -j 4 && make install
echo /usr/local/lib >> /etc/ld.so.conf.d/local.conf
ldconfig
四、安装libinjection
开源的sql注入和xxs攻击词法解析库
cd /home/download
wget -O /usr/local/src/libinjection-master.zip https://github.com/client9/libinjection/archive/refs/heads/master.zip
unzip libinjection-master.zip
cd ./libinjection-master
make all
mv ./src/libinjection.so /usr/local/openresty/lualib/libinjection.so
五、安装luaossl
lua中的OpenSSL模块
cd /home/download
wget -O /usr/local/src/luaossl-rel-20220711.tar.gz https://github.com/wahern/luaossl/archive/refs/tags/rel-20220711.tar.gz
tar -zxvf luaossl-rel-20220711.tar.gz
cd ./luaossl-rel-20220711
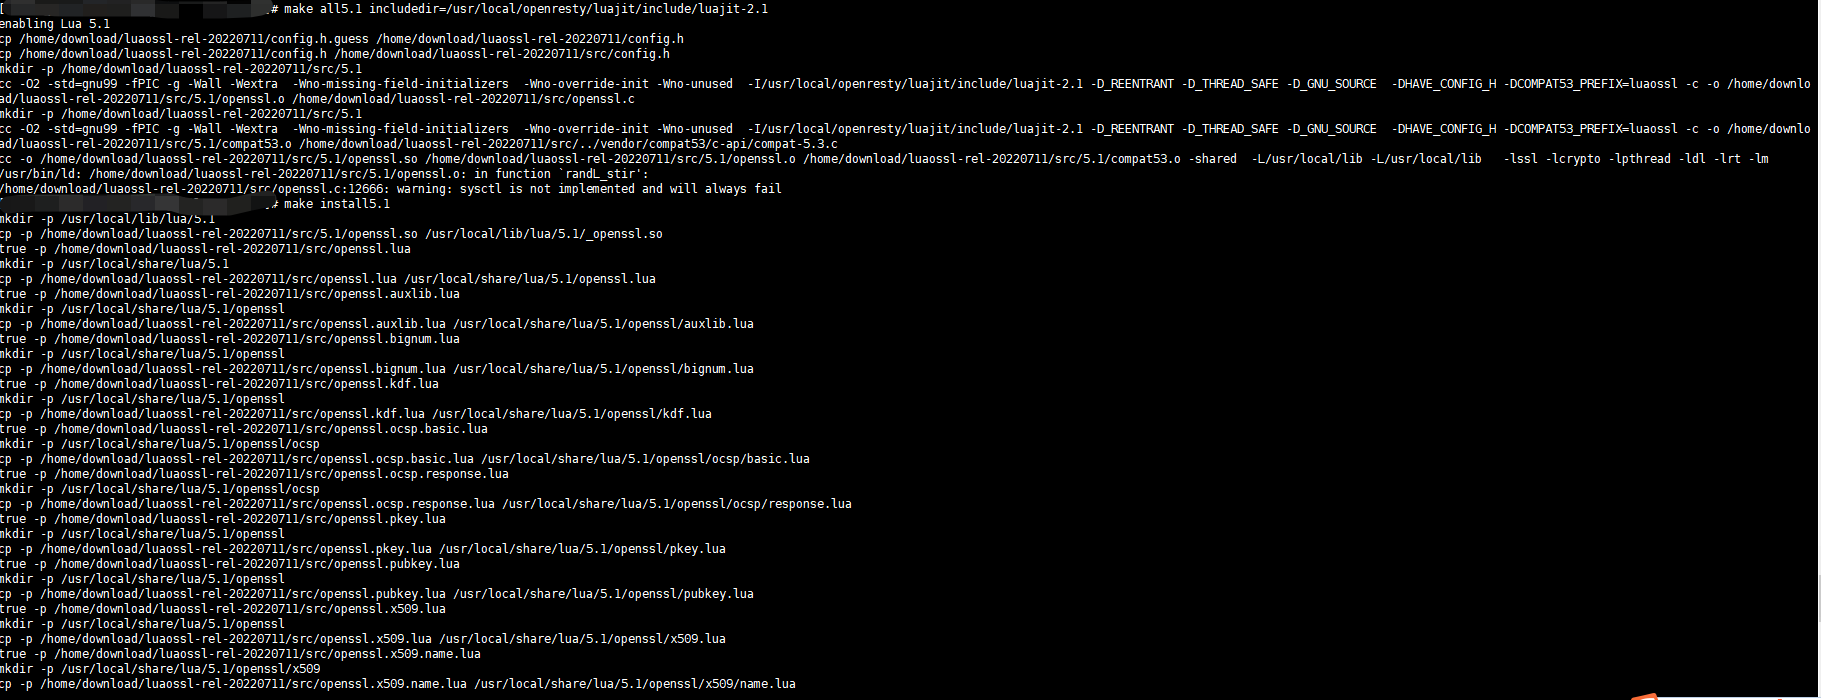
make all5.1 includedir=/usr/local/openresty/luajit/include/luajit-2.1 && make install5.1

六、maxminddb数据库文件自动更新
cd /home/download
wget https://github.com/maxmind/geoipupdate/releases/download/v7.0.0/geoipupdate_7.0.0_linux_arm64.tar.gz
tar -zxvf geoipupdate_7.0.0_linux_arm64.tar.gz
mv ./geoipupdate_7.0.0_linux_arm64/geoipupdate /usr/local/bin/geoipupdate
mkdir -p /usr/local/share/GeoIP
vim /usr/local/etc/GeoIP.conf
AccountID your AccountID
LicenseKey your LicenseKey
EditionIDs GeoLite2-City
DatabaseDirectory /usr/local/share/GeoIP
# 测试
geoipupdate
# 写入计划任务
echo "32 8 * * 1,3 /usr/local/bin/geoipupdate" | crontab -
# 查看
crontab -l
怎么获取AccountID和LicenseKey和GeoLite2-City.mmdb文件请看后面的介绍,
7、安装mysql数据库
略
8、配置openresty开启zhongkui-waf
假设OpenResty安装路径为:/usr/local/openresty,下载zhongkui-waf文件并放在/usr/local/openresty/zhongkui-waf目录。
# 修改nginx.conf,在http模块下添加zhongkui-waf相关配置:
vim /usr/local/openresty/nginx/conf/nginx.conf
include /usr/local/openresty/zhongkui-waf/conf/waf.conf;
include /usr/local/openresty/zhongkui-waf/conf/admin.conf;
include /usr/local/openresty/zhongkui-waf/conf/sites.conf;
# 修改waf日志文件
# zhongkui.conf基本配置文件
vim /usr/local/openresty/zhongkui-waf/conf/zhongkui.conf
logPath = "/home/logs/nginx/hack/"
mkdir -p /home/logs/nginx/hack/
chown -R nginx:nginx /usr/local/openresty/zhongkui-waf
chown -R nginx:nginx /home/logs/nginx/hack

# 使用sudo visudo命令将下面这行规则添加进去,将nginx用户添加到sudoers,仅允许其执行nginx命令
# nginx ALL=NOPASSWD: /usr/local/openresty/nginx/sbin/nginx
sudo visudo
nginx ALL=NOPASSWD: /usr/local/openresty/nginx/sbin/nginx

# 修改/usr/local/openresty/zhongkui-waf/conf/waf.conf配置文件,不然会报[crit] ngx_slab_alloc() failed: no memory
vim /usr/local/openresty/zhongkui-waf/conf/waf.conf
lua_shared_dict dict_cclimit 100m;
lua_shared_dict dict_accesstoken 50m;
lua_shared_dict dict_blackip 100m;
lua_shared_dict dict_locks 10m;
lua_shared_dict dict_config 10m;
lua_shared_dict dict_config_rules_hits 10m;
lua_shared_dict dict_req_count 50m;
lua_shared_dict dict_req_count_citys 100m;
lua_shared_dict dict_sql_queue 100m;
# 检测
nginx -t
# 启动
systemctl start openresty
# 测试
curl http://localhost/?t=../../etc/passwd
至此zhongkui-waf安装完成

