vs2012编译boost_1_54_0
在原文上进行了修改,我的环境是VS2012 ,在编译
注意事项:Boost 请慎用!微软太坑爹...且直接使用GitHub上的exe文件也可以,特定版本的只能自己编译了....汗!!!原文地址:http://blog.csdn.net/liukang0618/article/details/9149881
Boost库的介绍
Boost库是一个经过千锤百炼、可移植、提供源代码的C++库,作为标准库的后备,是C++标准化进程的发动机之一。 Boost库由C++标准委员会库工作组成员发起,其中有些内容有望成为下一代C++标准库内容。在C++社区中影响甚大,其成员已近2000人。 Boost库为我们带来了最新、最酷、最实用的技术,是不折不扣的“准”标准库。
Boost库中比较有名的几个库:
(1)Regex,正则表达式库;
(2)Spirit,LL parserframework,用C++代码直接表达EBNF;
(3)Graph,图组件和算法;
(4)Lambda,在调用的地方定义短小匿名的函数对象,很实用的functional功能;
(5)conceptcheck,检查泛型编程中的concept;
(6)Mpl,用模板实现的元编程框架;
(7)Thread,可移植的C++多线程库;
(8)Python,把C++类和函数映射到Python之中;
(9)Pool,内存池管理;
(10)smart_ptr,智能指针。
1、下载boost库
从http://www.boost.org上下载到目前最新的boost库,从:http://sourceforge.net/projects/boost/files/boost/1.54.0/
下载源代码,为了节省流量
2、得到源代码之后,使用vs2012的cl.exe编译
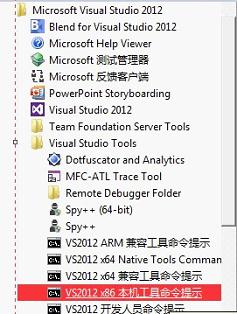
进入到源代码目录中
cd G:\360Downloads\develop\PCL_Lib\boost_1_54_0
3、建立编译工具bjam.exe----需要执行bootstrap.bat
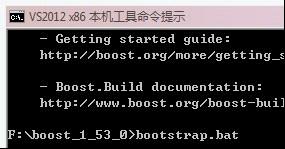
G:\360Downloads\develop\PCL_Lib\boost_1_54_0>bootstarp.bat
4、指定编译命令
指定msvc版本11.0对应的是vs2012,--stagedir是指定编译后存放的目录
bjam stage --toolset=msvc-11.0 --without-graph --without-graph_parallel --without-math --without-mpi --without-python --without-serialization --without-wave --stagedir="F:\boost\boost_1_53_0\bin\vc11" link=static runtime-link=shared runtime-link=static threading=multi debug release
稍微等一会,库就编译好了……
5、开始使用boost
首先需要设定文件包含目录:
我的boost库解压在F盘下
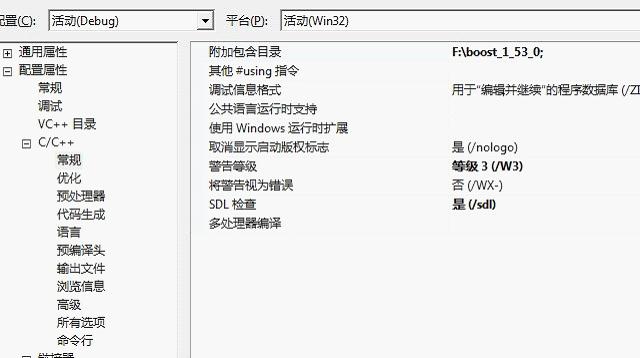
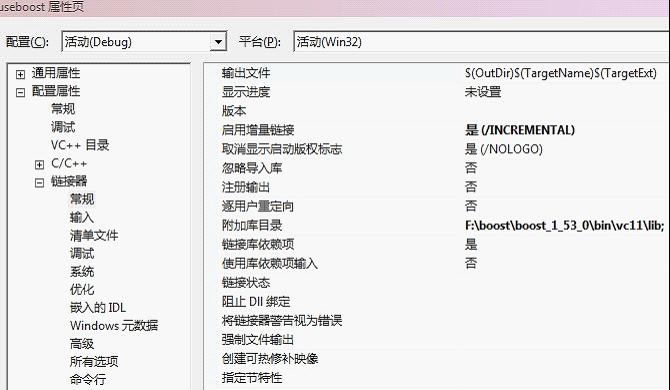
设定库目录:
“F:\boost\boost_1_53_0\”是我编译的出来lib的目录
然后建立我们的第一个boost项目,代码如下:
    #include "stdafx.h"
    #include "boost/thread.hpp"
    #include "iostream"
    using namespace std;

    void mythread()
    {
        cout << " hello,thread! " << endl;
    }

    int _tmain(int argc, _TCHAR* argv[])
    {
        boost::function<void()> f(mythread);
        boost::thread t(f);
        t.join();
        cout << " thread is over! " << endl;


        return 0;
    }
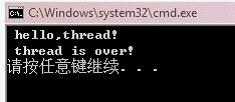
6.这是输出:
