sd+ebsynth_utility扩展+controlNet实现视频换风格
1. 安装sd,安装EbSynth(https://ebsynth.com/)
2.安装扩展:
https://github.com/Mikubill/sd-webui-controlnet
https://github.com/s9roll7/ebsynth_utility
3.下载模型
基础模型选用c站:https://civitai.com/models/104100?modelVersionId=155254 下载放置sd扩展 path/to/models/Stable-diffusion
controlnet模型:https://huggingface.co/lllyasviel/ControlNet-v1-1/tree/main 里面的 control_v11f1e_sd15_tile.pth,下载放置sd扩展 path/to/models/ControlNet
4.附加环境准备
apt update
apt install -y ffmpeg
pip install transparent-background -i https://pypi.tuna.tsinghua.edu.cn/simple
5.创建Ebsynth utility项目
建议:sd目录 path/to//output/ebsynth 每次工程创建一个目录 比如ebs01

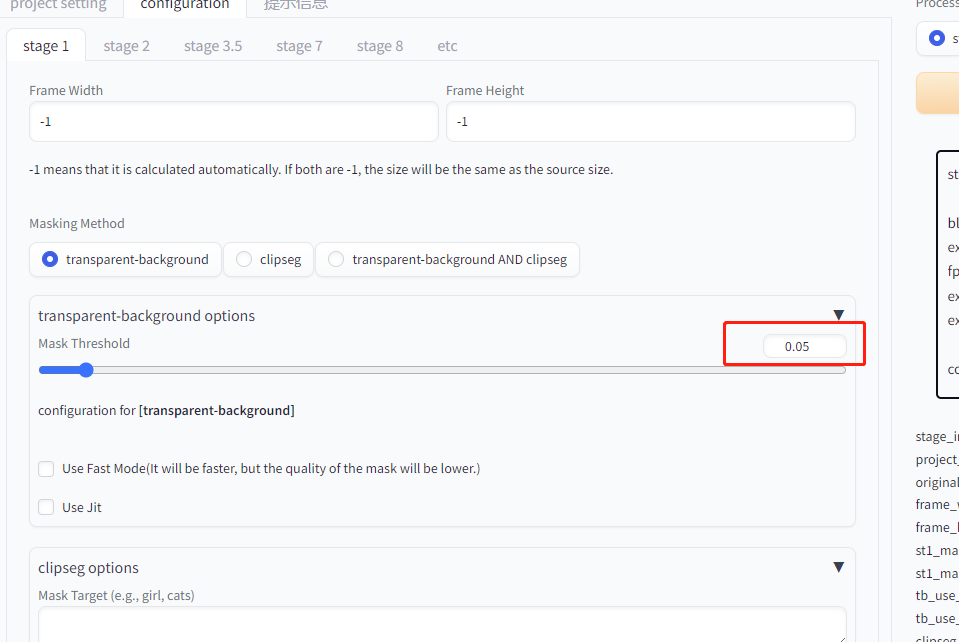
6. 运行
运行stage1:

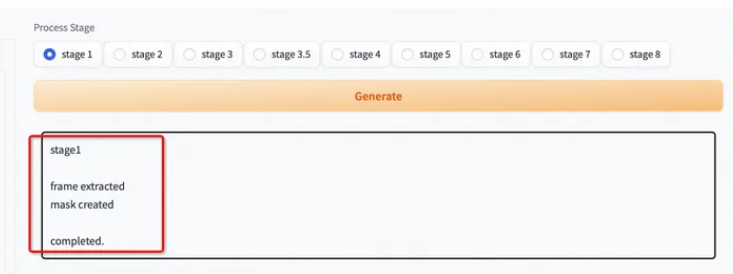
查看output:

运行stage2:默认值
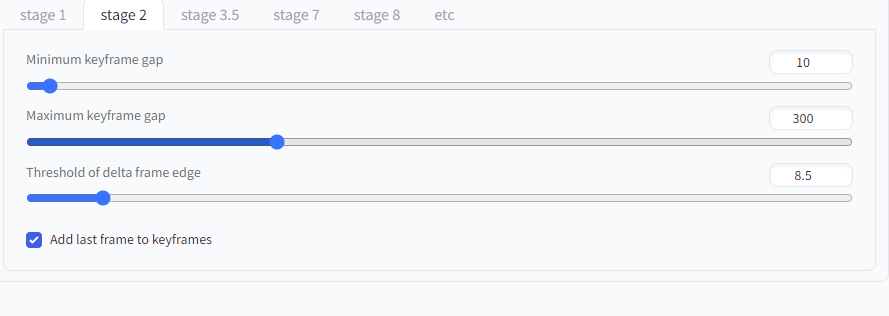
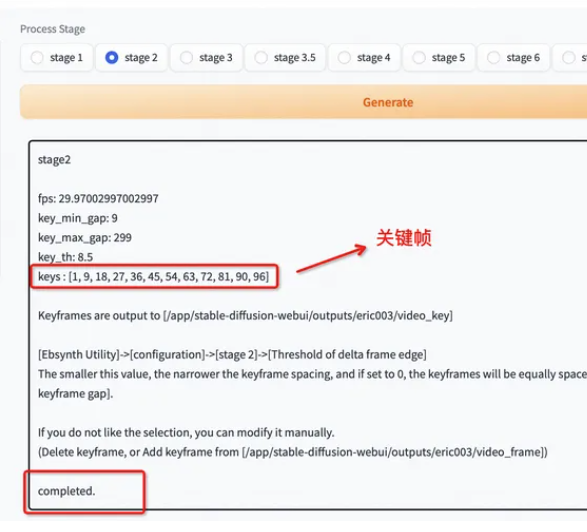

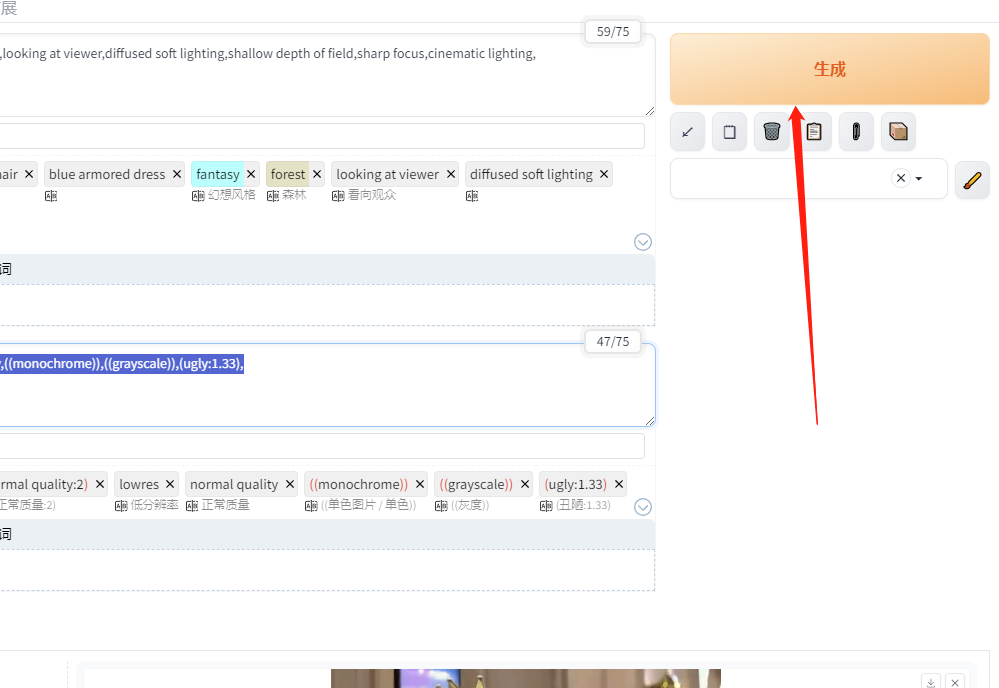
stage3:关键帧重绘

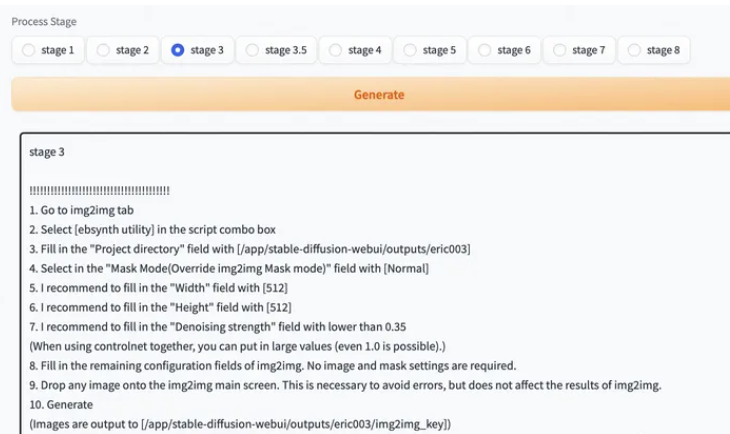
进入图生图页面
正向提示词:portrait of european girl,cute and beautiful face,elf,pointy ears,ear piercing,20yo,short french braid,bronde hair,blue armored dress,fantasy,forest,looking at viewer,diffused soft lighting,shallow depth of field,sharp focus,cinematic lighting,
反向提示词:watermark,sepia,black & white,EasyNegative,NG_DeepNegative_V1_75T,(worst quality:2),(low quality:2),(normal quality:2),lowres,normal quality,((monochrome)),((grayscale)),(ugly:1.33),
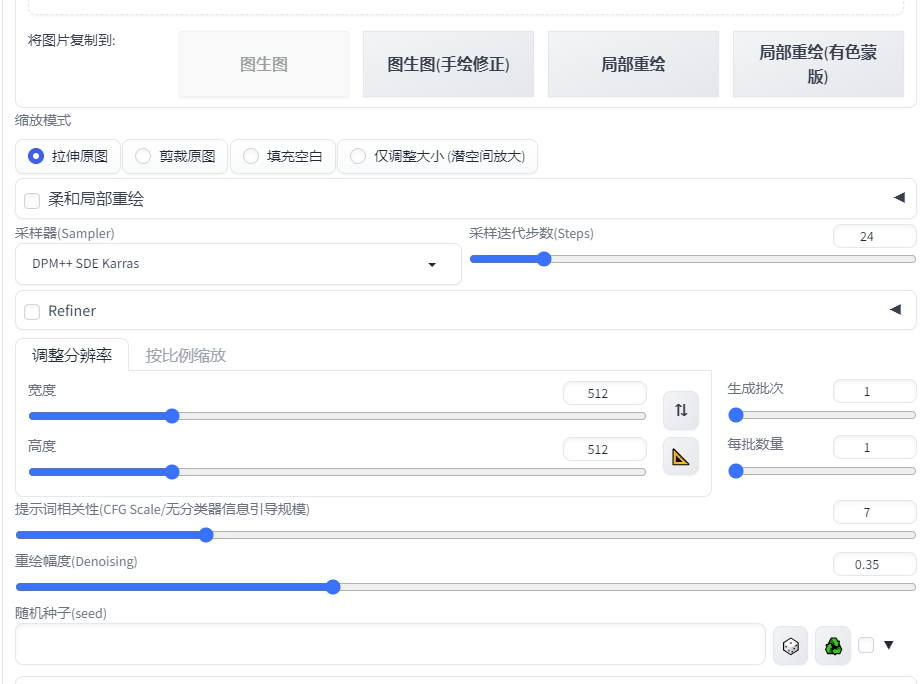
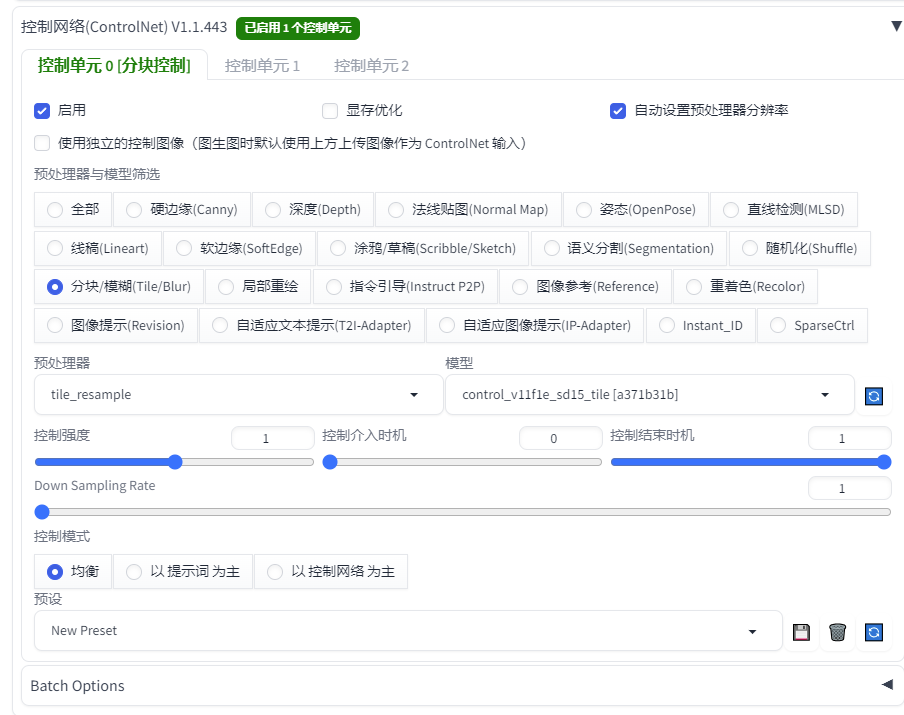
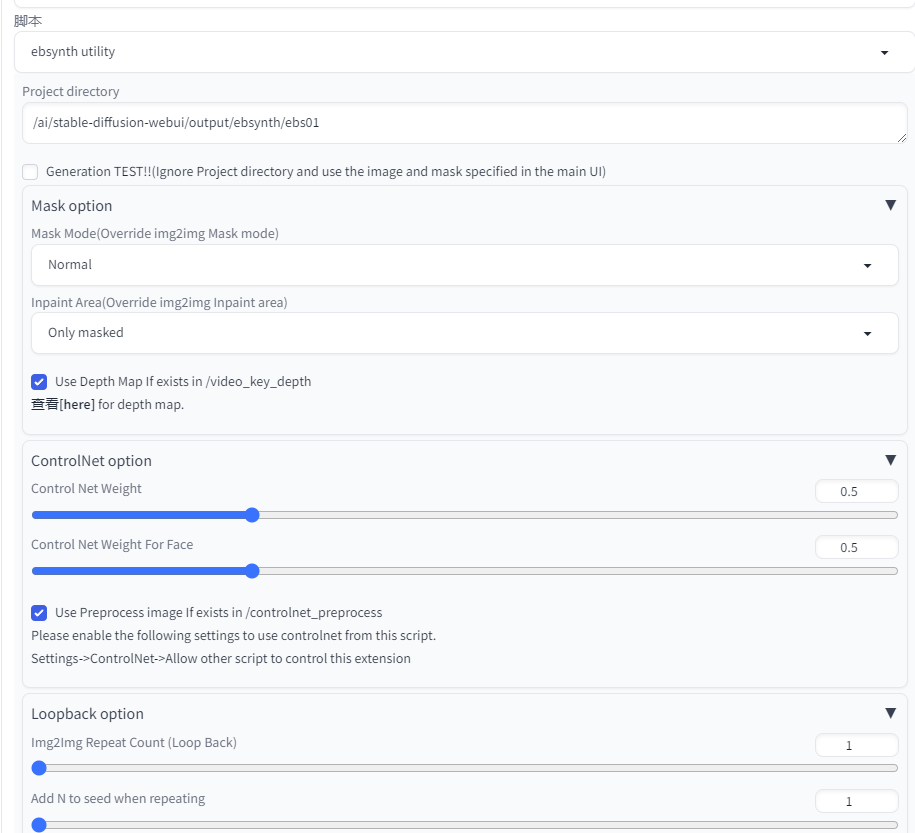
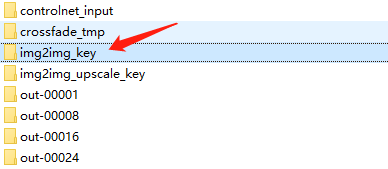
stage3.5直接生成
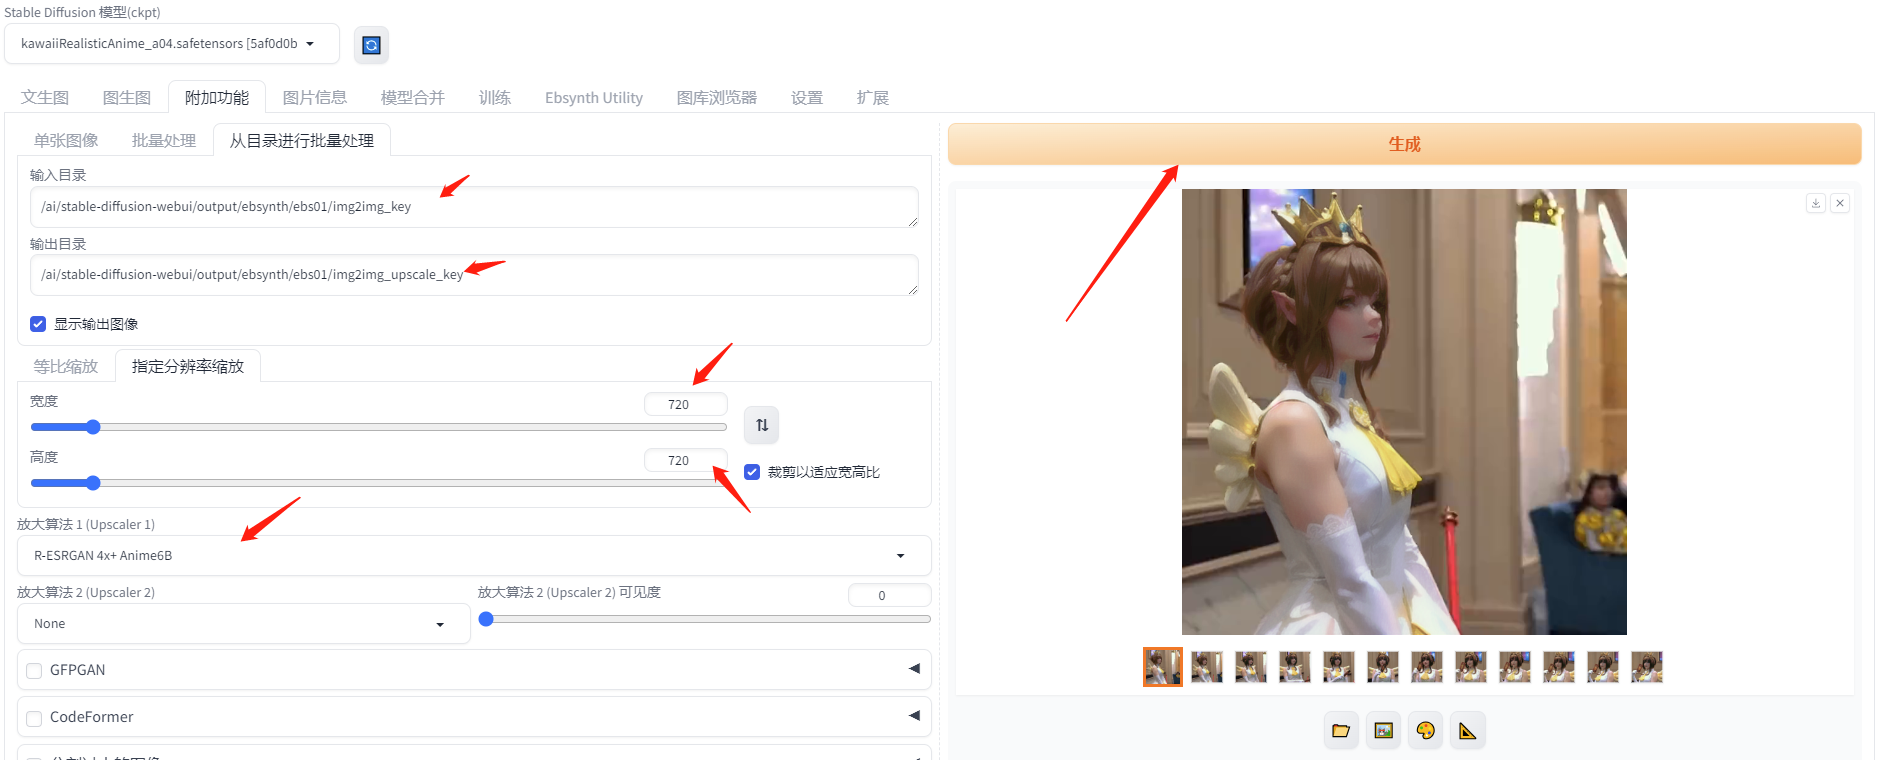
stage4:使用放大功能,使图片变得高清
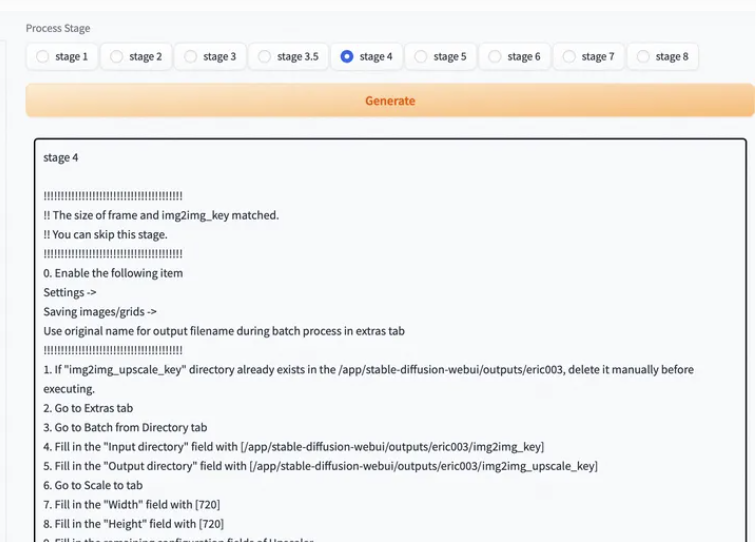
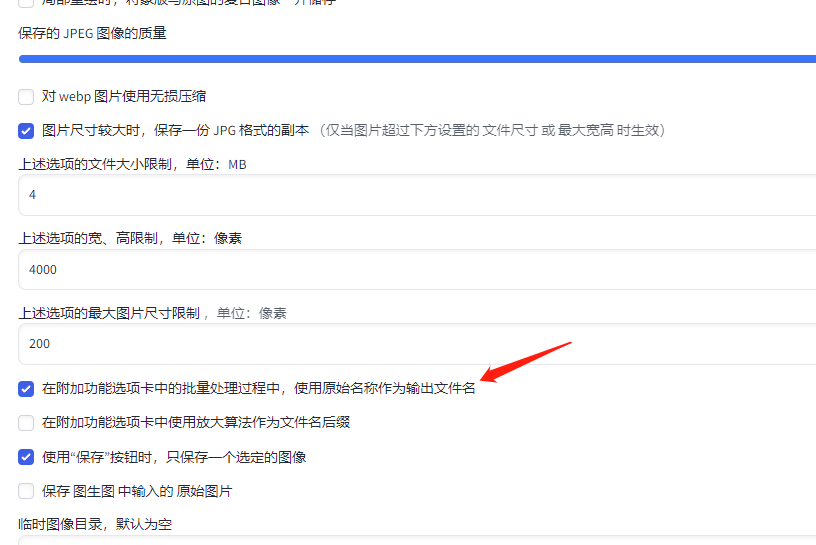

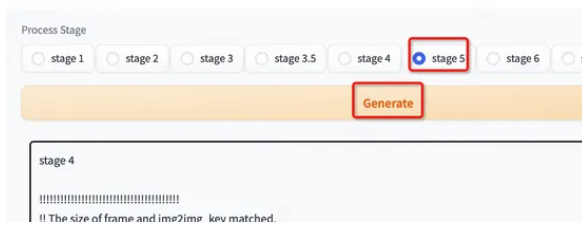
生成ebs文件,stage5
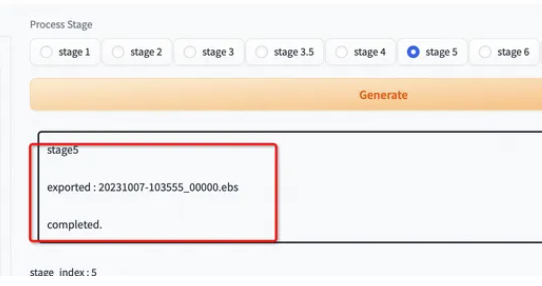

生成后使用
- EbSynth处理
- 下载云端项目文件到本地
- 使用EbSynth打开ebs文件(可能有多个)
- 点击RunAll绘制过渡帧

- 等待绘制完成,完成之后会看到很多out_###文件夹,将这些文件上传到服务器
合并视频,stage7:

snd为有声音的版本
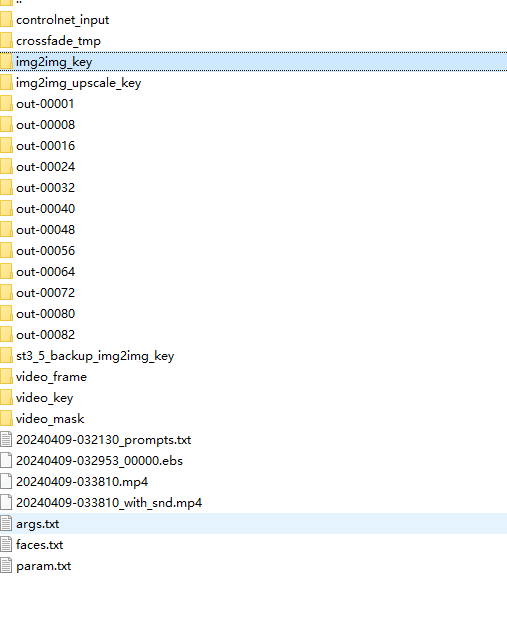
最终output目录结构
素材:
原视频:
生成后视频:


