
spring boot整合spring security自定义登录跳转地址
说明
在博客用户登录后我想跳转到各自用户的博客首页,我们知道这个地址是动态的。
例如: http://localhost:8080/blog/zhangsan,
每个用户地址不一样。这时候我就用到了自定义登录成功处理器,当然还有失败处理器,大家可以研究研究。
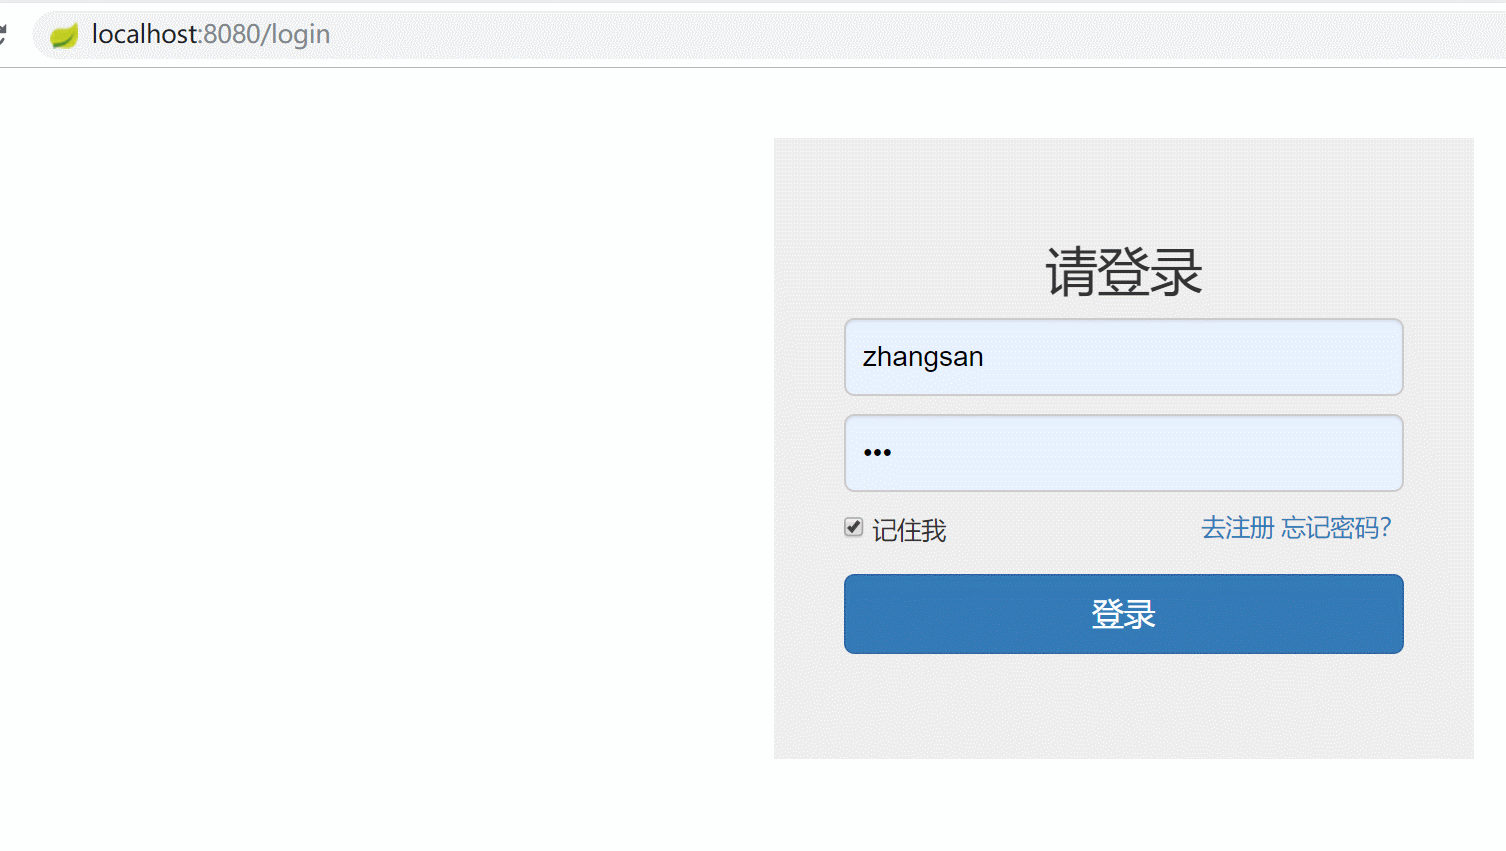
实现效果
1.访问受保护资源
访问:localhost:8080/welcome后跳转到登录页,登录成功后跳转到welcome
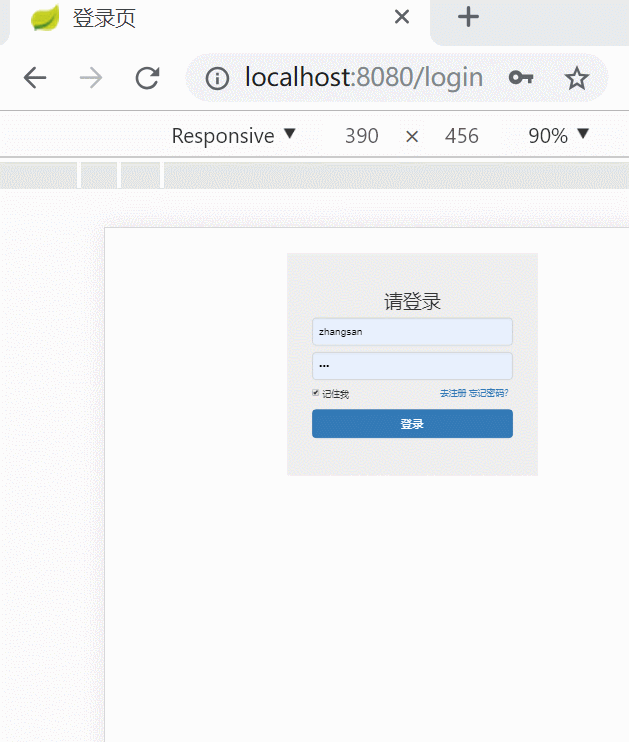
2.直接登录
跳转到用户自己的博客首页
实现步骤
1.编写自定义登录成功处理器
package com.laoxu.easyblog.config;

import com.laoxu.easyblog.common.SecurityUtil;
import org.springframework.security.core.Authentication;
import org.springframework.security.web.authentication.SavedRequestAwareAuthenticationSuccessHandler;
import org.springframework.security.web.savedrequest.HttpSessionRequestCache;
import org.springframework.security.web.savedrequest.RequestCache;
import org.springframework.security.web.savedrequest.SavedRequest;
import org.springframework.stereotype.Component;

import javax.servlet.ServletException;
import javax.servlet.http.HttpServletRequest;
import javax.servlet.http.HttpServletResponse;
import java.io.IOException;

/**
 * @Description: 自定义登录成功处理类
 * @Author laoxu
 * @Date 2019/5/25 23:32
 **/
@Component
public class MyAuthenctiationSuccessHandler extends SavedRequestAwareAuthenticationSuccessHandler {
    @Override
    public void onAuthenticationSuccess(HttpServletRequest request, HttpServletResponse response, Authentication authentication) throws ServletException, IOException {
        response.setContentType("application/json;charset=utf-8");

        RequestCache cache = new HttpSessionRequestCache();
        SavedRequest savedRequest = cache.getRequest(request, response);
        // 如果来源请求为空则跳转到用户博客首页
        String url = "";
        if((savedRequest==null)){
            url = "/blog/"+ SecurityUtil.getLoginUser();
        }else{
            url = savedRequest.getRedirectUrl();
        }

        System.out.println(url);

        response.sendRedirect(url);
    }
}
2.添加spring security配置
package com.laoxu.easyblog.config;


import com.laoxu.easyblog.common.MyPasswordEncoder;
import com.laoxu.easyblog.entity.User;
import com.laoxu.easyblog.service.MyUserService;
import org.springframework.beans.factory.annotation.Autowired;
import org.springframework.context.annotation.Bean;
import org.springframework.context.annotation.Configuration;
import org.springframework.security.config.annotation.authentication.builders.AuthenticationManagerBuilder;
import org.springframework.security.config.annotation.web.builders.HttpSecurity;
import org.springframework.security.config.annotation.web.builders.WebSecurity;
import org.springframework.security.config.annotation.web.configuration.EnableWebSecurity;
import org.springframework.security.config.annotation.web.configuration.WebSecurityConfigurerAdapter;
import org.springframework.security.crypto.password.PasswordEncoder;
import org.springframework.security.web.authentication.rememberme.JdbcTokenRepositoryImpl;
import org.springframework.security.web.authentication.rememberme.PersistentTokenRepository;

import javax.annotation.Resource;
import javax.sql.DataSource;

/**
 * Spring Security配置
 *
 * @author laoxu
 * @create 2019-5-24
 **/
@EnableWebSecurity
public class WebSecurityConfig extends WebSecurityConfigurerAdapter {

    @Autowired
    MyAuthenctiationSuccessHandler myAuthenctiationSuccessHandler;

    @Resource
    private DataSource dataSource;

    @Resource(name = "myUserService")
    private MyUserService<User> userService;


    @Autowired
    public void configureGlobal(AuthenticationManagerBuilder auth) throws Exception {
        auth.userDetailsService(userService).passwordEncoder(new MyPasswordEncoder());
    }


    @Override
    protected void configure(HttpSecurity http) throws Exception {
        http.authorizeRequests()
                .antMatchers("/css/**", "/js/**", "/fonts/**", "/images/**").permitAll()
                .antMatchers("/welcome").hasRole("ADMIN")
                .and().formLogin().loginPage("/login").permitAll().successHandler(myAuthenctiationSuccessHandler)
                .and().logout().permitAll()
                .and().headers().frameOptions().disable()

        ;

        //开启记住我功能


}

 浙公网安备 33010602011771号