盘点Mac上搭建本地WebServer的几种方式
第一种: 通过Nginx搭建本地WebServer
安装nginx
brew install nginx
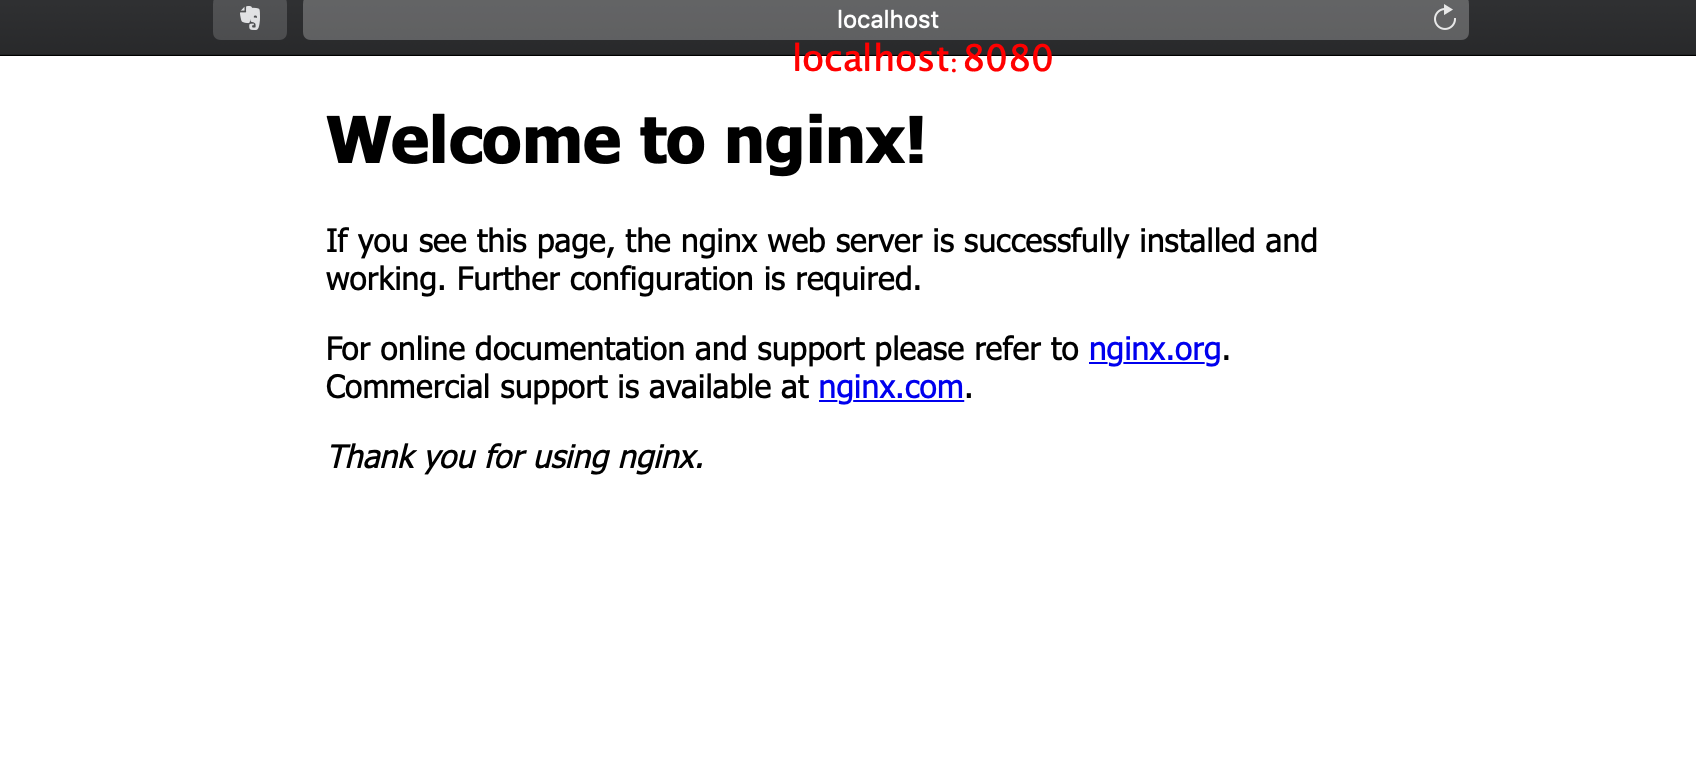
安装完后在终端输入nginx指令,启动nginx查看效果
确定安装好之后,在根目录创建一个文件夹MyServer,以后文件啥的直接往里扔,通过这个目录去访问
cd
mkdir MyServer
修改配置文件nginx.conf,brew安装的nginx配置文件路径默认在/usr/local/etc/nginx/nginx.conf
sudo vim /usr/local/etc/nginx/nginx.conf
打开配置文件之后,在43行附近,添加一个路由映射,也就是关联上之前创建的那个目录MyServer
# 书写✍️格式
     location /自定义路由名/ {
            alias 映射本地路径 ;
       }

# 根路由一般情况下不必去修改它
  location / {
            root   html;
            index  index.html index.htm;
     }

# 自己映射一个路由路径
        location /test/ {
            alias /Users/username/MyServer/;
        }
# 编辑完保存配置,重启或者刷新配置才会生效

sudo nginx -s reload #刷新配置
sudo brew services restart nginx #重启服务
往MyServer丢一些文件文本啥的,然后启动nginx去访问,查看具体效果如何

nginx常用的几条命令:
# 启动
nginx

# 刷新配置
sudo nginx -s reload

# 重启服务
sudo brew services restart nginx 或者 sudo nginx -s restart

# 停止服务
sudo brew services stop nginx 或者 sudo nginx -s stop

# 查看启动情况
ps -ef|grep nginx
第二种 Mac自带的apahe
其实Mac自带apache服务,只是需要一个起手式就能开启服务
#!/bin/bash
webServer() {
    echo "======================================"
	echo "请选择需要执行的apache命令选项"
	echo "0. 开启apache "
	echo "1. 重启apache"
	echo "2. 关闭apache"
	echo "3. 部署目录或者文件到apache根目录"
	echo "======================================"

	read -p "输入选项编号:" number
	case $number in
		0) startApache
		;;

		1) restartApache
		;;

		2) stopApache
		;;

		3) movePathToApache
		;;

	esac
 }
#开启
startApache (){
	sudo /usr/sbin/apachectl start
}
#重启
restartApache (){
	sudo /usr/sbin/apachectl restart
}
#停止
stopApache (){
	sudo /usr/sbin/apachectl stop
}

#部署
movePathToApache (){
	read -p "输入需要部署的项目路径: " root_proj_dir
	webServer_dir="/Library/WebServer/Documents"
	sudo cp -R ${root_proj_dir} ${webServer_dir}
	echo "已部署至127.0.0.1目录下"
	open /Library/WebServer/Documents
}

####################################################
webServer
第三种 Node.js 不过需要通过写代码来实现
首先得先安装node环境
其次参考github上的demo
git clone https://wwww.github.com/WangGuibin/FlutterStudyDailyCase.git
cd node_server
npm install
npm start
# 路由在config.js中配置 公共文件夹是public即根路由
# 接口编写参考`testData.js` 的写法
第四种 使用Dart语言编写
具体可参考
git clone https://wwww.github.com/WangGuibin/FlutterStudyDailyCase.git
cd  dart_webserver
#除了pubspec.yaml 其实就一个main.dart文件而已
第五种 使用Python建立临时本地服务(最简单)
封装了个shell快捷脚本,很方便建立一个本地的webServer服务,我一般用于局域网共享文件或者调试web网页
默认端口是8888
chmod a+x webServer 配置到环境变量直接调用webServer即可
#! /bin/bash
#调用: webServer -p 8888

IP=$(ifconfig | sed -e '/.*inet /!d;s///;s/ .*//' | tail -n 1)
IP_PORT=8888
while getopts "p:" opt; do
  case $opt in
    p)
       IP_PORT=$OPTARG
      ;;
    \?)
      IP_PORT=8888
      ;;
  esac
done

#先关闭指定的端口 避免占用导致开不成功~
kill -9 `lsof -t -i:$IP_PORT`

CurrentDir=`pwd`
echo "🚀 当前目录为:${CurrentDir},WebServer已开启"
IPs=$(ifconfig | sed -e '/.*inet /!d;s///;s/ .*//')
echo "🏡 访问地址如下: "
echo "http://localhost:${IP_PORT}"
for ip in ${IPs[@]}
do
echo "http://"$ip":${IP_PORT}"
done
echo "🔥 欢迎使用~ 🔥"

#python2.x
# python -m SimpleHTTPServer $IP_PORT

#python3.x
python3 -m http.server $IP_PORT --bind ${IP}
目前掌握的,先就是这些了 _ 以后有机会接触到其他的再更新.
未经作者授权,禁止转载
本文来自博客园,作者:CoderWGB,转载请注明原文链接:https://www.cnblogs.com/wgb1234/p/12466122.html
THE END
