
SpringMVC学习笔记1
1.创建maven工程
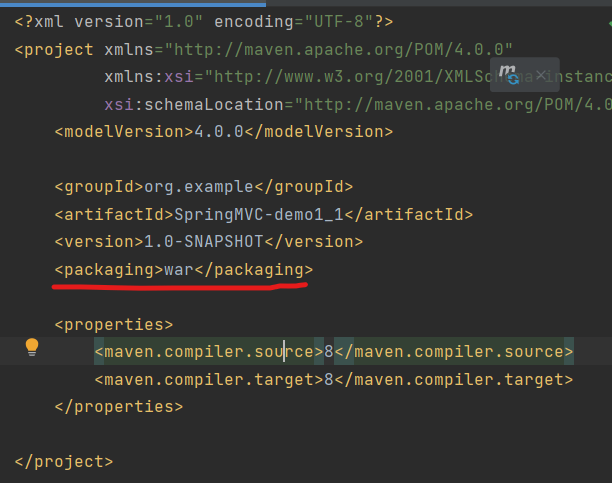
2.修改打包方式,设置packaging为war包
3.添加相应依赖(ctrl+alt+L快速整理代码)
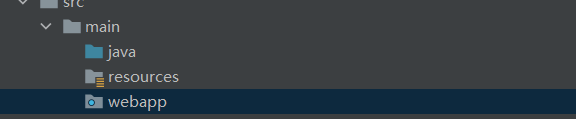
4.在main目录下创建webapp文件夹
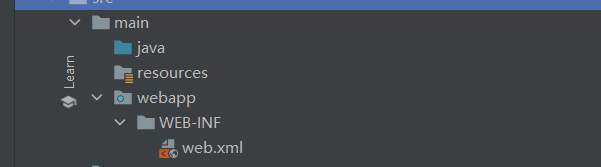
5.引入web.xml文件,其具体路径为
D:\idea\SpringMVC-demo1_1\src\main\webapp\WEB-INF\web.xml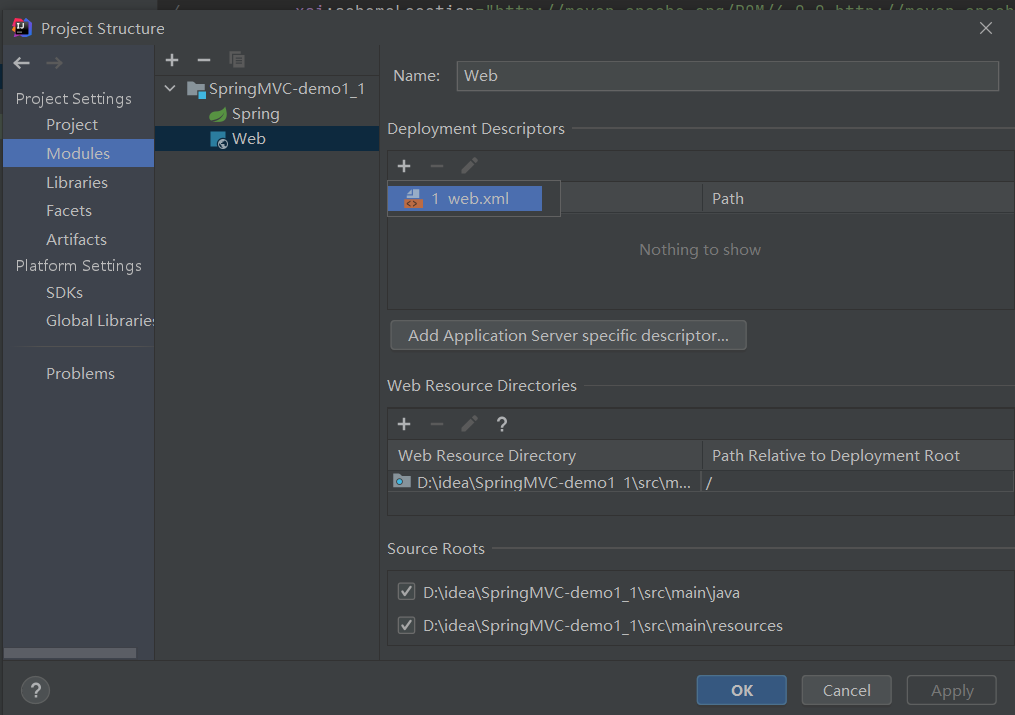
6.配置web.xml
注册SpringMVC的前端控制器DispatcherServlet
<?xml version="1.0" encoding="UTF-8"?>
<beans xmlns="http://www.springframework.org/schema/beans"
       xmlns:xsi="http://www.w3.org/2001/XMLSchema-instance"
       xmlns:context="http://www.springframework.org/schema/context"
       xsi:schemaLocation="http://www.springframework.org/schema/beans
                            http://www.springframework.org/schema/beans/spring-beans.xsd
                            http://www.springframework.org/schema/context
                            https://www.springframework.org/schema/context/spring-context.xsd">

    <!--扫描组件-->
    <context:component-scan base-package="controller"></context:component-scan>

    <!-- 配置Thymeleaf视图解析器 -->
    <bean id="viewResolver" class="org.thymeleaf.spring5.view.ThymeleafViewResolver">
        <property name="order" value="1"/>
        <property name="characterEncoding" value="UTF-8"/>
        <property name="templateEngine">
            <bean class="org.thymeleaf.spring5.SpringTemplateEngine">
                <property name="templateResolver">
                    <bean class="org.thymeleaf.spring5.templateresolver.SpringResourceTemplateResolver">
                        <!-- 视图前缀 -->
                        <property name="prefix" value="/WEB-INF/templates/"/>
                        <!-- 视图后缀 -->
                        <property name="suffix" value=".html"/>
                        <property name="templateMode" value="HTML5"/>
                        <property name="characterEncoding" value="UTF-8"/>
                    </bean>
                </property>
            </bean>
        </property>
    </bean>
</beans>
7.创建index.html,servlet
8.配置tomcat
总体来说,SpringMVC的大体流程,首先引入依赖,然后配置web.xml文件以及相应的直接配置xml问文件,然后即可创建对应的servlet以及html界面
    @RequestMapping("/")
    public String index(){
        return "index";
    }
首先,通过servlet中的/中对应的界面去寻找相应的html界面,然后即可跳转
html->servlet
<a th:href="@{/target}">访问目标页面target</a>
<!--@{/target}自动添加上下文路径-->所以只在href上写出要访问的servler注解名称即可
 @RequestMapping("/target")
    public String toTarget(){
        return "target";
    }
2.RequestMapping属性
RequestMapping标记在类上以及标记在方法上,可以形成一个查找的目录结构
idea(alt+7可以查看相应类对应的方法)
@RequestMapping("/hello")
@Controller
public class RequestMappingController {

    @RequestMapping(value = {"/testRequestMapping","test"}
                    ,method = {RequestMethod.GET,RequestMethod.POST}
                    ,params = {"username","password=123456"})

    public String test(){
        return "success";
    }
}
<a th:href="@{/hello/test(username='admin',password='123456')}">测试params</a>
springMVC路径支持ant风格
?:表示任意的单个字符
*:表示的0个或多个字符
**:表示任意的一层或多层目录i
注意:在使用**是,只能使用/**/xxx的方式
 @RequestMapping("/a?a/testAnt")
    public String testAnt(){
        return "success";
    }
<a th:href="@{/hello/a1a/testAnt}">测试ant风格路径</a>
SpringMVC支持路径中的占位符
SpringMVC路径中的占位符常用于RESTful风格中,蛋糕请求路径中将某些数据通过路径的方式传输到服务器中,就可以在相应的@RequestMapping注解的value属性中通过占位符(xxx)表示传输的数据,再通过@PathVarlable注解,将占位符所表示的数据赋值给控制器方法的i形参。
<a th:href="@{/hello/testRest/1/admin}">测试路径中的占位符</a>
  @RequestMapping("/testRest/{id}/{username}")
    public String testRest(@PathVariable("id") String id,@PathVariable("username") String username){
        System.out.println("id+"+id+"username"+username);
        return "success";
    }

 浙公网安备 33010602011771号