SpringCloud(Alibaba版)Nacos注册中心

一、Nacos Discovery简介
为什么叫Nacos?
前四个字母分别为 Naming 和 Configuration 的前两个字母,最后的 s 为 Service。所以组成 N A C O S。
是什么?
Nacos 是一个易于构建云原生应用的动态服务发现,配置管理和服务管理平台。使用 Spring Cloud Alibaba Nacos Discovery,你可以基于 Spring Cloud 的编程模型快速访问 Nacos 服务注册功能。
-
Nacos:Dynamic Naming and Configuration Service。
-
Nacos:其实就是 Eureka 服务注册中心 + Config 服务配置中心 + Bus消息总线的组合。
二、安装并运行Nacos
去哪下载?
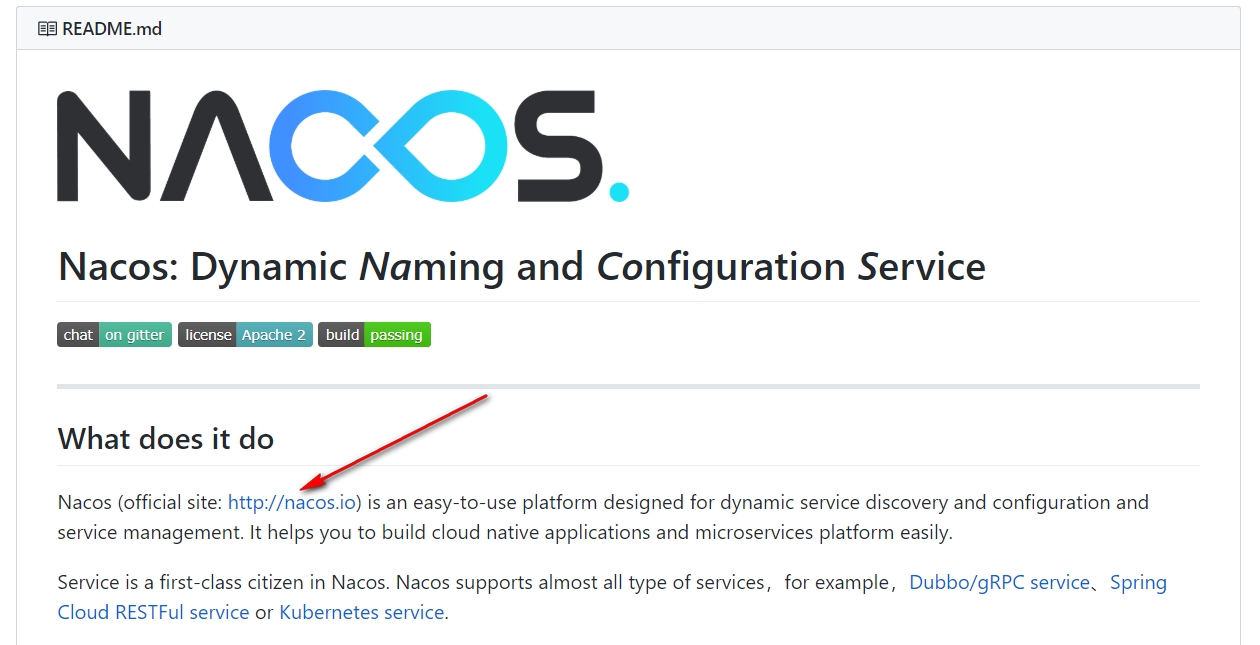
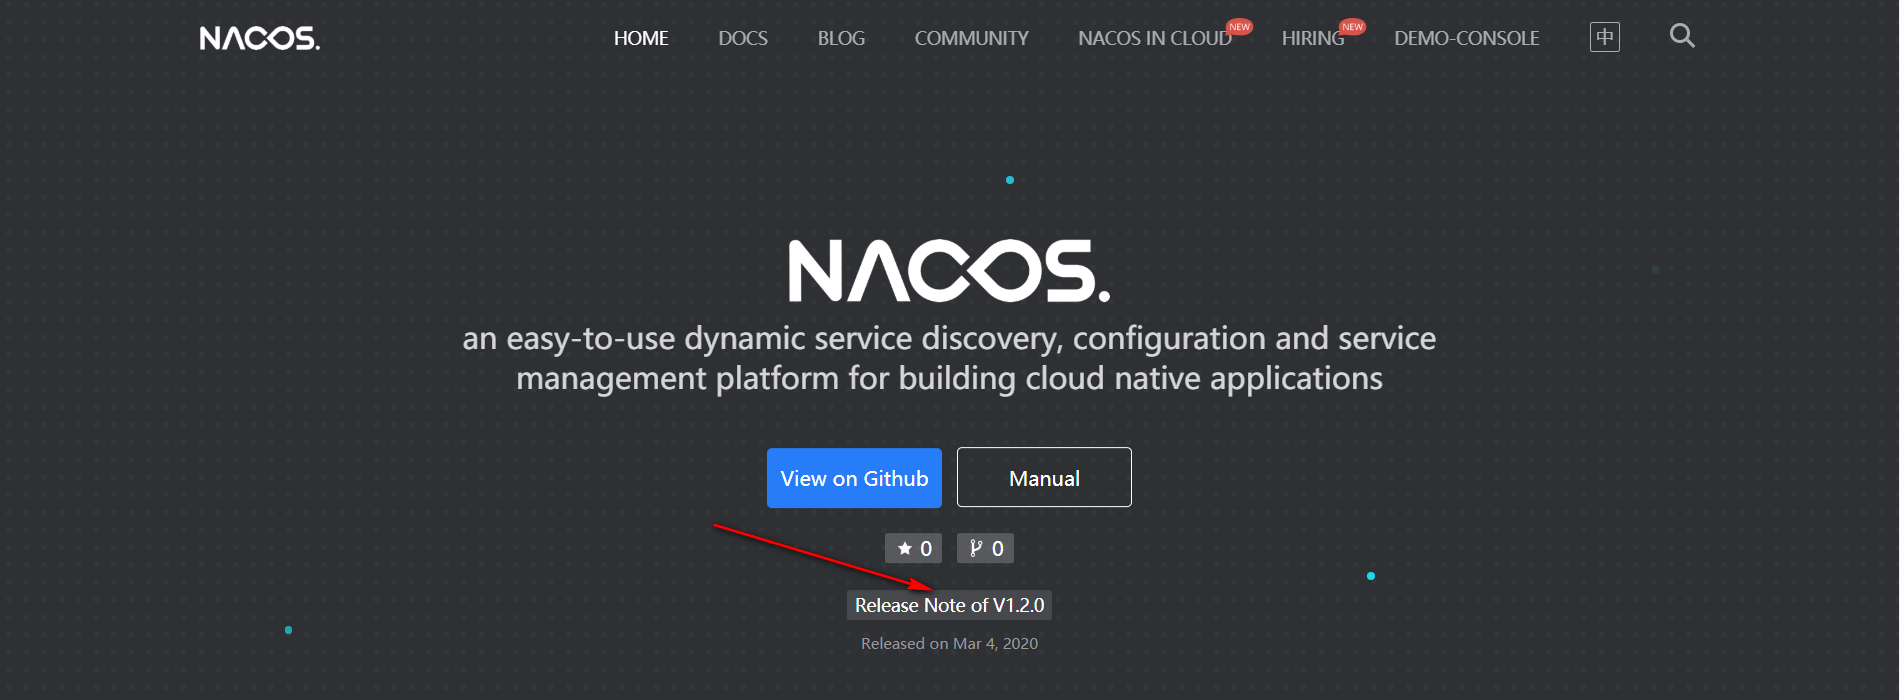
进入 Nacos 官网后,然后单击 Release Note of V1.2.0 版本:
运行Nacos:
解压 Nacos 安装包成功后,找到自己下载 Nacos 服务的 bin 目录,有个 startup.cmd 命令,鼠标双击启动即可运行:
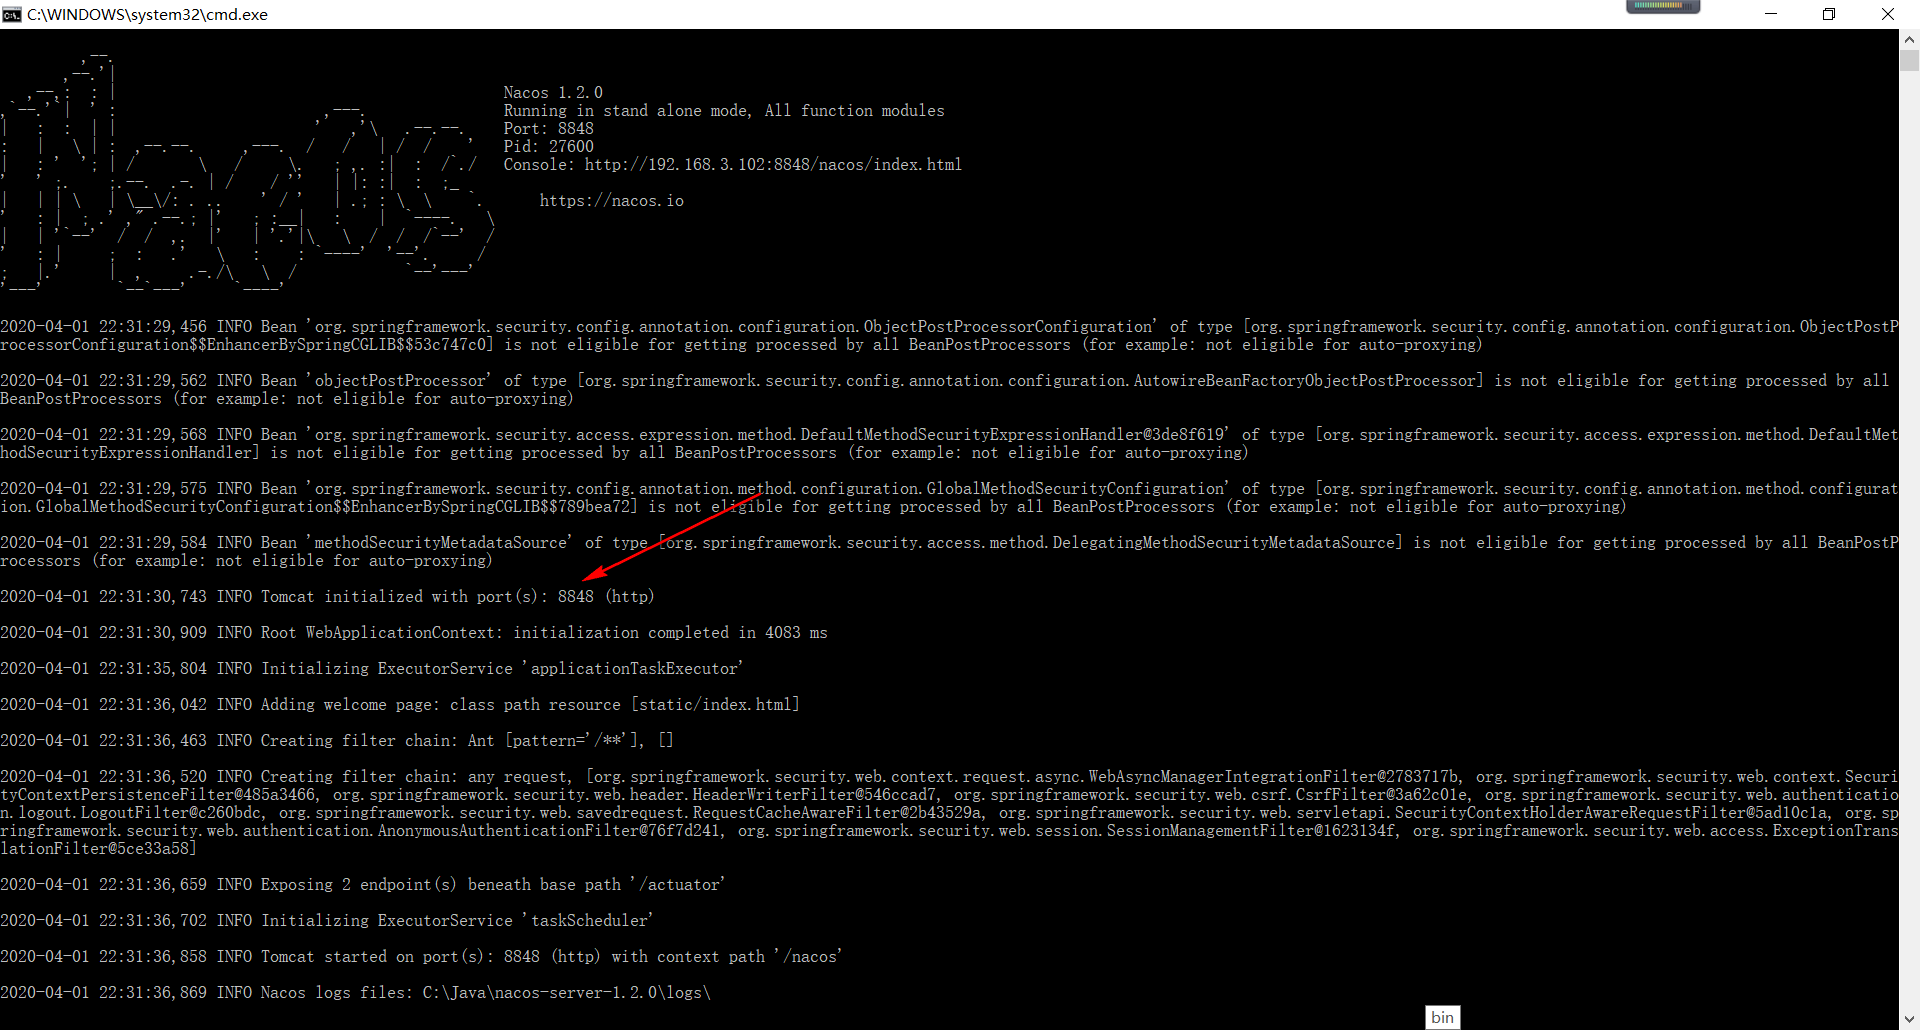
此时,一个标准的单机模式 Nacos 服务就启动成功了,Nacos 默认 Tomcat 端口号为 8848。看到 8848 这个数字,不由自主的让我想起很早以前打广告牛逼的 8848 钛金手机,吐槽一波!!!
如何验证是否运行成功呢?
很简单,命令运行成功后直接访问http://localhost:8848/nacos/,进入到 Nacos 网站首页管理界面,看到有 Nacos Logo 这个界面之后,就代表你的 Nacos 服务没有任何问题了,这样界面有点类似于平时我们做项目的后台管理页面。
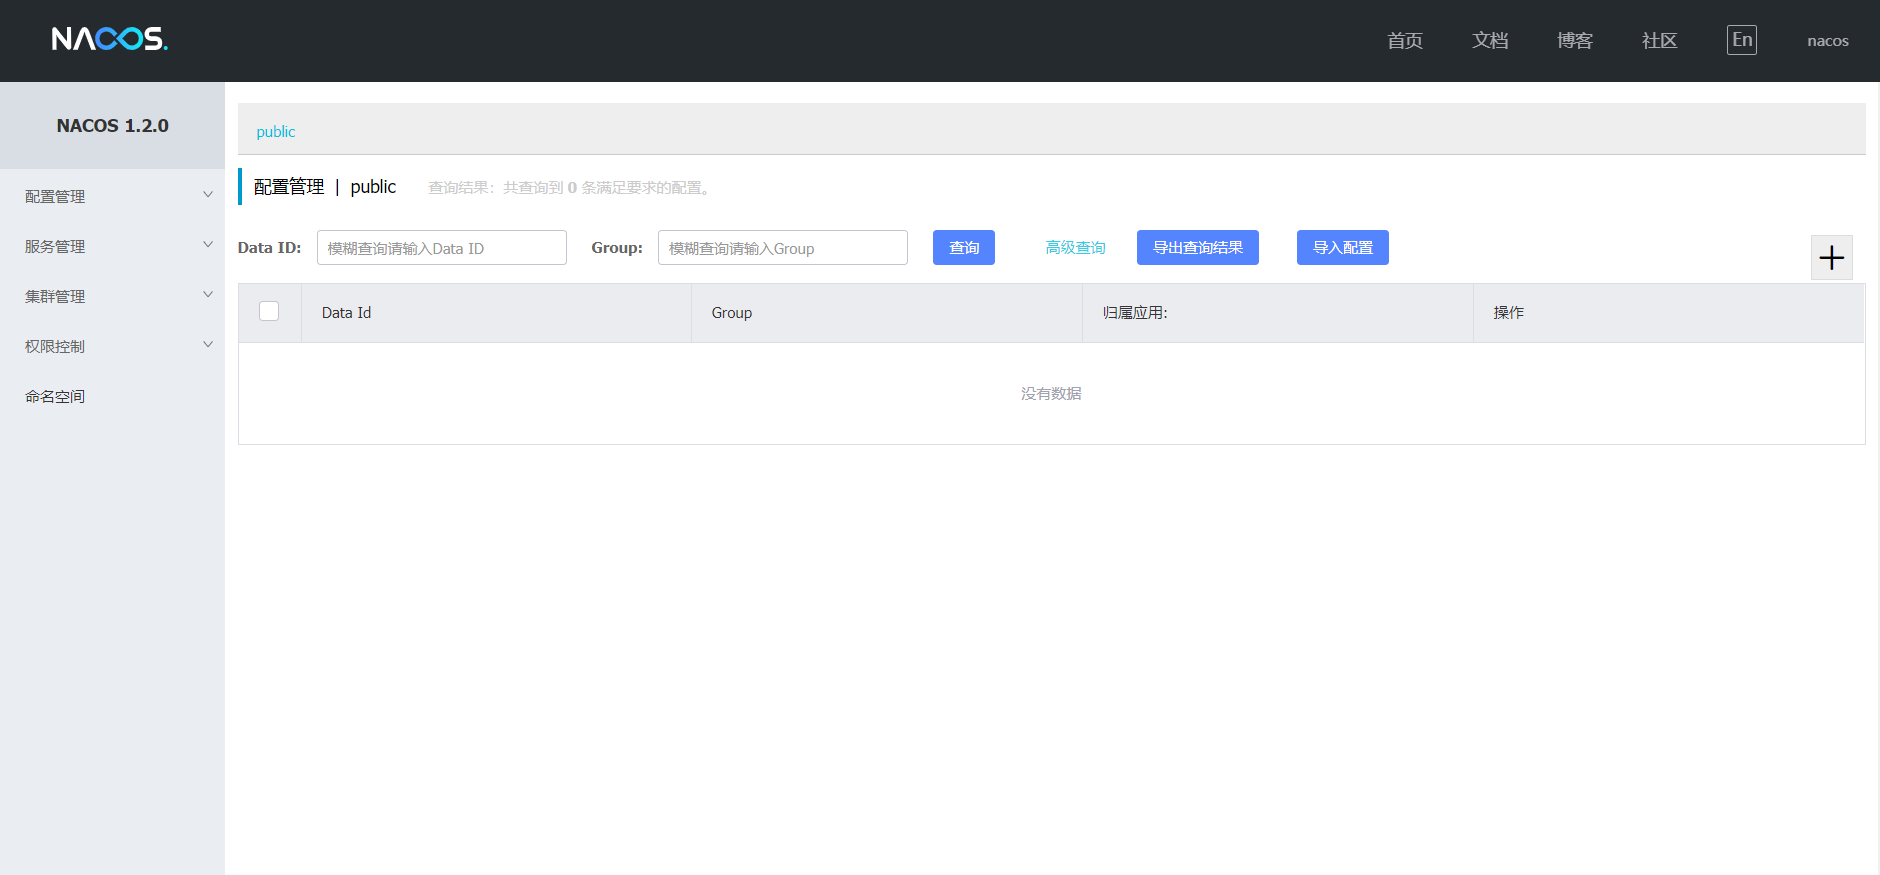
我使用的是 1.2.0 版本,不需要进入 Nacos 登录页面就可以进行使用。这时不管点哪个菜单都没有数据显示!
三、基于Nacos的服务提供者
创建gradle模块provider-nacos并添加web、actuator监控与alibaba-nacos-discovery依赖
dependencies {
   compile group: 'org.springframework.boot', name: 'spring-boot-starter-web'

   compile group: 'org.springframework.boot', name: 'spring-boot-starter-actuator'

   compile group: 'com.alibaba.cloud', name: 'spring-cloud-starter-alibaba-nacos-discovery', version: '2.1.0.RELEASE'
}

server:
  port: 8081
spring:
  application:
    name: provider-nacos
  cloud:
    nacos:
      discovery:
        server-addr: 127.0.0.1:8848 #指定Nacos服务地址
management:
  endpoints:
    web:
      exposure:
        include: '*'
注意:如果不想使用 Nacos 服务注册和发现功能,则 properties 配置文件中设置 spring.cloud.nacos.discovery 为 false。或者使用 yaml 格式:

spring:
  cloud:
    nacos:
      discovery: false
启动类添加@EnableDiscoveryClient注解,将Spring Boot应用程序注册服务至 Nacos。

package org.wesson.cloudalibaba.nacos;

import org.springframework.boot.SpringApplication;
import org.springframework.boot.autoconfigure.SpringBootApplication;
import org.springframework.cloud.client.discovery.EnableDiscoveryClient;

@EnableDiscoveryClient
@SpringBootApplication
public class ProviderNacosApplication {

    public static void main(String[] args) {
        SpringApplication.run(ProviderNacosApplication.class, args);
    }

}

package org.wesson.cloudalibaba.nacos.controller;

import org.springframework.beans.factory.annotation.Value;
import org.springframework.web.bind.annotation.GetMapping;
import org.springframework.web.bind.annotation.RequestMapping;
import org.springframework.web.bind.annotation.RestController;

@RestController
@RequestMapping("/client")
public class ProviderNacosController {

    @Value("${server.port}")
    private String serverPort;

    @GetMapping("/info")
    public String info() {
        return "hello, nacos registry center serverPort:" + serverPort;
    }

}
Step1:上述已经成功启动 Nacos 服务了
Step2:直接运行 provider-nacos 启动类,端口为8081
Step3:先访问http://localhost:8081/client/info,输出结果如下:
-
hello, nacos registry center serverPort:8081
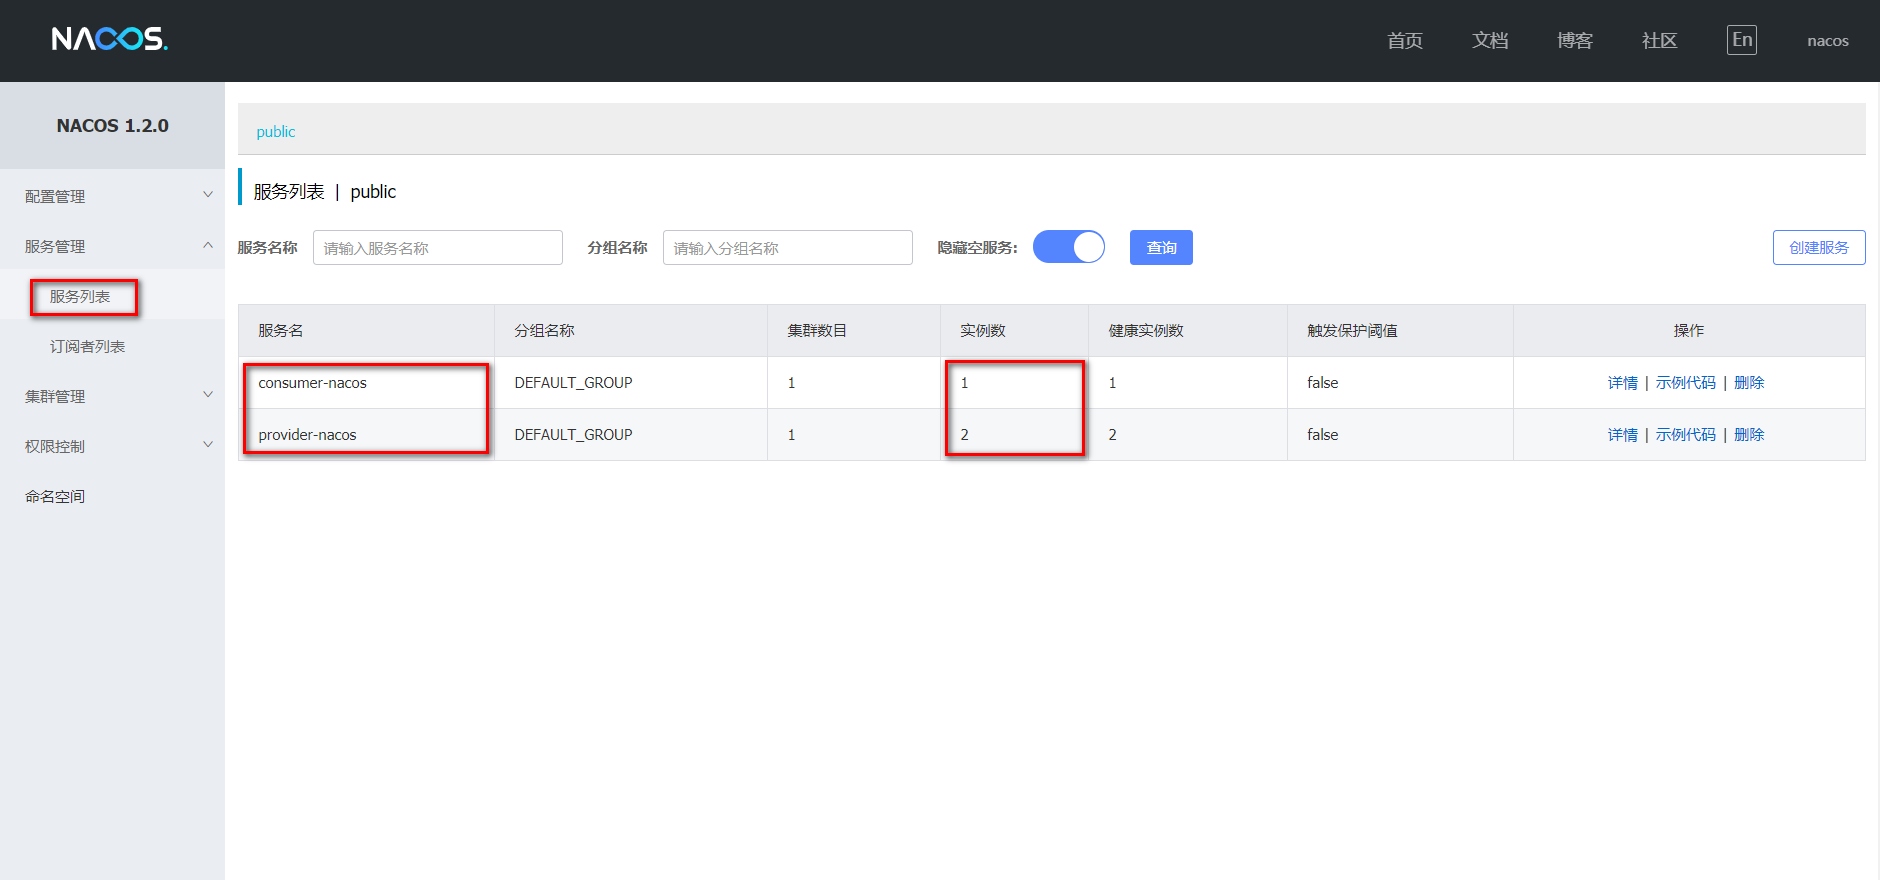
Step4:然后访问http://localhost:8848/nacos,找到服务管理下的服务列表,就能够看到一个服务名为 provider-nacos 的应用程序注册至 Nacos 服务管理页面了:
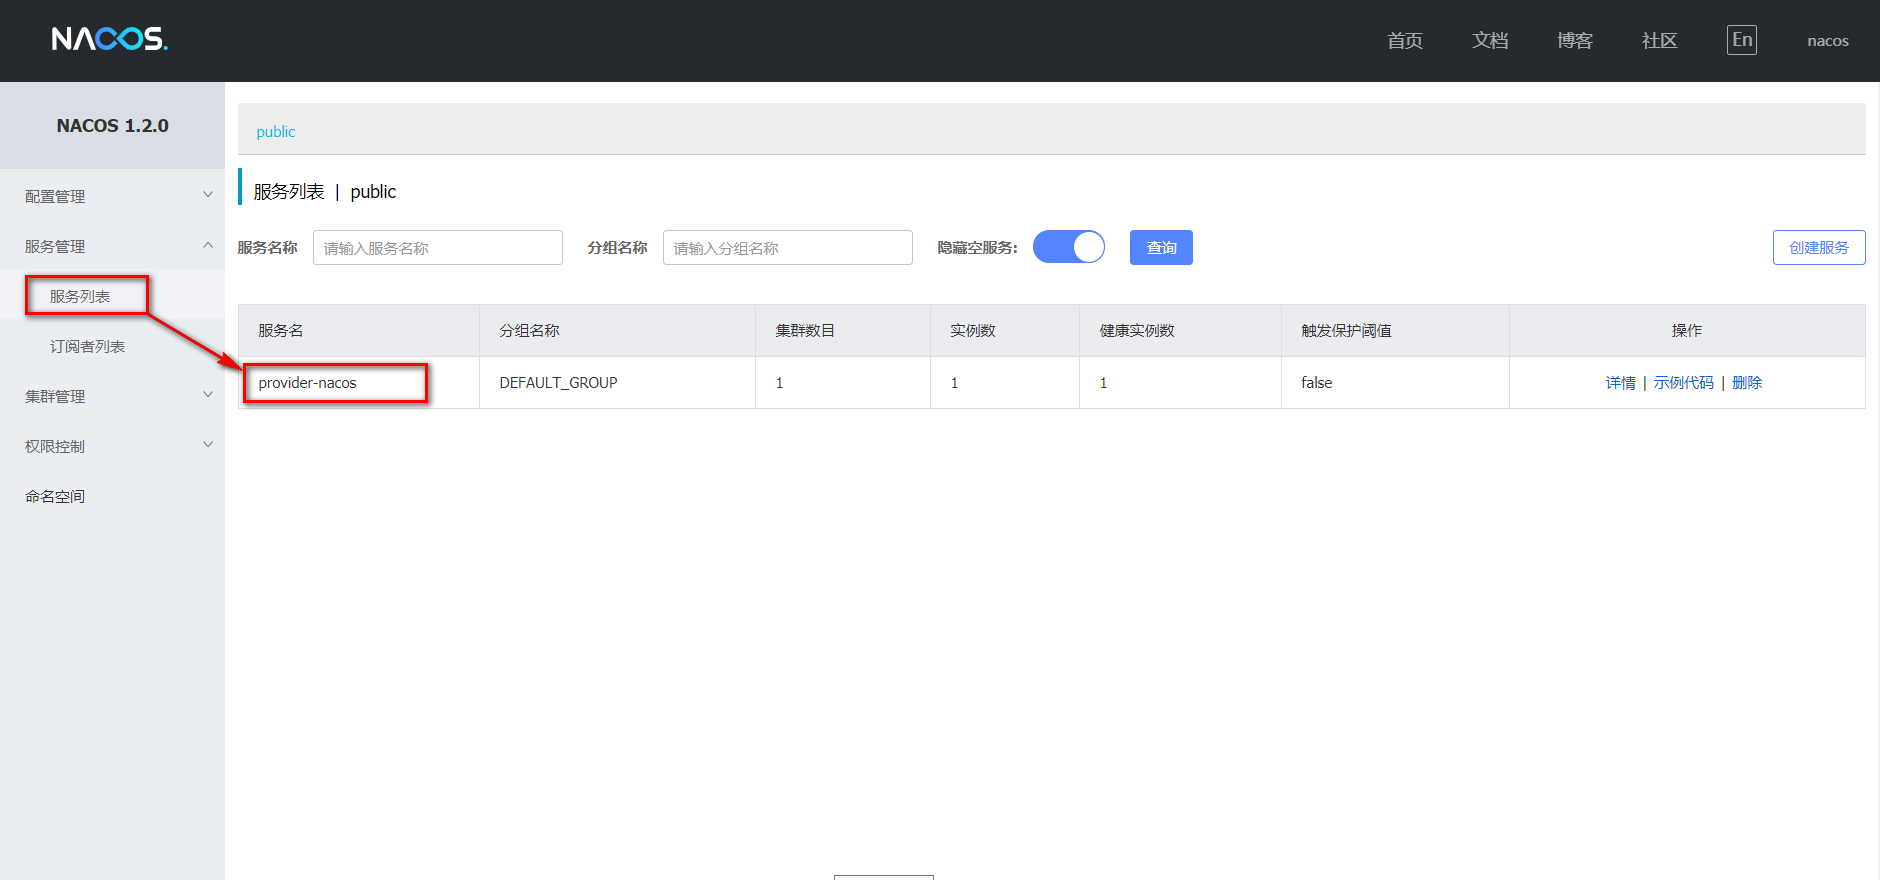
此时,Nacos 服务注册中心 + 服务提供者构建成功了。
四、基于Nacos的服务消费者
1)build.gradle项目依赖
dependencies {
   compile group: 'org.springframework.boot', name: 'spring-boot-starter-web'

   compile group: 'org.springframework.boot', name: 'spring-boot-starter-actuator'

   compile group: 'com.alibaba.cloud', name: 'spring-cloud-starter-alibaba-nacos-discovery', version: '2.1.0.RELEASE'
}

server:
  port: 8000
spring:
  application:
    name: consumer-nacos
  cloud:
    nacos:
      discovery:
        server-addr: 127.0.0.1:8848 #指定Nacos服务地址
management:
  endpoints:
    web:
      exposure:
        include: '*'
service-url:
  provider-nacos: http://provider-nacos #消费者将要去访问的微服务名称(注册进Nacos的微服务提供者)
3)启动类ConsumerNacosApplication.java
通过 Spring Cloud 原生注解 @EnableDiscoveryClient 开启服务注册发现功能。给 RestTemplate 实例添加 @LoadBalanced 注解,开启 @LoadBalanced 与 Ribbon 的集成:

package org.wesson.cloudalibaba.nacos;

import org.springframework.boot.SpringApplication;
import org.springframework.boot.autoconfigure.SpringBootApplication;
import org.springframework.cloud.client.discovery.EnableDiscoveryClient;
import org.springframework.cloud.client.loadbalancer.LoadBalanced;
import org.springframework.context.annotation.Bean;
import org.springframework.web.client.RestTemplate;

@EnableDiscoveryClient
@SpringBootApplication
public class ConsumerNacosApplication {

    // 实例化一个RestTemplate Bean
    @Bean
    @LoadBalanced
    public RestTemplate restTemplate() {
        return new RestTemplate();
    }

    public static void main(String[] args) {
        SpringApplication.run(ConsumerNacosApplication.class, args);
    }

}

package org.wesson.cloudalibaba.nacos.controller;

import org.slf4j.Logger;
import org.slf4j.LoggerFactory;
import org.springframework.beans.factory.annotation.Autowired;
import org.springframework.beans.factory.annotation.Value;
import org.springframework.cloud.client.ServiceInstance;
import org.springframework.cloud.client.loadbalancer.LoadBalancerClient;
import org.springframework.web.bind.annotation.GetMapping;
import org.springframework.web.bind.annotation.RequestMapping;
import org.springframework.web.bind.annotation.RestController;
import org.springframework.web.client.RestTemplate;

@RestController
@RequestMapping("/client")
public class ConsumerNacosController {

    private static final Logger LOGGER = LoggerFactory.getLogger(ConsumerNacosController.class);

    @Autowired
    private RestTemplate restTemplate;

    @Autowired
    private LoadBalancerClient loadBalancerClient;

    @Value("${service-url.provider-nacos}")
    private String consumerServiceUrl;

    @GetMapping("/info")
    public String info() {
        // getForObject方法
        return restTemplate.getForObject(consumerServiceUrl + "/client/info", String.class);
    }

    @GetMapping("/log-info-instance")
    public void logInfo() {
        ServiceInstance serviceInstance = this.loadBalancerClient.choose("provider-nacos");
        // 打印当前选择的是哪个节点
        ConsumerNacosController.LOGGER.info("{}:{}:{}", serviceInstance.getServiceId(),
                serviceInstance.getHost(), serviceInstance.getPort());
    }

}
5)测试
Step1:上述已经成功启动 Nacos 服务了
Step2:运行 provider-nacos 启动类2个实例,端口为8081、8082
Step3:运行 consumer-nacos 启动类,端口为8000
Step4:多次访问http://localhost:8000/client/info,返回结果如下:
-
hello, nacos registry center serverPort:8081
Step5:多次访问http://localhost:8000/client/log-info-instance,控制台会打印如下日志信息:

6)为什么Nacos支持负载均衡?
因为阿里后面技术整合的非常好,Spring Cloud Alibaba 技术会吸收前面 Spring Cloud Netflix 技术的优点,所以天生默认自带负载均衡功能。我们打开 IDEA 找到最右侧 Gradle 依赖:
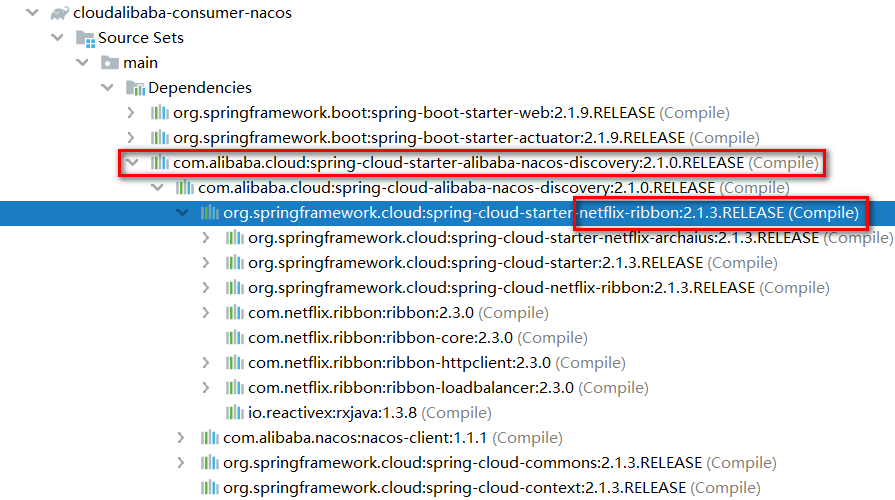
只要是使用过 Netflix Ribbon 都清楚,第一支持负载均衡(Load Balance),第二可以调用 RestTemplate,进行REST风格远程调用。


