CentOS安装noVNC
准备EPEL源
wget -O /etc/yum.repos.d/CentOS-Base.repo http://mirrors.cloud.tencent.com/repo/centos7_base.repo
wget -O /etc/yum.repos.d/epel.repo http://mirrors.cloud.tencent.com/repo/epel-7.repo
运行效果

安装noVNC,默认会自动安装python和websockify
yum install novnc
运行效果

准备证书
#创建证书存放目录
mkdir -p /etc/novnc/ssl

#openssl命令生成证书
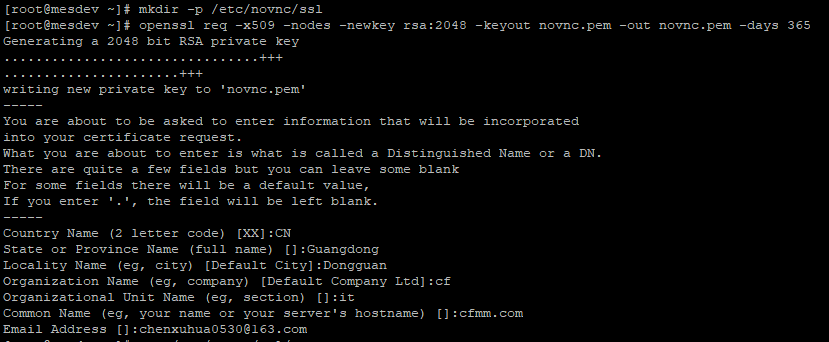
openssl req -x509 -nodes -newkey rsa:2048 -keyout novnc.pem -out novnc.pem -days 365

Country Name (2 letter code) [XX]:CN
State or Province Name (full name) []:Guangdong
Locality Name (eg, city) [Default City]:Dongguan
Organization Name (eg, company) [Default Company Ltd]:cf
Organizational Unit Name (eg, section) []:it
Common Name (eg, your name or your server's hostname) []:cfmm.com
Email Address []:chenxuhua0530@gmail.com
运行效果

运行websockify(单机版本)
websockify -D --web=/usr/share/novnc/ --cert=/etc/novnc/ssl/novnc.pem 6080 172.17.130.251:5900

#参数解析
websockify -D  #以后台的方式启动
--web=/usr/share/novnc/  #对应到novnc的文件(html等)
--cert=/etc/novnc/ssl/novnc.pem #证书位置
6080  #websockify监听端口
172.17.130.251:5900  #VNC Server地址及端口
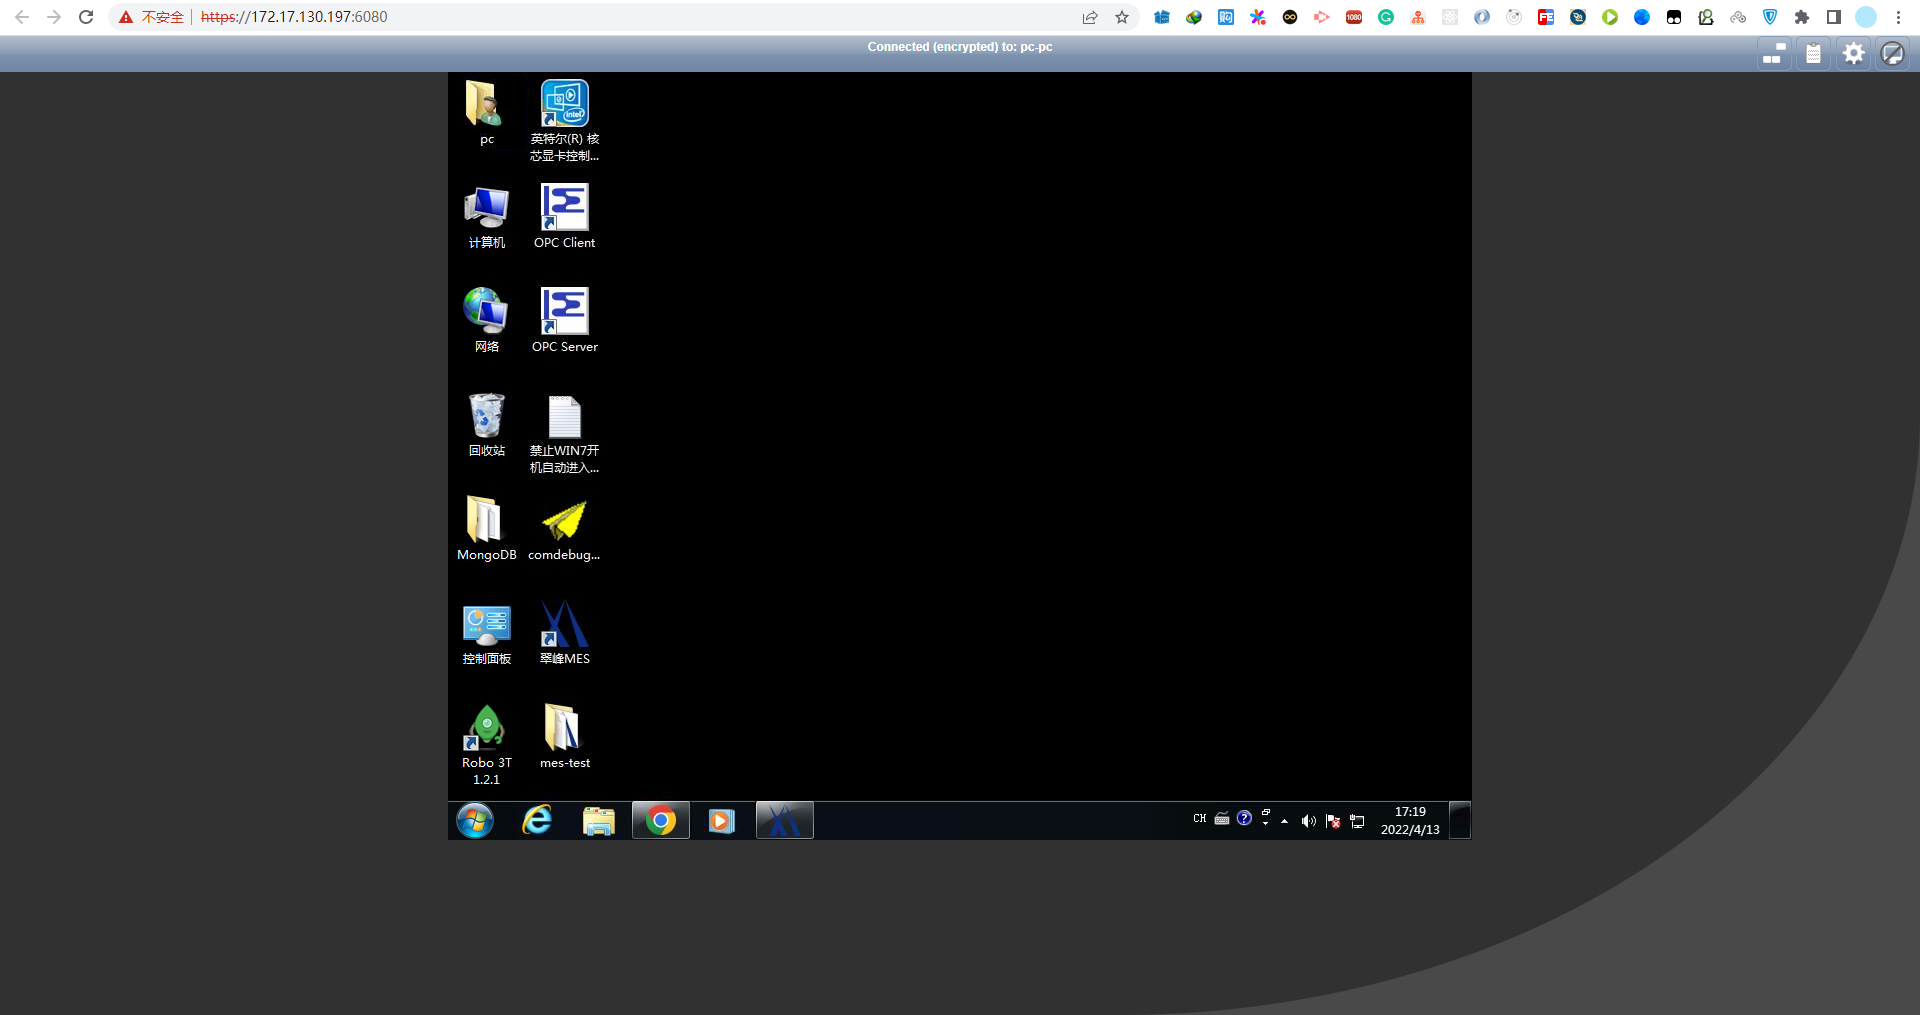
运行效果
创建多个机器
cd /usr/share/novnc/ && mkdir conf

echo 'j01: 172.17.130.251:5900' >> token.conf
运行Websockify
websockify -D --web=/usr/share/novnc/ --cert=/etc/novnc/ssl/novnc.pem 6081  --target-config=/usr/share/novnc/conf/token.conf
websockify -D --web=/usr/share/novnc/ --cert=/etc/novnc/ssl/novnc.pem 6080 172.17.130.251:5900

websockify -D
--web=/usr/share/novnc/
--cert=/etc/novnc/ssl/novnc.pem
6080
--target-config=/usr/share/novnc/conf/token.conf
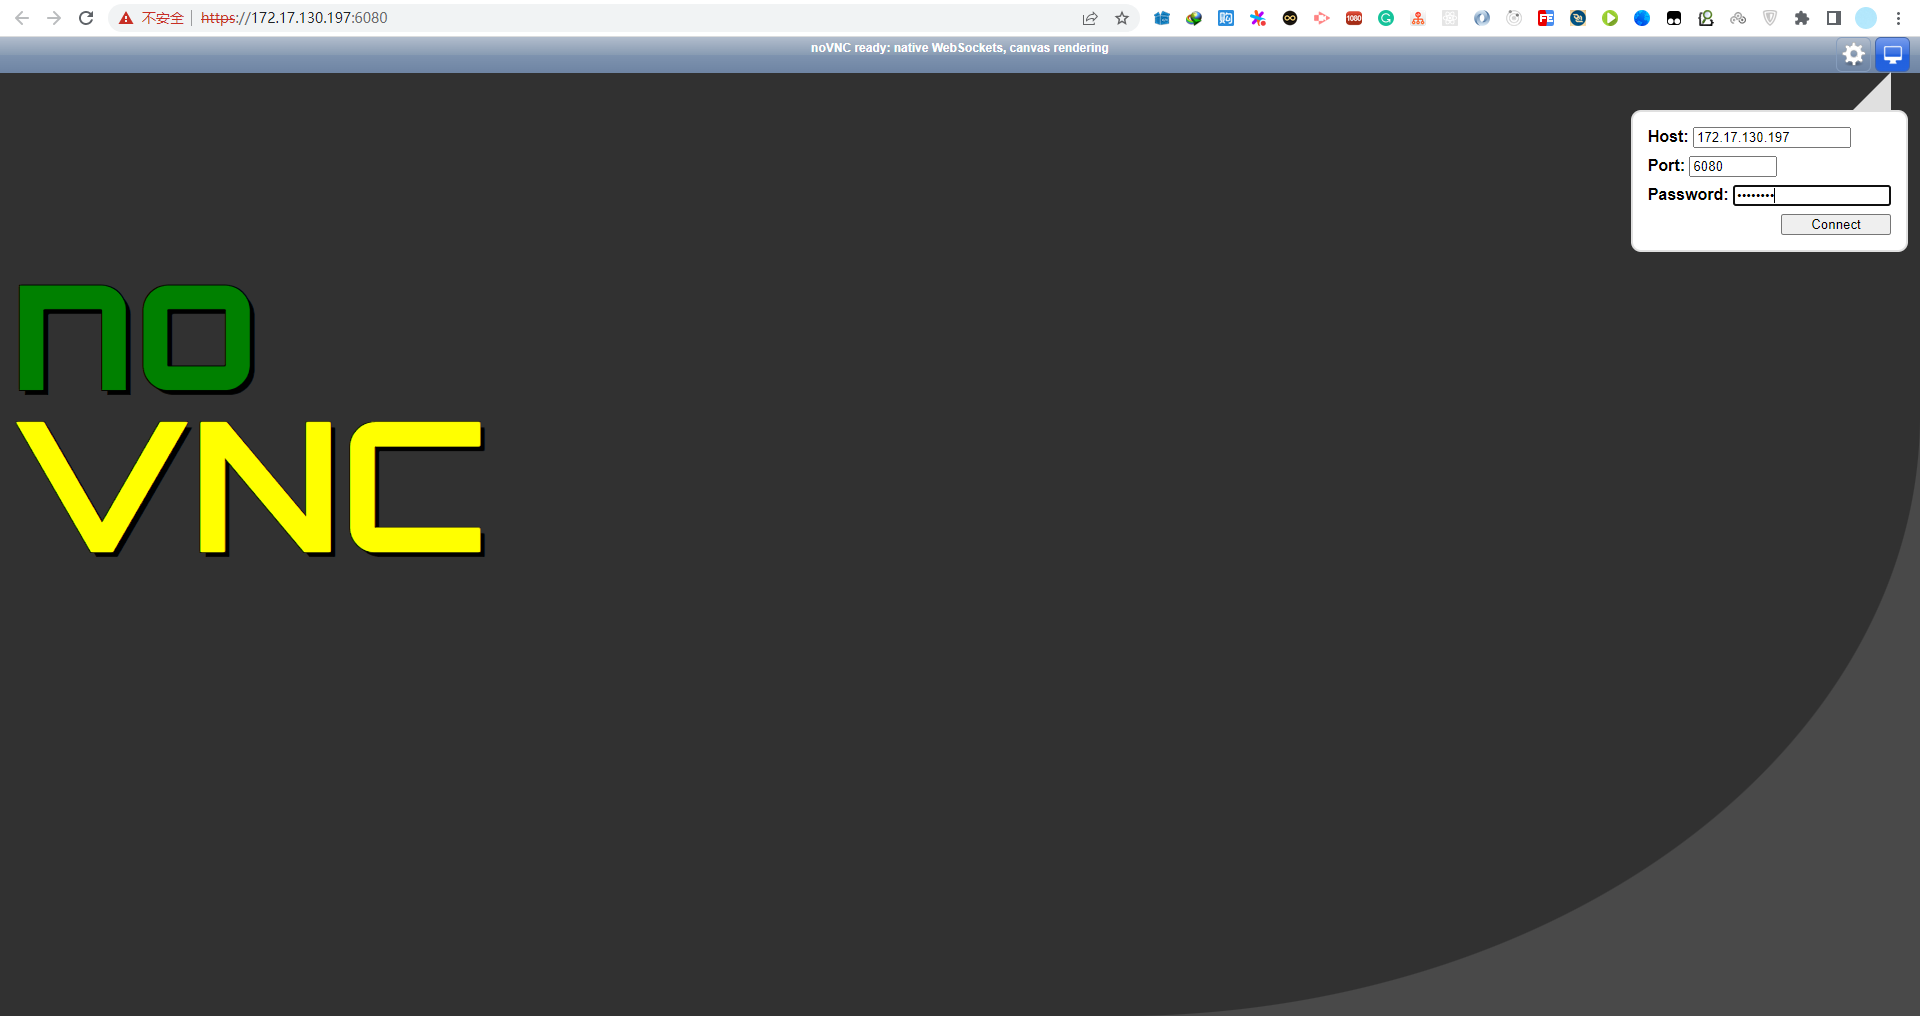
浏览器,https://172.17.130.197:6081/vnc_auto.html?port=6081&path=/config&token=j01
https://172.17.130.197:6081/vnc.html?token=j01
https://172.16.30.78:6080/vnc_auto.html?port=6080&path=/conf?token=aliyun
标签:
noVNC


【推荐】国内首个AI IDE,深度理解中文开发场景,立即下载体验Trae
【推荐】编程新体验,更懂你的AI,立即体验豆包MarsCode编程助手
【推荐】抖音旗下AI助手豆包,你的智能百科全书,全免费不限次数
【推荐】轻量又高性能的 SSH 工具 IShell:AI 加持,快人一步
· 10年+ .NET Coder 心语 ── 封装的思维:从隐藏、稳定开始理解其本质意义
· 地球OL攻略 —— 某应届生求职总结
· 提示词工程——AI应用必不可少的技术
· Open-Sora 2.0 重磅开源!
· 周边上新:园子的第一款马克杯温暖上架