Using Zabbix to Monitor Juniper network devices
1.Install Zabbix
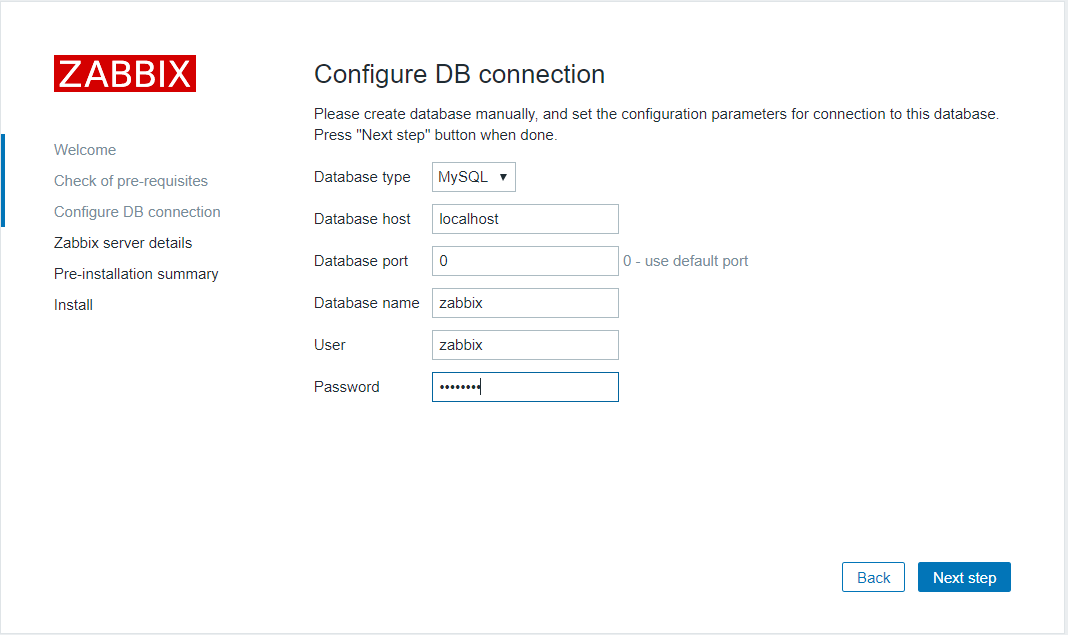
/*Install MySQL*/

yum install -y mariadb mariadb-server

systemctl start mariadb

systemctl enable mariadb

/*configure MySQL password and make sure login is successful*/

mysql_secure_installation

mysql -uroot -p

MariaDB [(none)]> exit


/*Install Zabbix and SNMP tool*/

rpm -ivh http://repo.zabbix.com/zabbix/3.0/rhel/7/x86_64/zabbix-release-3.0-1.el7.noarch.rpm

yum install zabbix-server-mysql zabbix-web-mysql zabbix-get

yum install -y net-snmp net-snmp-devel net-snmp-libs net-snmp-utils

service snmpd start

chkconfig snmpd on


/*configure Zabbix database, zabbix/Wanda01! to logon to the DB*/

mysql -uroot -p

MariaDB [(none)]> create database zabbix character set utf8 collate utf8_bin;

MariaDB [(none)]> grant all privileges on zabbix.* to zabbix@localhost identified by 'Password01!';

MariaDB [(none)]> quit;

cd /usr/share/doc/zabbix-server-mysql-3.0.10

zcat create.sql.gz | mysql -uroot -p zabbix


/*Modify Zabbix configuration and start Zabbix service*/

vi /etc/zabbix/zabbix_server.conf

    DBHost=localhost

    DBName=zabbix

    DBUser=zabbix

    DBPassword=Password01!

systemctl start zabbix-server

systemctl enable zabbix-server


/*modify Zabbix PHP configuration*/

vi /etc/httpd/conf.d/zabbix.conf

    php_value max_execution_time 300

    php_value memory_limit 128M

    php_value post_max_size 16M

    php_value upload_max_filesize 2M

    php_value max_input_time 300

    php_value always_populate_raw_post_data -1

    php_value date.timezone Asia/Shanghai

systemctl start httpd

systemctl enable httpd
Login to the Zabbix Portal via http://server_ip/zabbix and make the necessary configurations.
2.Juniper MX device monitoring template
We can leverage the Juniper MX device monitoring template from Github to configure the Juniper device monitoring.
https://github.com/Prototype-X/Zabbix-Template-Juniper-MX-BGP4-ipv4-ipv6
Detailed steps as below.
-
Import Template.Juniper.MX.xml file into Zabbix.
-
Copy script LLD.py to /usr/lib/zabbix/externalscripts
-
Give the execution permission for LLD.py by running "chmod +x LLD.py"
-
If we are using Python2, we need to modify the LLD.py to use python2
#!/usr/bin/env python -
Also make sure we have ipaddress python module is installed, run the command below if not installed.
easy_install ipaddress -
run the command below to test if LLD.py is working. If there is json output returned from the command line then there is no problem for the command. (Make sure to change the Juniper IP address accordingly)
[root@host externalscripts]# /usr/lib/zabbix/externalscripts/LLD.py "-h" "10.214.176.93" "-c" "juniper" "-mi" "{#PEERADDR}" "-m" "{#PREFXTBL}" "{#ADDRTYPE}" "{#ASNUM}"{"data": [{"{#ADDRTYPE}":"1","{#ASNUM}":"2000","{#PEERADDR}":"2.2.2.2","{#PREFXTBL}":"2","{#SNMPINDEX}":"0.1.3.3.3.3.1.2.2.2.2"},{"{#ADDRTYPE}":"1","{#ASNUM}":"3000","{#PEERADDR}":"4.4.4.4","{#PREFXTBL}":"0","{#SNMPINDEX}":"0.1.3.3.3.3.1.4.4.4.4"},{"{#ADDRTYPE}":"1","{#ASNUM}":"3000","{#PEERADDR}":"5.5.5.5","{#PREFXTBL}":"1","{#SNMPINDEX}":"0.1.3.3.3.3.1.5.5.5.5"}]} -
Go to: Template Juniper MX - > Discovery rules -> JunOS BGP4
-
Set type: external check
-
Set key:
LLD.py["-h", {HOST.CONN},"-c","{$SNMP_COMMUNITY}","-mi","{#PEERADDR}","-m","{#PREFXTBL}","{#ADDRTYPE}","{#ASNUM}"] -
Associate Template Juniper MX to the host.
-
Add to your host the {$SNMP_COMMUNITY} macro with your SNMP community as value.
-
Add to your host the {$BGP_PEER_AS} macro with your list BGP peer remote AS as value (ex: ASN1|ASN2|ASN3). These ASs have a high severity triggers.
-
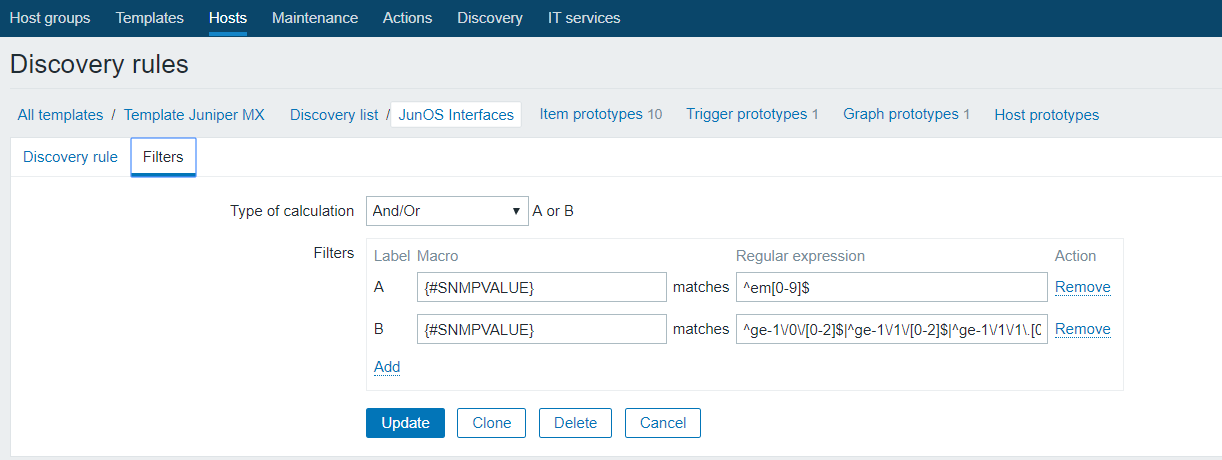
Go to filter rules for interfaces: Template Juniper MX -> Discovery rules -> JunOS Interfaces -> Filters
-
Check filter, edit or delete.
In our case, if the interface we want to monitor is something like em0, we need to add the regular expression "^em[0-9]$" as below
- set DebugLevel=4 from file /etc/zabbix/zabbix_server.conf
- restart Zabbix service by running systemctl restart zabbix-server

 浙公网安备 33010602011771号