云服务器Ubuntu20安装 配置 使用 MySQL
1.获取安装服务
#命令1 更新源
sudo apt-get update
#命令2 安装mysql服务
sudo apt-get install mysql-server
2.初始化配置
sudo mysql_secure_installation
#1
VALIDATE PASSWORD PLUGIN can be used to test passwords...
Press y|Y for Yes, any other key for No: N (选择N ,不会进行密码的强校验)

#2
Please set the password for root here...
New password: (输入密码)
Re-enter new password: (重复输入)

#3
By default, a MySQL installation has an anonymous user,
allowing anyone to log into MySQL without having to have
a user account created for them...
Remove anonymous users? (Press y|Y for Yes, any other key for No) : N (选择N,不删除匿名用户)

#4
Normally, root should only be allowed to connect from
'localhost'. This ensures that someone cannot guess at
the root password from the network...
Disallow root login remotely? (Press y|Y for Yes, any other key for No) : N (选择N,允许root远程连接)

#5
By default, MySQL comes with a database named 'test' that
anyone can access...
Remove test database and access to it? (Press y|Y for Yes, any other key for No) : N (选择N,不删除test数据库)

#6
Reloading the privilege tables will ensure that all changes
made so far will take effect immediately.
Reload privilege tables now? (Press y|Y for Yes, any other key for No) : Y (选择Y,修改权限立即生效)
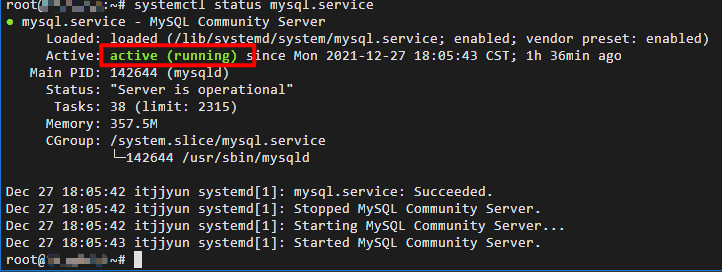
3.检查mysql服务状态
#检查服务状态
systemctl status mysql.service
或
sudo service mysql status

sudo service mysql stop  #停止
sudo service mysql start  #启动
至此 MySQL安装完成。后面介绍一些使用设置:
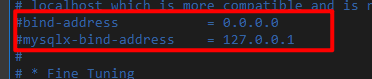
4.远程访问
sudo vi /etc/mysql/mysql.conf.d/mysqld.cnf #找到 bind-address 修改值为 0.0.0.0(如果需要远程访问) 或注释掉
sudo /etc/init.d/service mysql restart #重启mysql
sudo mysql -uroot -p

切换数据库
mysql>use mysql;
#查询用户表命令:
mysql>select User,authentication_string,Host from user;
#查看状态
select host,user,plugin from user;
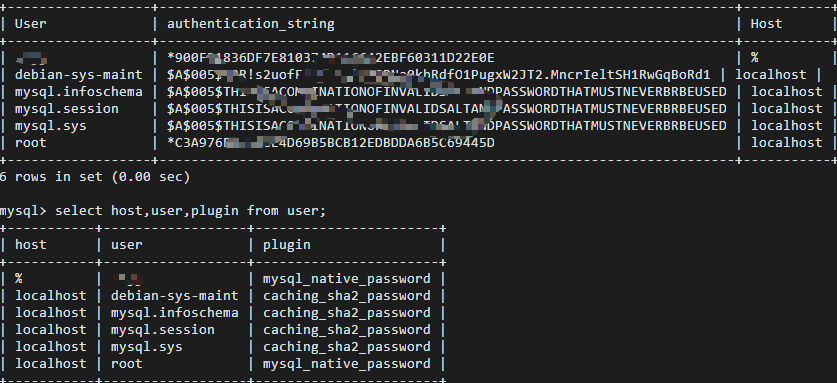
mysql> UPDATE user SET host = '%' WHERE user = 'root'; #允许远程访问

#刷新cache中配置 刷新权限
mysql>flush privileges;
mysql>quit;
按理就可以在其他IP地址用root用户连接了(使用mysql -u用户名 -h服务器ip地址 -P端口号 -p)
5.修改加密规则
mysql> ALTER USER 'root'@'localhost' IDENTIFIED WITH mysql_native_password BY '密码'; #使用mysql_native_password修改加密规则
mysql> ALTER USER 'root'@'localhost' IDENTIFIED BY '密码' PASSWORD EXPIRE NEVER; #更新一下用户的密码
mysql>flush privileges;
6.新增用户赋权并配置权限
#必须先创建用户(密码规则:mysql8.0以上密码策略限制必须要大小写加数字特殊符号)
mysql> CREATE USER 'XXXX'@'%' IDENTIFIED WITH mysql_native_password BY 'password';
#赋权
mysql> GRANT ALL PRIVILEGES ON *.* TO 'XXXX'@'%' WITH GRANT OPTION;
这里表示赋予该用户所有数据库所有表(*.*表示所有表),%表示所有IP地址。
7.修改密码
alter user 'root'@'%' identified with mysql_native_password by '密码'; #mysql_native_password因为前面已经修改了加密方式为这个
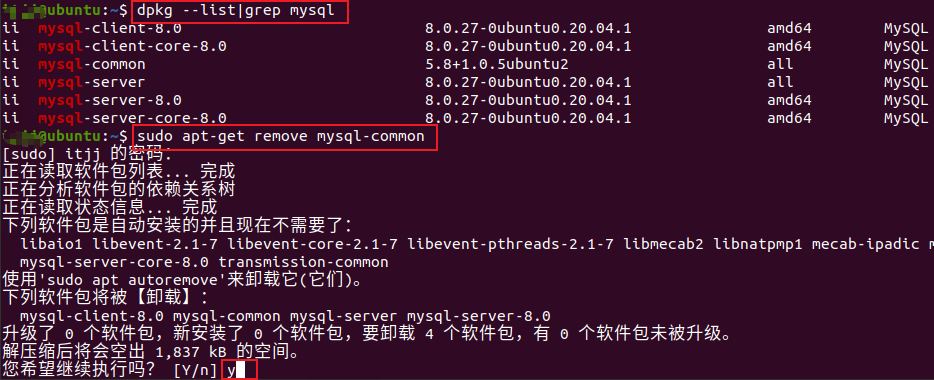
8.卸载MySQL
卸载命令
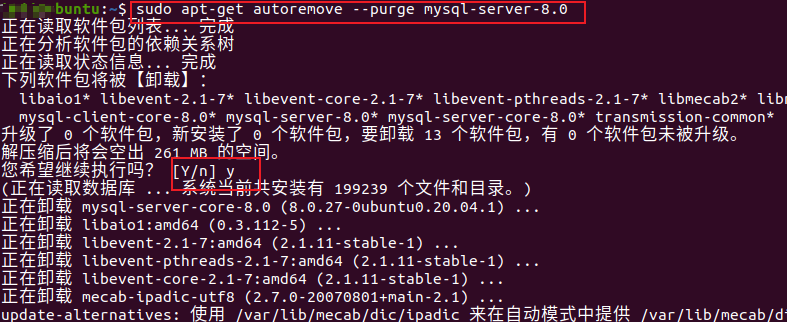
dpkg --list|grep mysql        #在终端中查看MySQL的依赖项
sudo apt-get remove mysql-common  #卸载
sudo apt-get autoremove --purge mysql-server-8.0
清除残留数据
dpkg -l |grep ^rc|awk '{print $2}' |sudo xargs dpkg -P
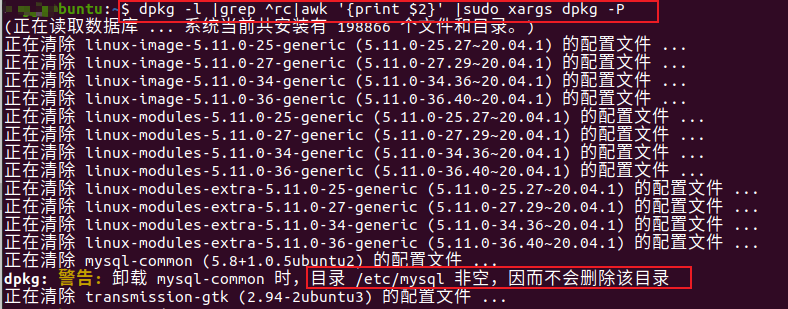
再次查看MySQL的剩余依赖项,确认已干净:
dpkg --list|grep mysql
如果还有继续删除:如下
sudo apt-get autoremove --purge mysql-apt-config
删除原先配置文件目录
sudo rm -rf /etc/mysql/ /var/lib/mysql
sudo apt autoremove
sudo apt autoclean(如果提示指令有误,就把clean改成reclean)
9.导入导出数据
导出:
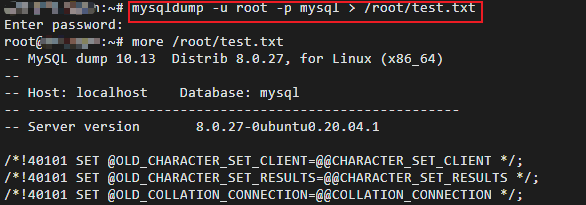
导出某个数据库 database
mysqldump -u root -p database > /root/test.txt
导出某个数据表 与库类似 后面加上表名
mysqldump -u root -p database table > /root/test.txt
导入:
导入某个库
先进入mysql建库,然后再导入
mysql> create database aaa charset=utf8
mysql>use aaa
mysql>source /root/test.txt
或者退出数据库到外面导入
mysql -uroot(用户名) -p aaa < 要导入的数据库数据(test.txt)
导中文乱码
出现此情况基本是数据编码格式出现错误,将2个mysql的数据编码格式调整一样,比如均改为utf8
mysql> show variables like '%char%';  ##查看编码变量
mysql>set character_set_database=utf8;  ##设置默认的字符集为utf8
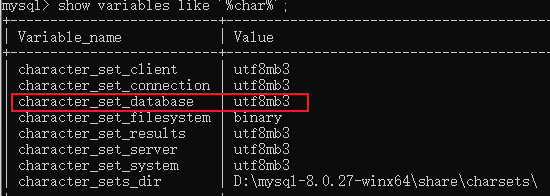
utf8mb3 即为utf8
重新启动服务,重新导入数据,乱码问题不复存在。
10. 修改默认端口号
因为有些网络可能端口号封了,或者多个mysql 端口有冲突,需要更改端口号
>查看端口号,进入mysql 后键入以下语句,默认为3306,
mysql> show global variables like 'port';
> 更改端口号 3步:
1、编辑/etc/my.cnf文件  [root@localhost ~]# vi /etc/my.cnf

2、添加port=XXXX;

3、重启mysql [root@localhost ~]# /etc/init.d/mysqld restart
