RabbitMQ整合SpringBoot(九)
目前主流的框架都是SpringBoot,所以下来详细的阐述下RabbitMQ怎么和SpringBoot进行整合。
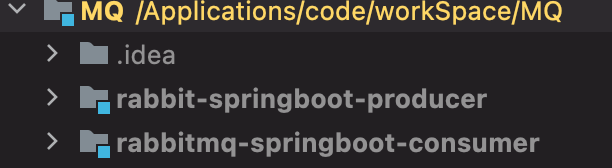
一、创建maven工程
首先创建maven的工程,然后创建两个springboot工程的module,具体结构如下:
在如上的目录结构中,可以看到分别创建了生产者和消费者的工程。下面详细的阐述下针对生产者以及
消费者不同的配置以及具体代码的实现过程。
二、生产者工程
2.1、生产者配置
首先需要在配置文件中配置RabbitMQ服务的地址,账户以及密码,和针对生产者的配置代码,具体如下:
spring:
  rabbitmq:
    addresses: 101.***.***.84:5672
    username: wuya
    password: java
    virtual-host: /
    connection-timeout: 15000
    publisher-confirms: true
    publisher-returns: true
    #可靠性投递的机制
    template:
      mandatory: true

server:
  port: 8081
2.2、生产者配置代码
下来我们加载具体的配置信息,它的结构为:
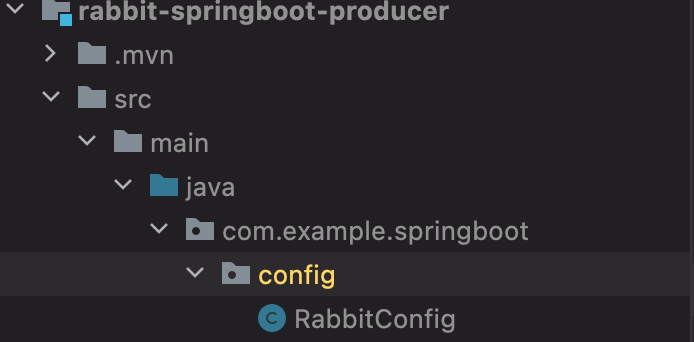
在RabbitConfig编写加载配置的代码,源码具体为:
package com.example.springboot.config;

import org.springframework.context.annotation.ComponentScan;
import org.springframework.context.annotation.Configuration;

@Configuration
@ComponentScan({"com.example.springboot.*"})
public class RabbitConfig
{
}
2.3、生产者核心代码
下来在server的包下编写发送消息的核心代码。在这里我们主要发送实体的数据,所以需要在entity
包下创建新的实体信息,比如这里创建Person,它的字段主要是name,age,sex。同时需要在实体中继承序
列化的部分,因为最终发送的消息都是需要进行序列话的。Person.java的源码具体为:
package com.example.springboot.entity;

public class Person  implements Serializable
{
	private  String name;
	private  int age;
	private  String sex;

	public String getName() {
		return name;
	}

	public void setName(String name) {
		this.name = name;
	}

	public int getAge() {
		return age;
	}

	public void setAge(int age) {
		this.age = age;
	}

	public String getSex() {
		return sex;
	}

	public void setSex(String sex) {
		this.sex = sex;
	}


	public Person()
	{

	}

	public Person(String name,int age,String sex)
	{
		super();
		this.name=name;
		this.age=age;
		this.sex=sex;
	}

}
下来编写发送消息的具体代码,源码部分具体如下:
package com.example.springboot.service;

import com.example.springboot.entity.Order;
import com.example.springboot.entity.Person;
import org.springframework.amqp.rabbit.connection.CorrelationData;
import org.springframework.amqp.rabbit.core.RabbitTemplate;
import org.springframework.beans.factory.annotation.Autowired;
import org.springframework.messaging.MessageHeaders;
import org.springframework.messaging.support.MessageBuilder;
import  org.springframework.messaging.Message;
import org.springframework.stereotype.Component;

import java.util.Map;
import java.util.UUID;

@Component
public class RabbitSend
{
    @Autowired
    private RabbitTemplate rabbitTemplate;


    //实现生产端的确认应答机制
    final RabbitTemplate.ConfirmCallback confirmCallback=new RabbitTemplate.ConfirmCallback()
    {
        //boolean ack:ack的结果信息
        //String cause:异常的结果信息
        @Override
        public void confirm(CorrelationData correlationData, boolean ack, String cause)
        {
            //消息ID的唯一性,使用uuid来解决
            System.err.println("correlationData:"+correlationData);
            System.err.println("ack:"+ack);
            if(!ack)
            {
                System.err.println("异常情况...需要补偿机制");
            }
        }
    };

    //消息投递确认机制
    final RabbitTemplate.ReturnCallback returnCallback=new RabbitTemplate.ReturnCallback()
    {
        @Override
        public void returnedMessage(org.springframework.amqp.core.Message message, int replyCode, String replyText, String exchange, String routingKey)
        {
            System.err.println("retutn replyCode"+replyCode+",return replyText"+replyText);
            System.err.println("return exchange:"+exchange+",return routingKey:"+routingKey);
        }
    };


    /*
    * 发送Person的实体数据
    * */
    public void  sendPersonMsg(Person person)throws  Exception
    {
        rabbitTemplate.setConfirmCallback(confirmCallback);
        rabbitTemplate.setReturnCallback(returnCallback);
        CorrelationData correlationData=new CorrelationData(UUID.randomUUID().toString());
        rabbitTemplate.convertAndSend("test_exchange_mq","test_mq",person,correlationData);
    }
}
2.4、生产者测试代码
编写生产者后,下来编写生产者的测试代码,来验证消息是否发送出去,具体测试代码为:
package com.example.springboot;

import com.example.springboot.entity.Order;
import com.example.springboot.entity.Person;
import com.example.springboot.service.RabbitSend;
import org.junit.Test;
import org.junit.runner.RunWith;
import org.springframework.beans.factory.annotation.Autowired;
import org.springframework.boot.test.context.SpringBootTest;
import org.springframework.test.context.junit4.SpringRunner;

import java.util.HashMap;
import java.util.Map;

@SpringBootTest
@RunWith(SpringRunner.class)
public class ProducerApplicationTests
{
    @Autowired
    private RabbitSend rabbitSend;

    @Test
    public void test_person_sender() throws  Exception
    {
        Person person=new Person("无涯",18,"男");
        rabbitSend.sendPersonMsg(person);
    }
}
下来执行该测试方法,看是否能够把消息发送出去,执行该测试用例。执行后可以看到消息已发送
出去,见如下测试用例执行的结果信息:

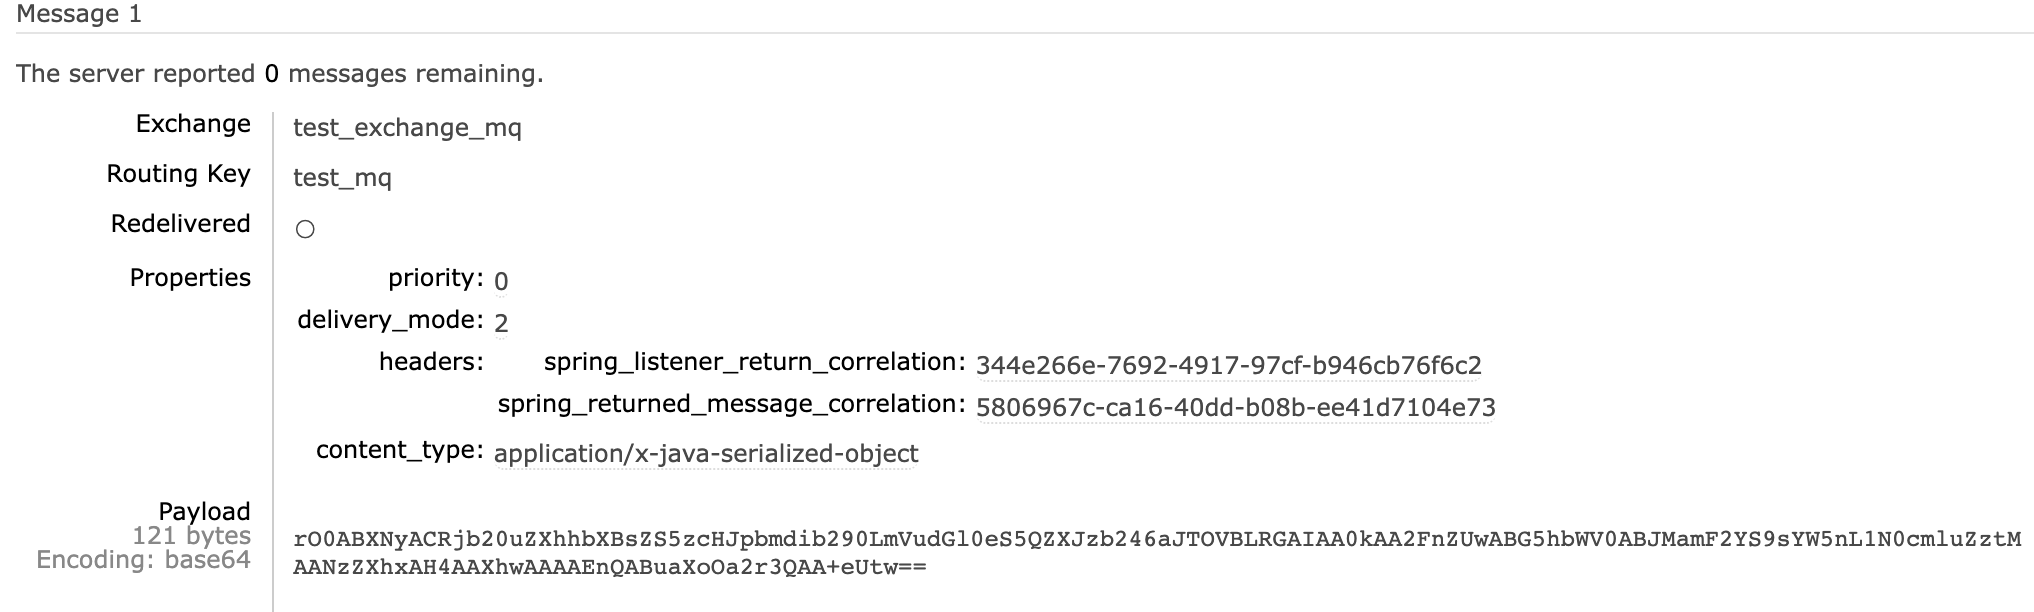
再次查看RabbitMQ的WEB控制台,看到生产者已把消息发送出去,等待消费者来进行消费,具体如下:

2.5、封装成REST API
下来封装成具体的REST的方式,这样可以通过PostMan的测试工具来进行发送,涉及到的源码为:
package com.example.springboot.controller;


import com.example.springboot.entity.Person;
import com.example.springboot.service.RabbitSend;
import org.springframework.beans.factory.annotation.Autowired;
import org.springframework.web.bind.annotation.RequestMapping;
import org.springframework.web.bind.annotation.RestController;

import java.util.HashMap;
import java.util.Map;

@RestController
public class SendMsg
{
    @Autowired
    RabbitSend rabbitSend;

    @RequestMapping("/person")
    public String sendPerson()throws  Exception
    {
        Person person=new Person("无涯",18,"男");
        rabbitSend.sendPersonMsg(person);
        return  "person message success!";
    }
}
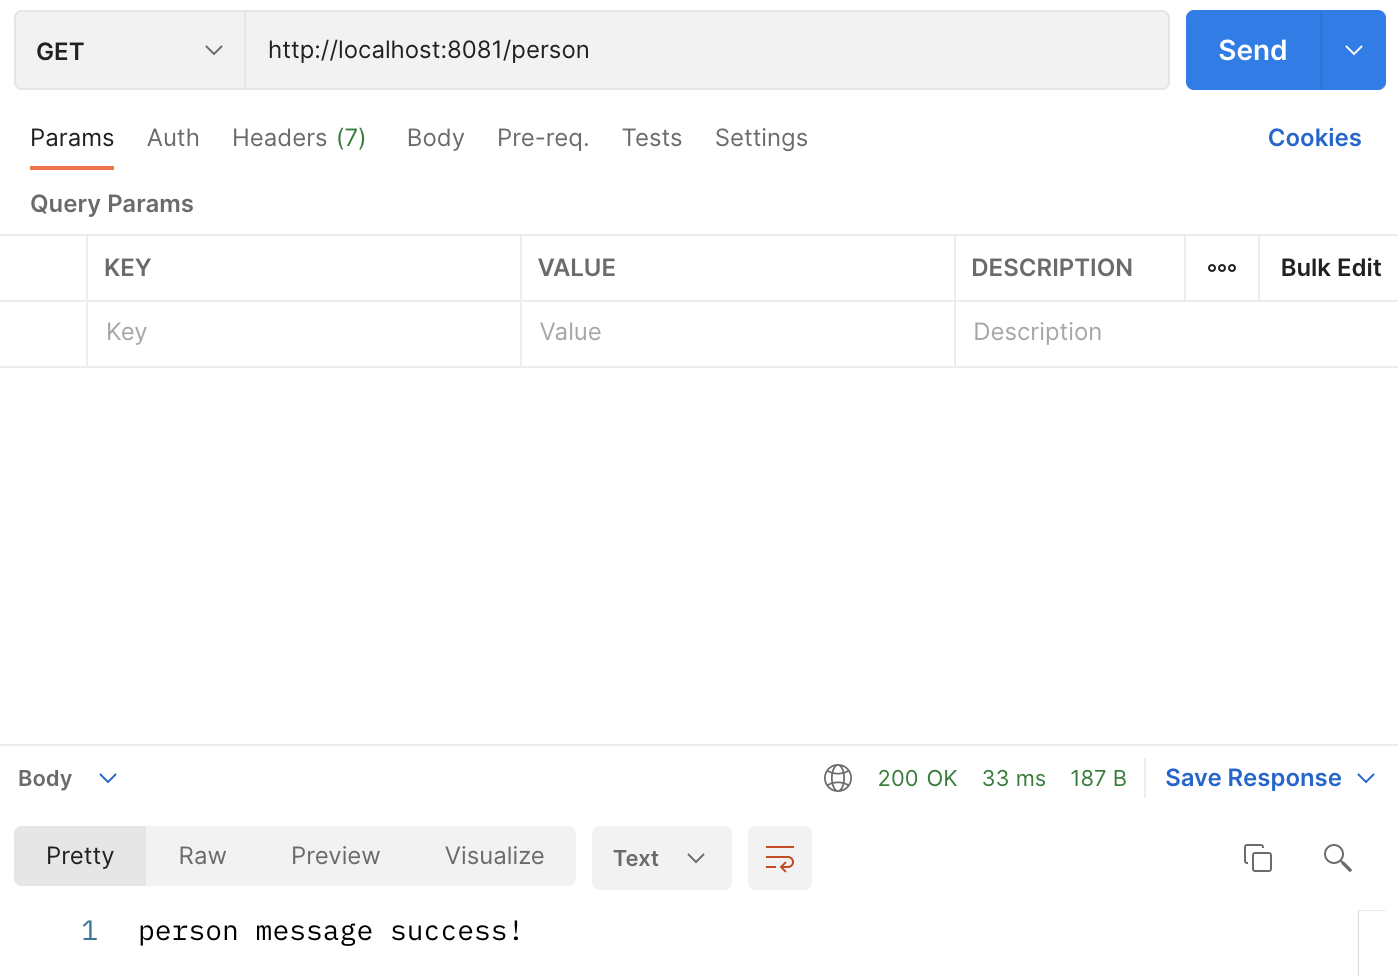
下来在PostMan中访问,可以看到接口请求成功,具体如下:
三、消费者工程
3.1、消费者配置
消费者依然是需要进行具体的配置,在配置文件需要配置具体的队列信息,RabbitMQ的地址账户以及
密码的信息。详细的配置如下:
spring:
  rabbitmq:
    addresses: 101.***.***.84:5672
    username: wuya
    password: java
    connection-timeout: 15000
    listener:
      simple:
        acknowledge-mode: MANUAL
        concurrency: 1
        max-concurrency: 5
      order:
        queue:
          name: test_mq
          durable: true
        exchange:
          name: test_exchange_mq
          durable: true
          type: topic
          ignoreDeclarationExceptions: true
        key: test_mq
3.2、消费者配置代码
下来创建新的config,编写加载RabbitMQ的代码,具体如下:
package com.example.springboot.config;

import org.springframework.context.annotation.ComponentScan;
import org.springframework.context.annotation.Configuration;

/*
* 主配置
* */

@Configuration
@ComponentScan({"com.example.springboot.*"})
public class ConsumerConfig
{
}
3.3、消费者实体代码
在生产者编写了Person.java,那么在消费者里面也是需要该代码,同时需要与生产者的路径完全一致,
这点需要特别的注意。具体代码如下:
package com.example.springboot.entity;

import java.io.Serializable;

public class Person implements Serializable
{
	private  String name;
	private  int age;
	private  String sex;

	public String getName() {
		return name;
	}

	public void setName(String name) {
		this.name = name;
	}

	public int getAge() {
		return age;
	}

	public void setAge(int age) {
		this.age = age;
	}

	public String getSex() {
		return sex;
	}

	public void setSex(String sex) {
		this.sex = sex;
	}


	public Person()
	{

	}

	public Person(String name, int age, String sex)
	{
		super();
		this.name=name;
		this.age=age;
		this.sex=sex;
	}

}
3.4、消费者核心代码
下来编写消费者消费数据这部分的代码,具体如下:
package com.example.springboot.service;

/*
* 主要接收消息的类
* */

import com.rabbitmq.client.Channel;
import org.springframework.amqp.rabbit.annotation.*;
import org.springframework.amqp.support.AmqpHeaders;
import org.springframework.messaging.Message;
import org.springframework.messaging.handler.annotation.Headers;
import org.springframework.messaging.handler.annotation.Payload;
import org.springframework.stereotype.Component;

import java.util.Map;

@Component
public class RabbitReceiver
{
    //监听消息
    @RabbitHandler
    @RabbitListener(bindings = @QueueBinding(
            value = @Queue(
                    value = "${spring.rabbitmq.listener.order.queue.name}",
                    durable = "${spring.rabbitmq.listener.order.queue.durable}"),
            exchange = @Exchange(
                    value = "${spring.rabbitmq.listener.order.exchange.name}",
                    durable = "${spring.rabbitmq.listener.order.exchange.durable}",
                    type = "${spring.rabbitmq.listener.order.exchange.type}",
                    ignoreDeclarationExceptions = "${spring.rabbitmq.listener.order.exchange.ignoreDeclarationExceptions}"),
            key = "${spring.rabbitmq.listener.order.key}"
    ))
    public void onMessage(Message message, Channel channel) throws  Exception
    {
        //接收生产端的消息
       String msg= (String) message.getPayload();
       String msgHeaders=(String)message.getHeaders().toString();
       System.err.println("receiver msg:"+msg);
       System.err.println("receiver headers:"+msgHeaders);
        //手工签收的模式
        Long deliveryTag=(Long) message.getHeaders().get(AmqpHeaders.DELIVERY_TAG);
        //接收消息的方式
        channel.basicAck(deliveryTag,false);
    }


    @RabbitHandler
    @RabbitListener(bindings = @QueueBinding(
            value = @Queue(
                    value = "${spring.rabbitmq.listener.order.queue.name}",
                    durable = "${spring.rabbitmq.listener.order.queue.durable}"),
            exchange = @Exchange(
                    value = "${spring.rabbitmq.listener.order.exchange.name}",
                    durable = "${spring.rabbitmq.listener.order.exchange.durable}",
                    type = "${spring.rabbitmq.listener.order.exchange.type}",
                    ignoreDeclarationExceptions = "${spring.rabbitmq.listener.order.exchange.ignoreDeclarationExceptions}"),
            key = "${spring.rabbitmq.listener.order.key}"
    ))
    public void onPersonMessage(
            @Payload  com.example.springboot.entity.Person person,
            Channel channel,
            @Headers Map<String,Object> headers)throws  Exception
    {
        System.err.println("===============================");
        System.err.println("person name is:"+person.getName()+",and  person age is:"+person.getAge()+",and person sex is:"+person.getSex());
        Long deliveryTag=(Long) headers.get(AmqpHeaders.DELIVERY_TAG);
        channel.basicAck(deliveryTag,false);
    }


}
3.5、测试验证
下来启动生产者和消费者的程序,然后生产者发送消息,消费者来接收消息,可以看到发送后能够
接收到消息,具体如下所示:
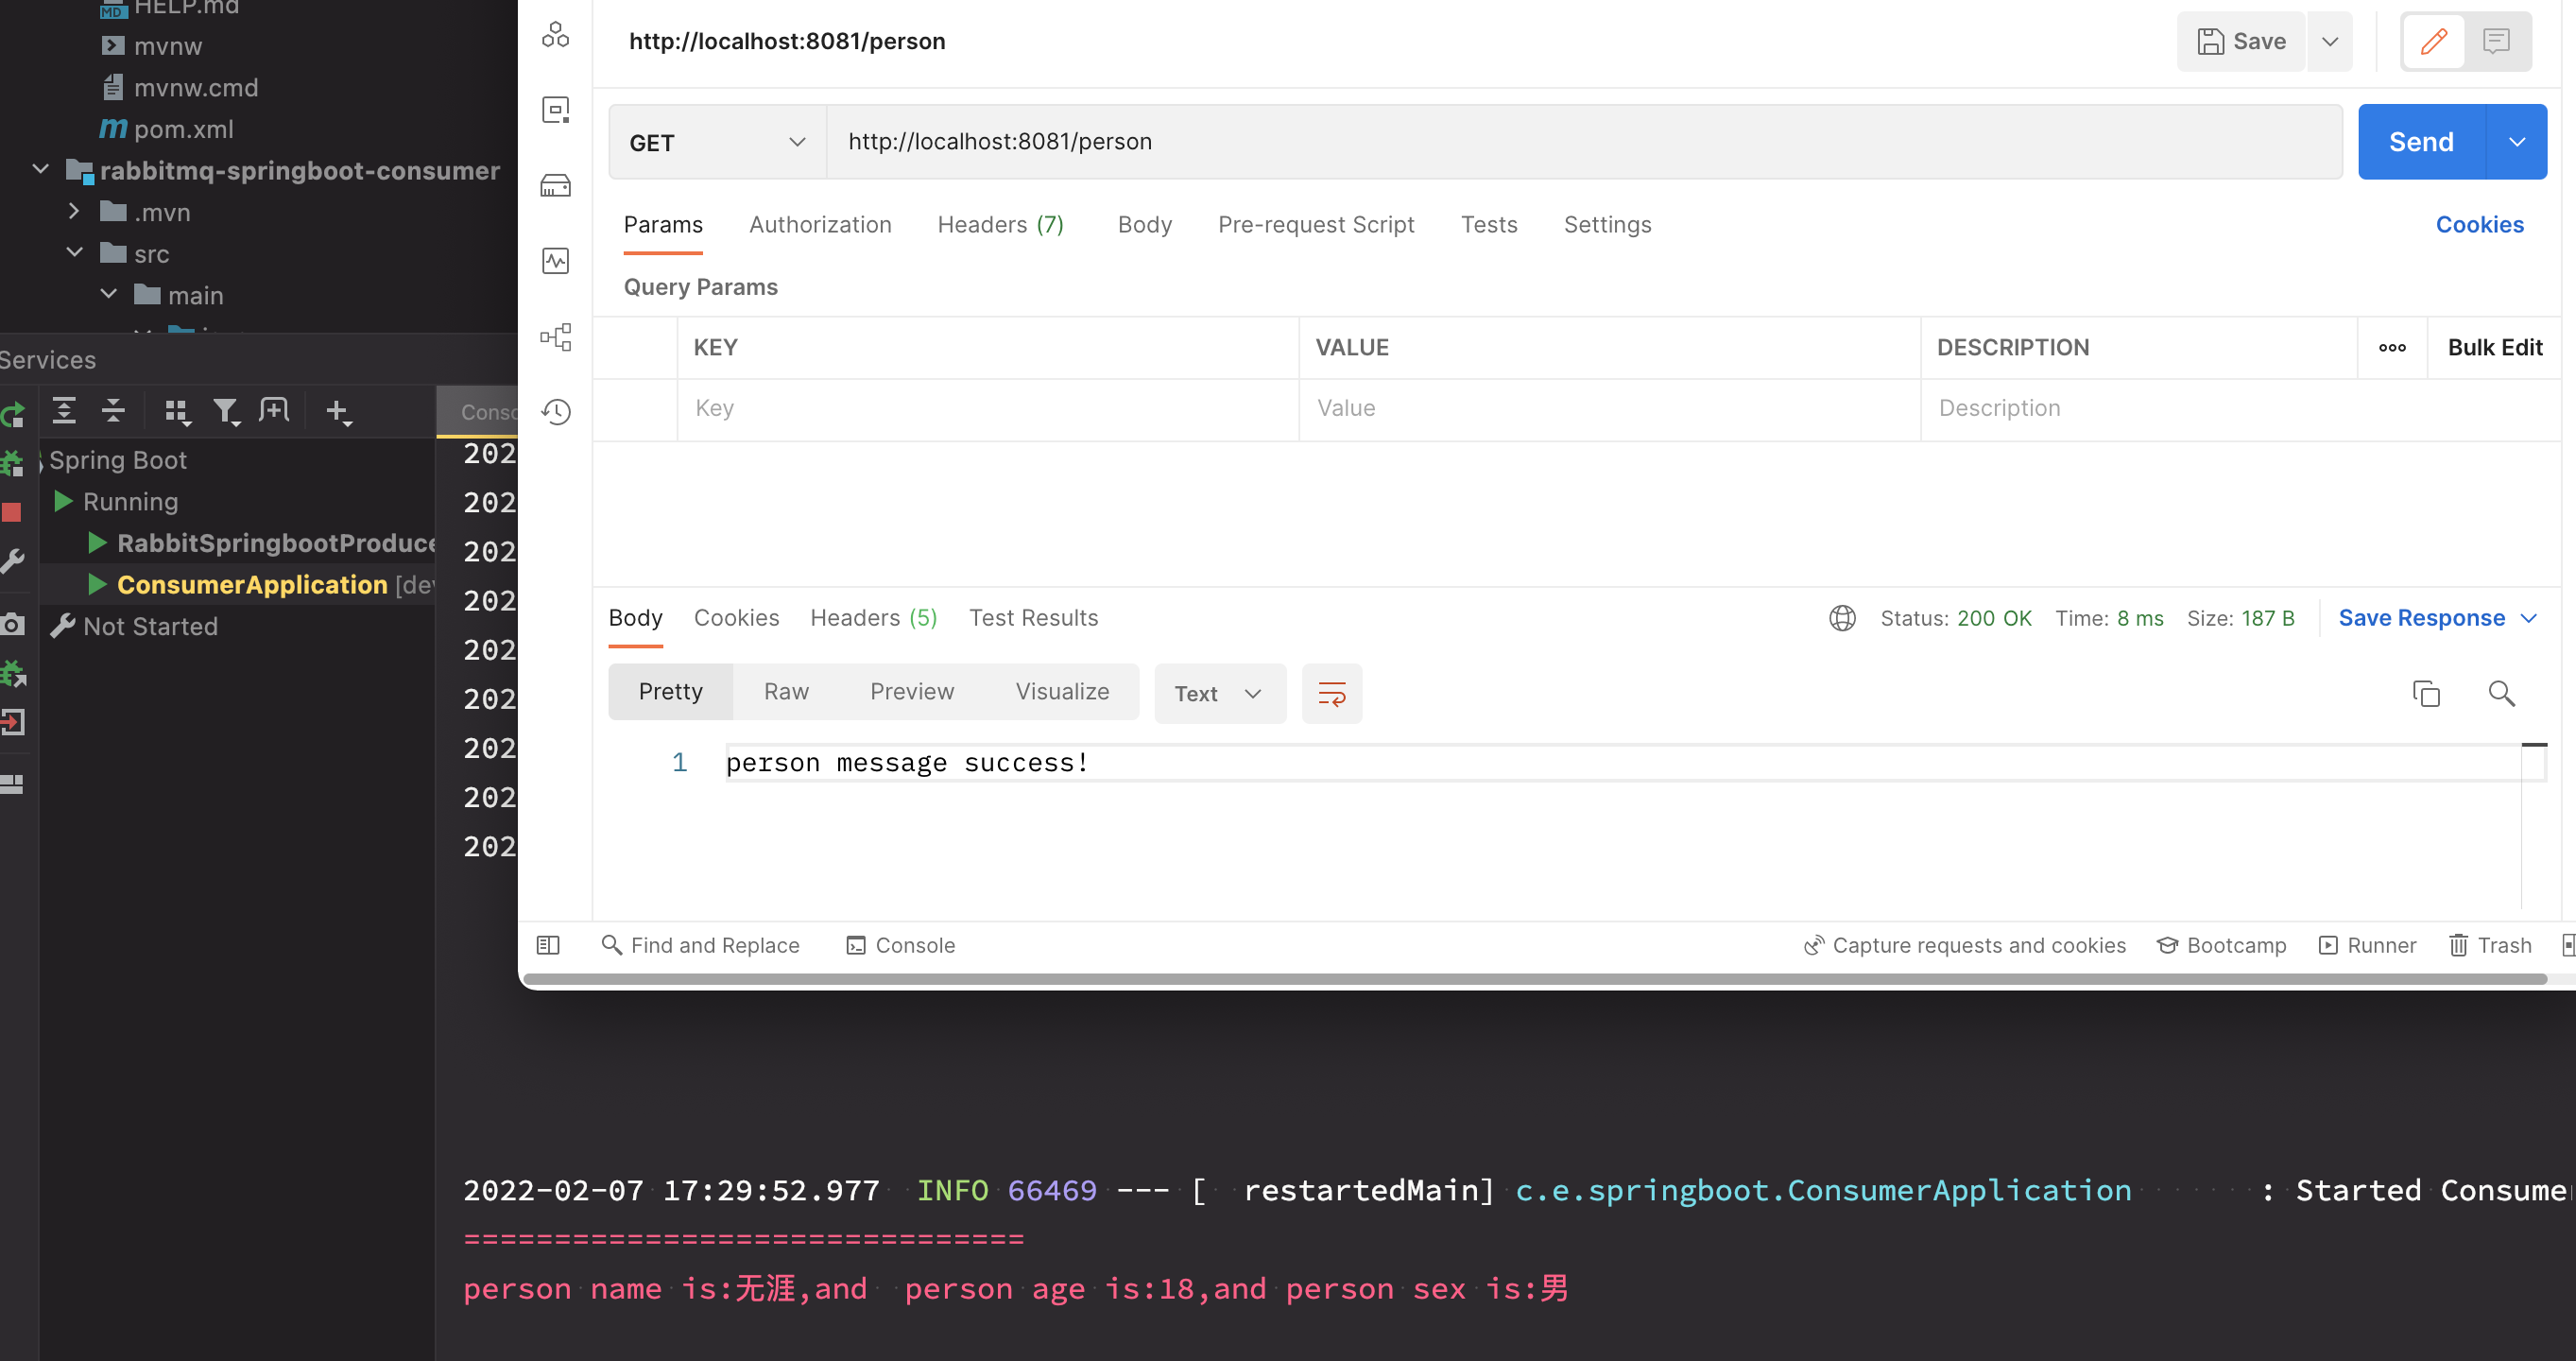
如上,可以看到生产的消息消费者就会接收到该消息。这样完整的实现了RabbitMQ与SpringBoot的整合。感谢
您的阅读,会持续进行更新。更多技术文章,关注个人公众号【Python自动化测试】。

 浙公网安备 33010602011771号