Django学习之图片上传(六)
在前面的文章中逐步介绍了Django的其他应用,本文章来介绍Django的文件上传,文件在这里就特别的多,主要
常见的有图片, csv,excel,json等文件,特别是json等的文件,上传成功后,是否把这些文件的内容读取出来,然后让文件
内容展示在WEB的页面中了?这个后期逐步的总结,今天这里主要学习图片的上传。要实现文件的上传,我们先来实现它
的前端的代码,见upload.html的源码:
<!DOCTYPE html>
<html lang="en">
<head>
    <meta charset="UTF-8">
    <link rel="stylesheet" href="/static/plugins/bootstrap/css/bootstrap.css">
    <title>文件上传</title>
</head>
<body>
<br>
<div class="container">
    <form action="{% url 'serial:upload' %}" method="post" enctype="multipart/form-data">
        {% csrf_token %}
        <p>
            <div style="position: relative">
                <a>请选择上传的文件</a>
                <input type="file" name="img">
            </div>
            <input type="submit" value="提交">
        </p>
    </form>
</div>
</body>
</html>
在HTML的代码中,特别是文件上传中,enctype是multipart/form-data,这点要特别的注意。下来实现后台的代码,
文件上传是上传文件后,然后把上传成功的文件内容逐步的写进去。 也就是说先获取文件的对象,然后按二进制的
方式再写进去,见实现的源码:
from django.shortcuts import render,redirect
from django.http import  HttpResponse
from django.core import  serializers

# Create your views here.
from .models import *
import  json


def upload(request):
    if request.method=='GET':
        return render(request,'serial/upload.html',locals())
    elif request.method=='POST':
        img=request.FILES.get('img',None)
        print(dir(img))
        f=open(img.name,'wb')
        #把获取到的文件内容一块一块的写进去
        for line in img.chunks():
            f.write(line)
        f.close()
        return HttpResponse('ok')
启动服务,来看文件上传是否成功,在浏览器中访问http://localhost:8000/serial/upload/链接,然后选择要上传的文件,
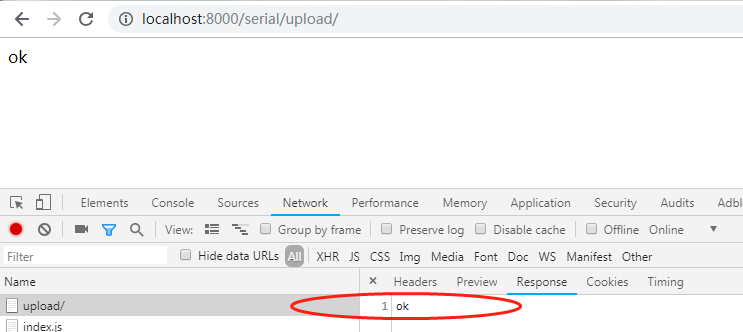
如果文件上传成功,就会显示出OK,见图片上传中浏览器中network获取到的信息,见如下的信息:
General的信息:
Request URL: http://localhost:8000/serial/upload/
Request Method: POST
Status Code: 200 OK
Remote Address: 127.0.0.1:8000
Referrer Policy: no-referrer-when-downgrade
Requests Headers的信息为:
Accept: text/html,application/xhtml+xml,application/xml;q=0.9,image/webp,image/apng,*/*;q=0.8
Accept-Encoding: gzip, deflate, br
Accept-Language: zh-CN,zh;q=0.9
Cache-Control: max-age=0
Connection: keep-alive
Content-Length: 23522
Content-Type: multipart/form-data; boundary=----WebKitFormBoundaryPa3auPfJLVEHMShP
Cookie: csrftoken=VyrjdoLFazM0BCUjIT4PQz3DraYLzfFvEuZL2YbkHqcjyV7iP2RSaRtuS8nvhYTA; Pycharm-25dd8cad=6412dffb-1cdf-4c4d-9950-6228847aa5a5
DNT: 1
Host: localhost:8000
Origin: http://localhost:8000
Referer: http://localhost:8000/serial/upload/
Upgrade-Insecure-Requests: 1
User-Agent: Mozilla/5.0 (Windows NT 6.1; Win64; x64) AppleWebKit/537.36 (KHTML, like Gecko) Chrome/71.0.3578.98 Safari/537.36
见上传成功后服务端返回的信息,见如下的截图:
下来对文件上传这部分引入ajax的实现,对HTML的代码再次进行修改,增加iframe的框架,和ajax,见HTML的源码:
<!DOCTYPE html>
<html lang="en">
<head>
    <meta charset="UTF-8">
    <title>Title</title>
    <link rel="stylesheet" href="/static/plugins/bootstrap/css/bootstrap.css">
</head>
<body>
<div class="container">
    <iframe style="display: none" id="iframe1" name="ifra1"></iframe>
    <form id="fm1" action="{% url 'serial:upload' %}" method="POST" enctype="multipart/form-data" target="ifra1">
{% csrf_token %}
        <input type="file" name="k3" onchange="upload();" />
    </form>

    <!--文件上传成功后预览-->
    <h3>文件预览</h3>
    <div id="preview"></div>
</div>

<script src="/static/js/jquery-3.3.1.js"></script>
<script>
    function upload()
    {
        document.getElementById('iframe1').onload=reloadFrame;
        document.getElementById('fm1').submit();
    }
    function reloadFrame()
    {
        var content=this.contentWindow.document.body.innerText;
        var obj=JSON.parse(content);
        console.log(obj.data)
        //生成img标签,把上传后的文件显示出来
        var tag=document.createElement('img')
        tag.src='http://localhost:8000/'+obj.data;
        tag.width="266"
        tag.height="300"
        $('#preview').empty().append(tag);
    }
</script>
</body>
</html>
下来实现后台的代码,见views.py的源码:
from django.shortcuts import render,redirect
from django.http import  HttpResponse,Http404
from django import  views

# Create your views here.
import  os
import uuid
import  json


def upload(request):
    '''实现文件的上传'''
    nid=str(uuid.uuid4())
    ret={'status':True,'msg':None,'data':None}
    if request.method=='GET':
        return render(request,'login/upload.html',locals())
    elif request.method=='POST':
        obj=request.FILES.get('k3',None)
        file_path=os.path.join('static/image',nid+obj.name)
        with open(file_path,'wb') as f:
            for line in obj.chunks():
                f.write(line)
        ret['msg']='文件上传成功'
        ret['data']=file_path
    return HttpResponse(json.dumps(ret))
后台获取到上传的文件后,然后对文件名称进行了处理,这地方使用到了库uuid,它可以生成随机的字符串。
在浏览器中操作文件的上传,见network中获取的信息,见如下的截图:
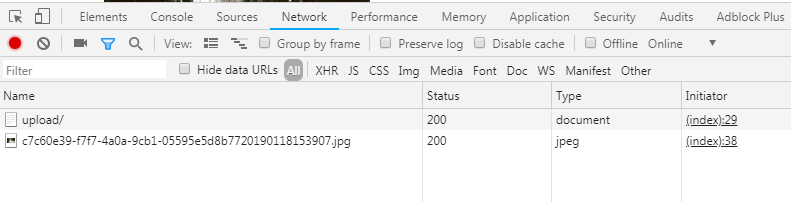
点击upload查看详细的信息,具体看General和Requests Headers的信息,以及服务端响应回复的内容,见如下信息
General信息:
Request URL: http://localhost:8000/login/upload/
Request Method: POST
Status Code: 200 OK
Remote Address: 127.0.0.1:8000
Referrer Policy: no-referrer-when-downgrade
Requests Headers的信息:
Accept: text/html,application/xhtml+xml,application/xml;q=0.9,image/webp,image/apng,*/*;q=0.8
Accept-Encoding: gzip, deflate, br
Accept-Language: zh-CN,zh;q=0.9
Cache-Control: max-age=0
Connection: keep-alive
Content-Length: 30170
Content-Type: multipart/form-data; boundary=----WebKitFormBoundaryb60mPoofiAtpIeCx
Cookie: csrftoken=VyrjdoLFazM0BCUjIT4PQz3DraYLzfFvEuZL2YbkHqcjyV7iP2RSaRtuS8nvhYTA; Pycharm-25dd8cad=6412dffb-1cdf-4c4d-9950-6228847aa5a5
DNT: 1
Host: localhost:8000
Origin: http://localhost:8000
Referer: http://localhost:8000/login/upload/
Upgrade-Insecure-Requests: 1
User-Agent: Mozilla/5.0 (Windows NT 6.1; Win64; x64) AppleWebKit/537.36 (KHTML, like Gecko) Chrome/71.0.3578.98 Safari/537.36
见服务端的响应回复的内容:


 浙公网安备 33010602011771号