
linux 基础运维(二)centos 7.3.1611 升级openssh
一 摘要
当前越来越注重系统安装,centos 7.3.1611 默认自带的openssh 版本过低,一般绿盟等设备扫描 就会报漏洞。故需对其升级.
该文是从老博客人工迁移过来,可能会有手误,请知悉。
二 环境信息
(一)操作系统
centos 7.3.1611
(二)opensssh
升级至 openssh-8.0p1
三 说明
(一)升级思路
先安装telnet 服务,并测试telnet 方式 顺利连接服务器,然后再升级ssh。
之所以开启telnet 服务,是担心升级失败,然后无法远程连上服务器。
四 实施
(一)基础操作
4.1.1 配置yum 源
此处略
4.1.2 关闭防火墙
    [root@mytestserver yum.repos.d]# systemctl stop firewalld
    [root@mytestserver yum.repos.d]# systemctl disable firewalld
    [root@mytestserver yum.repos.d]# systemctl status firewalld
    ● firewalld.service - firewalld - dynamic firewall daemon
       Loaded: loaded (/usr/lib/systemd/system/firewalld.service; disabled; vendor preset: enabled)
       Active: inactive (dead)
         Docs: man:firewalld(1)
    [root@mytestserver yum.repos.d]#
4.1.3 上传openssh 升级包到服务器
openssh 官网下载地址:https://openbsd.hk/pub/OpenBSD/OpenSSH/portable/openssh-8.1p1.tar.gz

(二)升级openssh
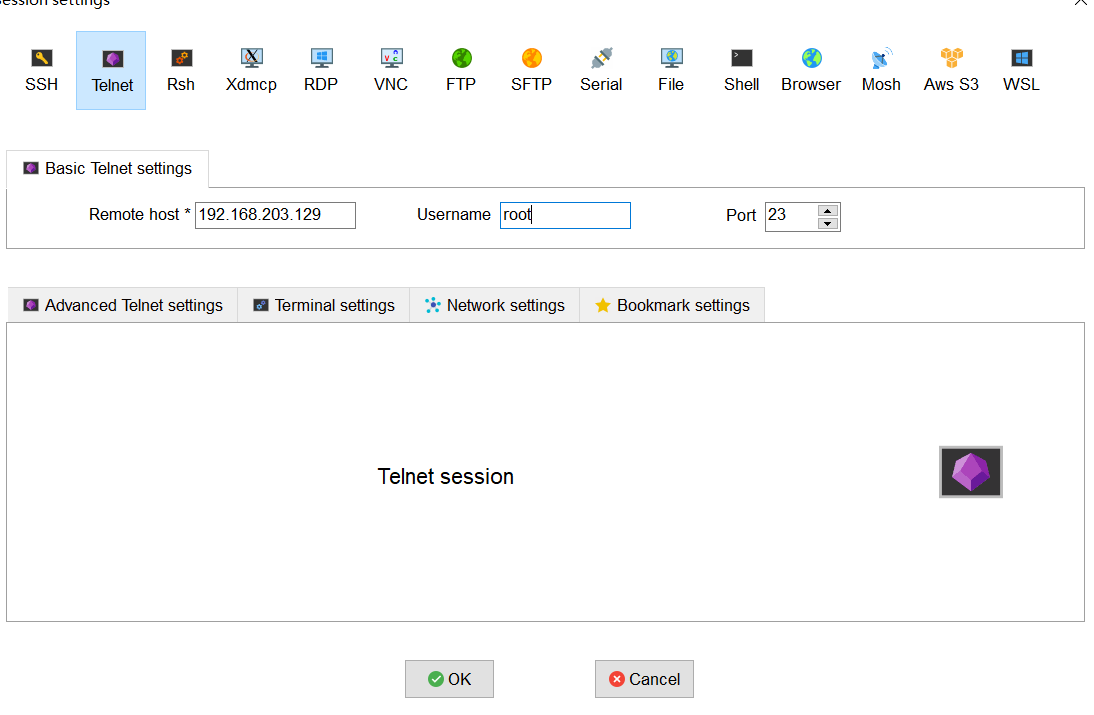
4.2.1 安装依赖包及telnet
    yum -y install gcc make perl
    yum install -y  gcc openssl-devel pam-devel rpm-build
    yum install   telnet-server telnet xinetd -y
4.2.2 启动telent 并设置为开机启动
    [root@mytestserver yum.repos.d]# systemctl enable xinetd.service
    [root@mytestserver yum.repos.d]# systemctl enable telnet.socket
    Created symlink from /etc/systemd/system/sockets.target.wants/telnet.socket to /usr/lib/systemd/system/telnet.socket.
    [root@mytestserver yum.repos.d]# systemctl start telnet.socket
    [root@mytestserver yum.repos.d]# systemctl start xinetd
    [root@mytestserver yum.repos.d]#
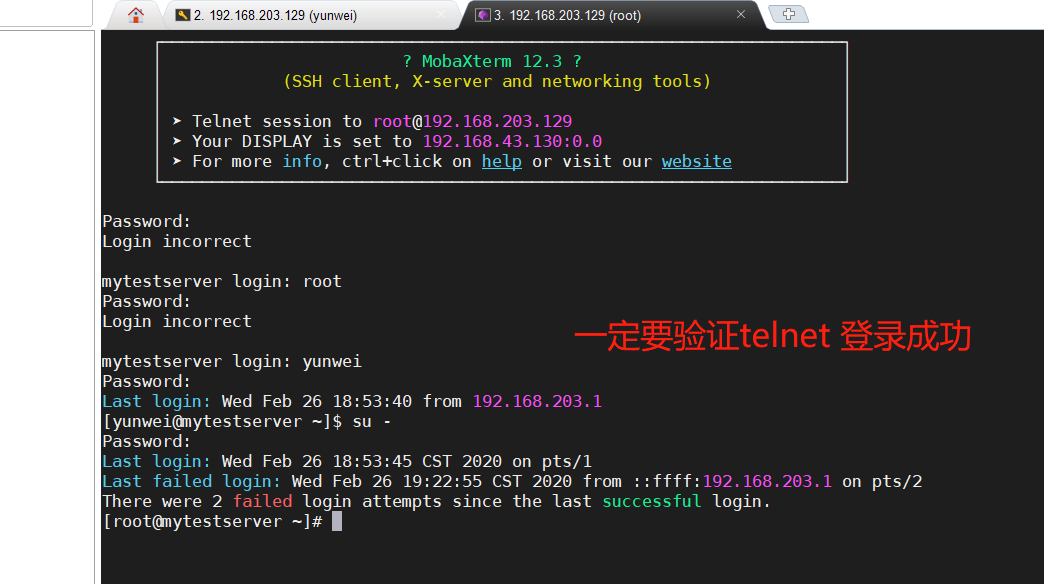
4.2.3 验证telnet 远程登录服务器
各类ssh 软件基本都支持telnet 登录,下图是我用MoBaXterm 实现telnet 登录该服务器。
4.2.4 备份openssh 配置文件
    [root@mytestserver etc]# tar -zcvf ssh.20200226.tgz ssh/
    ssh/
    ssh/moduli
    ssh/ssh_config
    ssh/sshd_config
    ssh/ssh_host_rsa_key
    ssh/ssh_host_rsa_key.pub
    ssh/ssh_host_ecdsa_key
    ssh/ssh_host_ecdsa_key.pub
    ssh/ssh_host_ed25519_key
    ssh/ssh_host_ed25519_key.pub
    [root@mytestserver etc]# mv ssh ssh_bak_20200226
    [root@mytestserver etc]#
4.2.5 卸载老版本openssh
    [root@mytestserver ~]# rpm -qa |grep openssh
    openssh-7.4p1-16.el7.x86_64
    openssh-clients-7.4p1-16.el7.x86_64
    openssh-server-7.4p1-16.el7.x86_64
    [root@mytestserver ~]#
    [root@mytestserver ~]# rpm -qa |grep openssh
    openssh-7.4p1-16.el7.x86_64
    openssh-clients-7.4p1-16.el7.x86_64
    openssh-server-7.4p1-16.el7.x86_64
    [root@mytestserver ~]#
    [root@mytestserver ~]# rpm -e --nodeps openssh-7.4p1-16.el7.x86_64
    warning: file /etc/ssh/moduli: remove failed: No such file or directory
    warning: file /etc/ssh: remove failed: No such file or directory
    [root@mytestserver ~]# rpm -e --nodeps openssh-clients-7.4p1-16.el7.x86_64
    warning: file /etc/ssh/ssh_config: remove failed: No such file or directory
    [root@mytestserver ~]# rpm -e --nodeps openssh-server-7.4p1-16.el7.x86_64
    warning: file /etc/ssh/sshd_config: remove failed: No such file or directory
    [root@mytestserver ~]#
4.2.6 编译安装openssh-8.0p1
tar -zxvf openssh-8.1p1.tar.gz
cd openssh-8.1p1/
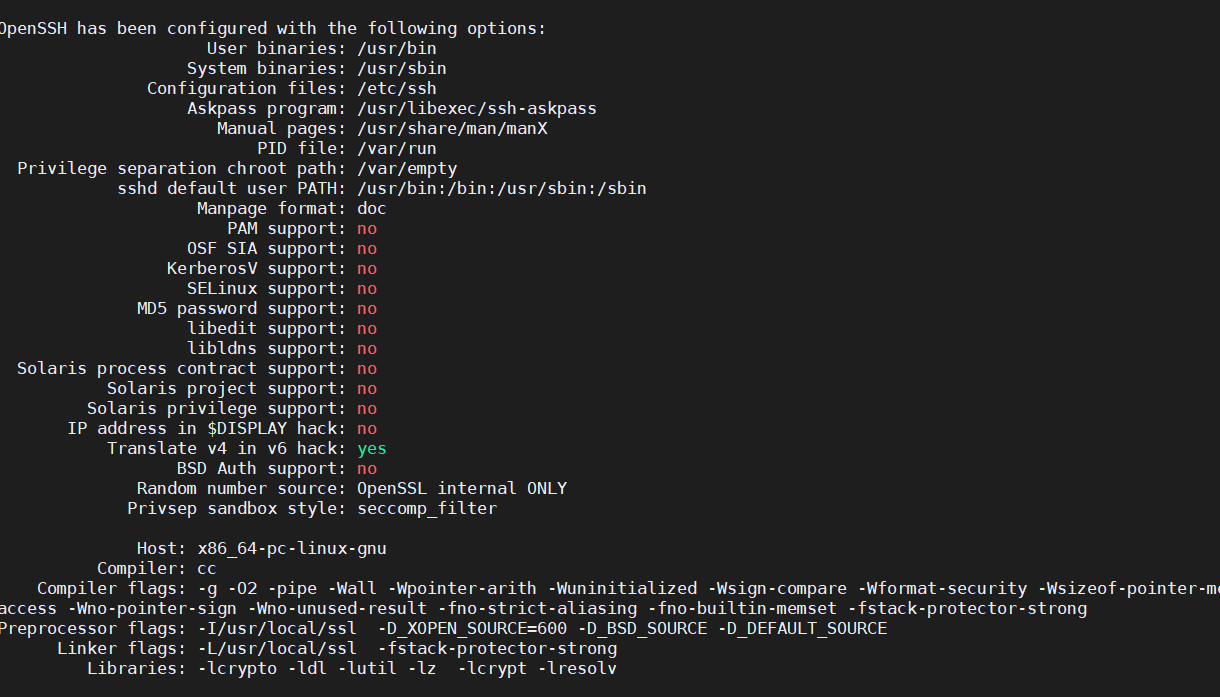
./configure --prefix=/usr --sysconfdir=/etc/ssh --with-md5-passwords--with-pam --with-tcp-wrappers --with-ssl-dir=/usr/local/ssl --without-hardening
configure 成功 如下图
make && make install

4.2.7 配置openssh 开机启动
配置开机启动,并设置 允许root 用户 登录ssh
    [root@mytestserver openssh-8.1p1]# cp contrib/redhat/sshd.init /etc/init.d/sshd
    [root@mytestserver openssh-8.1p1]# chkconfig --add sshd
    [root@mytestserver openssh-8.1p1]# chkconfig sshd on
    [root@mytestserver openssh-8.1p1]# sed -i "32a PermitRootLogin yes" /etc/ssh/sshd_config
    [root@mytestserver openssh-8.1p1]# systemctl restart sshd
    [root@mytestserver openssh-8.1p1]#
4.2.8 验证
发下连接时报access denied 或者 permission denied
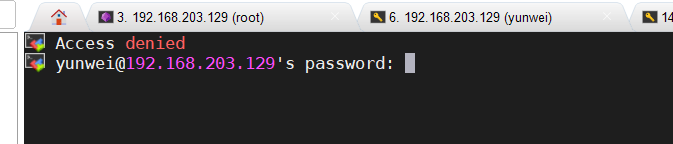
经查询,需关闭setenforce.
4.2.8.1 永久关闭setenforce
先临时关闭验证下
[root@mytestserver log]# setenforce 0
验证可以一般用户ssh 登录
验证root 用户ssh 登录
永久关闭,并重启系统。
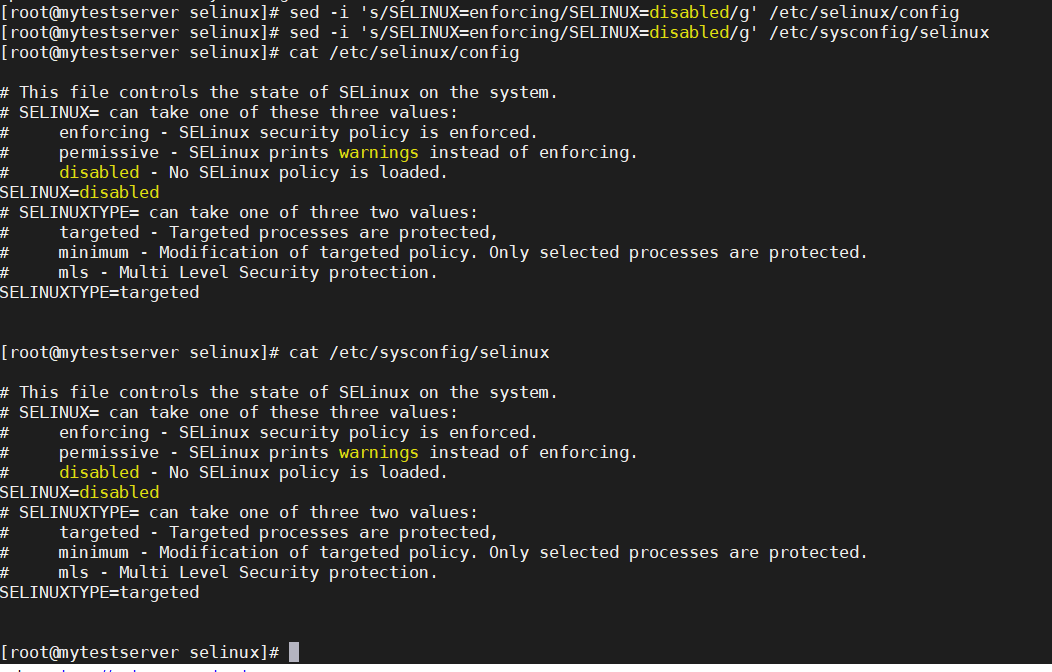
centos7.3 永久关闭需要修改两个文件。
    [root@mytestserver selinux]# sed -i 's/SELINUX=enforcing/SELINUX=disabled/g' /etc/selinux/config
    [root@mytestserver selinux]# sed -i 's/SELINUX=enforcing/SELINUX=disabled/g' /etc/sysconfig/selinux
生产环境 系统重启,一定要做好各种准备工作。
reboot
重启后,再次验证下。
posted on 2020-12-16 11:00 weiwei2021 阅读(447) 评论(0) 收藏 举报

 浙公网安备 33010602011771号