第四周作业
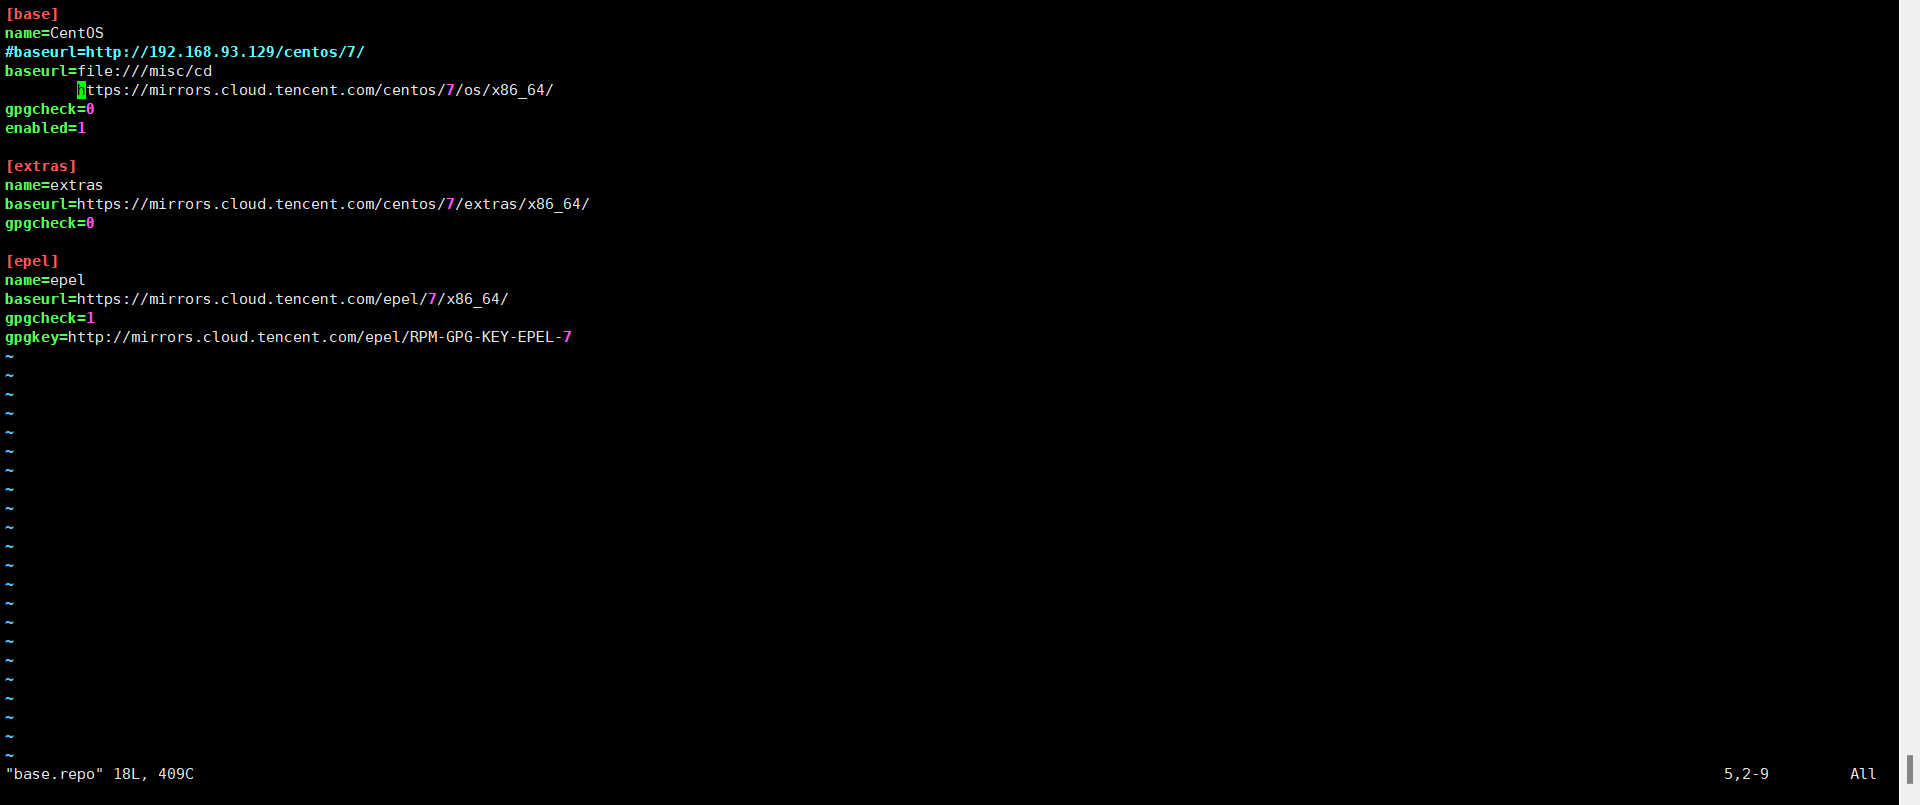
1、自建yum仓库,分别为网络源和本地源

yum的几个常用命令
yum makecache:就是把服务器的包下载到本地配合yum search使用
yum clean:清除缓存
yum repolist:显示配置已开启的yum源
yum remove:删除,配合-f强制删除
yum reinstall:重装,配合-f强制重装
yum info:显示有关包或包组的详细信息
yum history:显示装包历史

2、编译安装http2.4,实现可以正常访问,并将编译步骤和结果提交。
apache官网下载链接:https://httpd.apache.org/download.cgi
先从官网wget包
wget https://dlcdn.apache.org/httpd/httpd-2.4.53.tar.gz
将其解压,我这里直接解压到/data下方便操作
[root@centos8 ~]# tar xvf httpd-2.4.53.tar.gz -C /data
安装相关包:
[root@centos8 data]# yum install gcc make autoconf apr-devel apr-util-devel pcre-devel openssl-devel redhat-rpm-config
配置config文件
[root@centos8 data]# cd httpd-2.4.53/
[root@centos8 httpd-2.4.53]# ./configure --prefix=/apps/httpd --sysconfdir=/etc/httpd --enable-ssl

编译并安装:
[root@centos8 httpd-2.4.53]# make -j 4 && make install
配置环境
[root@centos8 httpd-2.4.53]# echo 'PATH=/apps/httpd/bin:$PATH' > /etc/profile.d/httpd.sh
[root@centos8 httpd-2.4.53]# . /etc/profile.d/httpd.sh
启动服务(这里可能需要改端口号)
[root@centos8 httpd-2.4.53]# apachectl start
httpd (pid 30722) already running
查看监听端口
[root@centos8 httpd-2.4.53]# ss -ntul

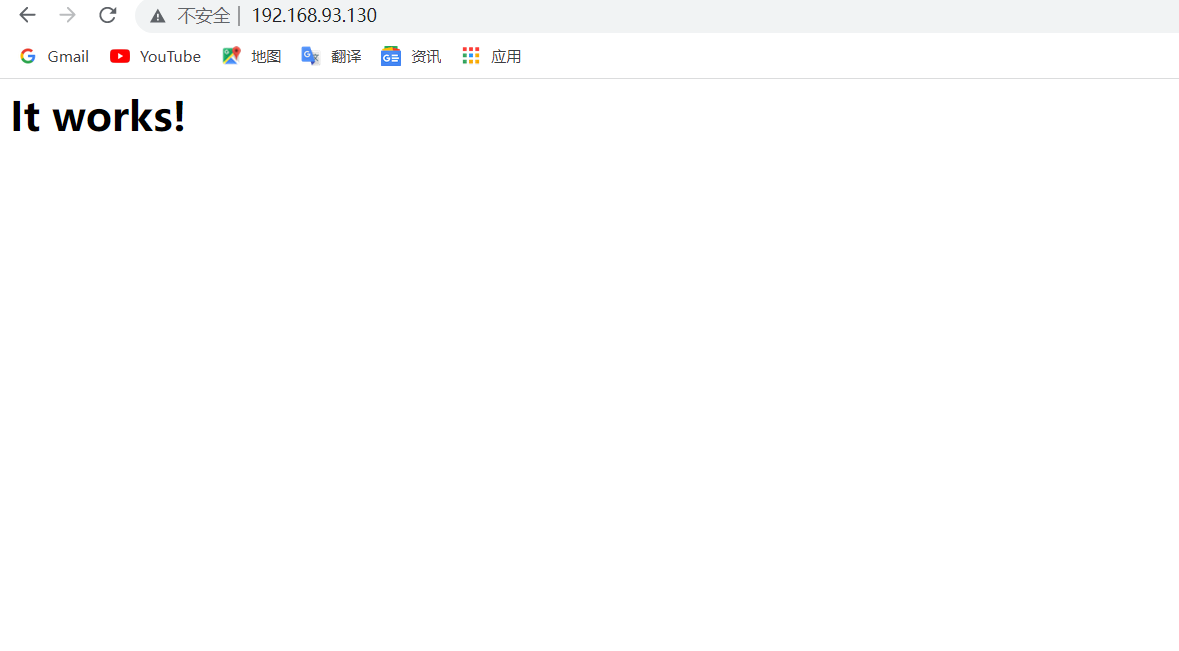
打开网页

用到的命令:
解压缩:
tar xf /PATH/FILE.tar -C /PATH/ 展开归档
编译安装三步:
./configure --help
make
make install
参看监听端口:
ss -ntl
3、利用sed 取出ifconfig命令中本机的IPv4地址
[root@centos8 ~]# ifconfig eth0 |sed -nr "2s/[^0-9]+([0-9.]+).*/\1/p"

-n:不默认显示
-r:使用扩展正则
4、删除/etc/fstab文件中所有以#开头,后面至少跟一个空白字符的行的行首的#和空白字符
[root@centos7 ~]# sed -nr -i.bak 's@^#([[:space:]]+*)@\1@p' /etc/fstab
5、处理/etc/fstab路径,使用sed命令取出其目录名和基名
基名:
[root@centos7 ~]# echo /etc/fstab | sed -r 's@(^/.*/)([^/]+/?)@\2@'
fstab
目录名:
[root@centos7 ~]# echo /etc/fstab/ | sed -r 's@(^/.*)/([^/]+/?)@\1@'
/etc
6、列出ubuntu软件管理工具apt的一些用法(自由总结)
和yum一样
记录于2022-3-26-18:58 weilan


【推荐】国内首个AI IDE,深度理解中文开发场景,立即下载体验Trae
【推荐】编程新体验,更懂你的AI,立即体验豆包MarsCode编程助手
【推荐】抖音旗下AI助手豆包,你的智能百科全书,全免费不限次数
【推荐】轻量又高性能的 SSH 工具 IShell:AI 加持,快人一步
· 分享一个免费、快速、无限量使用的满血 DeepSeek R1 模型,支持深度思考和联网搜索!
· 基于 Docker 搭建 FRP 内网穿透开源项目(很简单哒)
· ollama系列01:轻松3步本地部署deepseek,普通电脑可用
· 按钮权限的设计及实现
· 25岁的心里话