
迁移cnblogs博客园的blog备份db文件到本地的博客系统
1. 先cnblogs后台导出备份文件db 到本地 , 备份文件为sqlite3 ,字段格式如下
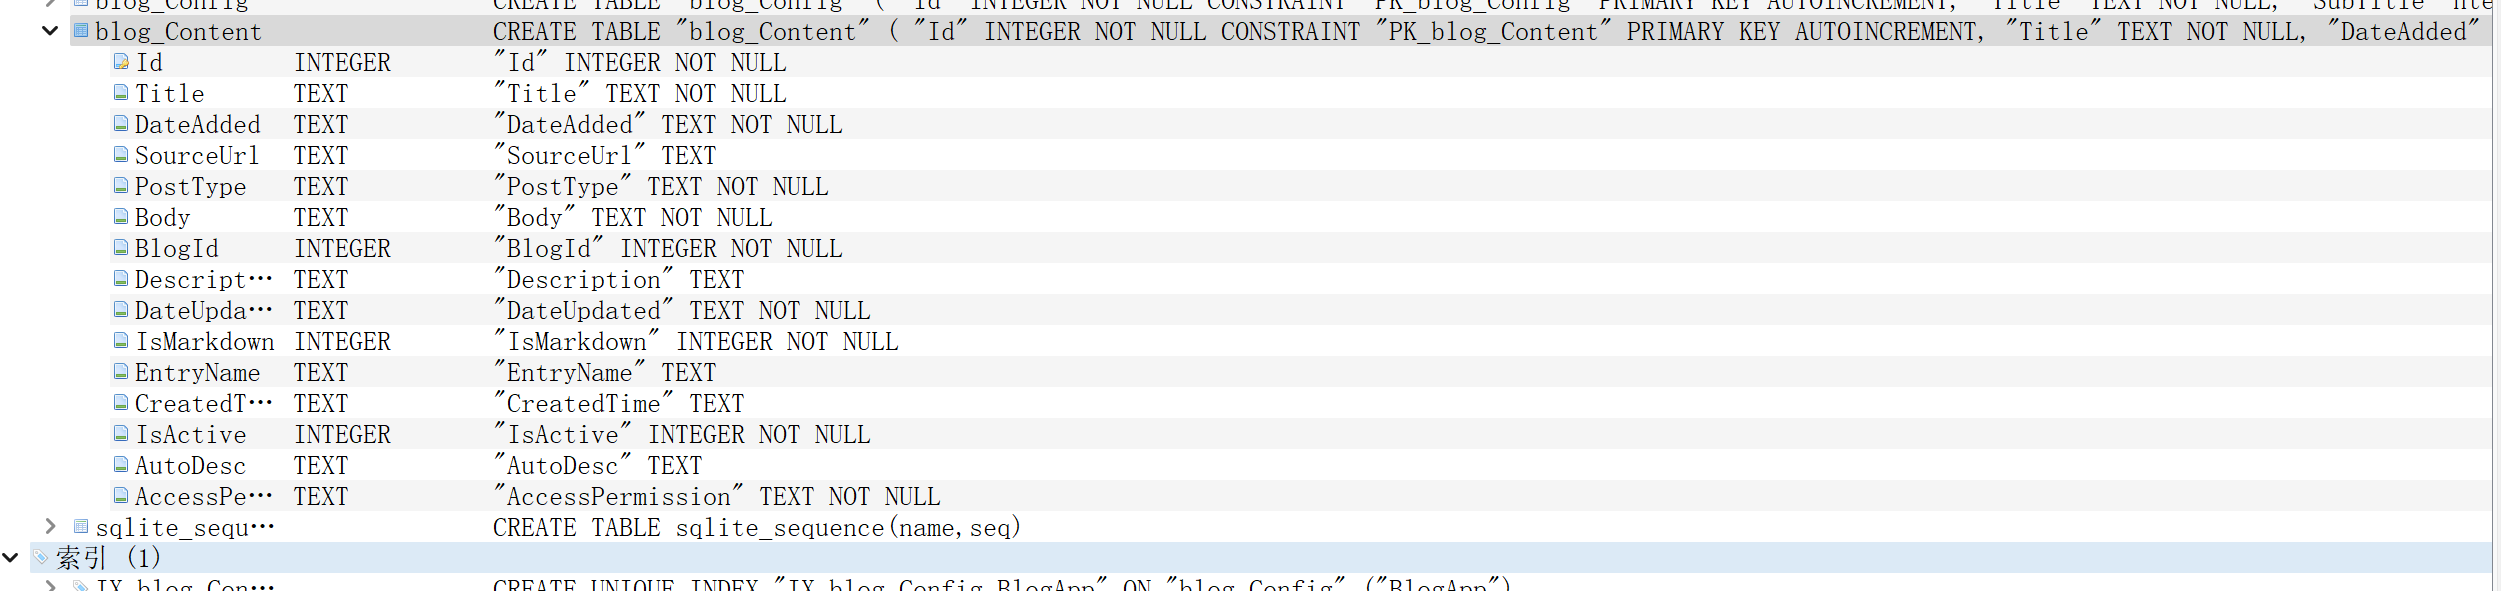
2. 查看本地博客系统数据库sqlite3的字段格式如下:

3. 通过python 处理将备份sqlite3中的字段做处理调整成本地博客系统的字段
import pandas as pdimport sqlite3db_file="./cnblogs_blog_*****.20230912103223.db"conn = sqlite3.connect(db_file, isolation_level=None)db_df = pd.read_sql_query("SELECT Id,Title,DateAdded,Body FROM blog_Content",conn)new_df=db_df.rename(columns={'Id':'id','Title':'title','DateAdded':'date','Body':'body'})new_df['author_id']= 1new_df['subtitle']= 1new_df['img_url']= "http://123.com"print(new_df)#db_df.to_csv('database.csv',encoding='utf_8_sig')new_conn = sqlite3.connect('./posts.db')print(new_conn)new_df.to_sql('blog_posts', new_conn, if_exists='replace', index=False)new_conn.close() |
4. 本地blog系统的数据库调整为新的数据库, 修改数据读取按照时间倒序
1 2 3 4 5 6 7 | @app.route('/')def get_all_posts(): # result = db.session.execute(db.select(BlogPost)) result = db.session.query(BlogPost).order_by(BlogPost.date.desc()) # posts = result.scalars().all() posts = result.all() return render_template("index.html", all_posts=posts, current_user=current_user) |
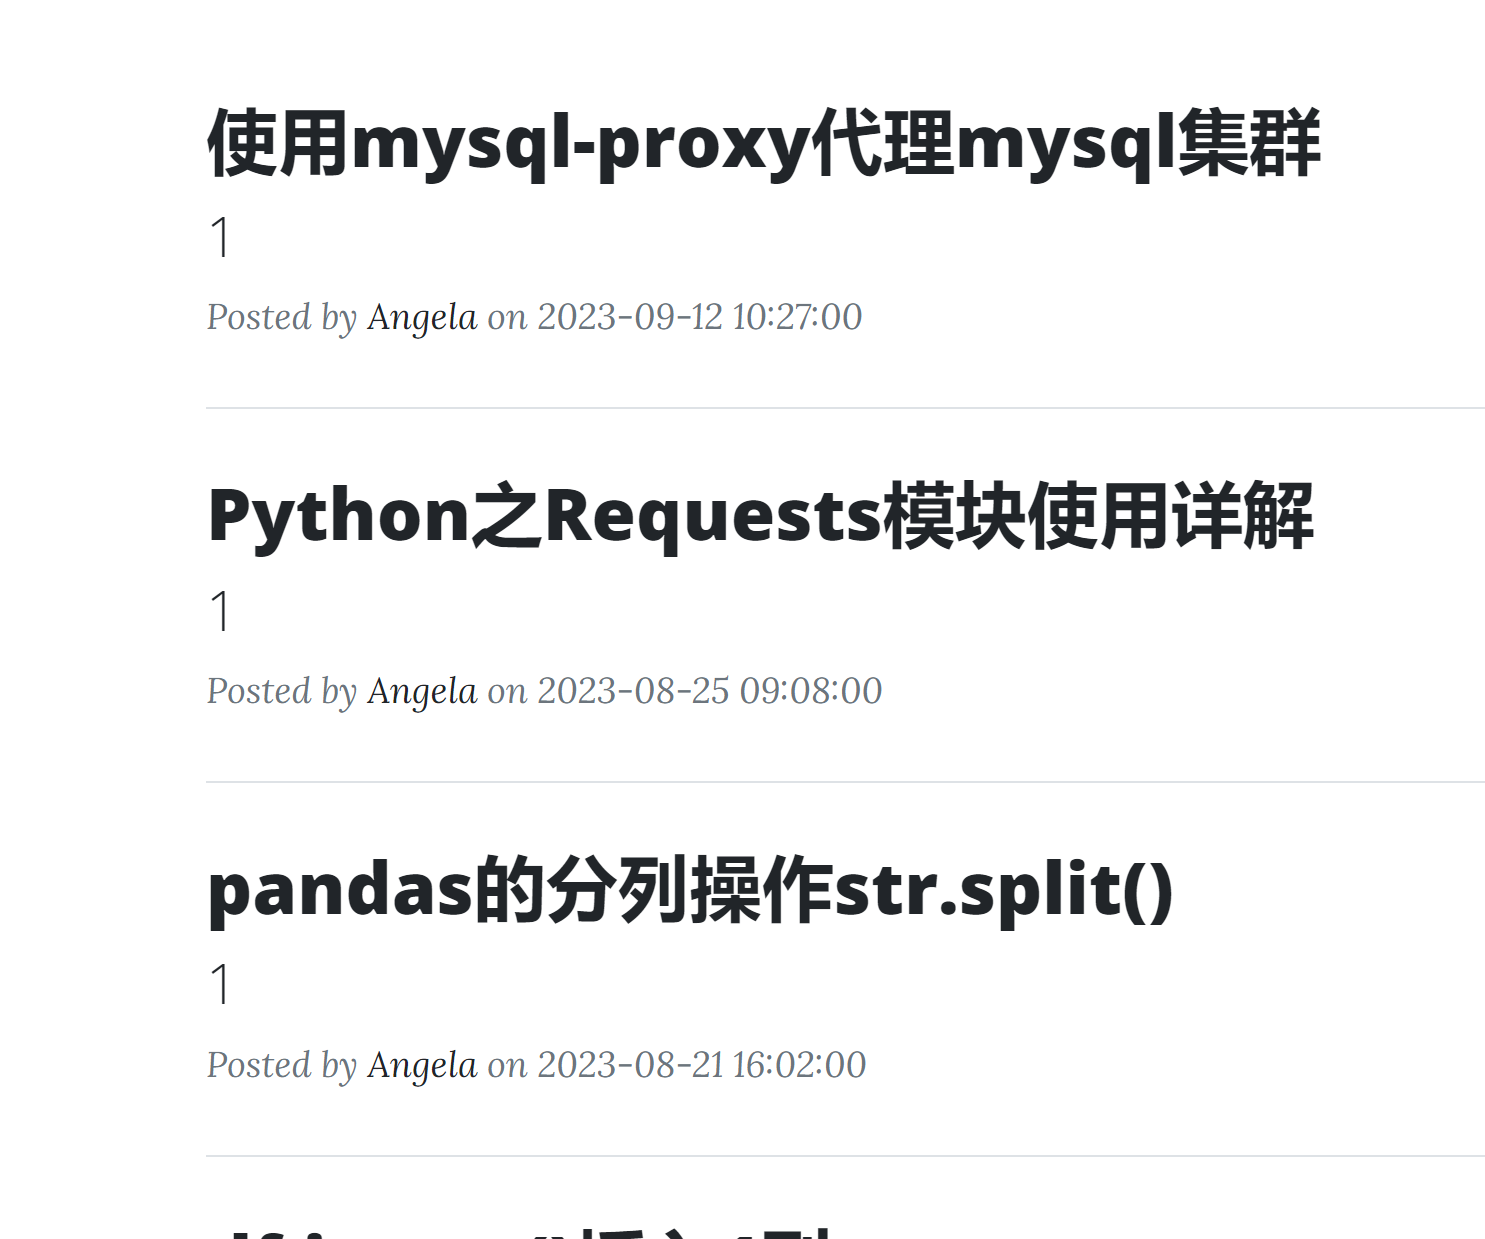
前端显示页面
1 2 3 4 5 6 7 8 9 10 11 12 13 14 15 16 17 18 19 20 21 22 23 24 25 | <!-- Main Content--><div class="container px-4 px-lg-5"> <div class="row gx-4 gx-lg-5 justify-content-center"> <div class="col-md-10 col-lg-8 col-xl-7"> <!-- Post preview--> {% for post in all_posts %} <div class="post-preview"> <a href="{{ url_for('show_post', post_id=post.id) }}"> <h2 class="post-title">{{ post.title }}</h2> <h3 class="post-subtitle">{{ post.subtitle }}</h3> </a> <p class="post-meta"> Posted by <!-- post.author.name is now a User object --> <a href="#">{{post.author.name}}</a> on {{post.date}} <!-- Only show delete button if user id is 1 (admin user) --> {% if current_user.id == 1: %} <a href="{{url_for('delete_post', post_id=post.id) }}">✘</a> {% endif %} </p> </div> <!-- Divider--> <hr class="my-4" /> {% endfor %} |
文本内容页面
1 2 3 4 5 6 7 8 9 10 11 12 13 14 15 16 | <!-- Post Content --><article> <div class="container px-4 px-lg-5"> <div class="row gx-4 gx-lg-5 justify-content-center"> <div class="col-md-10 col-lg-8 col-xl-7"> {{ post.body|safe }} <!--Only show Edit Post button if user id is 1 (admin user) --> {% if current_user.id == 1 %} <div class="d-flex justify-content-end mb-4"> <a class="btn btn-primary float-right" href="{{url_for('edit_post', post_id=post.id)}}" >Edit Post</a > </div> {% endif %} |
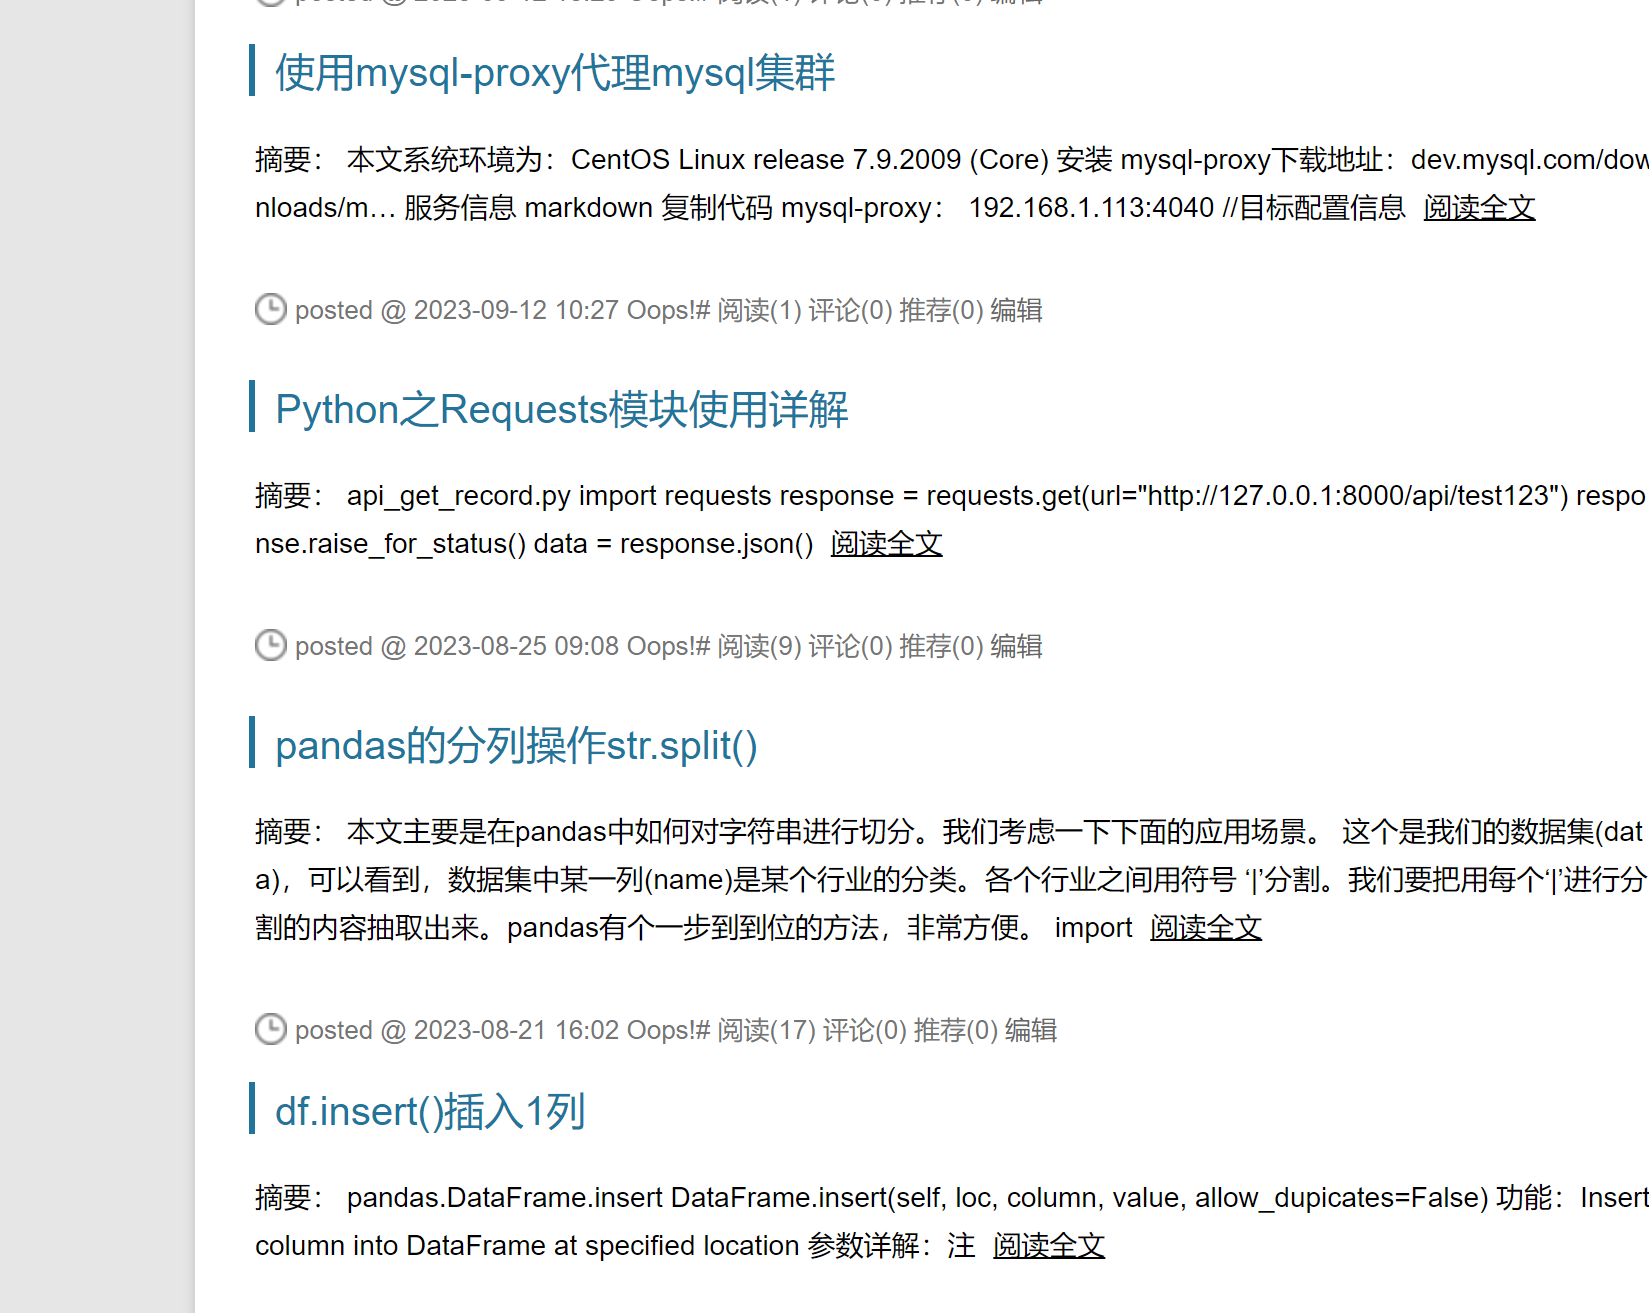
5. 启动本地博客系统后, 可以正常显示
跟cnblogs内容类似 ,可作为本地的一个备份博客


【推荐】国内首个AI IDE,深度理解中文开发场景,立即下载体验Trae
【推荐】编程新体验,更懂你的AI,立即体验豆包MarsCode编程助手
【推荐】抖音旗下AI助手豆包,你的智能百科全书,全免费不限次数
【推荐】轻量又高性能的 SSH 工具 IShell:AI 加持,快人一步
· 25岁的心里话
· 闲置电脑爆改个人服务器(超详细) #公网映射 #Vmware虚拟网络编辑器
· 零经验选手,Compose 一天开发一款小游戏!
· 因为Apifox不支持离线,我果断选择了Apipost!
· 通过 API 将Deepseek响应流式内容输出到前端
2021-09-13 本地自签https证书
2017-09-13 python学习:函数传参数
2017-09-13 python学习:猜数字游戏
2017-09-13 python学习:99乘法口诀
2017-09-13 python学习:设计一个算法将缺失的数字找出来。