Better Directory Listing with NGINX's Fancy Index Module
After sending a link to a directory on my website containing some PDF readings to one of my friends, I realized the default NGINX directory listing doesn’t look very friendly:

That’s when I found out about NGINX’s Fancy Index module, which allows you to manipulate the HTML that NGINX spits out for its directory listing.
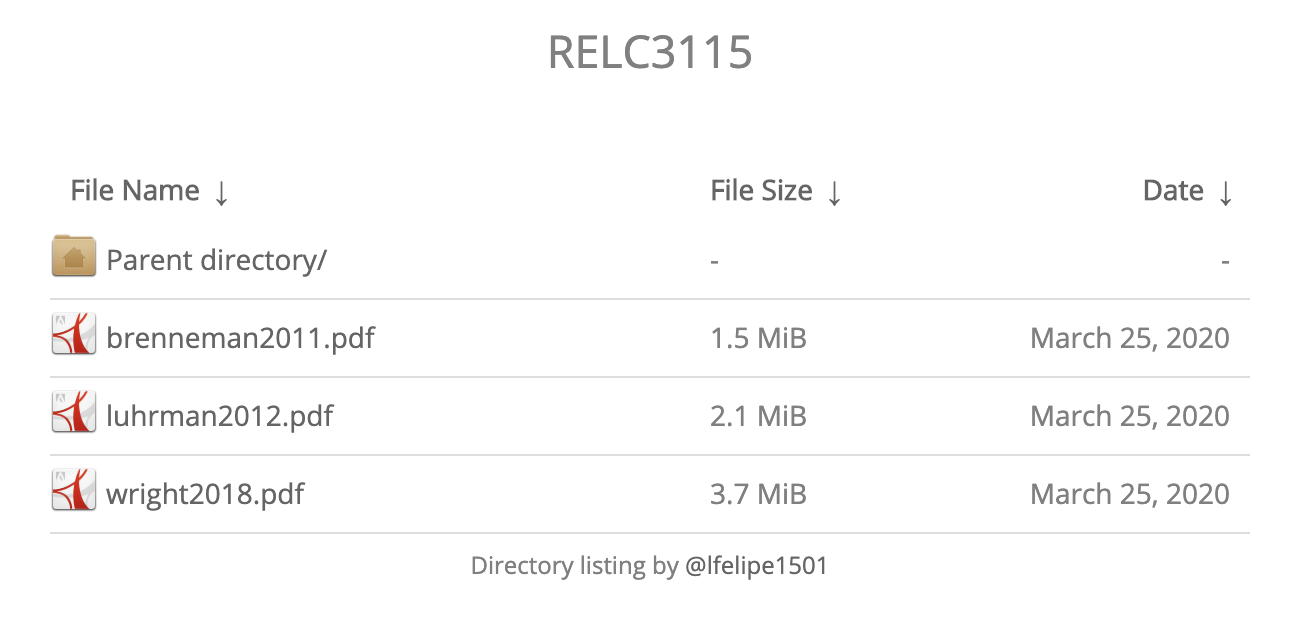
There are a lot of themes available on Github for NGINX Fancy Index styling, but my favorite by far is Nginxy by Luis Felipe Sánchez. Here is Nginxy in action:
Installing NGINX Fancy Index Module
To get Nginxy to work we first need to install the Fancy Index module. In my case I needed to install it to an already built NGINX installation, which means it must be compiled and built from source.
To install the Fancy Index module on an already built NGINX installation, first we need to know which version of NGINX we are running. You can check that by running nginx -v:
[root@neilmenon ~]# nginx -v
nginx version: nginx/1.16.1
Next, run the following commands to download and unpack NGINX sources. Be sure to replace the version with your NGINX version found above!
wget https://nginx.org/download/nginx-1.16.1.tar.gz
tar -xzvf nginx-1.16.1.tar.gz
Then, download the Fancy Index module using git:
git clone https://github.com/aperezdc/ngx-fancyindex.git
Here comes the part where we need to be careful. In order to dynamically load a module, we will need to use exactly the same arguments as our Nginx configuration, otherwise the module will not compile properly and will most likely result in the following error:
nginx: [emerg] module is not binary compatible in /etc/nginx/nginx.conf
To get the proper NGINX configuration parameters for our system, run the following command:
nginx -V
This will output configure arguments: followed my a series of arguments specific to your NGINX installation. We will need these in the next step.
Now it’s time to compile the Fancy Index module. Run the following commands, replacing [args] with the exact arguments found above:
cd nginx-1.16.1
./configure [args] --add-dynamic-module=../ngx-fancyindex
You will likely get some errors such as
./configure: error: perl module ExtUtils::Embed is required
because NGINX is missing some things it needs to properly compile modules. To resolve these issues, I simply Googled the error in quotes and found the proper command to install these missing dependencies. To save you some time, run the following if you’re on CentOS to fix the most common dependency issues up front (Note: I’m running CentOS 7 Linux):
yum -y install gcc redhat-rpm-config pcre-devel openssl-devel libxslt-devel gd gd-devel perl-ExtUtils-Embed gperftools-devel
Keep running the ./configure command until it finishes successfully, then run make modules to build the Fancy Index module.
Finally, we can copy the created ngx_http_fancyindex_module.so into the NGINX modules directory (mine is /usr/share/nginx/modules):
cp objs/ngx_http_fancyindex_module.so /usr/share/nginx/modules
And then edit our nginx.conf (usually at /etc/nginx/nginx.conf) to load the module by adding the following to the top of the file:
load_module /usr/share/nginx/modules/ngx_http_fancyindex_module.so;
Check to make sure NGINX is happy with the changes by running nginx -t:
[root@neilmenon ~]# nginx -t
nginx: the configuration file /etc/nginx/nginx.conf syntax is ok
nginx: configuration file /etc/nginx/nginx.conf test is successful
The Fancy Index module is now installed and configured on your NGINX installation.
Styling Directory Listing with Nginxy
With the Fancy Index module installed and loaded, we can add Nginxy to our website. Simply cd into the root of your web server (mine is /usr/share/nginx/html) and clone my fork of Nginxy using git (I made some necessary path edits and minor css and js tweaks from the original repository):
cd /usr/share/nginx/html
git clone https://github.com/neilmenon/Nginxy
Next, edit your nginx.conf and add the following to the root location block:
fancyindex on;
fancyindex_exact_size off;
fancyindex_footer /Nginxy/footer.html;
fancyindex_header /Nginxy/header.html;
fancyindex_css_href /Nginxy/style.css;
fancyindex_time_format "%B %e, %Y";
Your nginx.conf should now look something like this:
load_module /usr/share/nginx/modules/ngx_http_fancyindex_module.so;

server {
    # ...
    location / {
        # ...
        fancyindex on;
        fancyindex_exact_size off;
        fancyindex_footer /Nginxy/footer.html;
        fancyindex_header /Nginxy/header.html;
        fancyindex_css_href /Nginxy/style.css;
        fancyindex_time_format "%B %e, %Y";
    }
}
Finally, check that your syntax is correct and restart NGINX to apply the changes:
nginx -t && service nginx restart
If everything went as intended, your directory listing should look a lot nicer now:
Conclusion
That’s it! If you are experiencing any issues or have any questions, please let me know in the comments below. Thanks for reading!
参考: https://github.com/lfelipe1501/Nginxy

 浙公网安备 33010602011771号