使用@AspectJ注解开发Spring AOP
一、实体类:
Role


public class Role {
    private int id;
    private String roleName;
    private String note;


    @Override
    public String toString() {
        return "Role{" +
                "id=" + id +
                ", roleName='" + roleName + '\'' +
                ", note='" + note + '\'' +
                '}';
    }

    public Role() {
    }

    public Role(int id, String roleName, String note) {
        this.id = id;
        this.roleName = roleName;
        this.note = note;
    }

    public int getId() {
        return id;
    }

    public void setId(int id) {
        this.id = id;
    }

    public String getRoleName() {
        return roleName;
    }

    public void setRoleName(String roleName) {
        this.roleName = roleName;
    }

    public String getNote() {
        return note;
    }

    public void setNote(String note) {
        this.note = note;
    }
}
二、连接点(join point)
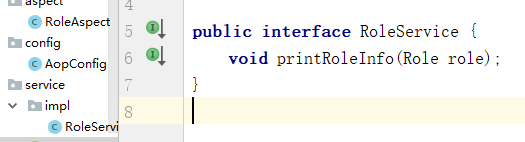
1、接口:RoleService
public interface RoleService {
    void printRoleInfo(Role role);
}
2、实现类:RoleServiceImp
@Component
public class RoleServiceImpl implements RoleService {
    @Override
    public void printRoleInfo(Role role) {
        System.out.println("id = "+role.getId()+", roleName = '"+role.getId()+"', note = '"+role.getNote()+"'");
    }

}
三、创建切面(Aspect)
1、方式一:
@Aspect
public class RoleAspect {

   @Before("execution(* com.wbg.springAOP.aop.service.impl.RoleServiceImpl.printRoleInfo(..))")
    public void before() {
        System.out.println("进入方法before...");
    }

    @After("execution(* com.wbg.springAOP.aop.service.impl.RoleServiceImpl.printRoleInfo(..))")
    public void after() {
        System.out.println("进入方法after...");
    }
    @AfterReturning("execution(* com.wbg.springAOP.aop.service.impl.RoleServiceImpl.printRoleInfo(..))")
    public void afterReturning() {
        System.out.println("进入方法afterReturning...");
    }
    @AfterThrowing("execution(* com.wbg.springAOP.aop.service.impl.RoleServiceImpl.printRoleInfo(..))")
    public void afterThrowing() {
        System.out.println("afterThrowing...");
    }
}
2、方式二:切点(Pointcut)
使用注解:@Pointcut
@Aspect
public class RoleAspect {
    @Pointcut("execution(* com.wbg.springAOP.aop.service.impl.RoleServiceImpl.printRoleInfo(..))")
    public void print() {

    }

    @Before("print()")
    public void before() {
        System.out.println("进入方法before...");
    }


    @After("print()")
    public void after() {
        System.out.println("进入方法after...");
    }

    @AfterReturning("print()")
    public void afterReturning() {
        System.out.println("进入方法afterReturning...");
    }

    @AfterThrowing("print()")
    public void afterThrowing() {
        System.out.println("afterThrowing...");
    }
}
四:配置Spring bean
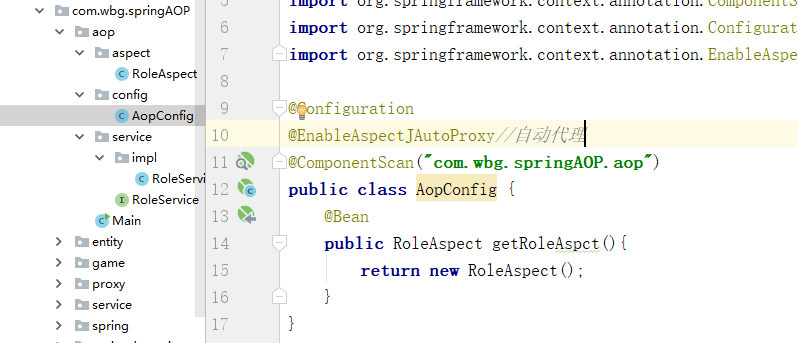
方式一:采用注解java配置
@Configuration
@EnableAspectJAutoProxy//自动代理
@ComponentScan("com.wbg.springAOP.aop")
public class AopConfig {
    @Bean
    public RoleAspect getRoleAspct(){
        return new RoleAspect();
    }
}
方式二:使用XML配置
<?xml version="1.0" encoding="UTF-8"?>
<beans xmlns="http://www.springframework.org/schema/beans"
       xmlns:xsi="http://www.w3.org/2001/XMLSchema-instance" xmlns:aop="http://www.springframework.org/schema/aop"
       xsi:schemaLocation="http://www.springframework.org/schema/beans http://www.springframework.org/schema/beans/spring-beans.xsd http://www.springframework.org/schema/aop http://www.springframework.org/schema/aop/spring-aop.xsd">
       <!--如同注解@EnableAspectJautoProxy-->
        <aop:aspectj-autoproxy/>
    <bean id="roleAspect" class="com.wbg.springAOP.aop.aspect.RoleAspect"/>

    <bean id="roleService" class="com.wbg.springAOP.aop.service.impl.RoleServiceImpl"/>
</beans>

五、测试:
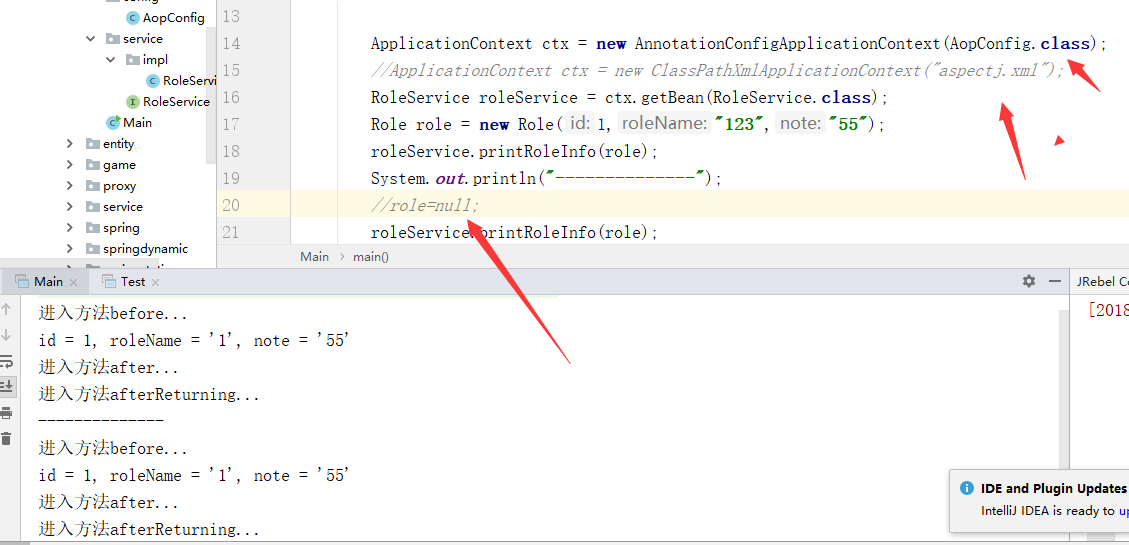
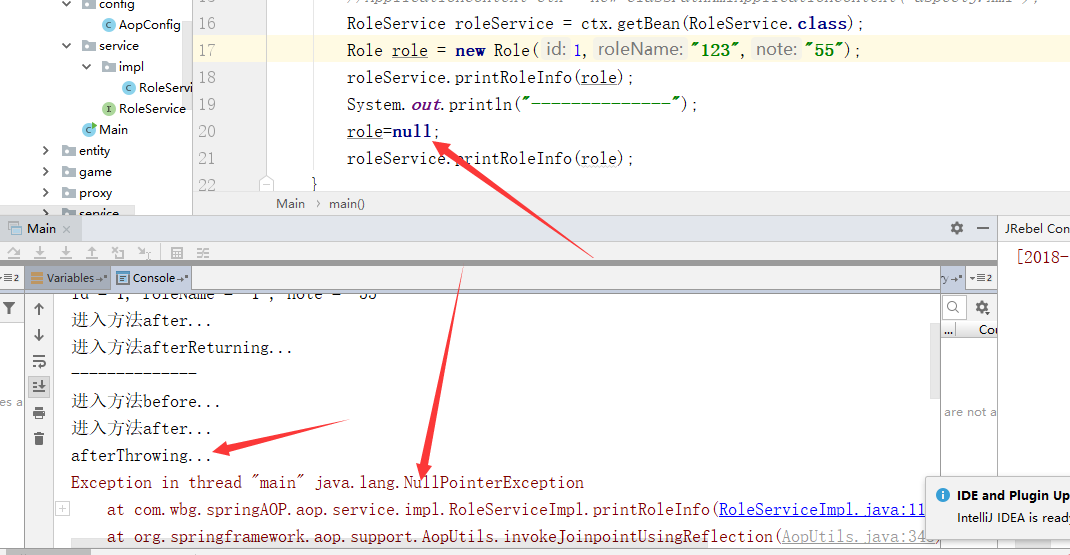
 public static void main(String[] args) {

        ApplicationContext ctx = new AnnotationConfigApplicationContext(AopConfig.class);
        //ApplicationContext ctx = new ClassPathXmlApplicationContext("aspectj.xml");
        RoleService roleService = ctx.getBean(RoleService.class);
        Role role = new Role(1,"123","55");
        roleService.printRoleInfo(role);
        System.out.println("--------------");
        //role=null;
        roleService.printRoleInfo(role);
    }
1、不为空:
2、为空:
六、加入环绕通知@Around
直接在切面加入:
@Around("print()")
public void around(ProceedingJoinPoint joinPoint){
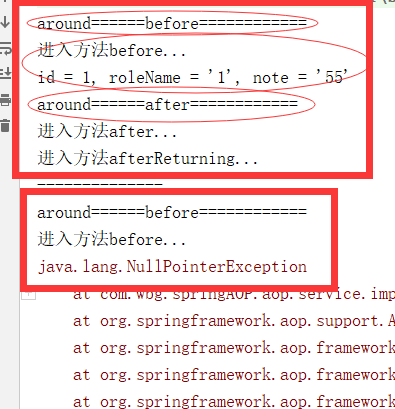
System.out.println("around======before============");
try {
joinPoint.proceed();
} catch (Throwable throwable) {
throwable.printStackTrace();
}
System.out.println("around======after============");
}

测试:
七、给通知传递参数:&& args(..)
@Before("execution(* com.wbg.springAOP.aop.service.impl.RoleServiceImpl.printRoleInfo(..)) && args(role, sort)")

八、引入(Introduction)
目的:让Role为空时不打印
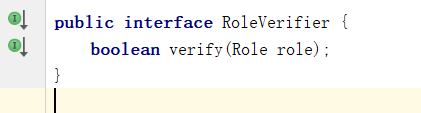
1、定义接口:RoleVerifer
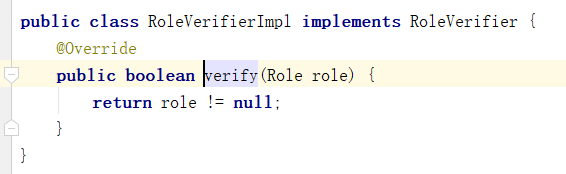
2、实现接口类:RoleVeriferImpl
3、把RoleVerifier加入到切面中
com.wbg.springAOP.aop.service.impl.RoleServiceImpl+ :表示对RoleServiceImpl类进行增强
defaultImpl :代码其默认实现类,这里是RoleVerifierImpl
  @DeclareParents(value = "com.wbg.springAOP.aop.service.impl.RoleServiceImpl+",defaultImpl = RoleVerifierImpl.class)
    public RoleVerifier roleVerifier;

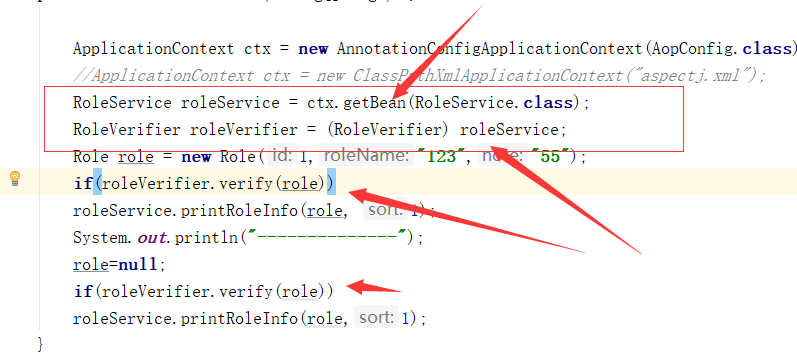
4、引入增强检查是否为空
demo:https://github.com/weibanggang/springaopstaticanddynamic

 浙公网安备 33010602011771号