


stm32f407探索者开发板(四)——点亮跑马灯(库函数)
一、删除不必要的文件
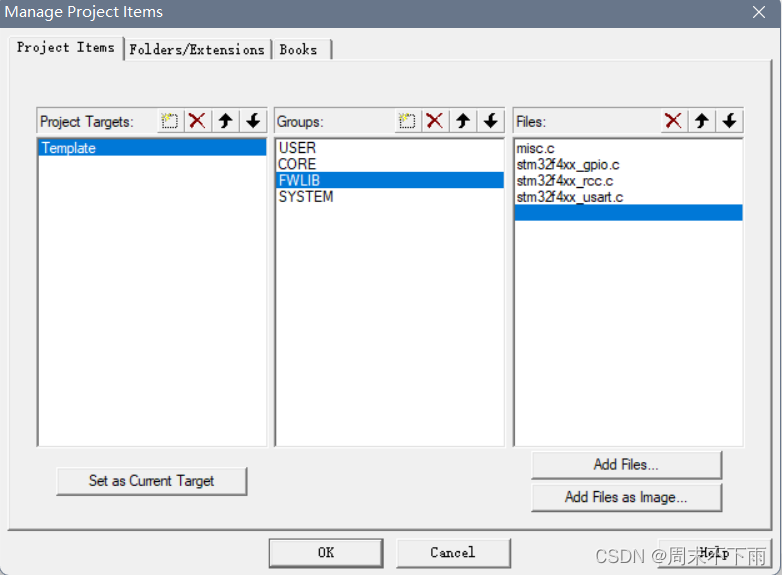
保留如上,rcc是所有设备都要用的,涉及时钟的使能
提示:不用的外设固件库文件可以删掉,节省编译时间。
uart是串口的,在sysytem里面有用到
二、添加HARDWARE文件夹


三、代码编写
3.1 led.h
#ifndef __LED_H
#define __LED_H

void LED_Init(void);

#endif
3.2 led,c
#include "led.h"
#include "stm32f4xx.h"


void LED_Init(void)
{
	GPIO_InitTypeDef GPIO_Initstruct;
	RCC_AHB1PeriphClockCmd(RCC_AHB1Periph_GPIOF,ENABLE);

	//F9
	GPIO_Initstruct.GPIO_Pin=GPIO_Pin_9;
	//¿ÉÒÔÖ±½Óд³ÉGPIO_Initstruct.GPIO_Pin=GPIO_Pin_9|GPIO_Pin_10;
	GPIO_Initstruct.GPIO_Mode=GPIO_Mode_OUT;
	GPIO_Initstruct.GPIO_OType=GPIO_OType_PP;
	GPIO_Initstruct.GPIO_PuPd=GPIO_PuPd_UP;
	GPIO_Initstruct.GPIO_Speed=GPIO_Speed_50MHz;

	GPIO_Init(GPIOF,&GPIO_Initstruct);
	GPIO_SetBits(GPIOF,GPIO_Pin_9);
	//¿ÉÒÔÖ±½Óд³ÉGPIO_SetBits(GPIOF,GPIO_Pin_9|GPIO_Pin_10);

	//F10
	GPIO_Initstruct.GPIO_Pin=GPIO_Pin_10;
	GPIO_Initstruct.GPIO_Mode=GPIO_Mode_OUT;
	GPIO_Initstruct.GPIO_OType=GPIO_OType_PP;
	GPIO_Initstruct.GPIO_PuPd=GPIO_PuPd_UP;
	GPIO_Initstruct.GPIO_Speed=GPIO_Speed_50MHz;

	GPIO_Init(GPIOF,&GPIO_Initstruct);
	GPIO_SetBits(GPIOF,GPIO_Pin_10);

}
3.3 mian.c
#include "stm32f4xx.h"
#include "led.h"
#include "delay.h"

int main(void)
{
	delay_init(168);
	LED_Init();
	while(1)
	{
		GPIO_SetBits(GPIOF,GPIO_Pin_9);
		GPIO_SetBits(GPIOF,GPIO_Pin_10);
		delay_ms(500);
		GPIO_ResetBits(GPIOF,GPIO_Pin_9);
		GPIO_ResetBits(GPIOF,GPIO_Pin_10);
	}
}
四、学习心得
- 写库函数看到
assert_param就应该保持兴奋,因为后面存放了你需要输入的参数 - 学会用
go to definition进行 - 配置要有时钟
五、效果展示
STM32F4跑马灯

