

vue路由的主要流程
vue路由是为了实现前端导航,比如手机微信底部的四个按钮,可以控制页面切换
下面介绍vue路由的基本使用流程:
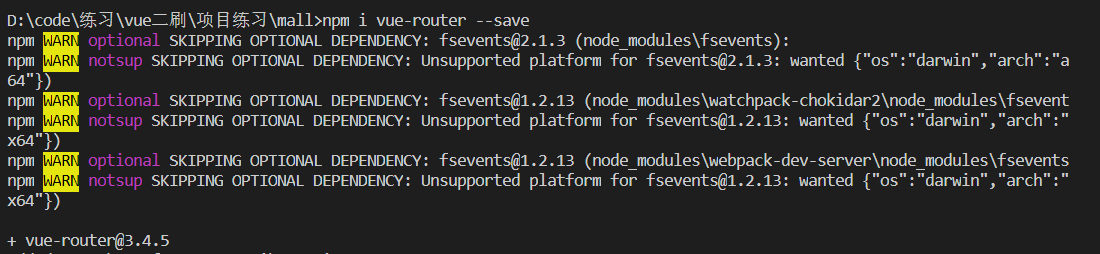
1、安装vue-router
可以在创建项目时选择安装,也可以后面通过npm i vue-router --save来安装
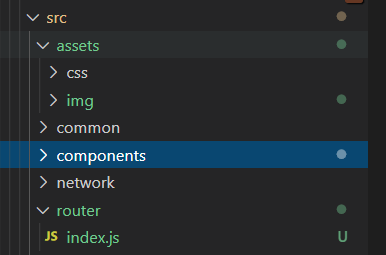
2、在src文件夹下创建vue-router文件夹以及其下面建立index.js文件
3、需要在router新建立的index.js文件中引入vue-router并配置路由
第一步:引入vue和vue-router模块
import Vue from 'vue'
import VueRouter from 'vue-router'
第二步:使用vue-router
Vue.use(VueRouter)
第三步:引入模板文件且配置路由
const Home=()=>import('../views/home/Home');
const Category=()=>import('../views/category/Category');
const Cart=()=>import('../views/cart/Cart');
const Profile=()=>import('../views/profile/Profile')
// 2、创建路由对象
const routes=[
    {
        path:'',
        redirect:'home'
    },
    {
        path:'/home',
        component:Home
    },
    {
        path:'/category',
        component:Category
    },
    {
        path:'/cart',
        component:Cart
    },
    {
        path:'/profile',
        component:Profile
    }
]
const router=new VueRouter({
    routes,
    mode:'history'
})
第四步:导出router并在main.js中注册
export default router
//在main.js中
import Vue from 'vue'
import App from './App.vue'
import router from './router'
Vue.config.productionTip = false
new Vue({
router,
render: h => h(App),
}).$mount('#app')

 浙公网安备 33010602011771号