VLAN和TRUNK实验
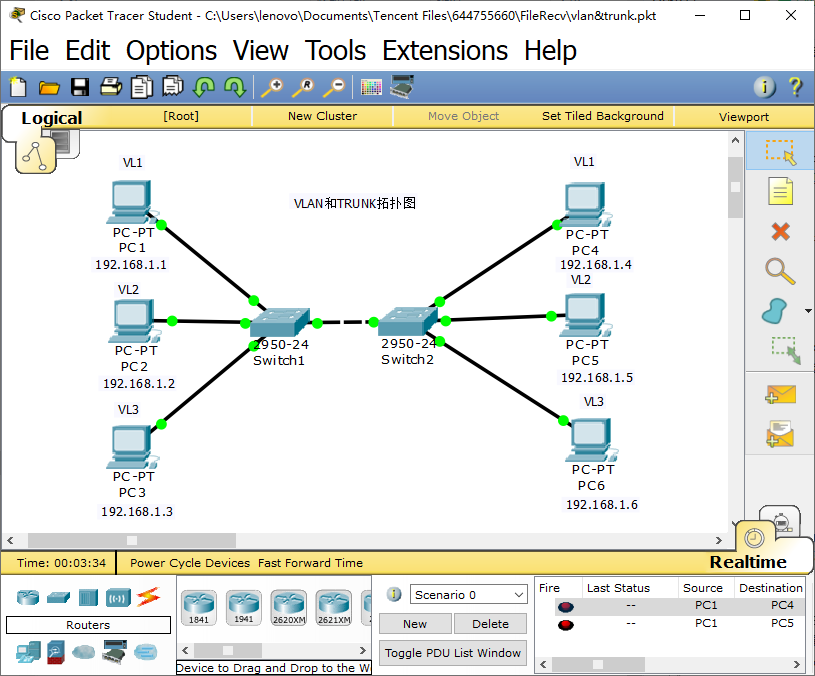
( VLAN和TRUNK实验拓扑图)
实验开始
VLAN和TRUNK实验配置过程:
S1
1.Switch>enable
2.Switch#vlan database
3.Switch(vlan)#vlan 2
4.Switch(vlan)#vlan 3
5.Switch(vlan)#exit
6.Switch#config terminal
7.Switch(config)#interface f0/2
8.Switch(config-if)#switchport access vlan 2
9.Switch(config)#interface f0/3
10.Switch(config-if)#switchport access vlan 3
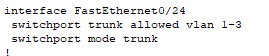
11.Switch(config)#interface f0/24
12.Switch(config-if)#switchport mode trunk
13.switchport trunk allowed vlan 1-3
S2
1.Switch>enable
2.Switch#vlan database
3.Switch(vlan)#vlan 2
4.Switch(vlan)#vlan 3
5.Switch(vlan)#exit
6.Switch#config terminal
7.Switch(config)#interface f0/2
8.Switch(config-if)#switchport access vlan 2
9.Switch(config)#interface f0/3
10.Switch(config-if)#switchport access vlan 3
11.Switch(config)#interface f0/24
12.Switch(config-if)#switchport mode trunk
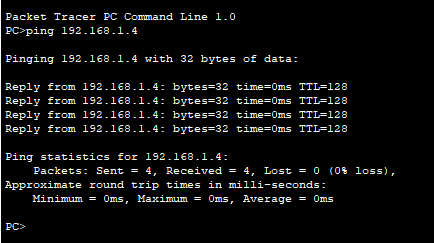
实验验证
1.PC1 ping PC4 Reply
2.PC2 ping PC5 Reply
3.PC3 ping PC6 Reply
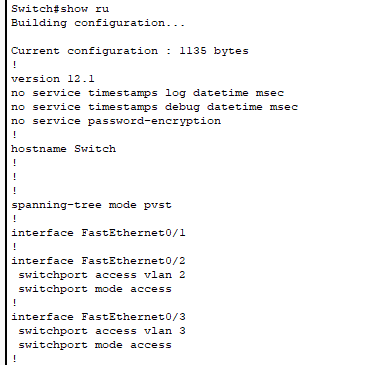
sw1
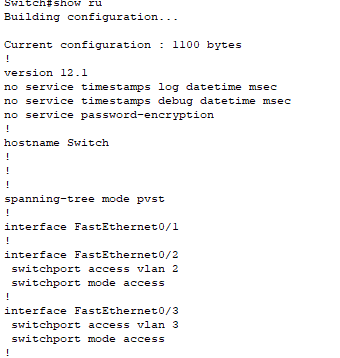
sw2

ping(pc1 ping pc4)

 浙公网安备 33010602011771号