
实验八-Web部署
实验步骤
在华为云openEuler 安装后,没有配置yum源,我们通过重新配置。
输入命令以切换到rpos目录下
cd /etc/yum.repos.d
输入命令更换yum源
vi openEuler_x86_64.repo
增加下面内容:
点击查看代码
[OS]
name=OS
baseurl=http://repo.openeuler.org/openEuler-20.03-LTS/OS/$basearch/
enabled=1
gpgcheck=1
gpgkey=http://repo.openeuler.org/openEuler-20.03-LTS/OS/$basearch/RPM-GPG-KEY-openEuler

[everything]
name=everything
baseurl=http://repo.openeuler.org/openEuler-20.03-LTS/everything/$basearch/
enabled=1
gpgcheck=1
gpgkey=http://repo.openeuler.org/openEuler-20.03-LTS/everything/$basearch/RPM-GPG-KEY-openEuler

[EPOL]
name=EPOL
baseurl=http://repo.openeuler.org/openEuler-20.03-LTS/EPOL/$basearch/
enabled=1
gpgcheck=1
gpgkey=http://repo.openeuler.org/openEuler-20.03-LTS/OS/$basearch/RPM-GPG-KEY-openEuler

[debuginfo]
name=debuginfo
baseurl=http://repo.openeuler.org/openEuler-20.03-LTS/debuginfo/$basearch/
enabled=1
gpgcheck=1
gpgkey=http://repo.openeuler.org/openEuler-20.03-LTS/debuginfo/$basearch/RPM-GPG-KEY-openEuler

[source]
name=source
baseurl=http://repo.openeuler.org/openEuler-20.03-LTS/source/
enabled=1
gpgcheck=1
gpgkey=http://repo.openeuler.org/openEuler-20.03-LTS/source/RPM-GPG-KEY-openEuler

[update]
name=update
baseurl=http://repo.openeuler.org/openEuler-20.03-LTS/update/$basearch/
enabled=0
gpgcheck=1
gpgkey=http://repo.openeuler.org/openEuler-20.03-LTS/OS/$basearch/RPM-GPG-KEY-openEuler
- 开始安装LAMP
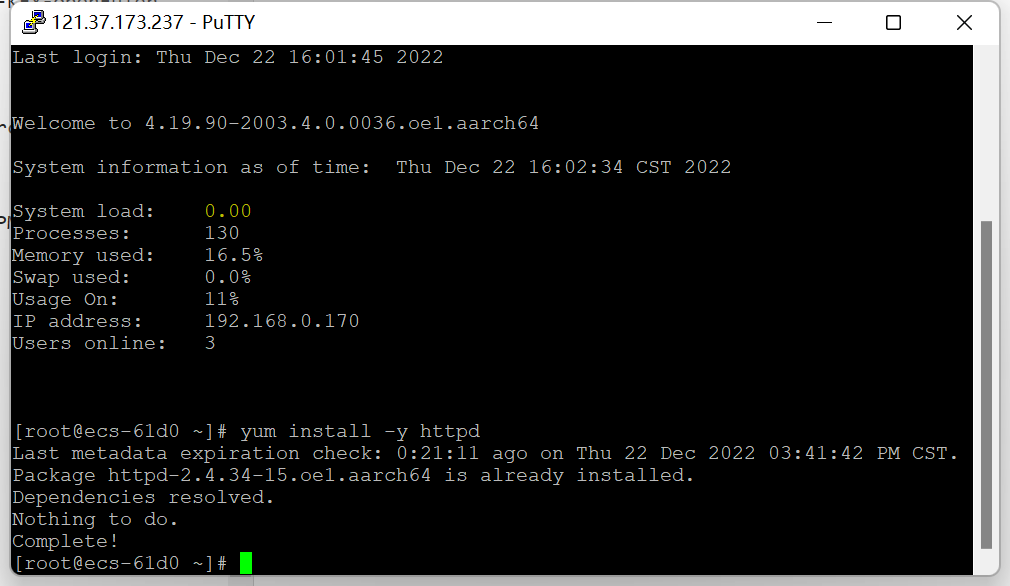
在当前目录下输入以下命令以安装Apache服务
yum install -y httpd
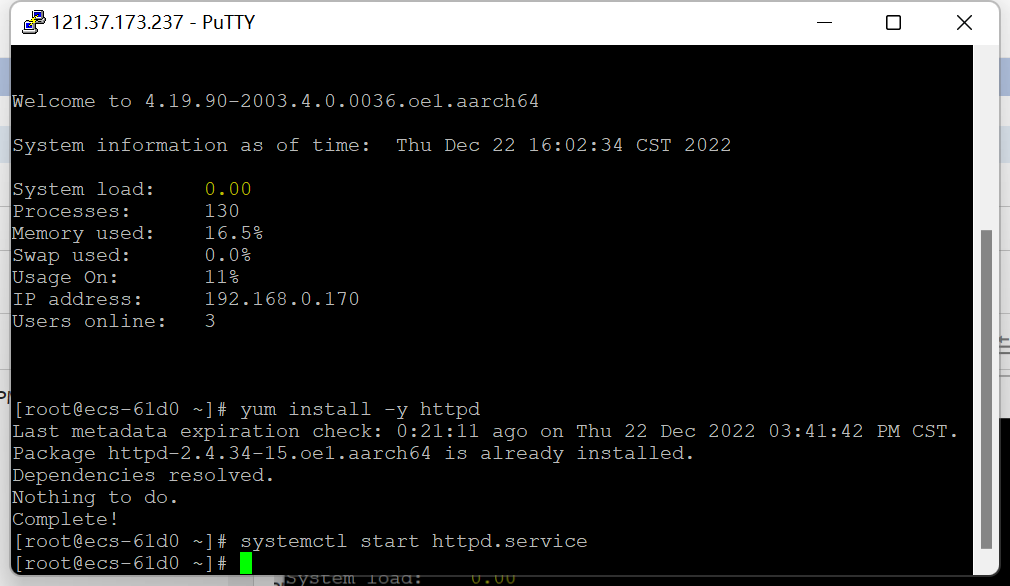
输入命令开启Apache服务
systemctl start httpd.service
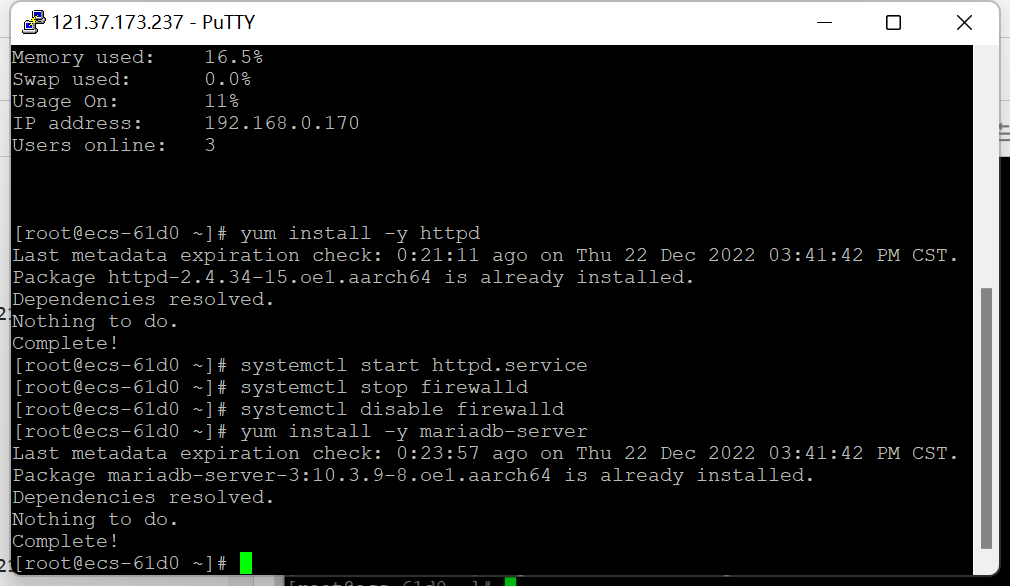
关闭防火墙并且禁止防火墙自启动
systemctl stop firewalld
systemctl disable firewalld

安装MariaDB Server ,输入命令
yum install -y mariadb-server
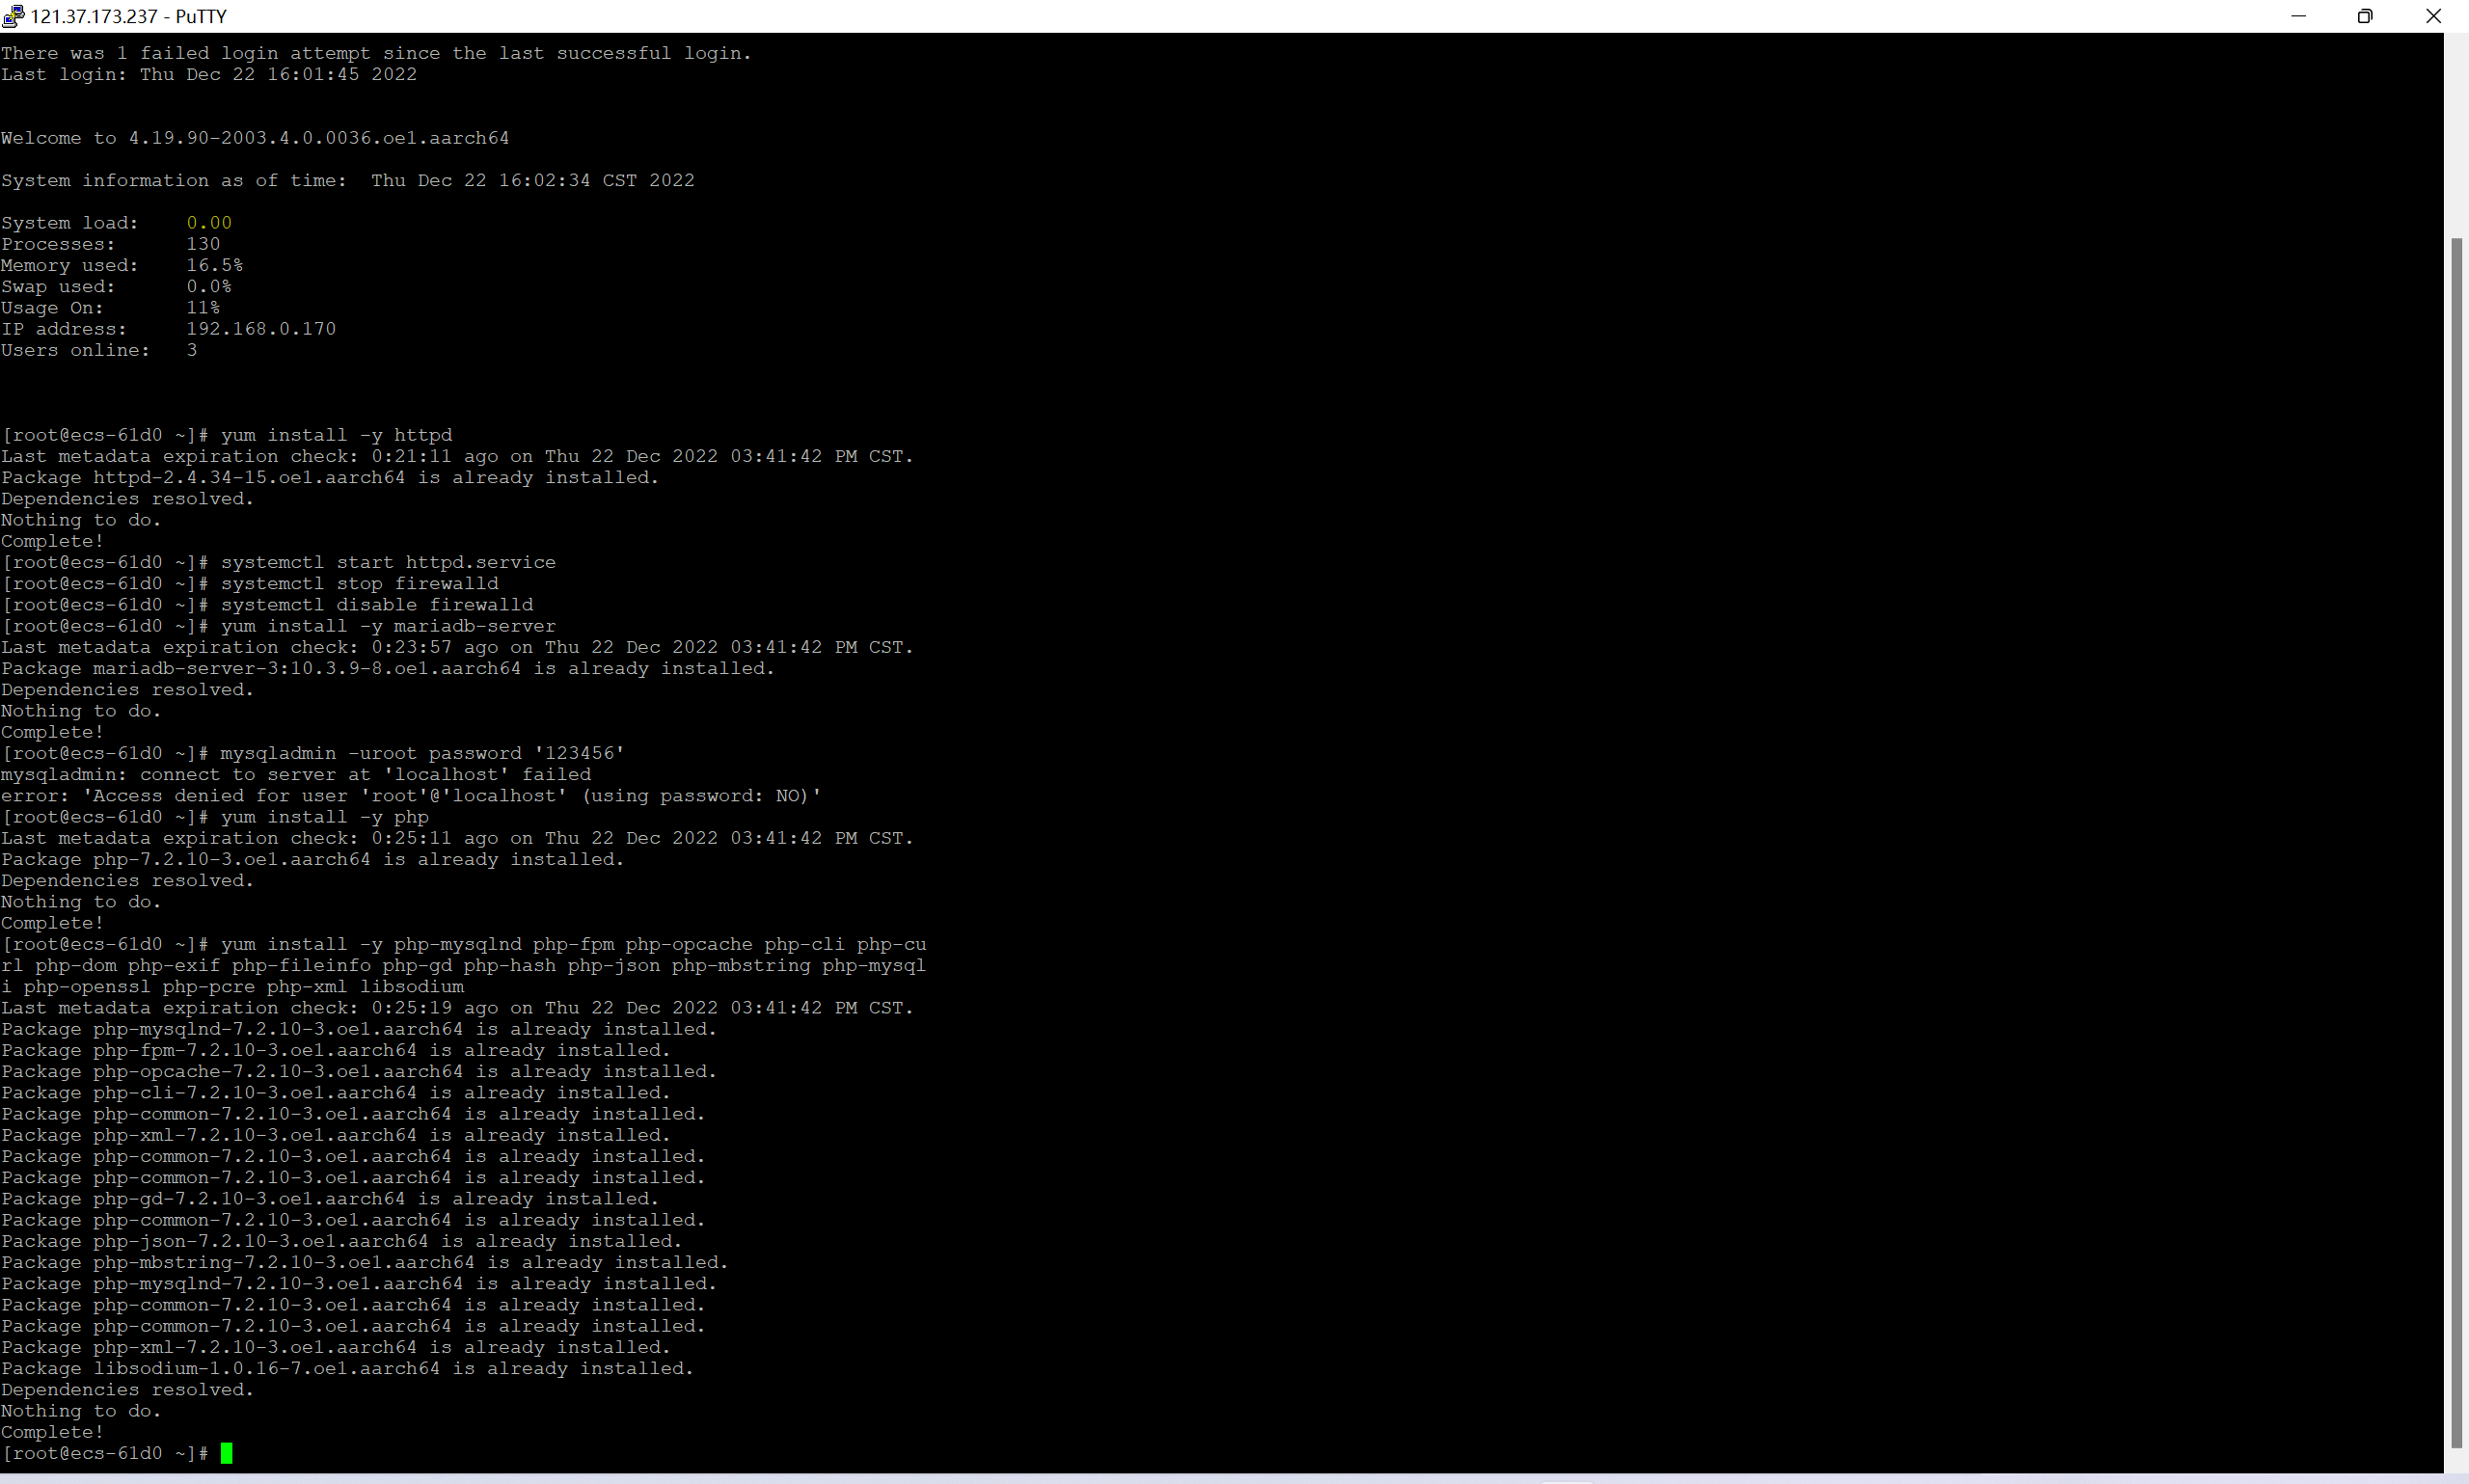
给mysql数据库‘root’用户设置密码‘123456’,输入以下命令
mysqladmin -uroot password '123456'
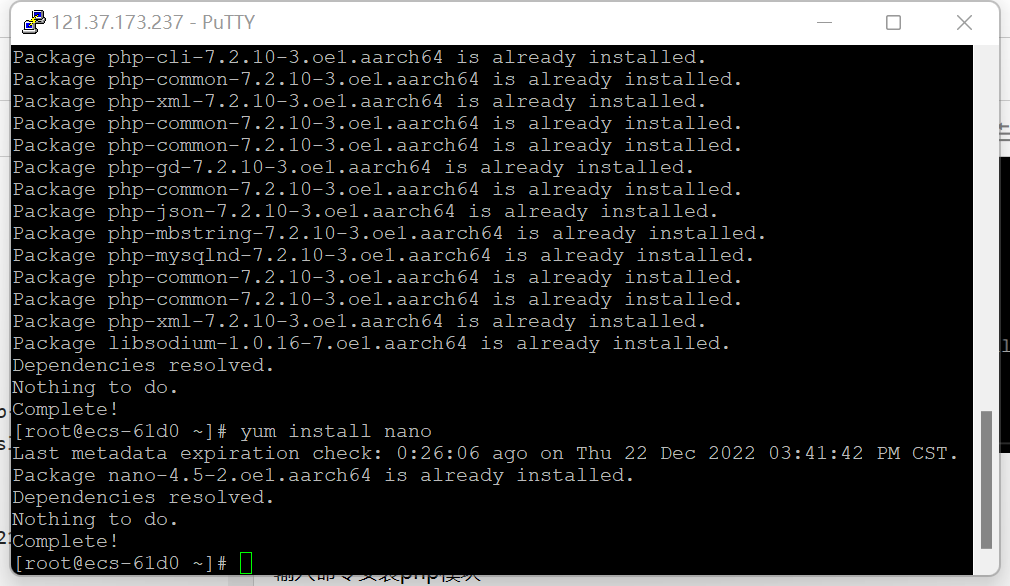
输入命令安装php模块
yum install -y php
yum install -y php-mysqlnd php-fpm php-opcache php-cli php-curl php-dom php-exif php-fileinfo php-gd php-hash php-json php-mbstring php-mysqli php-openssl php-pcre php-xml libsodium
安装更适合php的nano编辑器以适应下步编辑wp-config.php文件
输入命令
yum install nano
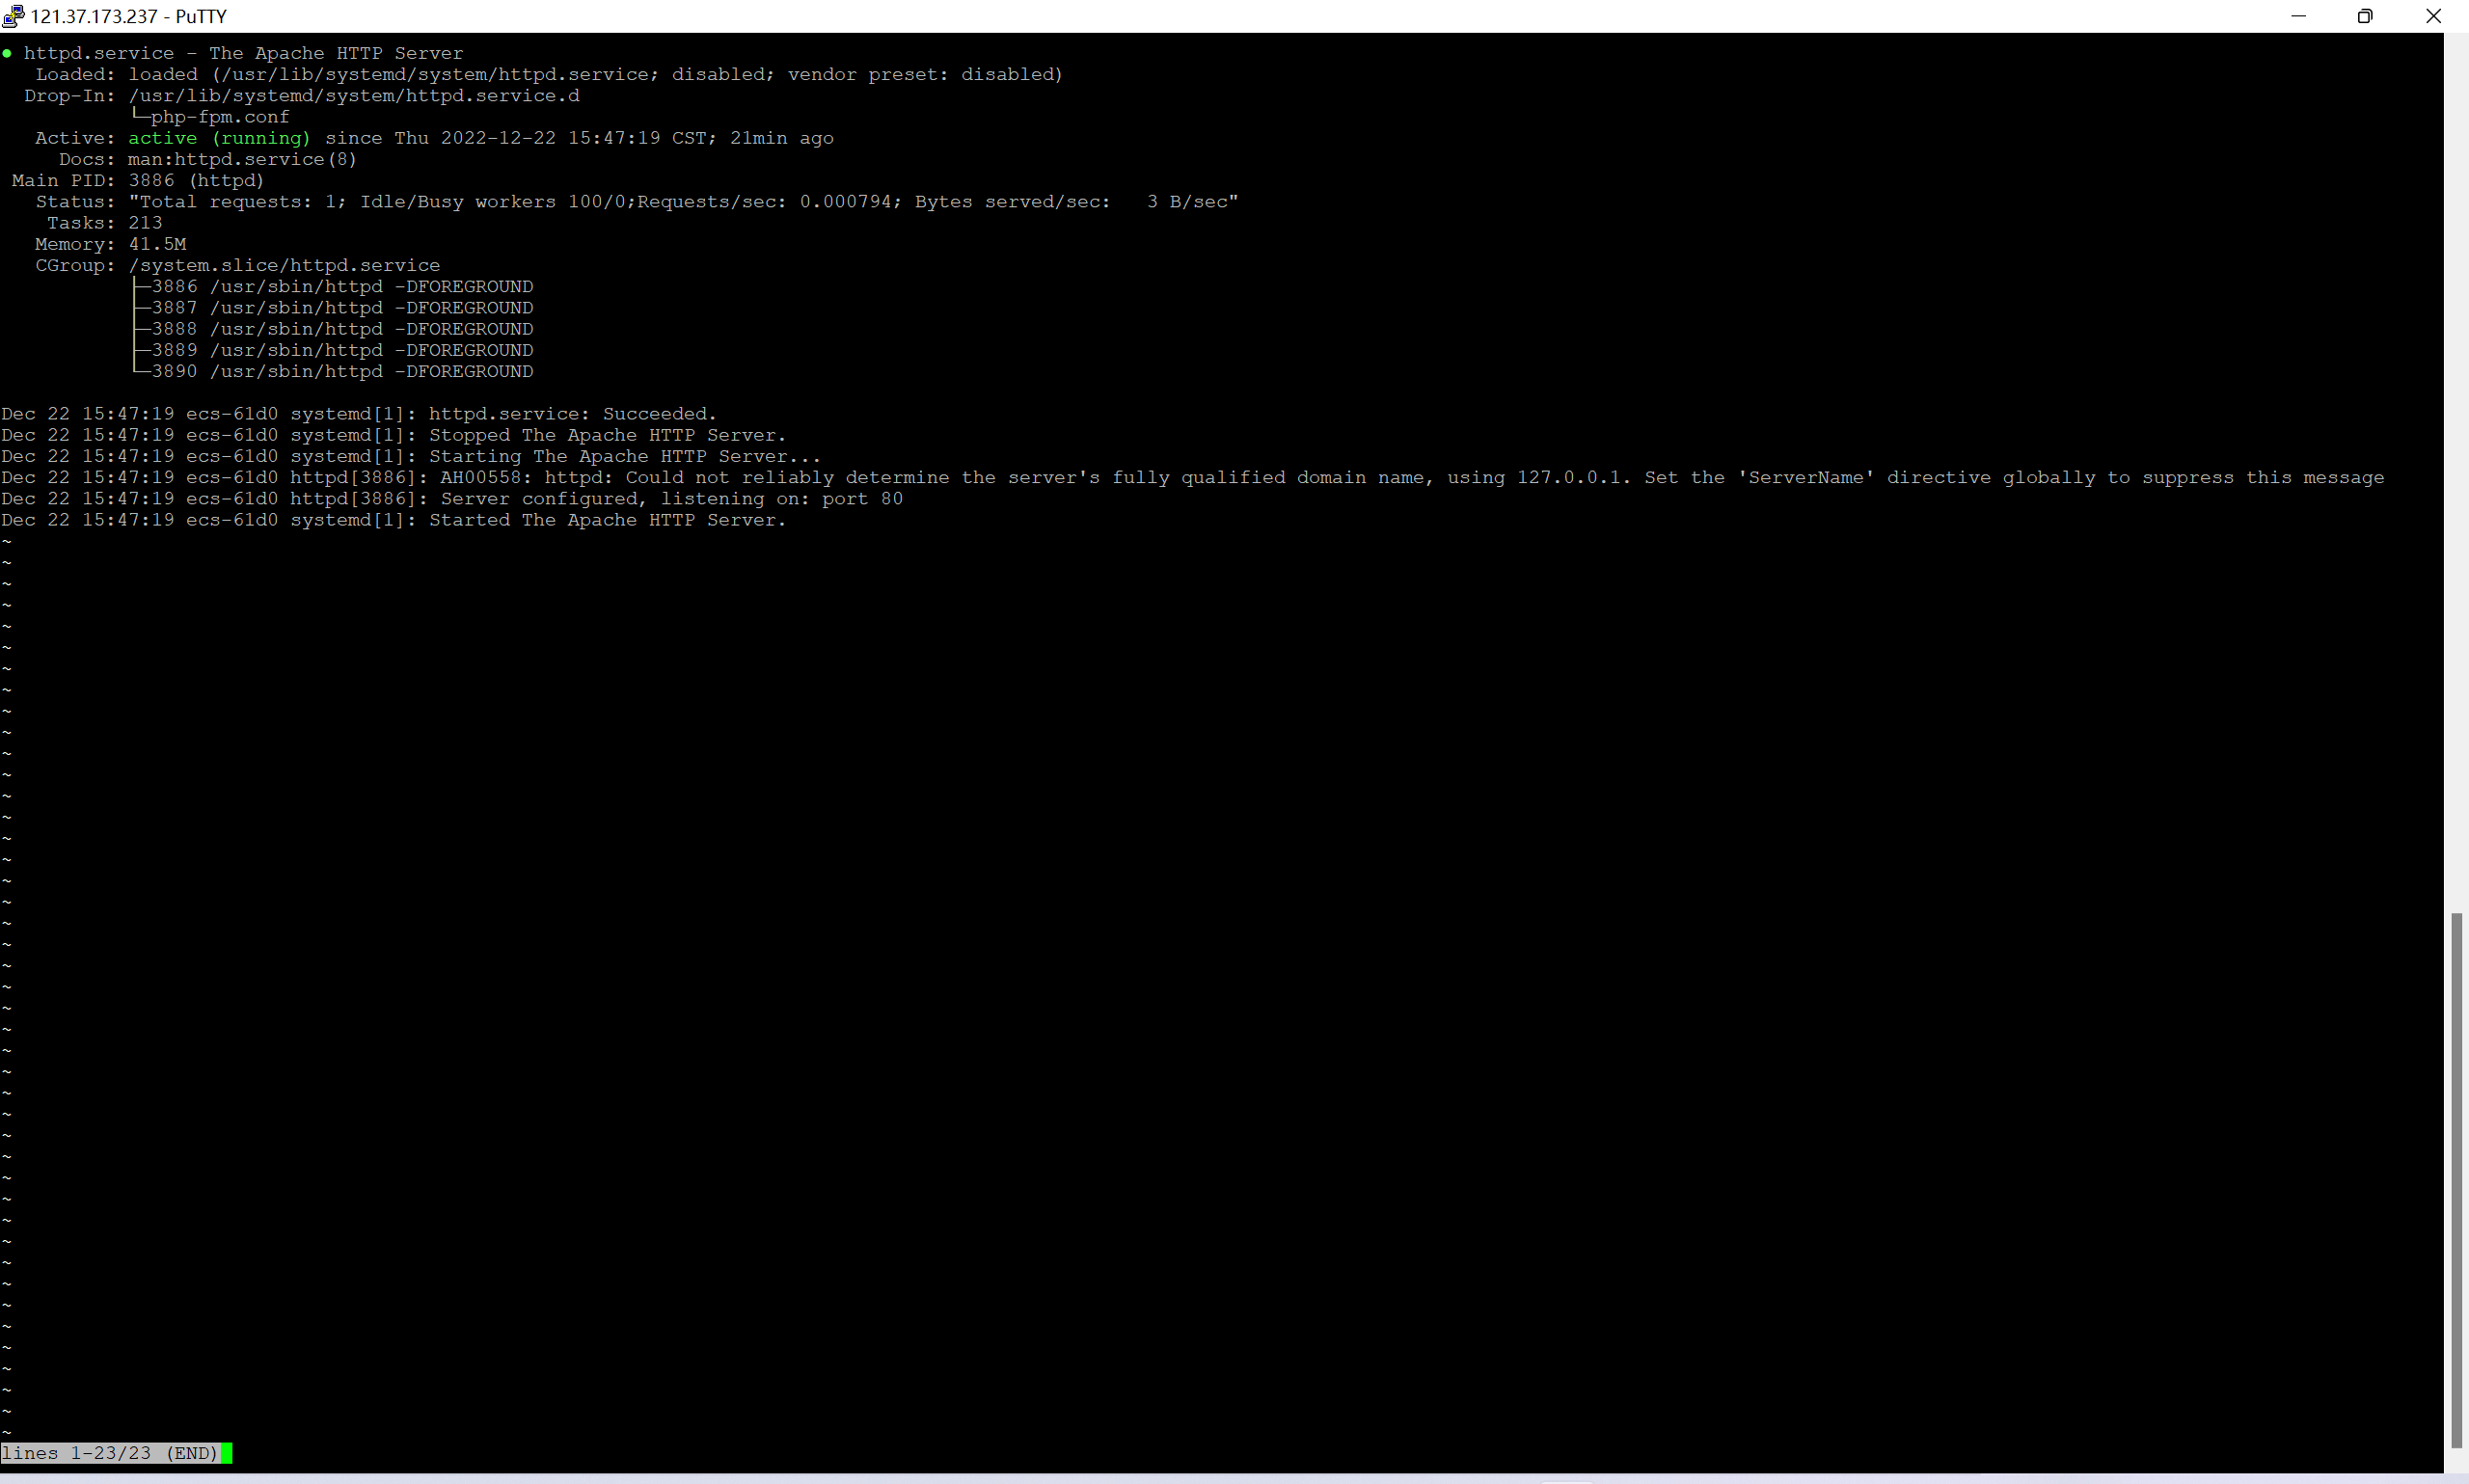
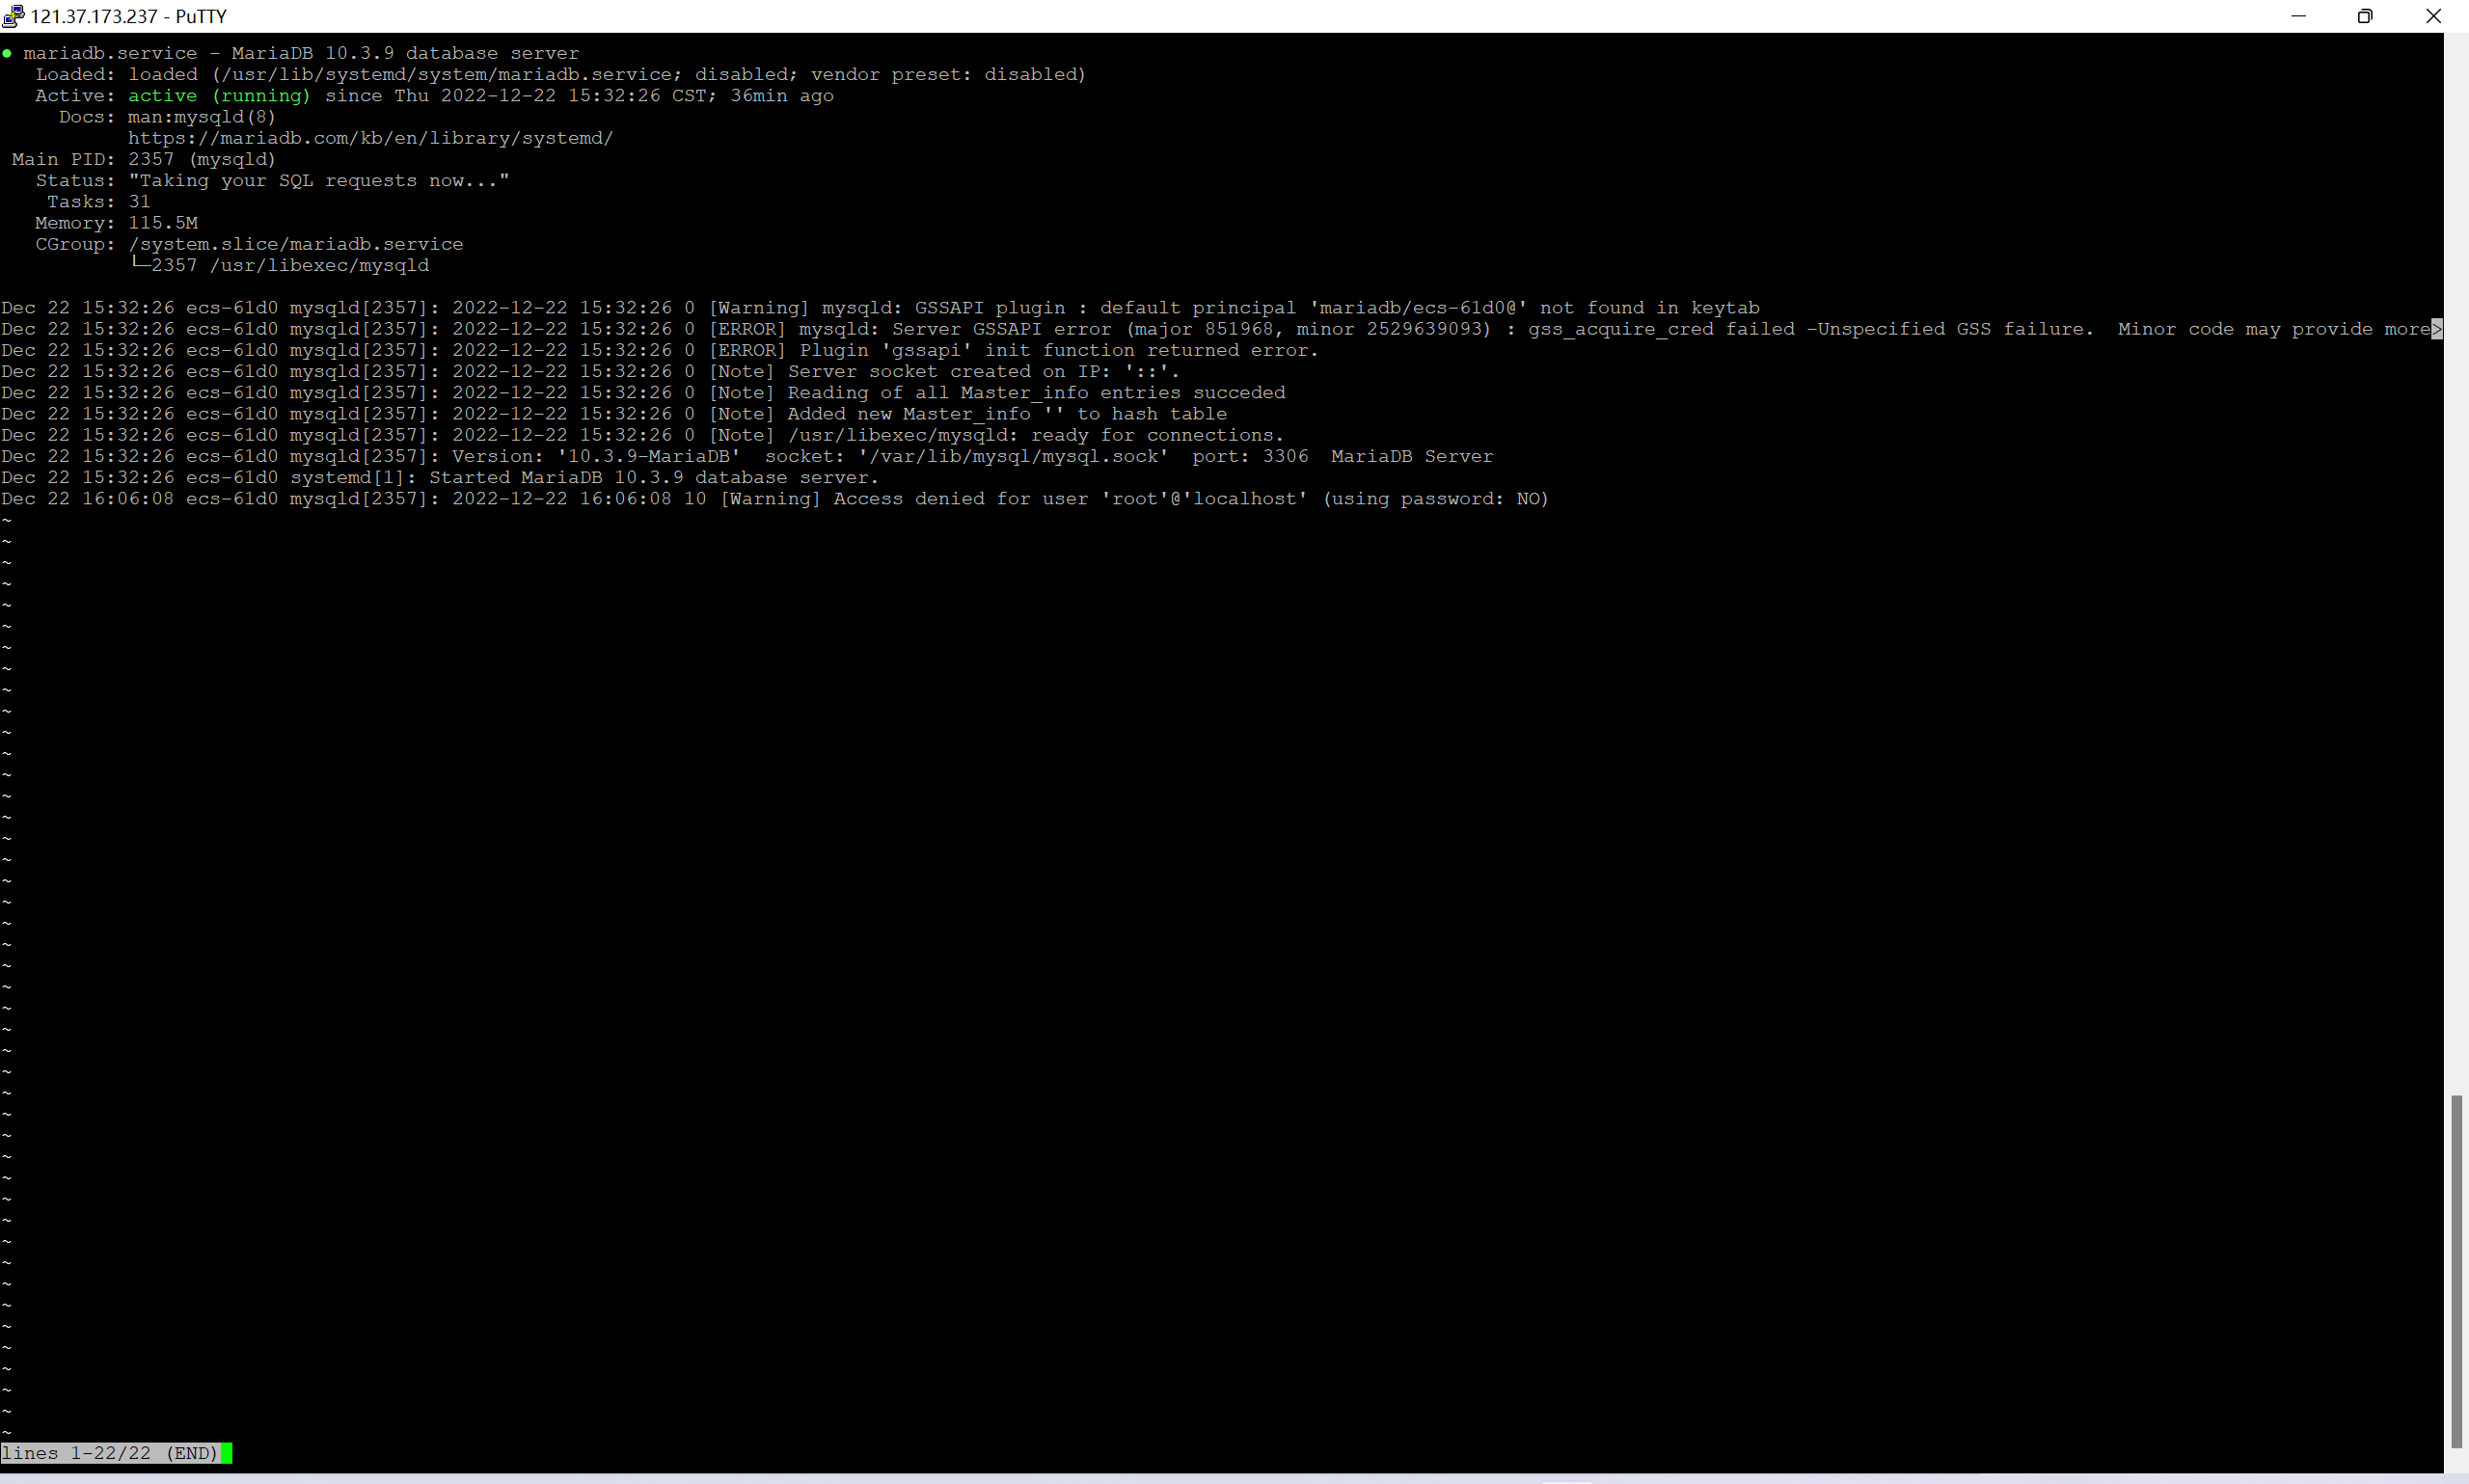
检查Apache和mysql运行状态
输入命令
systemctl status httpd
systemctl status mariadb
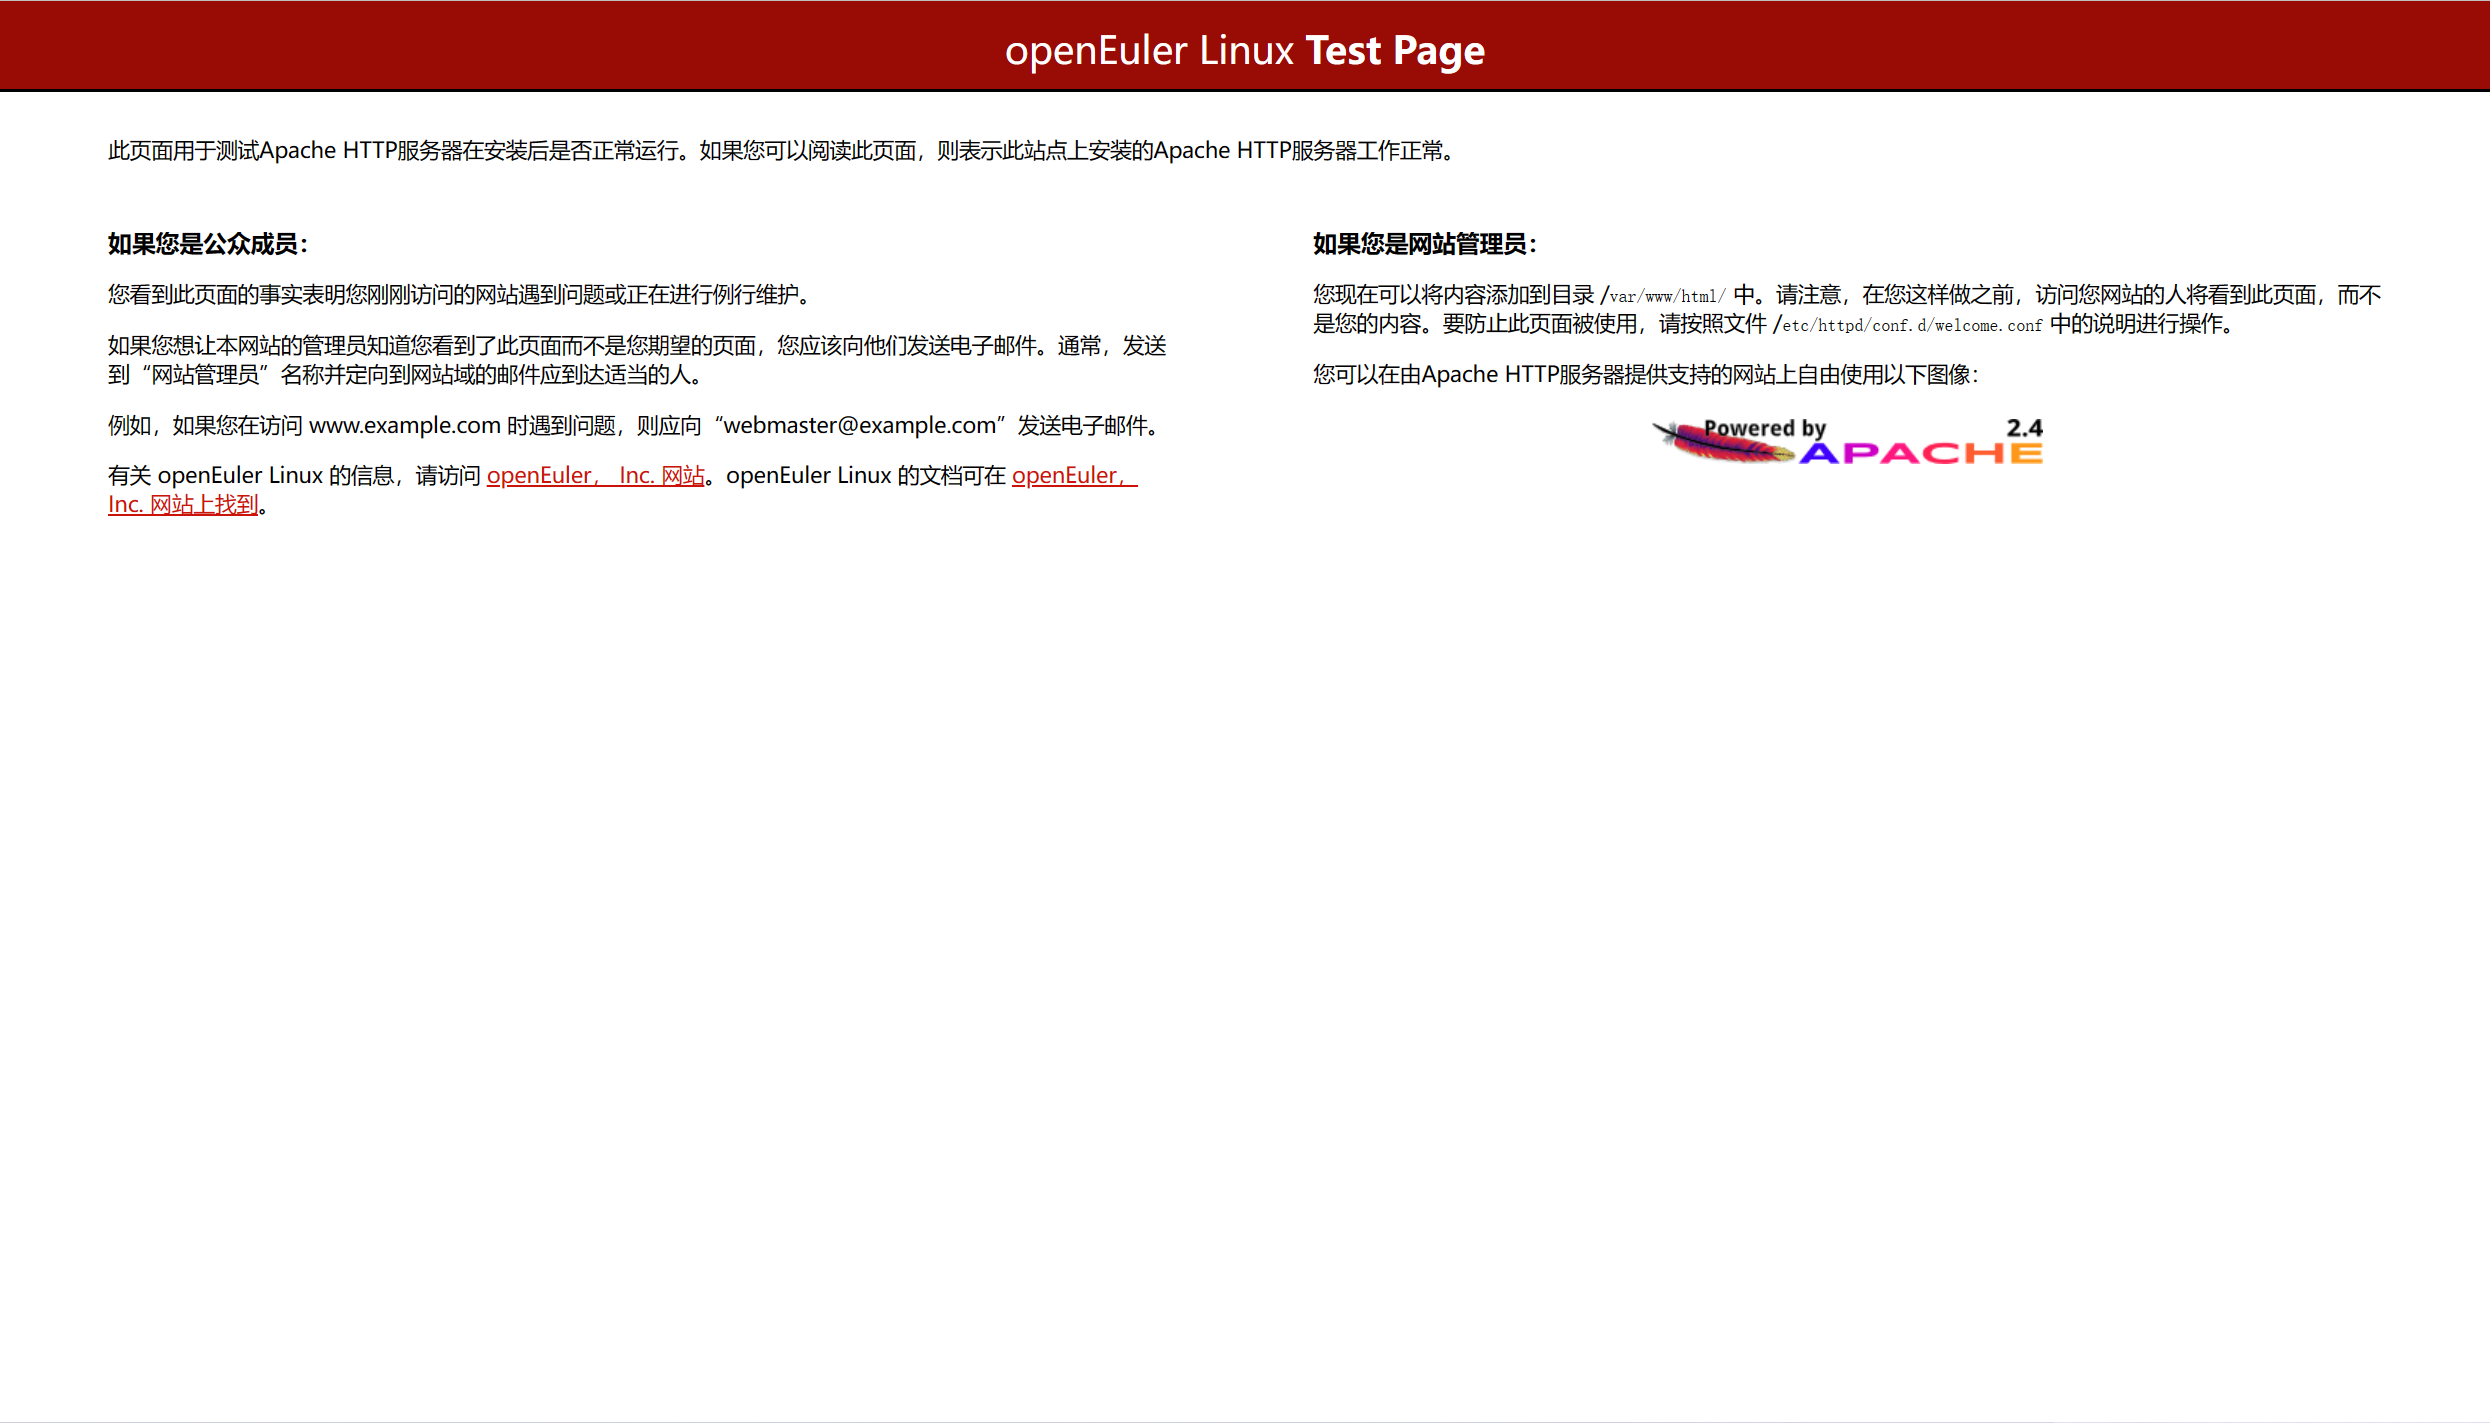
在edge中输入华为云IP出现如下界面证明Apache正常开启
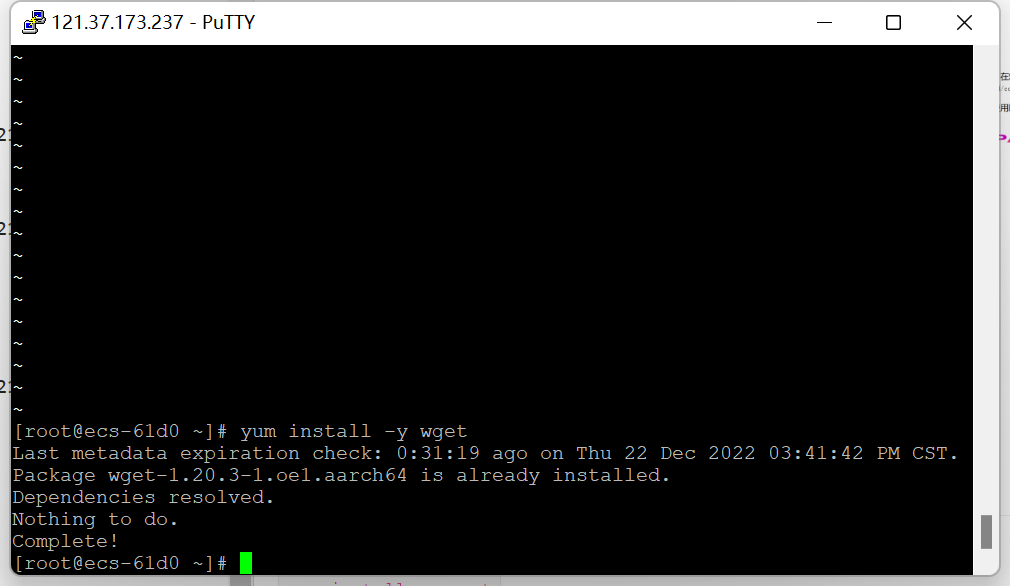
安装wget,输入命令
yum install -y wget
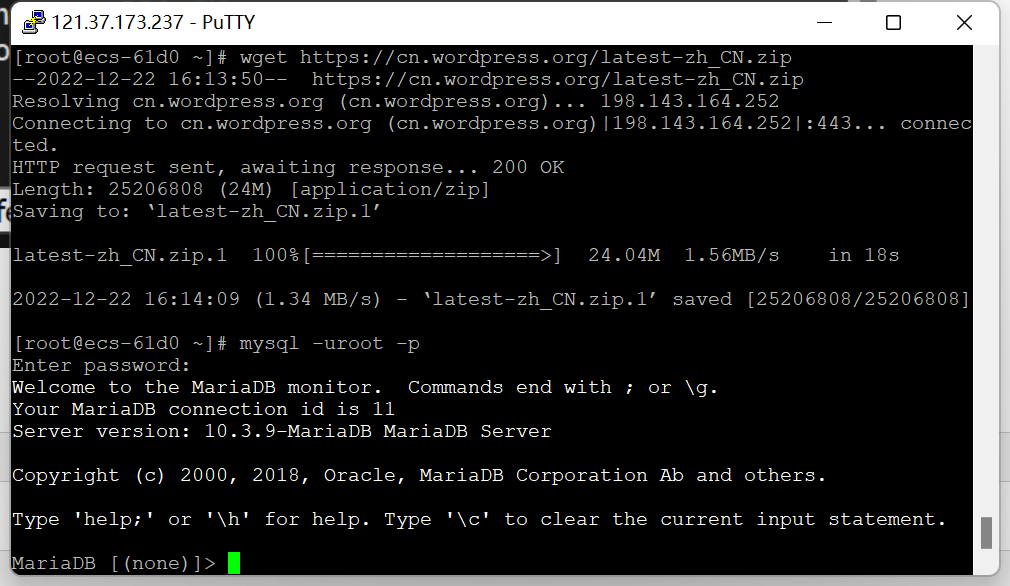
安装wordpress,输入命令
wget https://cn.wordpress.org/latest-zh_CN.zip

3.创建数据库
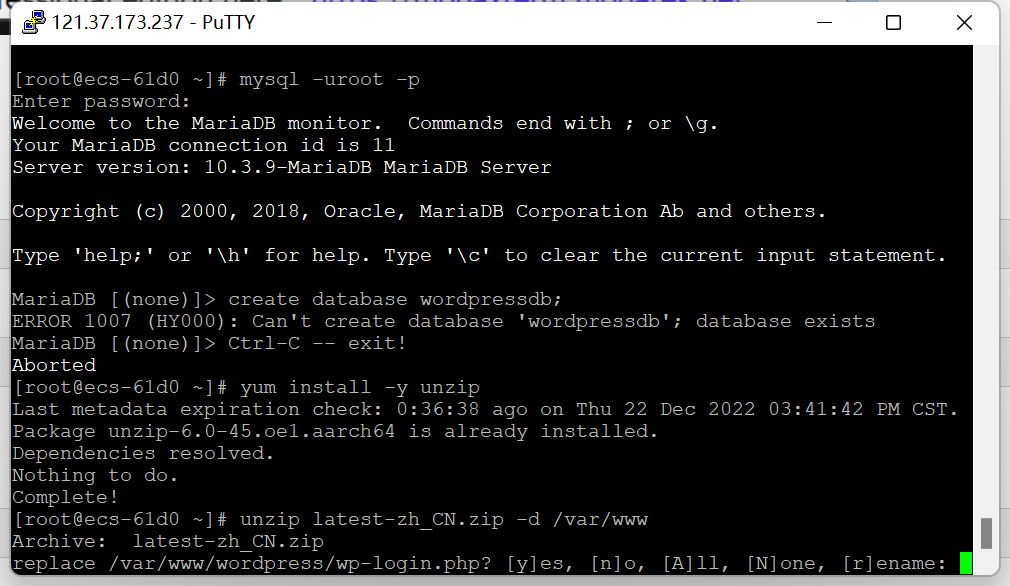
输入命令,登录到mysql
mysql -uroot -p
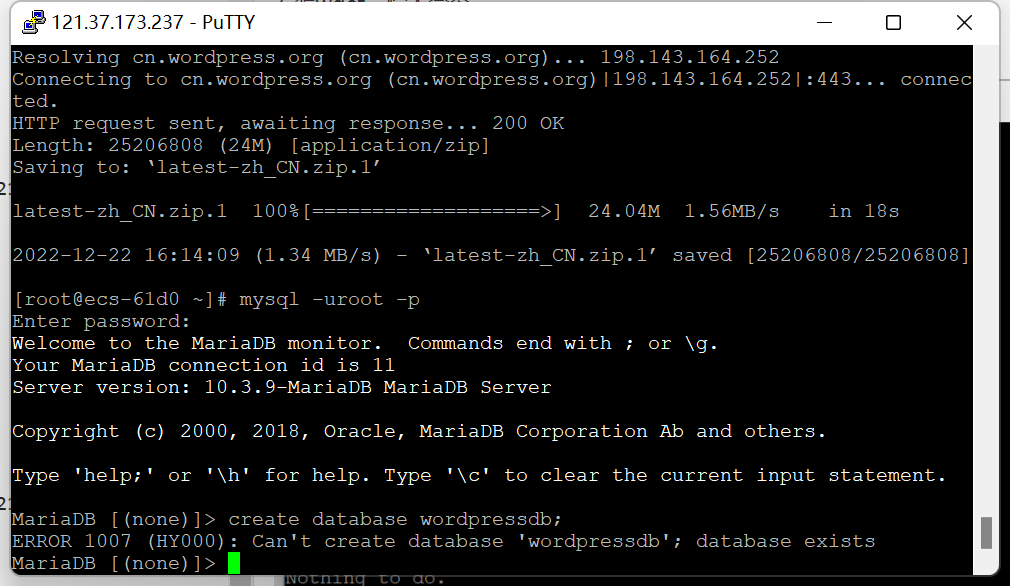
输入命令
create database wordpressdb;
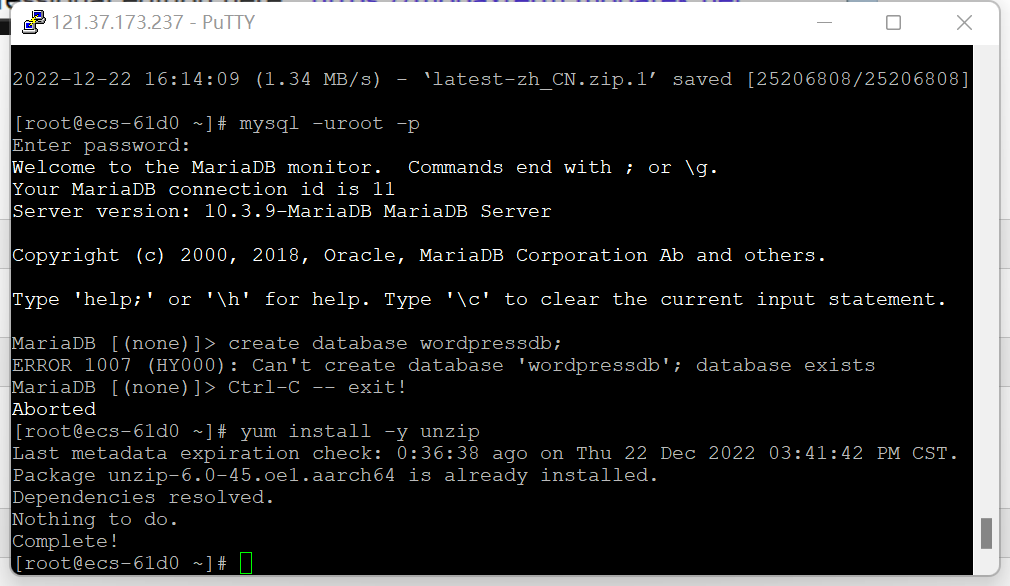
4.解压并且配置wordpress
输入命令下载解压工具
yum install -y unzip
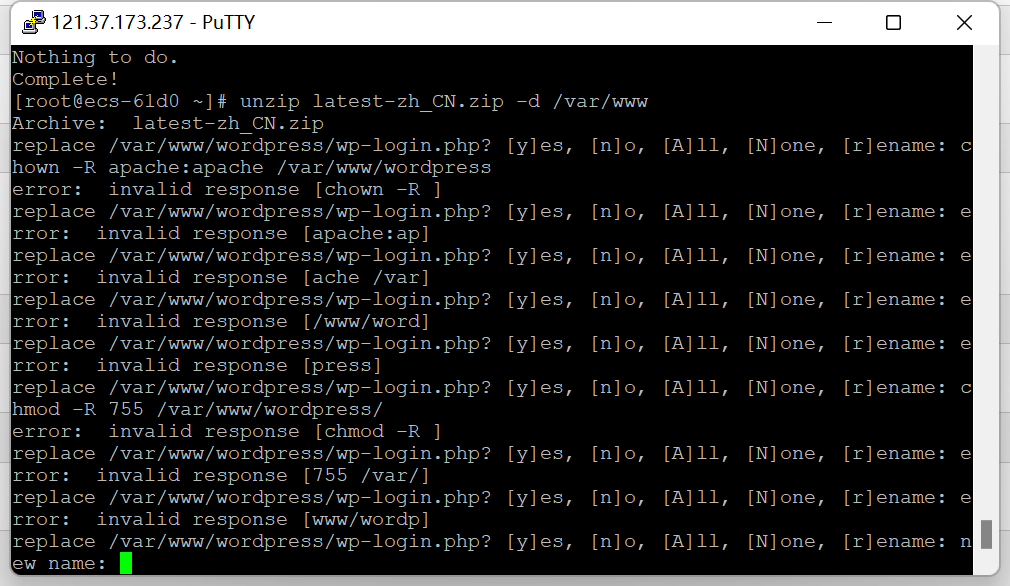
解压到其他目录,输入命令
unzip latest-zh_CN.zip -d /var/www
赋给用户权限
chown -R apache:apache /var/www/wordpress
chmod -R 755 /var/www/wordpress/
配置apache,输入命令
cd /var/www/wordpress
配置文件
nano wp-config.php
将以下内容输入
点击查看代码
*@link https://wordpress.org/support/article/editing-wp-config-php/

*@package WordPress

*/
/**

<?php
/**
 * The base configuration for WordPress
 *
 * The wp-config.php creation script uses this file during the installation.
 * You don't have to use the web site, you can copy this file to "wp-config.php"
 * and fill in the values.
 *
 * This file contains the following configurations:
 *
 * * Database settings
 * * Secret keys
 * * Database table prefix
 * * ABSPATH
 *
 * @link https://wordpress.org/support/article/editing-wp-config-php/
 *
 * @package WordPress
 */

// ** Database settings - You can get this info from your web host ** //
/** The name of the database for WordPress */
define( 'DB_NAME', 'wordpressdb' );

/** Database username */
define( 'DB_USER', 'root' );

/** Database password */
define( 'DB_PASSWORD', '123456' );

/** Database hostname */
define( 'DB_HOST', 'localhost' );

/** Database charset to use in creating database tables. */
define( 'DB_CHARSET', 'utf8' );

/** The database collate type. Don't change this if in doubt. */
define( 'DB_COLLATE', '' );

/**#@+
 * Authentication unique keys and salts.
 *
 * Change these to different unique phrases! You can generate these using
 * the {@link https://api.wordpress.org/secret-key/1.1/salt/ WordPress.org secret-key service}.
 *
 * You can change these at any point in time to invalidate all existing cookies.
 * This will force all users to have to log in again.
 *
 * @since 2.6.0
 */
define( 'AUTH_KEY',         'put your unique phrase here' );
define( 'SECURE_AUTH_KEY',  'put your unique phrase here' );
define( 'LOGGED_IN_KEY',    'put your unique phrase here' );
define( 'NONCE_KEY',        'put your unique phrase here' );
define( 'AUTH_SALT',        'put your unique phrase here' );
define( 'SECURE_AUTH_SALT', 'put your unique phrase here' );
define( 'LOGGED_IN_SALT',   'put your unique phrase here' );
define( 'NONCE_SALT',       'put your unique phrase here' );

/**#@-*/

/**
 * WordPress database table prefix.
 *
 * You can have multiple installations in one database if you give each
 * a unique prefix. Only numbers, letters, and underscores please!
 */
$table_prefix = 'wp_';

/**
 * For developers: WordPress debugging mode.
 *
 * Change this to true to enable the display of notices during development.
 * It is strongly recommended that plugin and theme developers use WP_DEBUG
 * in their development environments.
 *
 * For information on other constants that can be used for debugging,
 * visit the documentation.
 *
 * @link https://wordpress.org/support/article/debugging-in-wordpress/
 */
define( 'WP_DEBUG', false );

/* Add any custom values between this line and the "stop editing" line. */


/* That's all, stop editing! Happy publishing. */

/** Absolute path to the WordPress directory. */
if ( ! defined( 'ABSPATH' ) ) {
	define( 'ABSPATH', __DIR__ . '/' );
}

/** Sets up WordPress vars and included files. */
require_once ABSPATH . 'wp-settings.php';

/**#@+
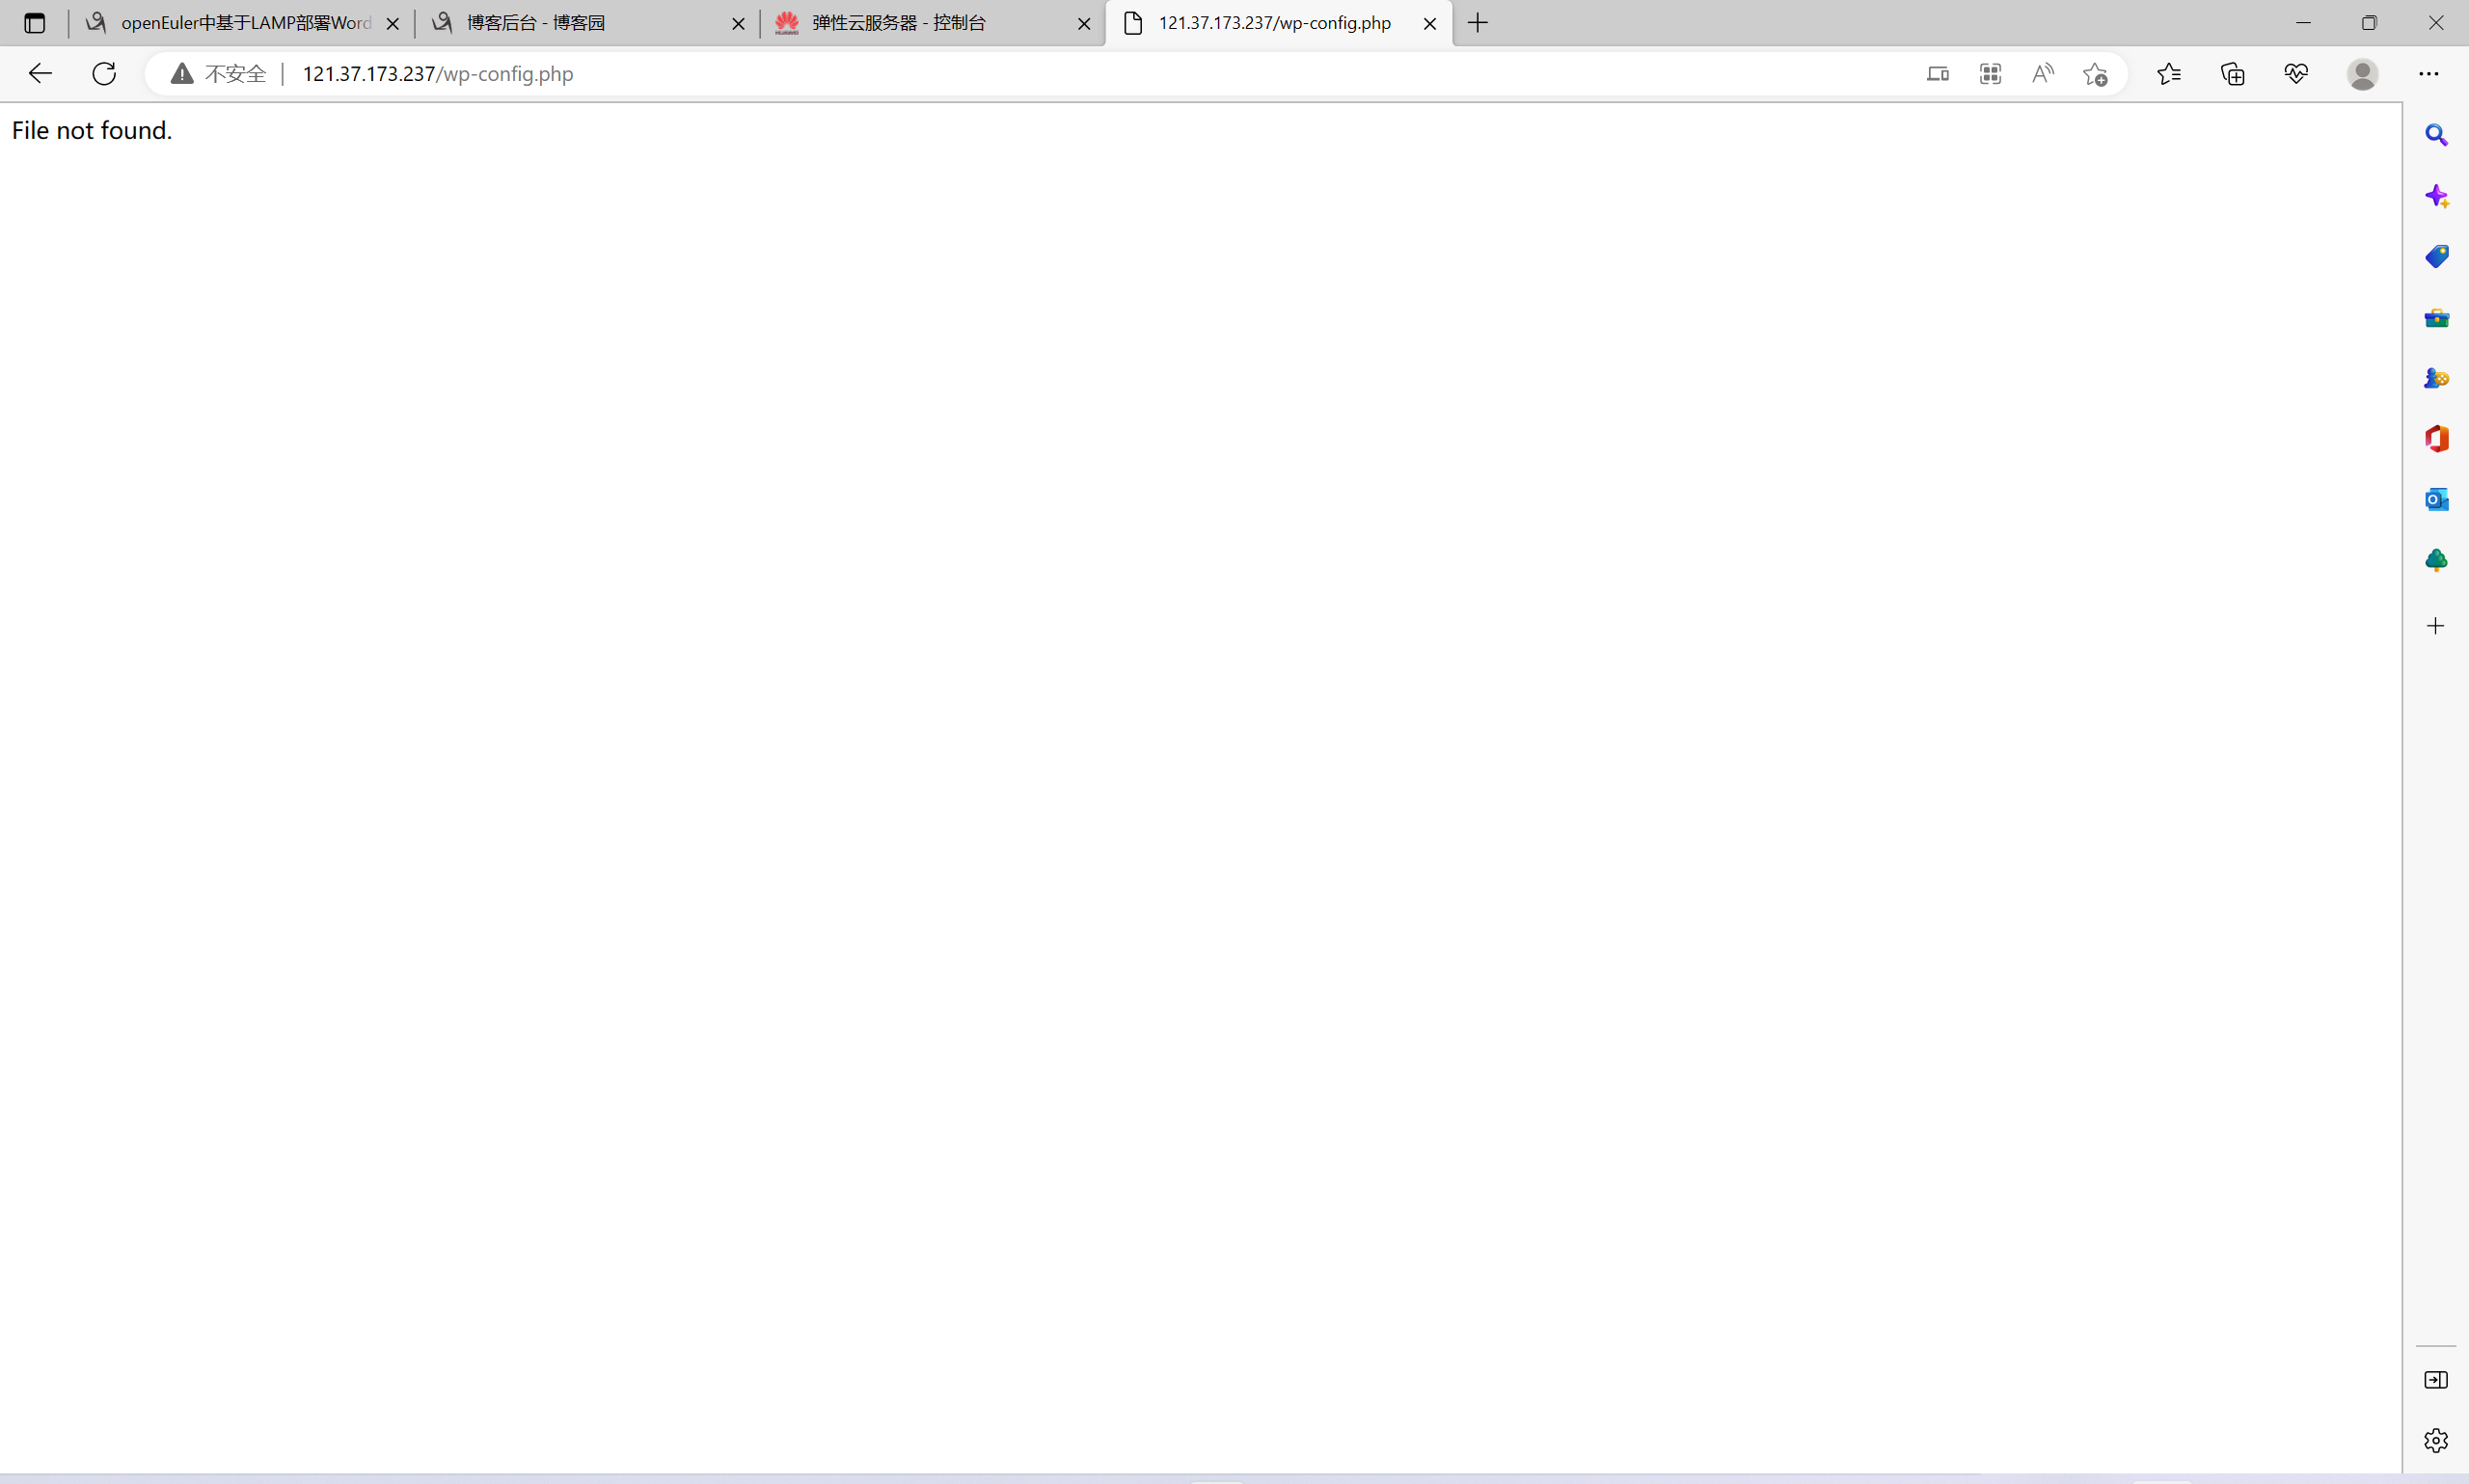
5.访问网址
输入
ip/wp-config.php
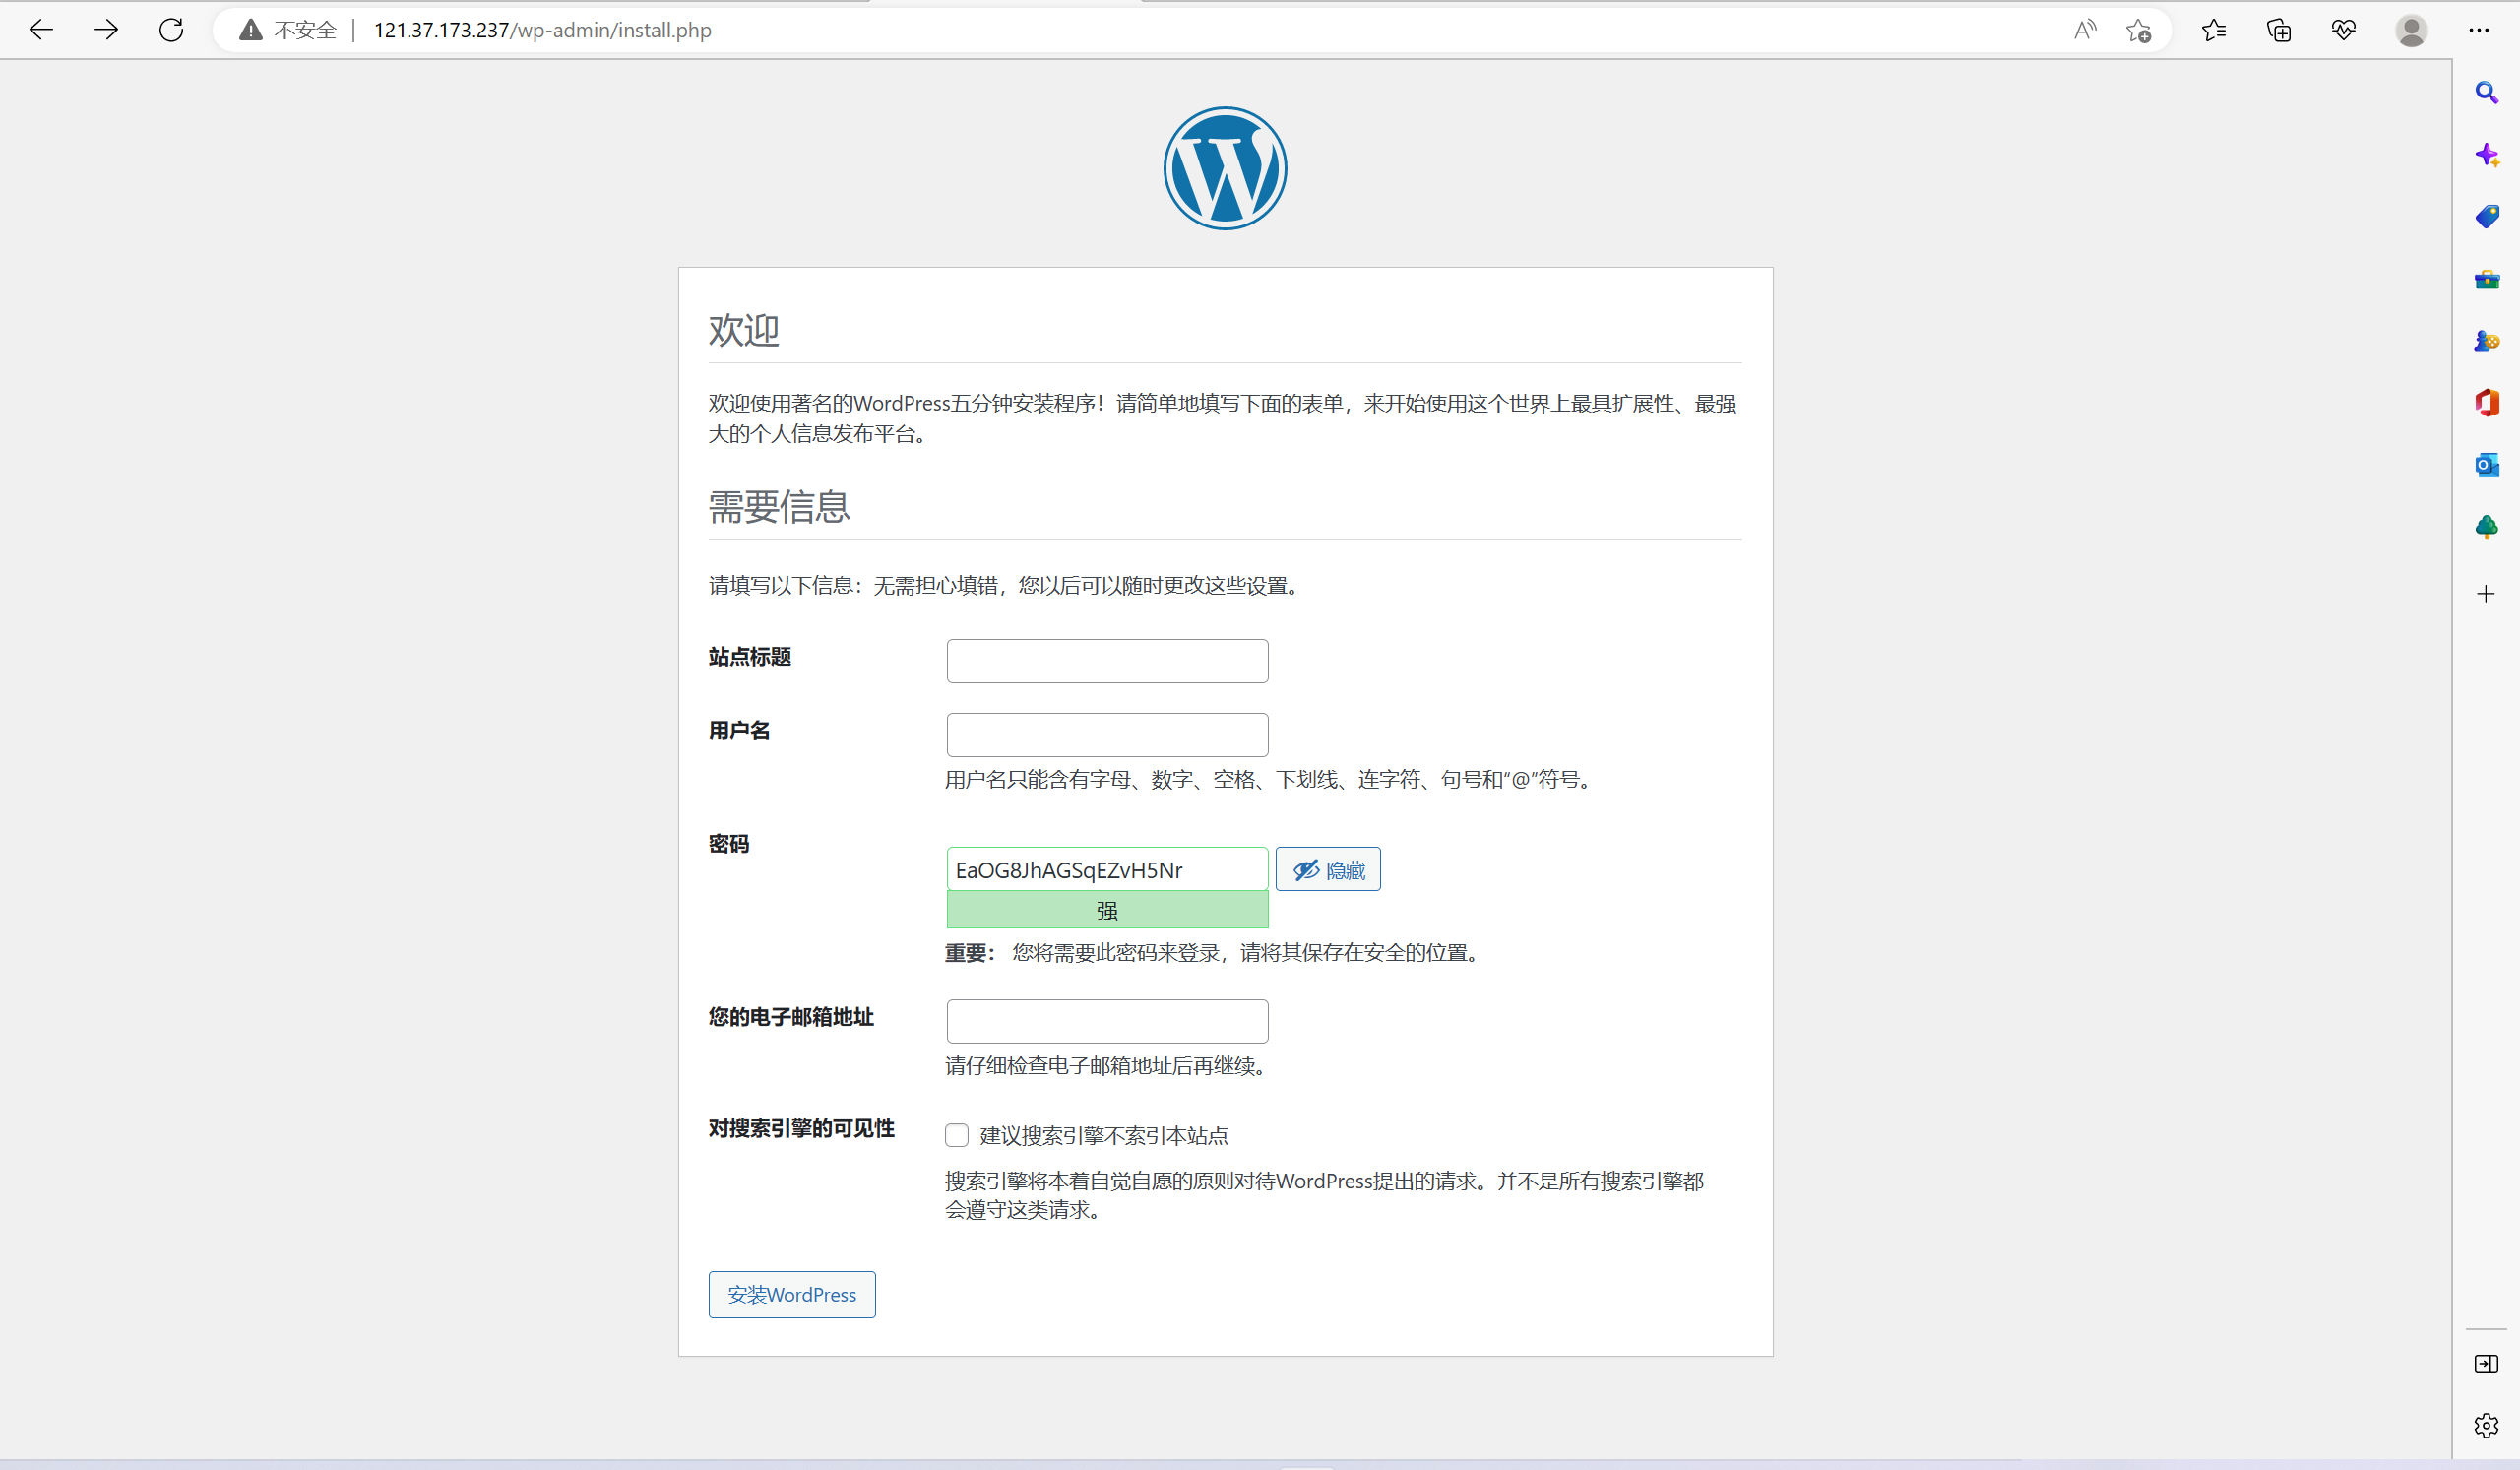
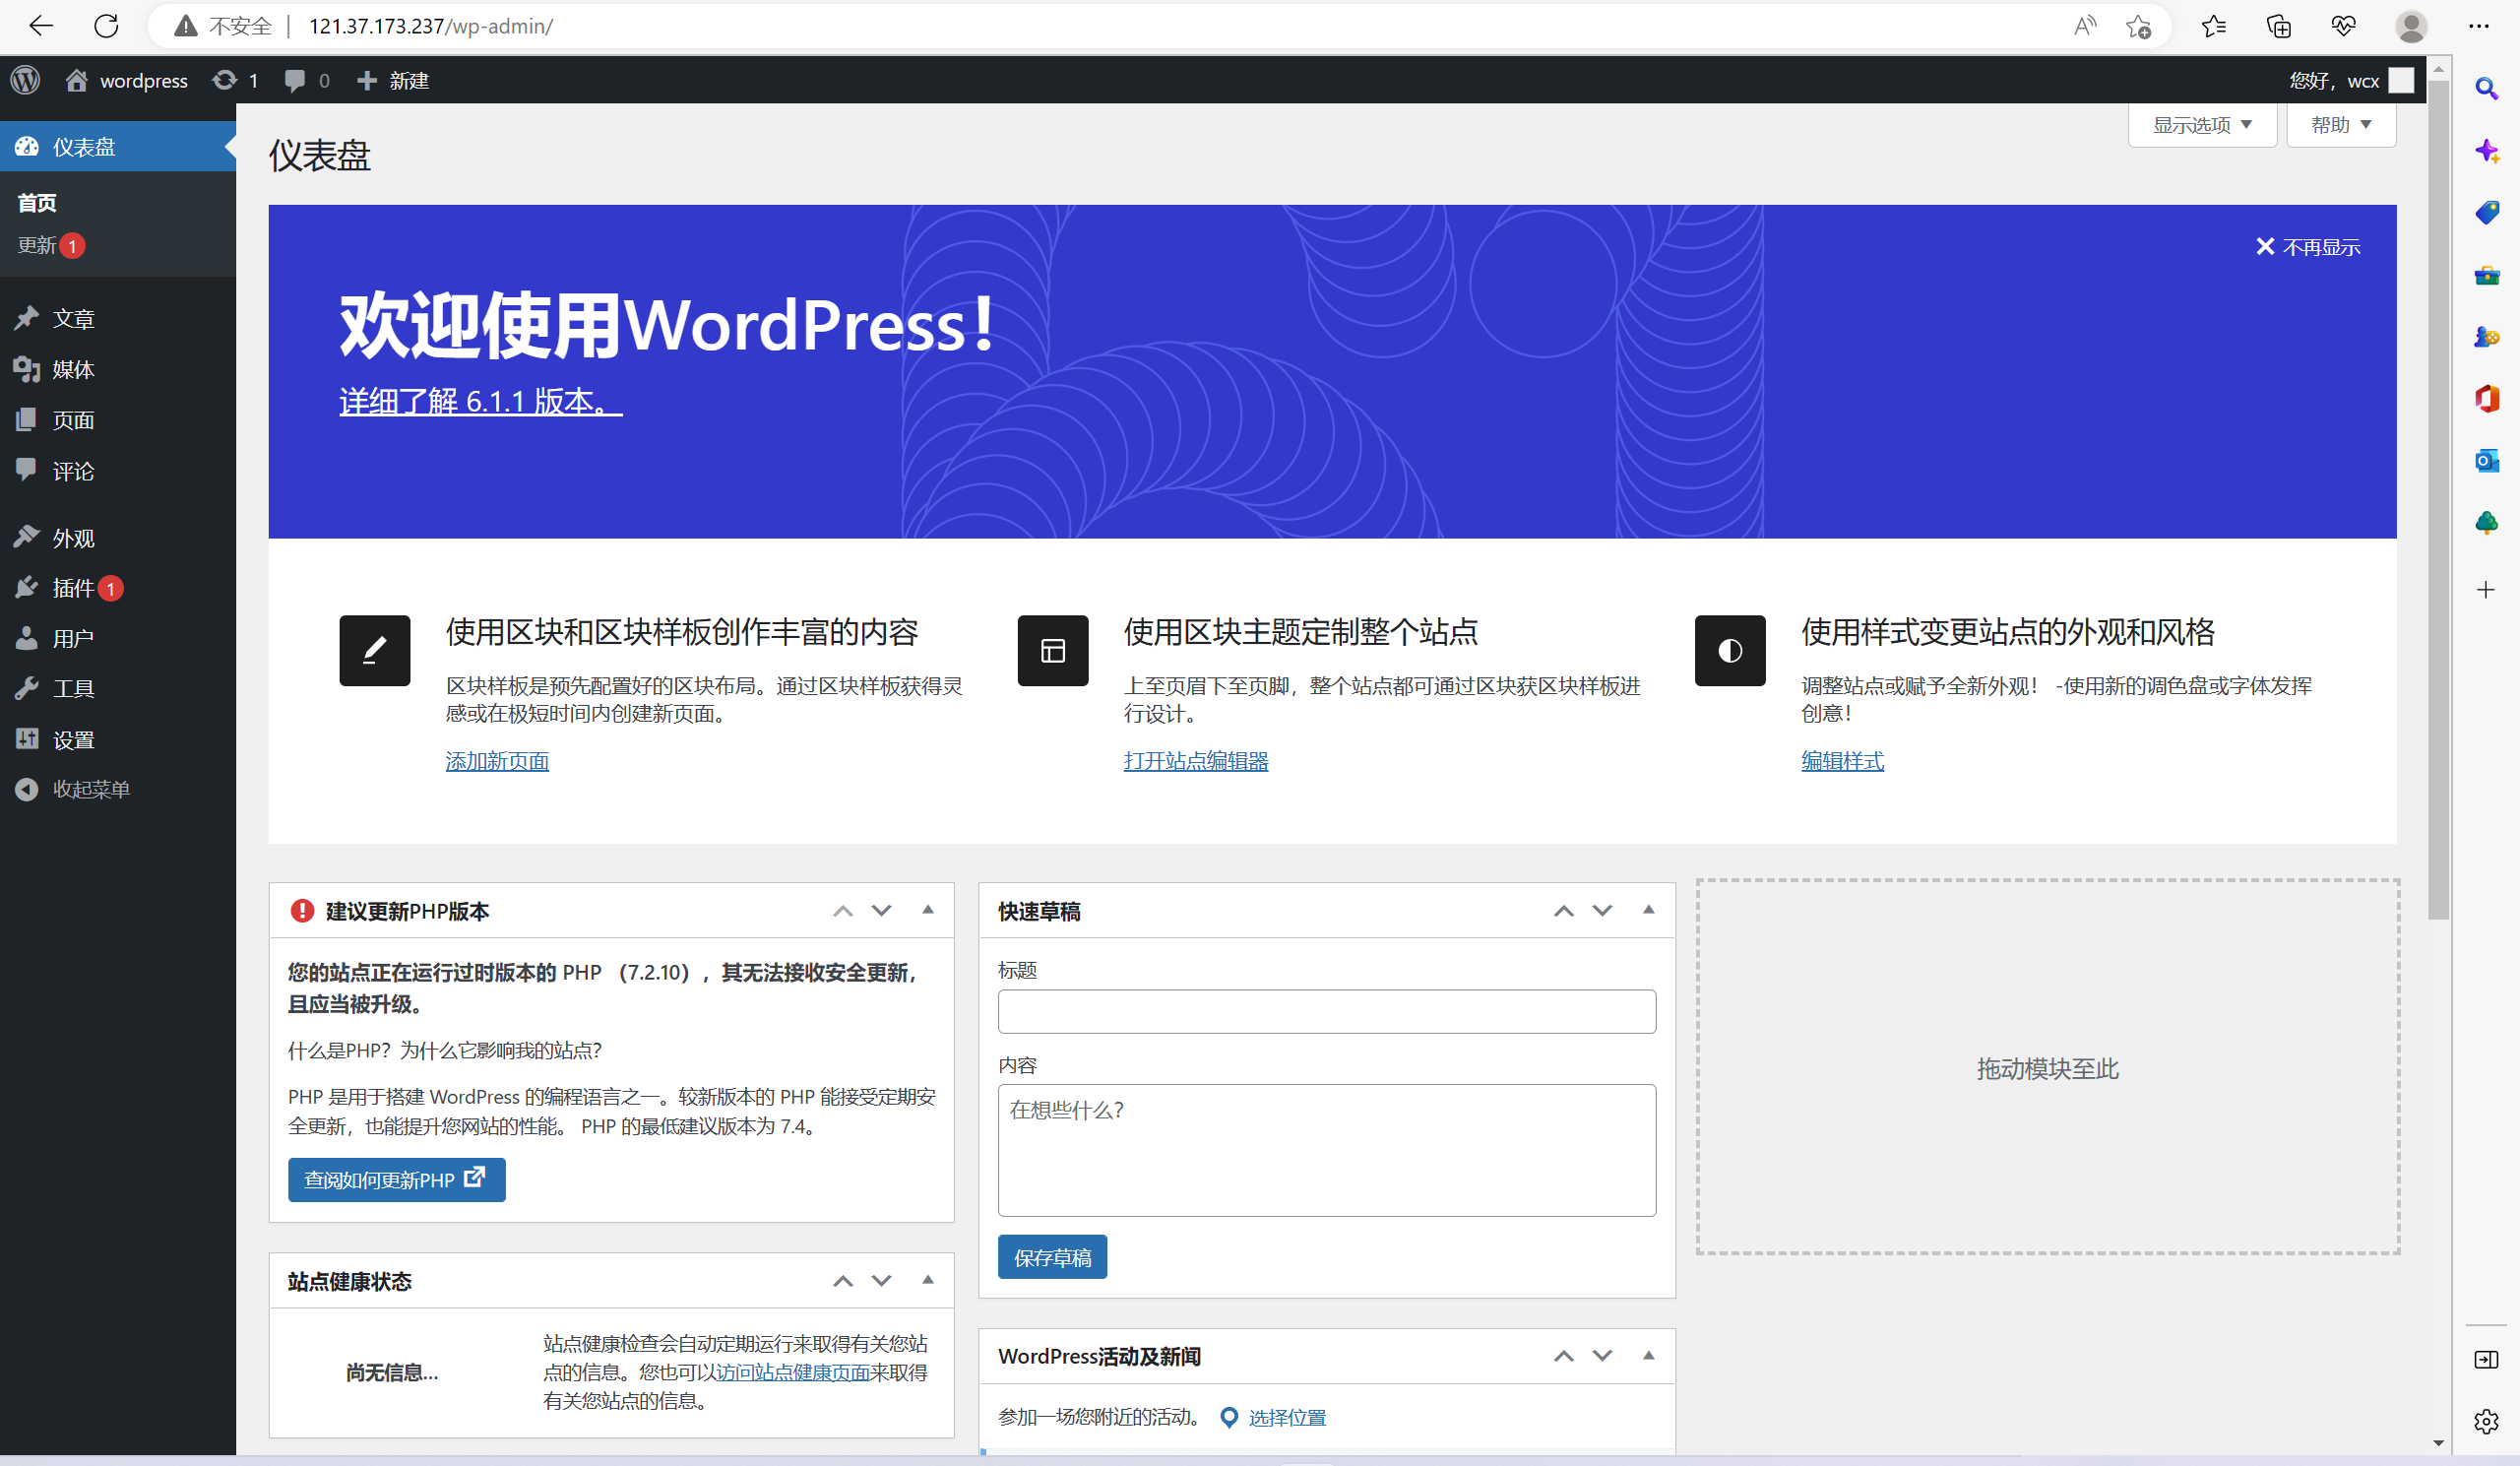
注册下载安装
遇见的问题和解决过程
- 在进入网页时一直发送错误
解决方法:询问老师,发现有两点问题:
1. httpd.conf 没后配好 2.wp-config.php 的权限不对
-
wp-config.php 文件一直有问题
解决方法:使用班群里老师发的文件,直接复制到相应文件夹中
-
使用nano时对相应指令不了解
解决方法:上网查询一些快捷指令
对实验的建议:
实验整体有点迷糊,不知道自己在哪一步出现了问题,建议可以分段检验(类似实验七)
