1、springboot入门------搭建第一个helloword
一、用Maven项目构建
1、搭建一个Maven项目(Create Maven项目的时候的Packaging时,选择jar)
2、pom文件添加必须依赖:
2.1、添加父依赖:
 <!-- 必须要引入继承springboot-parent 实现很多jar的依赖 管理 -->
<parent>
        <groupId>org.springframework.boot</groupId>
        <artifactId>spring-boot-starter-parent</artifactId>
        <version>1.3.3.RELEASE</version>
</parent>
2.2、添加springboot-web依赖:
<dependencies>
  <!-- springboot 默认集成mvc 只需要引用springboot-web依赖即可 -->
  <dependency>
			<groupId>org.springframework.boot</groupId>
			<artifactId>spring-boot-starter-web</artifactId>
		</dependency>
  </dependencies>
2.3、保存pom.xml,查看maven是否引进对应的包了:
3、创建congtroller:
/**
 * @classDec : 功能描述(第一个spring-boot demo)
 * @author : 人间不得意
 * @createTime : 2018年1月9日上午10:14:37
 */
@RestController   //spring-boot提供的http-refult风格的注解,即:@restController=Controller每个方法加上@ResponseBody
public class FirstController {

	@RequestMapping("/hello")
	public String welcome(){
		return "hello,world";
	}
}
4、启动并查看
4.1、启动main方法
4.2、打开浏览器,输入:http://127.0.0.1:8080/hello
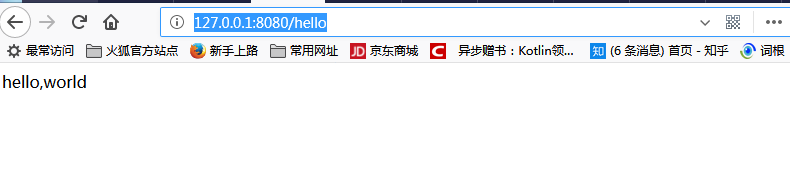
成功!
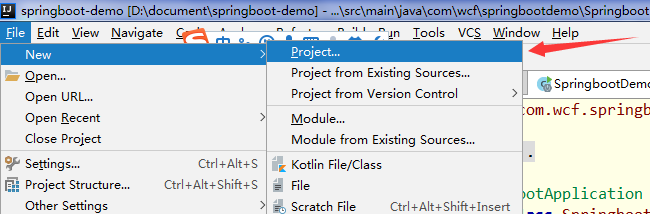
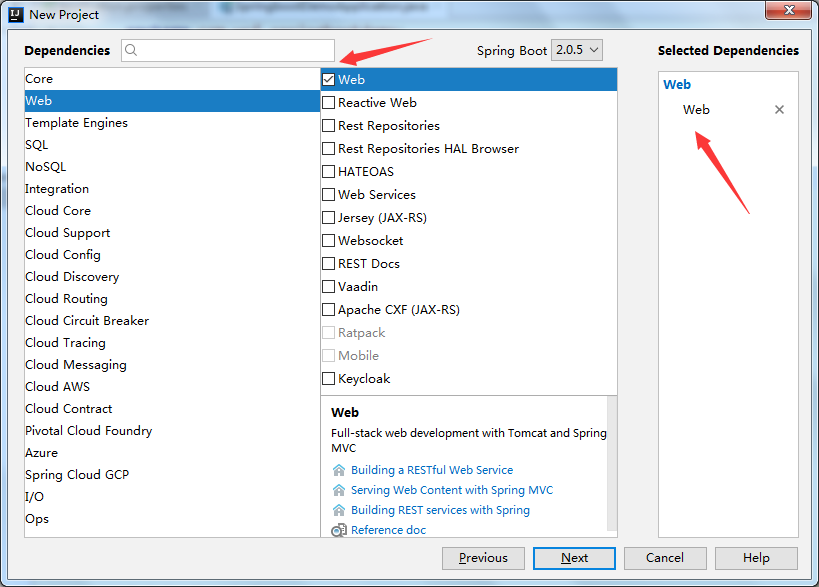
二、通过ideal直接构建springboot项目:
1、
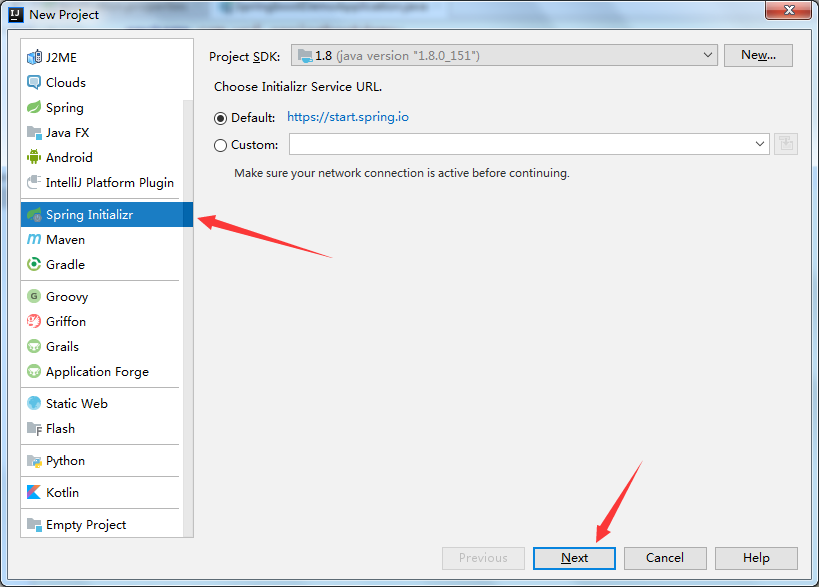
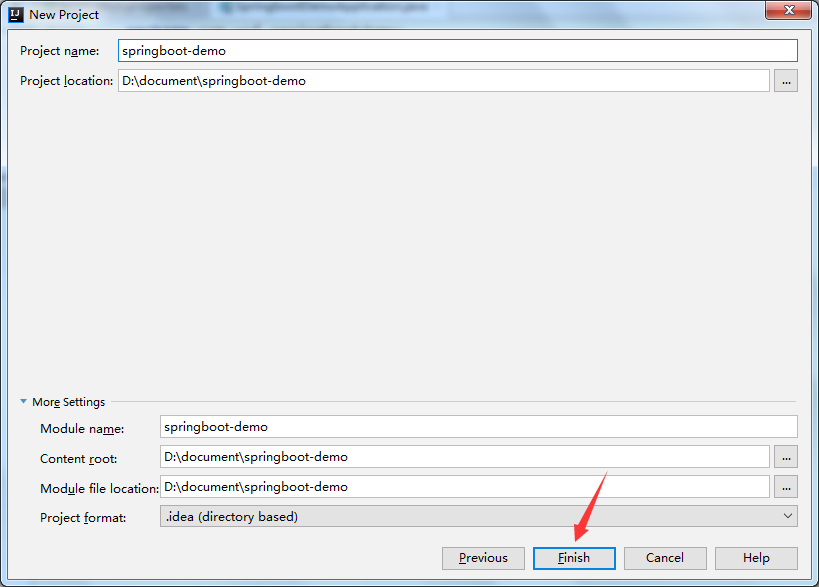
2、
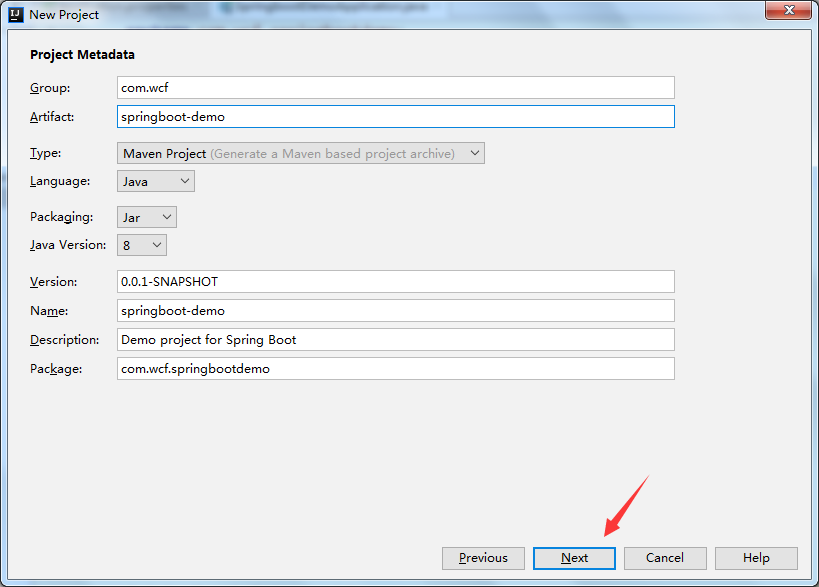
3、
4、
5、finish
6、创建完成:
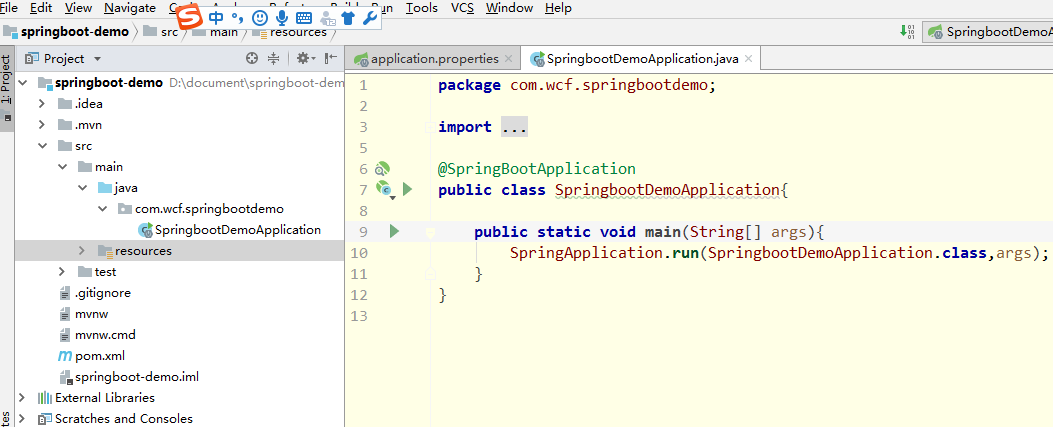
7、这边开始,后续操作和第一部分的2.2(添加web依赖)一样。
谢谢各位看到最后

 浙公网安备 33010602011771号