SpringBoot项目 制作邮箱 验证码发送(163)
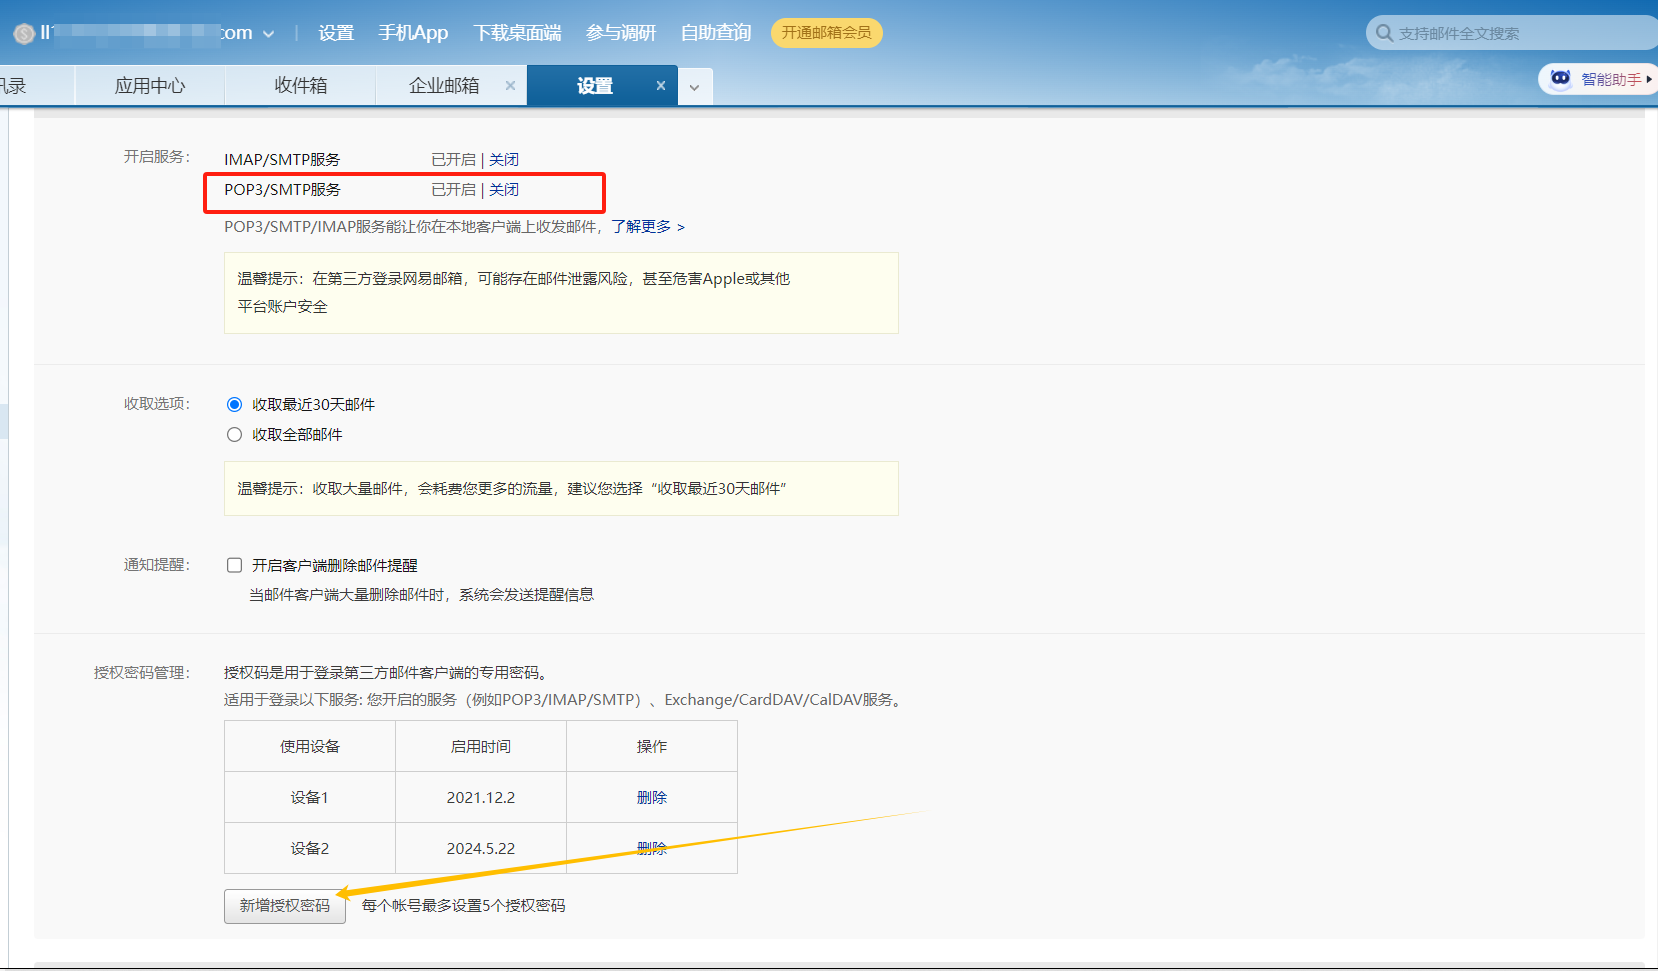
1. 邮箱授权码获取
邮箱 --> 设置 --> POP3/SMTP/IMAP --> 开启服务(POP3/SMTP服务) --> 授权码

开启并获取后 将 授权码保存下来。
2. 项目 导入依赖
        <!-- 邮箱 -->
        <dependency>
            <groupId>org.springframework.boot</groupId>
            <artifactId>spring-boot-starter-mail</artifactId>
        </dependency>

        <!-- redis -->
        <dependency>
            <groupId>org.springframework.boot</groupId>
            <artifactId>spring-boot-starter-data-redis</artifactId>
        </dependency>
3. 配置文件
.yml格式
# Spring配置
spring:
  # redis 配置
  redis:
    # 地址
    host: (redis地址)
    # 端口,默认为6379
    port: 6379
    # 数据库索引
    database: 0
    # 密码
    password: (redis连接密码)
    # 连接超时时间
    timeout: 10s
    lettuce:
      pool:
        # 连接池中的最小空闲连接
        min-idle: 0
        # 连接池中的最大空闲连接
        max-idle: 8
        # 连接池的最大数据库连接数
        max-active: 8
        # #连接池最大阻塞等待时间(使用负值表示没有限制)
        max-wait: -1ms

# 163 邮箱
  mail:
    host: smtp.163.com(此处是我的163)
    port: 465
    username: (邮箱账户)
    password: (授权码)
    properties:
      mail:
        smtp:
          auth: true
          starttls:
            enable: true
            required: true
          ssl:
            enable: true
.properties格式
# application.properties
spring.mail.host=smtp.163.com
spring.mail.port=587
spring.mail.username=(邮箱号)
spring.mail.password=(授权码)
spring.mail.properties.mail.smtp.auth=true
spring.mail.properties.mail.smtp.starttls.enable=true
注意:
- host:是SMTP服务器,不是IP地址;
- username:是邮箱号,不是用户名;
- password:是授权码,不是密码;
4. 代码实现
(1) EmailService 邮件服务类
/**
 * 邮箱邮件服务类
 */
@Service
public class EmailService {

    @Autowired
    private JavaMailSender mailSender;

    /**
     * 发送邮件信息
     * @param toEmail 接收邮箱地址
     * @param verificationCode 验证验证码
     */
    public void sendVerificationEmail(String toEmail, String verificationCode) {
        SimpleMailMessage message = new SimpleMailMessage();
        message.setFrom("12345@163.com");   // 发件人发起地址
        message.setTo(toEmail); // 收件人地址
        message.setSubject("xxx系统:");   // 邮件主题
        message.setText("您正在完善个人私密信息,验证码: " + verificationCode + ",请勿泄露邮箱密码。"); // 邮件正文(包含验证码)
        mailSender.send(message);   // 发送
    }
}
(2) LoginController 接口类
import java.util.Map;

/**
 * 登录
 */
@RestController
@RequestMapping("/user_login")
public class LoginController {

    @Autowired
    private EmailService emailService;

    @Autowired
    private JxRedisCache redisCache;

    /**
     * 邮箱验证码发送
     * @param request 以 userEmail为键获取值
     * @return 成功 ? 失败
     */
    @PostMapping("/email_code")
    public AjaxResult sendEmailCode(@RequestBody Map<String, String> request) {
        String userEmail = request.get("userEmail");
        String code = generateVerificationCode();
        try {
            emailService.sendVerificationEmail(userEmail, code);
            // 验证码存储与redis
            redisCache.setCacheObject("email:" + userEmail, code);
            return AjaxResult.success("邮箱验证码发送成功");
        }catch (Exception e){
            return AjaxResult.error("邮箱验证码发送失败");
        }
    }

    /**
     * 生成 6位数 验证码
     */
    private String generateVerificationCode() {
        // 实现生成验证码的逻辑,生成6位数字验证码
        return String.valueOf((int)(Math.random() * 900000) + 100000);
    }
}
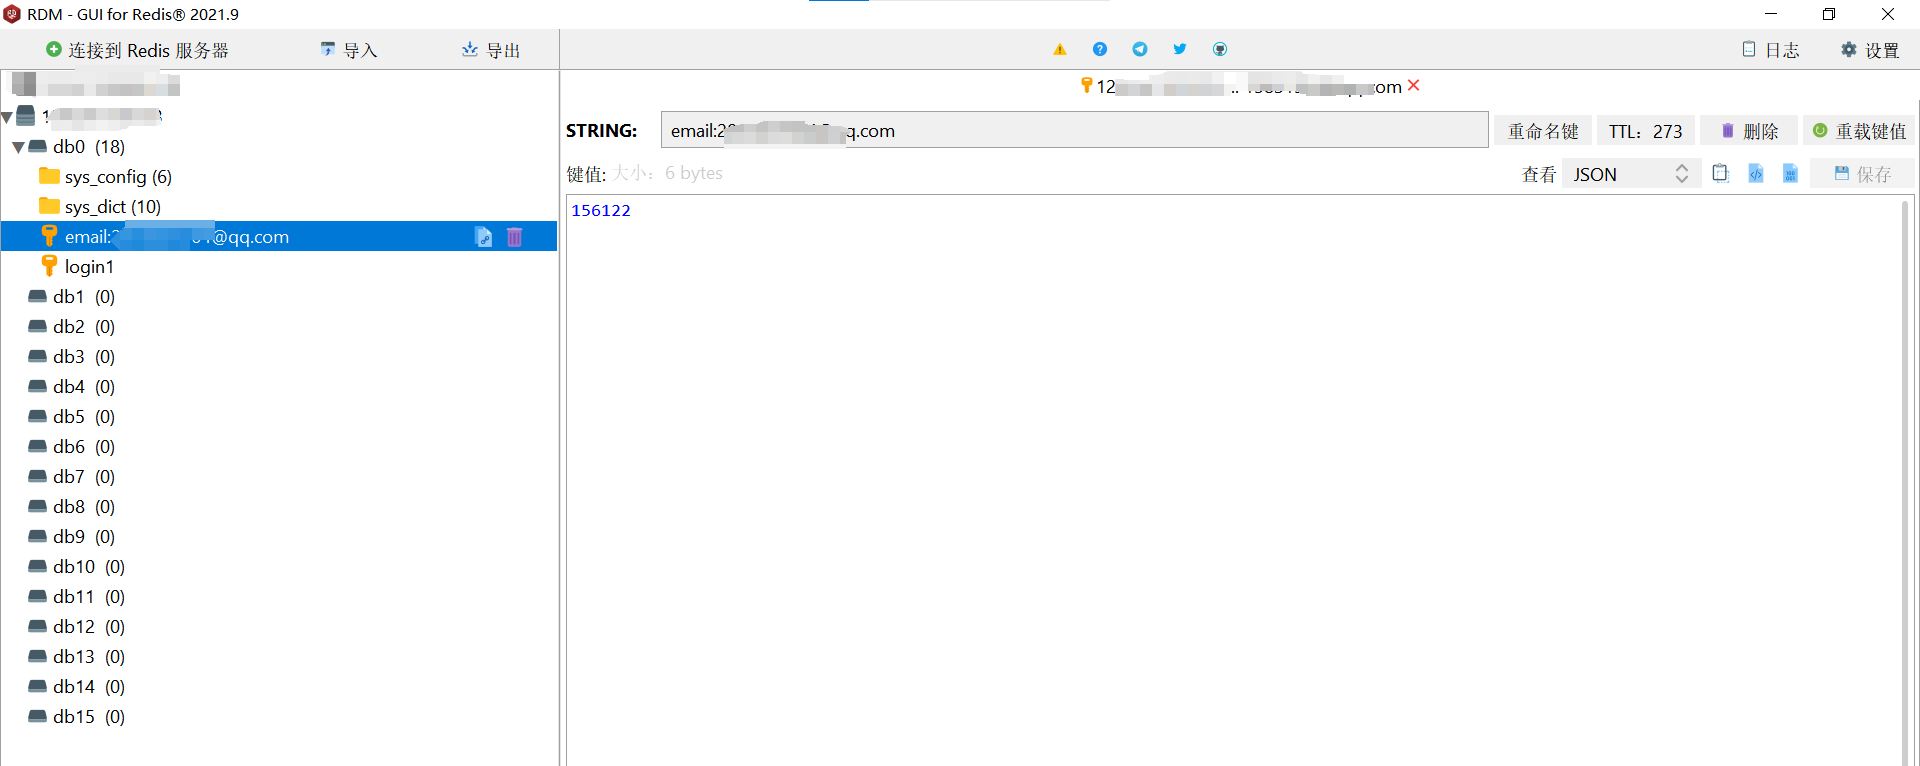
(3) 测试


分类:
Java


【推荐】国内首个AI IDE,深度理解中文开发场景,立即下载体验Trae
【推荐】编程新体验,更懂你的AI,立即体验豆包MarsCode编程助手
【推荐】抖音旗下AI助手豆包,你的智能百科全书,全免费不限次数
【推荐】轻量又高性能的 SSH 工具 IShell:AI 加持,快人一步
· winform 绘制太阳,地球,月球 运作规律
· AI与.NET技术实操系列(五):向量存储与相似性搜索在 .NET 中的实现
· 超详细:普通电脑也行Windows部署deepseek R1训练数据并当服务器共享给他人
· 【硬核科普】Trae如何「偷看」你的代码?零基础破解AI编程运行原理
· 上周热点回顾(3.3-3.9)