
前面有说明使用EF动态新建数据库与表,数据库使用的是SQL SERVER2008的,在使用MYSQL的时候还是有所不同
一、添加 EntityFramework.dll ,System.Data.Entity.dll ,MySql.Data, MySql.Data.Entity.EF6
注意:Entity Framework5.0.0(好像最新的6.X是不支持mysql的)
二、添加dll文件,可以使用“管理NuGet程序包”或者“Nuget程序包管理控制台”添加

与 控制台平台添加
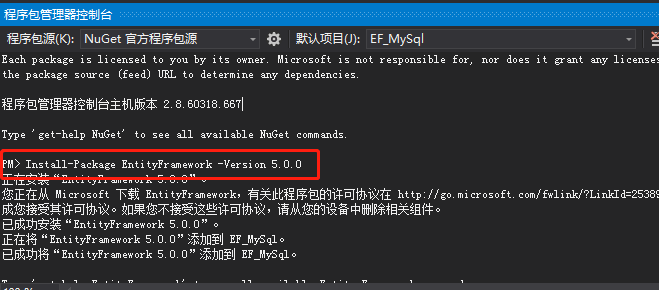
以下为控制台平台安装dll语句
EntityFramework.dll : Install-Package EntityFramework -Version 5.0.0
MySql.Data : Install-Package MySql.Data -Version 6.9.12
MySql.Data.Entity:Install-Package MySql.Data.Entity -Version 6.9.12
三、在app.config文件中添加connectionStrings
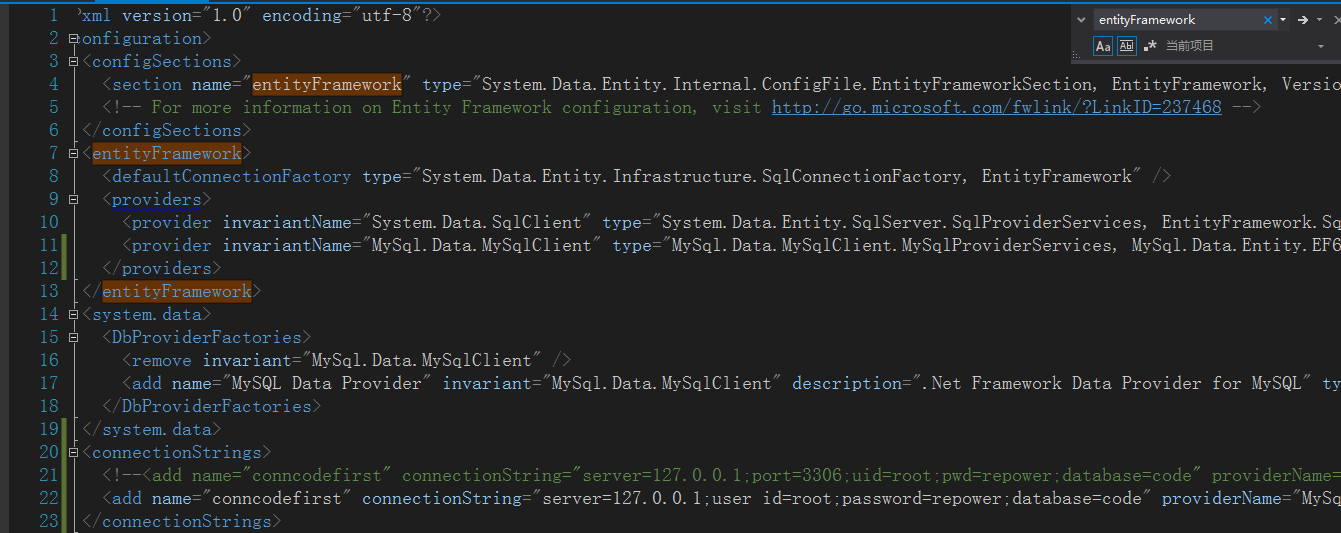
源文件
<?xml version="1.0" encoding="utf-8"?>
<configuration>
  <configSections>
    <section name="entityFramework" type="System.Data.Entity.Internal.ConfigFile.EntityFrameworkSection, EntityFramework, Version=6.0.0.0, Culture=neutral, PublicKeyToken=b77a5c561934e089" requirePermission="false" />
    <!-- For more information on Entity Framework configuration, visit http://go.microsoft.com/fwlink/?LinkID=237468 -->
  </configSections>
  <entityFramework>
    <defaultConnectionFactory type="System.Data.Entity.Infrastructure.SqlConnectionFactory, EntityFramework" />
    <providers>
      <provider invariantName="System.Data.SqlClient" type="System.Data.Entity.SqlServer.SqlProviderServices, EntityFramework.SqlServer" />
      <provider invariantName="MySql.Data.MySqlClient" type="MySql.Data.MySqlClient.MySqlProviderServices, MySql.Data.Entity.EF6, Version=6.9.12.0, Culture=neutral, PublicKeyToken=c5687fc88969c44d"></provider>
    </providers>
  </entityFramework>
  <system.data>
    <DbProviderFactories>
      <remove invariant="MySql.Data.MySqlClient" />
      <add name="MySQL Data Provider" invariant="MySql.Data.MySqlClient" description=".Net Framework Data Provider for MySQL" type="MySql.Data.MySqlClient.MySqlClientFactory, MySql.Data, Version=6.9.12.0, Culture=neutral, PublicKeyToken=c5687fc88969c44d" />
    </DbProviderFactories>
  </system.data>
  <connectionStrings>
    <!--<add name="conncodefirst" connectionString="server=127.0.0.1;port=3306;uid=root;pwd=repower;database=code" providerName="MySql.Data.MySqlClient"/>-->
    <add name="conncodefirst" connectionString="server=127.0.0.1;user id=root;password=repower;database=code" providerName="MySql.Data.MySqlClient" />
  </connectionStrings>
</configuration>
四、添加类
[Table("Student")]
    public class Student
    {
        public Student()
        {

        }
        [Key]
        public int StudentID { get; set; }
        public string StudentName { get; set; }
        public DateTime AddTime { get; set; }

    }

    [Table("Standard")]
    public class Standard
    {
        public Standard()
        {

        }
        public int StandardId { get; set; }
        public string StandardName { get; set; }
        public DateTime AddTime { get; set; }

    }
添加SchoolContext 继承DbContext
[DbConfigurationType(typeof(MySql.Data.Entity.MySqlEFConfiguration))]
    public class SchoolContext : DbContext
    {
        public SchoolContext()
            : base("name=conncodefirst")
        {

        }

        static SchoolContext()
        {
            DbConfiguration.SetConfiguration(new MySql.Data.Entity.MySqlEFConfiguration());
        }

        public DbSet<Student> Students { get; set; }
        public DbSet<Standard> Standards { get; set; }

        //protected override void OnModelCreating(DbModelBuilder modelBuilder)
        //{
        //    base.OnModelCreating(modelBuilder);
        //}
    }
最后调用
SchoolContext dbCOntext = new SchoolContext();
                //dbCOntext.Database.
                bool flag = dbCOntext.Database.CreateIfNotExists();
                Student stud = new Student() { StudentName = "New Student", AddTime = DateTime.Now };
                dbCOntext.Students.Add(stud);
                dbCOntext.SaveChanges();
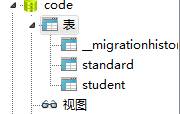
结果

 浙公网安备 33010602011771号