Flask--模板渲染和参数传递
#############Python代码#########################
'''
渲染模板:
1、静态页面模板放在templates文件夹中
2、需要导入render_template
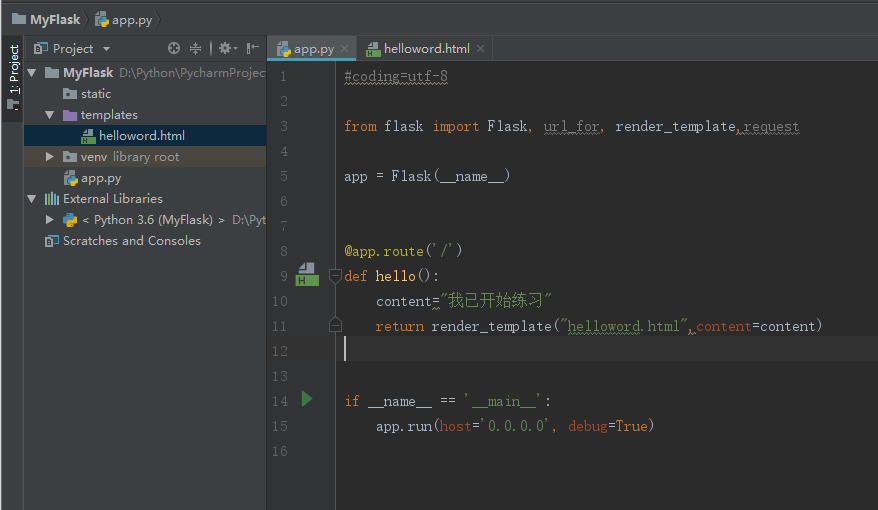
3、视图函数中使用render_template函数渲染模板本例中使用的是return render_template('index.html', **context)
4、传多个参数的时候可以使用字典的形式如本例中的context={}
5、html代码中参数使用{{}}进行引用 本例中是
<p>用户名:{{ username }}</p>
<p>年龄:{{ age }}</p>
6、传参数类,字典 请看本例中的person类以及context中的wwwurl字典
'''
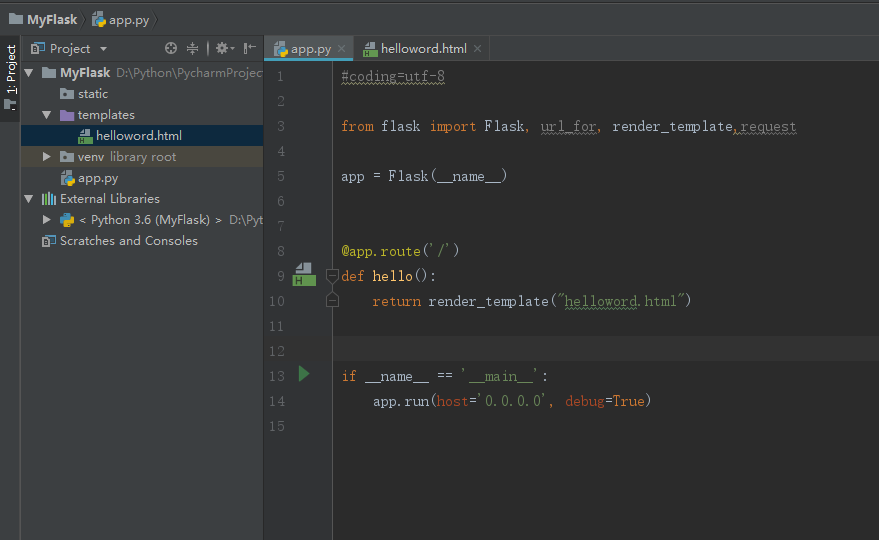
from flask import Flask,render_template
import time
app = Flask(__name__)


@app.route('/')
def index():
    class Person(object):
        Email = 'XXX@XXX.com';
        time = time.time();

    dell=Person()

    context={
        'username':"王亚锋",
        'age': "18",
        'gender': "男",
        'flag': "王者",
        'hero': "猴子",
        'person':dell,
        'wwwurl':{
            'baidu':'www.baidu.com',
            'google':'www.google.com'
        }
    }
    return render_template('index.html', **context)


if __name__ == '__main__':
    app.run(debug=True)
############index.html############################
<!DOCTYPE html>
<html lang="utf-8">
<head>
<meta charset="UTF-8">
<title>王亚锋</title>
</head>
<body>
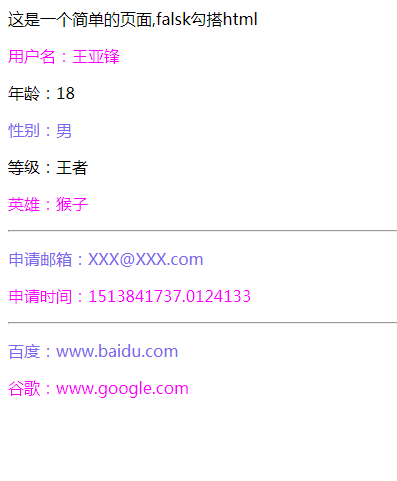
这是一个简单的页面,falsk勾搭html
<p style="color:#FF00FF">用户名:{{ username }}</p>
<p>年龄:{{ age }}</p>
<p style="color:#7B68EE">性别:{{ gender }}</p>
<p>等级:{{ flag }}</p>
<p style="color:#FF00FF">英雄:{{ hero }}</p>
<hr>
<!--引用类中的参数-->
<p style="color:#7B68EE"> 申请邮箱:{{person.Email}}</p>
<p style="color:#FF00FF">申请时间:{{person.time }}</p>
<hr>
<!--引用wwwurl字典中的参数,有两种形式-->
<p style="color:#7B68EE">百度:{{wwwurl.baidu}}</p>
<p style="color:#FF00FF">谷歌:{{wwwurl['google'] }}</p>
</body>
</html>
=================页面结果======================================
<!DOCTYPE html>
<html lang="en">
<head>
    <meta charset="UTF-8">
    <title>你好</title>
</head>
<body>
<h1>{{ content }}</h1>
</body>
</html>

 浙公网安备 33010602011771号