Git 、Jenkins (二)Gitlub安装部署
Git 、Jenkins (二)Gitlub安装部署
一、安装GitHub
方法一:
[root@git01 ~]# yum install  -y  policycoreutils-python   #安装依赖
#上传 rpm包
gitlab-ce-12.0.3-ce.0.el7.x86_64.rpm
[root@git01 ~]# rz -E
rz waiting to receive.
[root@git ~]# rpm -ivh  gitlab-ce-12.0.3-ce.0.el7.x86_64.rpm
warning: gitlab-ce-10.2.2-ce.0.el7.x86_64.rpm: Header V4 RSA/SHA1 Signature, key ID f27eab47: NOKEY
Preparing...                          ################################# [100%]
Updating / installing...
   1:gitlab-ce-10.2.2-ce.0.el7        ################################# [100%]
It looks like GitLab has not been configured yet; skipping the upgrade script.

       *.                  *.
      ***                 ***
     *****               *****
    .******             *******
    ********            ********
   ,,,,,,,,,***********,,,,,,,,,
  ,,,,,,,,,,,*********,,,,,,,,,,,
  .,,,,,,,,,,,*******,,,,,,,,,,,,
      ,,,,,,,,,*****,,,,,,,,,.
         ,,,,,,,****,,,,,,
            .,,,***,,,,
                ,*,.


     _______ __  __          __
    / ____(_) /_/ /   ____ _/ /_
   / / __/ / __/ /   / __ \`/ __ \
  / /_/ / / /_/ /___/ /_/ / /_/ /
  \____/_/\__/_____/\__,_/_.___/


Thank you for installing GitLab!
GitLab was unable to detect a valid hostname for your instance.
Please configure a URL for your GitLab instance by setting `external_url`
configuration in /etc/gitlab/gitlab.rb file.
Then, you can start your GitLab instance by running the following command:
  sudo gitlab-ctl reconfigure

For a comprehensive list of configuration options please see the Omnibus GitLab readme
https://gitlab.com/gitlab-org/omnibus-gitlab/blob/master/README.md
#安装完成


方法二:
由于国内网络偏慢,这里使用清华大学的镜像源进行安装gitlab-ce
[root@git ~]# cat /etc/yum.repos.d/gitlab-ce.repo
[gitlab-ce]
name=gitlab-ce
baseurl=http://mirrors.tuna.tsinghua.edu.cn/gitlab-ce/yum/el7
repo_gpgcheck=0
gpgcheck=0
enabled=1
gpgkey=
[root@git ~]#  yum makecache
[root@git ~]#  yum install -y gitlab-ce

#修改配置文件
[root@git ~]# vim /etc/gitlab/gitlab.rb
external_url 'http://10.0.0.11'
1553 prometheus_monitoring['enable'] = false
 [root@node1 tools]# vim /etc/gitlab/gitlab.rb
  52 gitlab_rails['gitlab_email_enabled'] = true
  53 gitlab_rails['gitlab_email_from'] = '2466236198@qq.com'
  54 gitlab_rails['gitlab_email_display_name'] = 'linux_gitlab'

#配置mail邮件服务
 517 gitlab_rails['smtp_enable'] = true
 518 gitlab_rails['smtp_address'] = "smtp.qq.com"
 519 gitlab_rails['smtp_port'] = 25
 520 gitlab_rails['smtp_user_name'] = "24662361989@qq.com"
 521 gitlab_rails['smtp_password'] = "<passwd>"
 522 gitlab_rails['smtp_domain'] = "smtp.qq.com"
 523 gitlab_rails['smtp_authentication'] = "login"
 524 gitlab_rails['smtp_enable_starttls_auto'] = true
 525 gitlab_rails['smtp_tls'] = true

 [root@git01 ~]# gitlab-ctl reconfigure  #重新加载配置文件_需要等待两三会

如果不小心初始化密码忘了可执行以下命令去修改
[root@git01 ~]# sudo gitlab-rake "gitlab:password:reset[root]"
参考连接:[https://docs.gitlab.com/ee/security/reset_user_password.html#reset-your-root-password]()
二、gitlab汉化
#下载汉化包
https://gitlab.com/xhang/gitlab

gitlab-ctl stop
tar xf gitlab-12-0-stable-zh.tar.gz
\cp -a gitlab-12-0-stable-zh/* /opt/gitlab/embedded/service/gitlab-rails/
gitlab-ctl restart
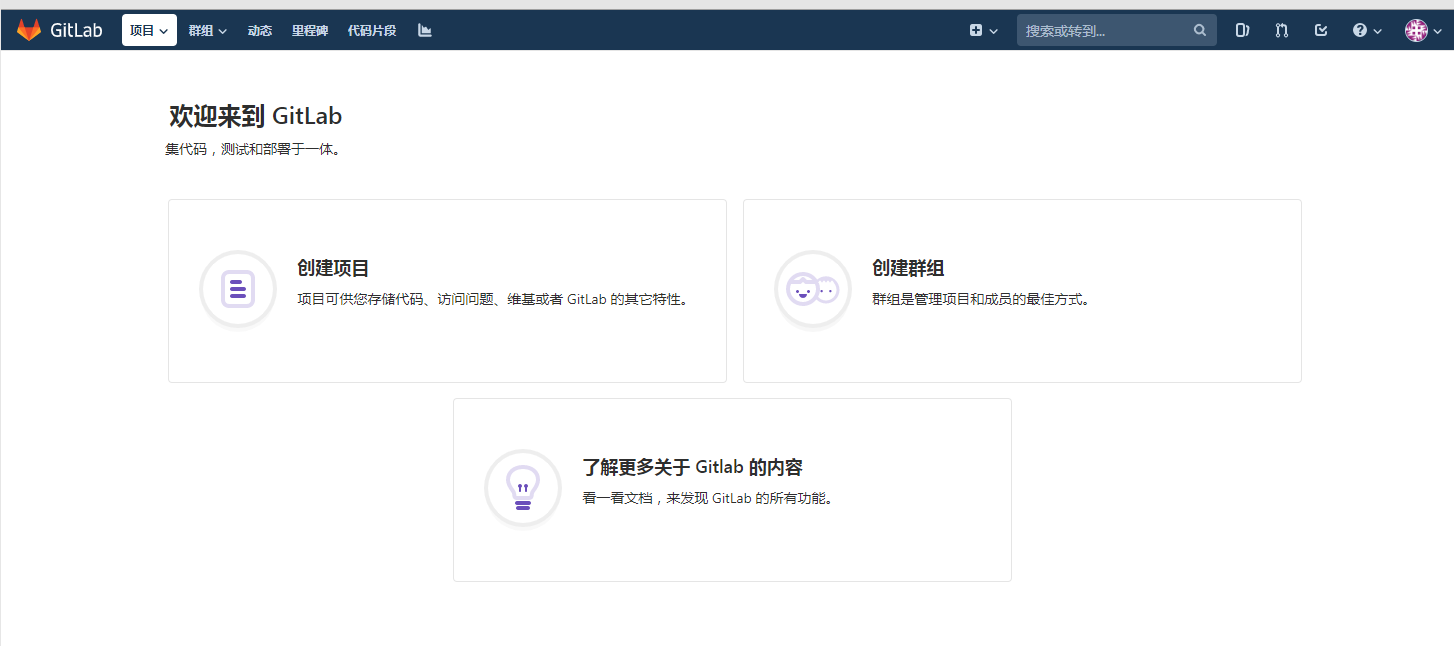
https:// 10.0.0.11
三、gitlab项目
1.gitlab-用户-用户组-项目之间的关系
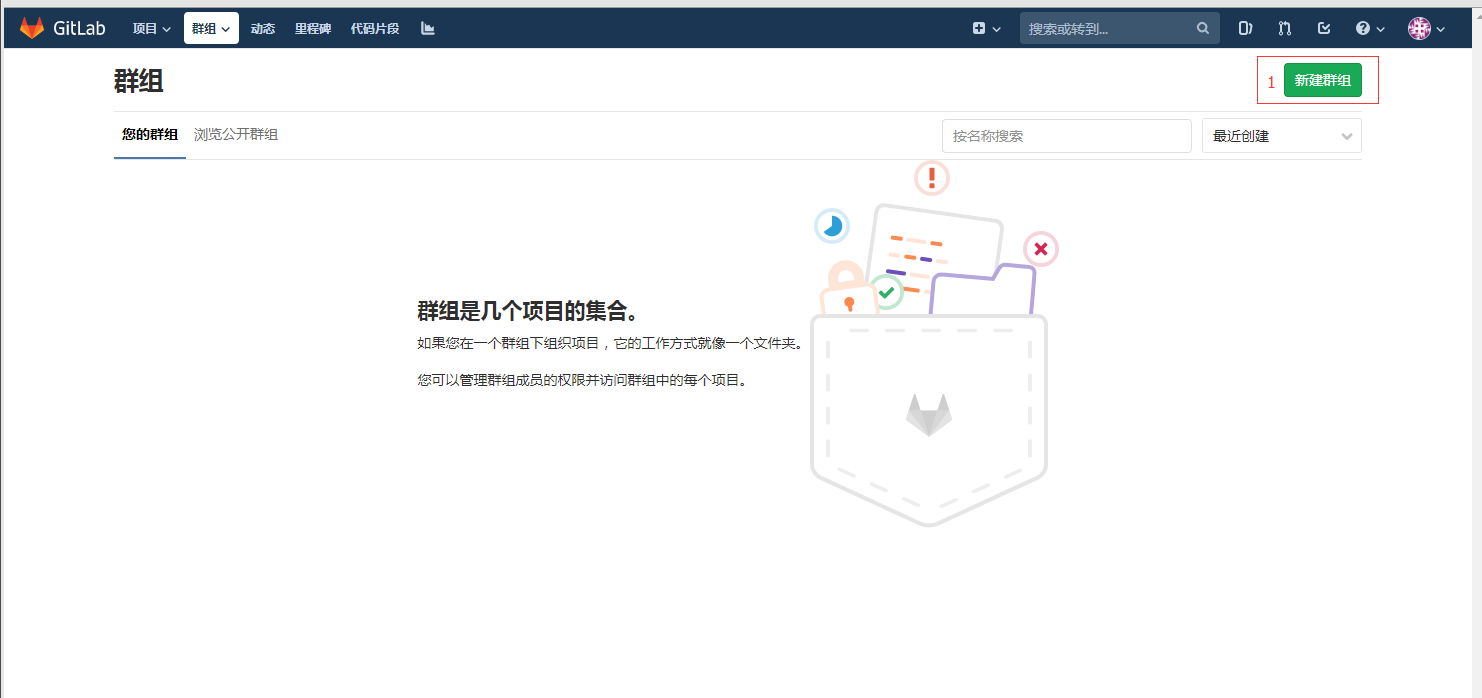
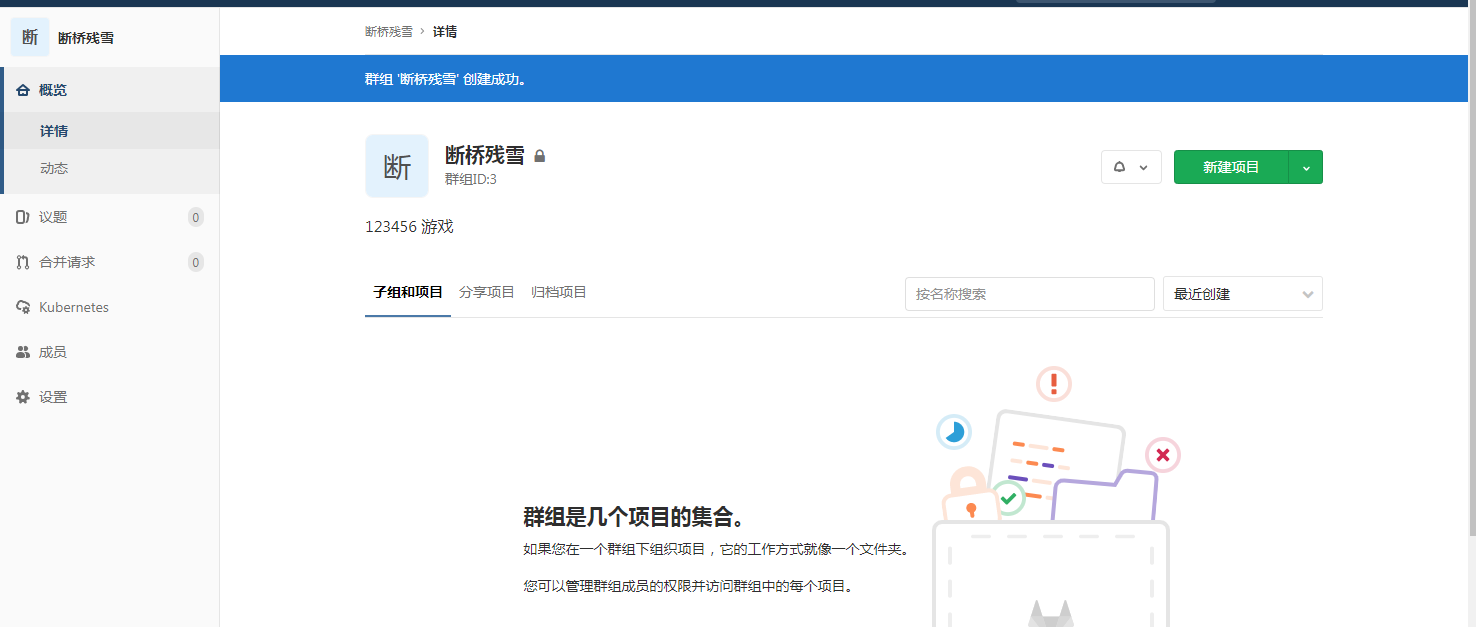
先创建用户组—>在基于用户组创建项目—>最后创建用户—>编辑用户组—>添加成员—>注意权限


四、 gitlab灾备措施_备份恢复和迁移
1.备份
1).修改配置文件
[root@git01 ~]#  vim /etc/gitlab/gitlab.rb

gitlab_rails['manage_backup_path'] = true  #管理备份路径
gitlab_rails['backup_path'] = "/var/opt/gitlab/backups"     #备份路径

gitlab_rails['backup_archive_permissions'] = 0644  #备份的默认权限为644

gitlab_rails['backup_keep_time'] = 604800  #允许删除备份之前保留备份的持续时间(以秒为单位 默认7天)
2).手动备份
[root@git01 ~]# gitlab-rake gitlab:backup:create
2020-04-23 09:49:12 +0800 -- Dumping database ...
Dumping PostgreSQL database gitlabhq_production ... [DONE]
2020-04-23 09:49:13 +0800 -- done
2020-04-23 09:49:13 +0800 -- Dumping repositories ...
2020-04-23 09:49:13 +0800 -- done
2020-04-23 09:49:13 +0800 -- Dumping uploads ...
2020-04-23 09:49:13 +0800 -- done
2020-04-23 09:49:13 +0800 -- Dumping builds ...
2020-04-23 09:49:13 +0800 -- done
2020-04-23 09:49:13 +0800 -- Dumping artifacts ...
2020-04-23 09:49:13 +0800 -- done
2020-04-23 09:49:13 +0800 -- Dumping pages ...
2020-04-23 09:49:13 +0800 -- done
2020-04-23 09:49:13 +0800 -- Dumping lfs objects ...
2020-04-23 09:49:13 +0800 -- done
2020-04-23 09:49:13 +0800 -- Dumping container registry images ...
2020-04-23 09:49:13 +0800 -- [DISABLED]
Creating backup archive: 1587606553_2020_04_23_12.0.9_gitlab_backup.tar ... done
Uploading backup archive to remote storage  ... skipped
Deleting tmp directories ... done
done
done
done
done
done
done
done
Deleting old backups ... skipping
`Warning: Your gitlab.rb and gitlab-secrets.json files contain sensitive data
`and are not included in this backup. You will need these files to restore a backup.
`Please back them up manually.
`Backup task is done.

这里要特别说明,如果在/etc/gitlab/gitlab.rb 文件配置了参数“backup_path”(例如gitlab_rails['backup_path'] = '/backup'),则备份的目录就是该目录下(/backup/),如果没有配置参数“backup_path”,则gitlab把备份文件生成到默认目录/var/opt/gitlab/backups。

等待备份完成,可能会看到一段提示:

```shell
`Warning: Your gitlab.rb and gitlab-secrets.json files contain sensitive data
`and are not included in this backup. You will need these files to restore a backup.
`Please back them up manually.
`Backup task is done.
```

大意就是在gitlab.rb和gitlab-secrets.json文件中包含敏感数据,在备份中并没有包含这两个文件,需要手动保存一下,在恢复备份的时候会需要这两个文件(如果是在本机更新,则不备份这两个文件也没关系,如果是备份了在另一台机器安装gitlab并恢复数据,则需要在另一台机器覆盖这两个文件)。这两个文件放在/etc/gitlab目录下。

数据备份完成后就可以进行更新操作了,首先停止服务:

```
[root@git01 ~]# gitlab-ctl stop
```


执行这个命令会停止gitlab的所有服务,也可以只关闭部分服务:

```
[root@git01 ~]# gitlab-ctl stop unicorn
[root@git01 ~]# gitlab-ctl stop sidekiq
[root@git01 ~]# gitlab-ctl stop nginx
```


这样更新完成后重新配置时就不用先启动了,不过我通常都是全部关闭。

关闭服务以后,就可以安装RPM更新了:

```
[root@git01 ~]#  rpm -Uvh gitlab-ce-版本.rpm等待更新完成。
```

更新完成后就可以进行重新配置了,真如之前说的,如果更新前关闭了所有的gitlab服务,则重新配置之前需要启动服务:

```
[root@git01 ~]# gitlab-ctl start
```


进行重新配置只需要执行一个命令:

```
[root@git01 ~]#  gitlab-ctl reconfigure
```
3).自动备份
[root@node1 ~]# crontab -e
#每天凌晨2点进行一次自动备份:通过crontab使用备份命令实现
00 02 * * * /usr/bin/gitlab-rake gitlab:backup:create
2.恢复
# 停止相关数据连接服务
Please back them up manually.
Backup task is done.
[root@git01 ~]# gitlab-ctl stop unicorn
ok: down: unicorn: 1s, normally up
[root@git01 ~]# gitlab-ctl stop sidekiq
ok: down: sidekiq: 0s, normally up

#编号备份中恢复,只需复制到日期即可
[root@git01 /var/opt/gitlab/backups]# gitlab-rake gitlab:backup:restore 1587606553_2020_04_23_12.0.9_gitlab_backup.tar

#启动Gitlab
[root@git01 /var/opt/gitlab/backups]# gitlab-ctl start
3.迁移
迁移如同备份与恢复的步骤一样, 只需要将老服务器/var/opt/gitlab/backups目录下的备份文件拷贝到新服务器上的/var/opt/gitlab/backups即可
注意:gitlab的版本号必须一样 老版本的Gitlab迁移到新版本时,必须要跟新版本保持一致 `基于最新版本的状态在进行备份
/etc/gitlab/gitlab.rb gitlab 配置文件须迁移,迁移后需要调整数据存放目录
/var/opt/gitlab/nginx/conf nginx配置文件目录须迁移
#迁移到云主机的方法
先备份,云主机要安装相同版本,恢复(记得把软件包留下来)

#将旧机器上的备份文件同步过来后的操作步骤
[root@git01 ~]#  gitlab-ctl stop unicorn
[root@git01 ~]#  gitlab-ctl stop sidekiq
[root@git01 /var/opt/gitlab/backups]# chmod 777 /var/opt/gitlab/backups/1572333106_2019_10_29_11.9.12_gitlab_backup.tar
[root@git01 /var/opt/gitlab/backups]# gitlab-rake gitlab:backup:restore 1587606553_2020_04_23_12.0.9_gitlab_backup.tar


