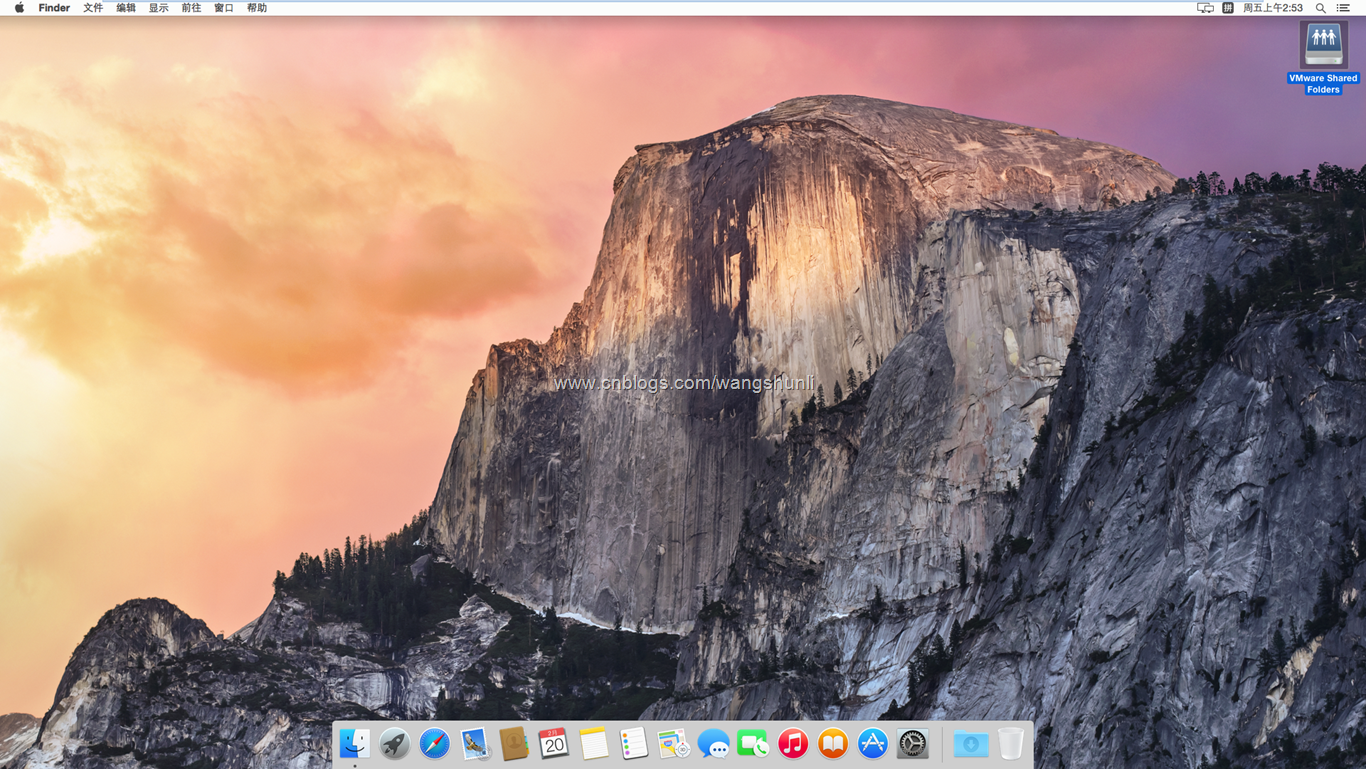
VMware 11完全安装Mac OS X 10.10
-----------------------------------------
引用原文如下:
VMware 11安装Mac OS X 10.10_百度经验
http://jingyan.baidu.com/article/ff411625b9011212e48237b4.html
VM11安装Mac OS X 10.10
- 1.VMware Workstation 11
- 2.unlocker 203(for OS X 插件补丁)
- 3.Mac OS X 10.10镜像
一、下载以上文件
1. 软件百度VMware Workstation 11 下载即可
VMware Workstation下载__百度软件中心
http://rj.baidu.com/soft/detail/13808.html?ald
2. unlocker 203
unlock-all-v132+v203+204 虚拟苹果的利器-苹果-远景论坛-微软极客社区
http://bbs.pcbeta.com/viewthread-1507414-1-1.html
3. Mac OS X 10.10镜像
Apple - OS X Yosemite - Mac App Store
http://www.apple.com/osx/apps/app-store/
苹果系统 Mac OS X Yosemite 正式版安装程序镜像下载 (10.10 新功能特性总结)下载 | 异次元软件
http://www.iplaysoft.com/osx-yosemite.html
二、基本步骤
1.1、虚拟机的安装
下载Vmare Workstation,以管理员身份运行,安装,一直下一步即可。VM安装好后,注册码百度一大堆。
安装VMware WorkStation_百度经验
http://jingyan.baidu.com/article/b7001fe19691f70e7282ddbb.html
1.2、插件安装
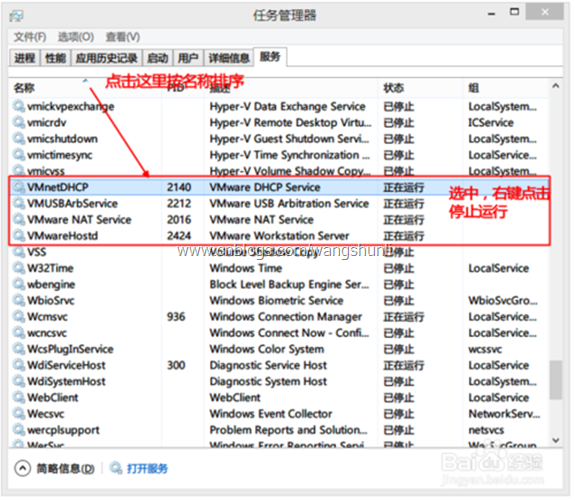
步骤一完成后,打开任务管理器,找到服务项,选择按名称排序,将框中四项全部停止运行。
然后打开下载的插件,解压unlock203.zip文件,找到 unlock203\win-install.cmd,右键以管理员身份运行,等待运行完即可。(完成这一步vmware才能识别OS X)。
unlocker202中的readme:
Mac OS X Unlocker for VMware V2.0
=================================
1. Introduction
---------------
Unlocker 2 is designed for Workstation 11, Player 7 and Fusion 7.
If you are using an earlier product please continue using Unlocker 1
Version 2 has been tested against:
* Workstation 11 on Windows and Linux
* Player 7 on Windows and Linux
* Fusion 7 on Mavericks and Yosemite
* (Currently is does not work on ESXi 6.0)
The patch code carries out the following modifications dependent on the product
being patched:
* Fix vmware-vmx and derivatives to allow Mac OS X to boot
* Fix vmwarebase .dll or .so to allow Apple to be selected during VM creation
* A copy of the latest VMware Tools for OS X is included
Note that not all products recognise the darwin.iso via install tools menu item.
You will have to manually mount the darwin.iso for example on Workstation and Player.
The vmwarebase code does not need to be patched on OS X so you will see a
message on those systems telling you that it will not be patched.
In all cases make sure VMware is not running, and any background guests have
been shutdown.
The code is now Python as it makes the Unlocker easier to run and maintain on ESXi.
There are some challenges to write the code as ESXi has a subset of Python 2.7 which
constrains some modules that can be used.
2. Prerequisites
----------------
The code requires Python 2.7 to work. Most Linux distros and OS X ship with a compatible
Python interpreter and should work without requiring any additional software.
Windows has a packaged version of the Python script using PyInstaller, and so does not
require Python to be installed.
3. Limitations
--------------
The Unlocker currently does not work on ESXi 6.
The Unlocker does not remove the check for server versions for OS X Leopard and
Snow Leopard (10.5 and 10.6).
+-----------------------------------------------------------------------------+
| IMPORTANT: |
| ========== |
| |
| If you create a new VM using version 11 hardware VMware will stop and |
| create a core dump.There are two options to work around this issue: |
| |
| 1. Change the VM to be HW 10 - this does not affect performance. |
| 2. Edit the VMX file and add: |
| smc.version = "0" |
| |
+-----------------------------------------------------------------------------+
Work continues to find solutions to the limitations.
4. Windows
----------
On Windows you will need to either run cmd.exe as Administrator or using
Explorer right click on the command file and select "Run as administrator".
win-install.cmd - patches VMware
win-uninstall.cmd - restores VMware
5. Linux
---------
On Linux you will need to be either root or use sudo to run the scripts.
You may need to ensure the Linux scripts have execute permissions
by running chmod +x against the 2 files.
lnx-install.sh - patches VMware
lnx-uninstall.sh - restores VMware
6. Mac OS X
-----------
On Mac OS X you will need to be either root or use sudo to run the scripts.
This is really only needed if you want to use client versions of Mac OS X.
You may need to ensure the OS X scripts have execute permissions
by running chmod +x against the 2 files.
osx-install.sh - patches VMware
osx-uninstall.sh - restores VMware
Thanks to Zenith432 for originally building the C++ unlocker and Mac Son of Knife
(MSoK) for all the testing and support.
History
-------
12/12/14 2.0.0 - First release
13/13/14 2.0.1 = Removed need for Python for Windows
(c) 2011-2014 Dave Parsons
注意:
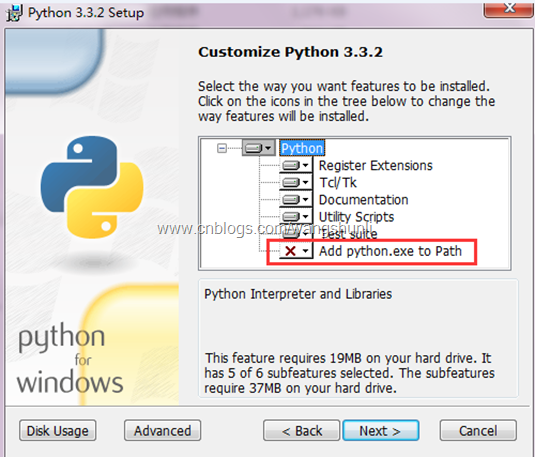
没有出现apple mac os x(M)选项,readme中也有提示需要安装python;
Python开发_python的安装 - Hongten - 博客园
http://www.cnblogs.com/hongten/p/hongten_python_install.html
如果选择红框中的选项就不用配置环境变量了。
1.3、Mac OS X 10.10的载入
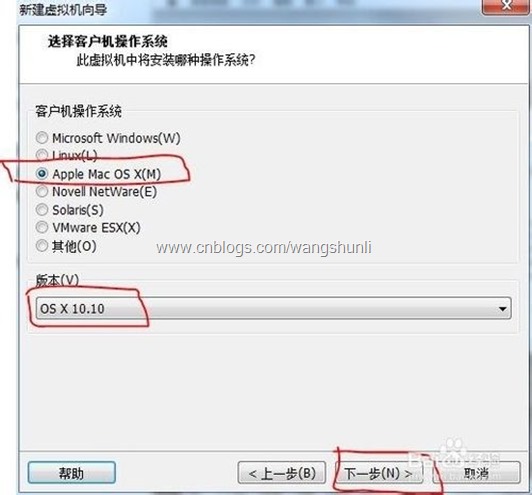
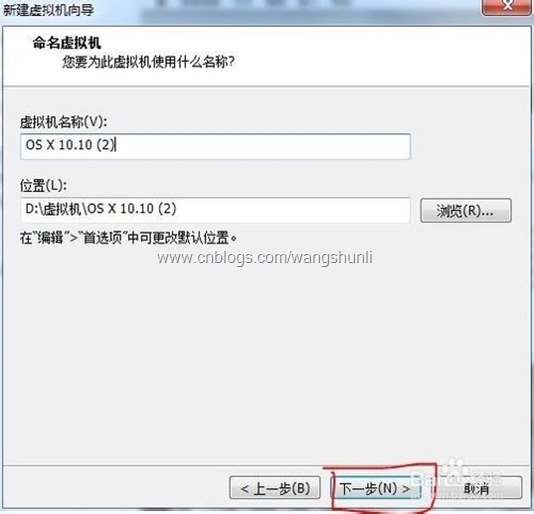
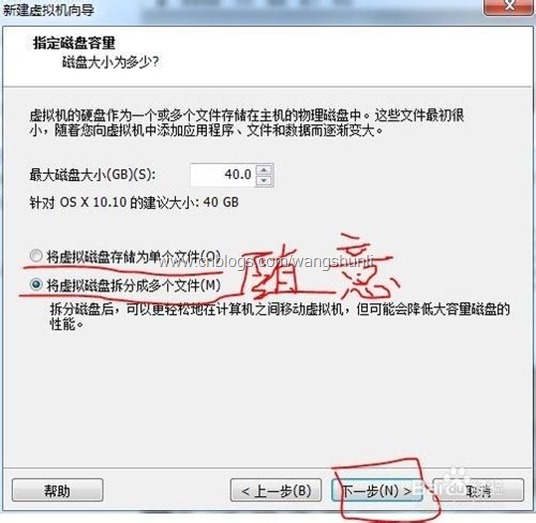
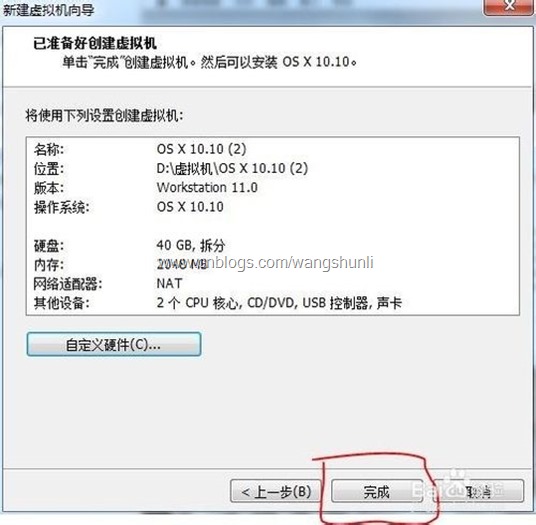
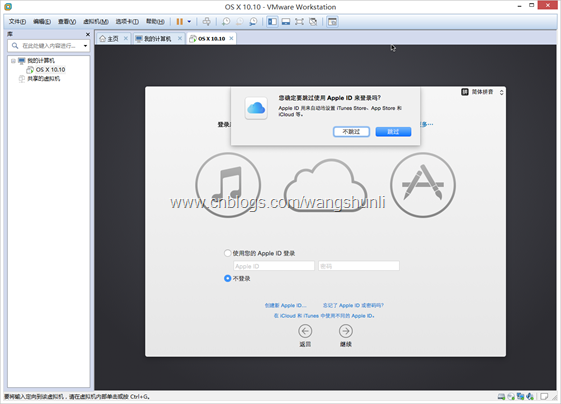
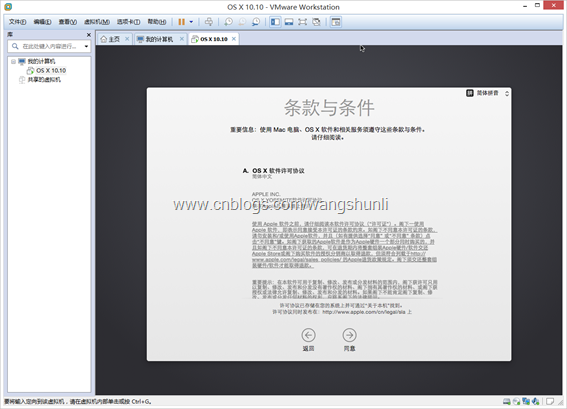
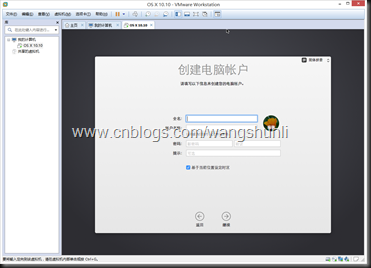
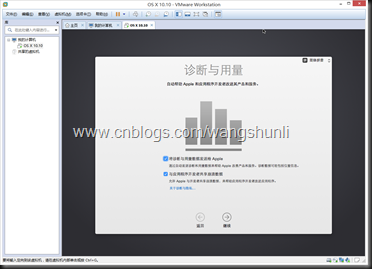
相信你以上步骤已做好了,开启下面旅程吧。基本都是图片,所以很容易,just follow。
1.4、开启安装
我遇到了如下问题,百度后知道 出现这种情况:
VMware Workstation不可恢复错误:(vcpu-0)
vcpu-0:VEREIFY vmcore/vmm/main/physMem_monitor.c.1123
日志文件位于“E:OS X\vmware.log”中。
你可以请求支持。
要收集数据提供过给VMware技术支持,请选择“帮助”菜单中的“收集支持数据”。
也可以直接在VMwarestation文件夹中运行“vm-support”脚本。
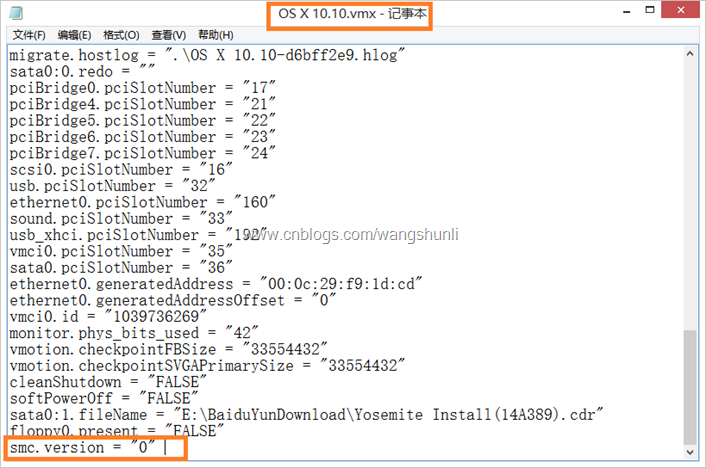
只要找到并打开安装目录下的 XXXX.vmx 文件,使用记事本打开后,在 smc.present = "TRUE" 后添加“smc.version = 0”(建议您复制,不包括引号)后保存,问题即可解决。
vmware11装OSX的问题呀_虚拟机吧_百度贴吧
http://tieba.baidu.com/p/3524285937
readme中也有提示。
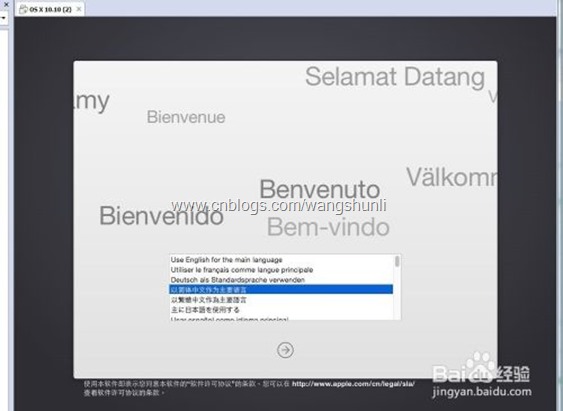
重新启动:
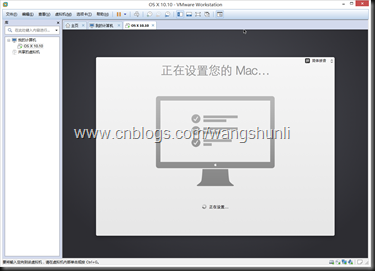
1.5、开始安装MAC OS
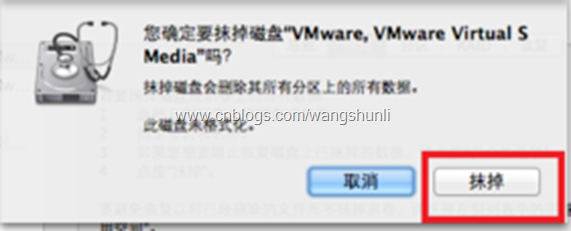
然后点击左上角的磁盘工具,选择退出磁盘工具。然后在安装界面点击继续,再点击安装
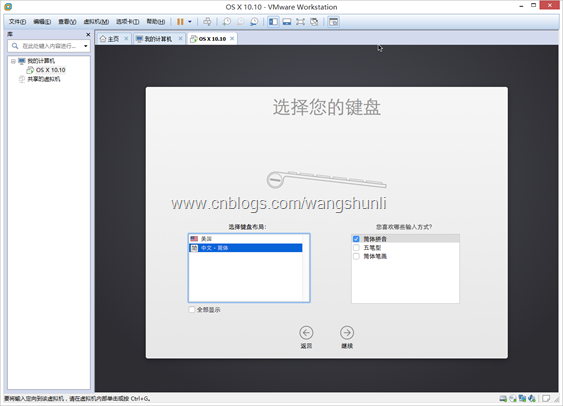
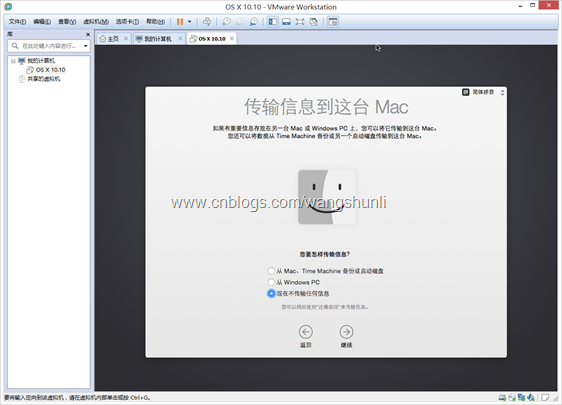
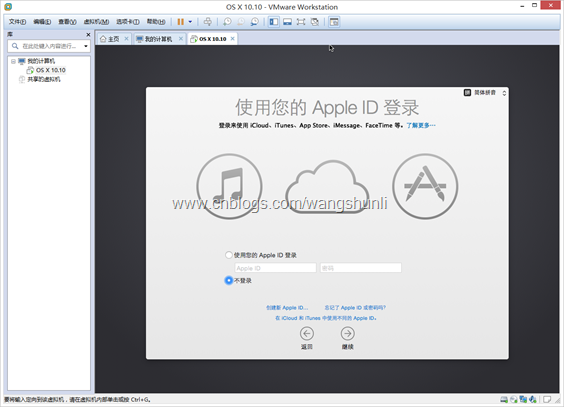
按照一下步骤即可:
1.6、 VMTool以及Darwin7.1.0的安装 以及共享文件夹。
1.6.1、下载Darwin7.1.0
darwin 7.1.0.iso_免费高速下载|百度云 网盘-分享无限制
http://pan.baidu.com/s/1o6xCEhG
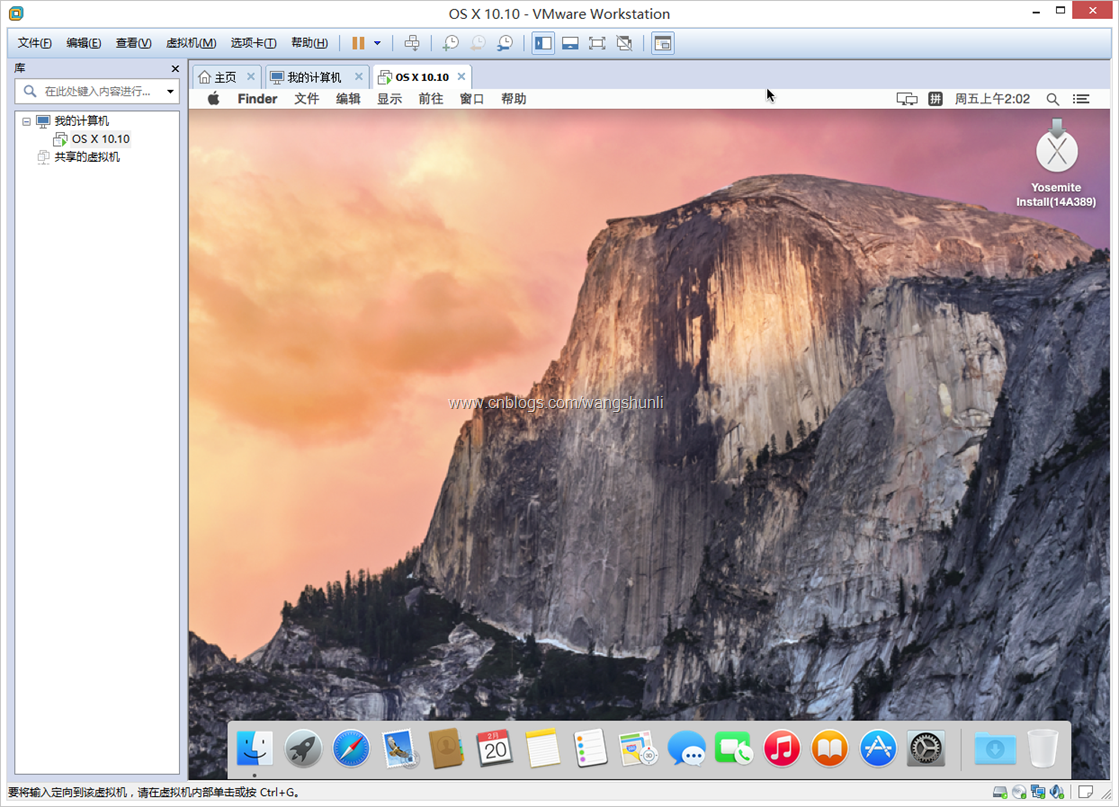
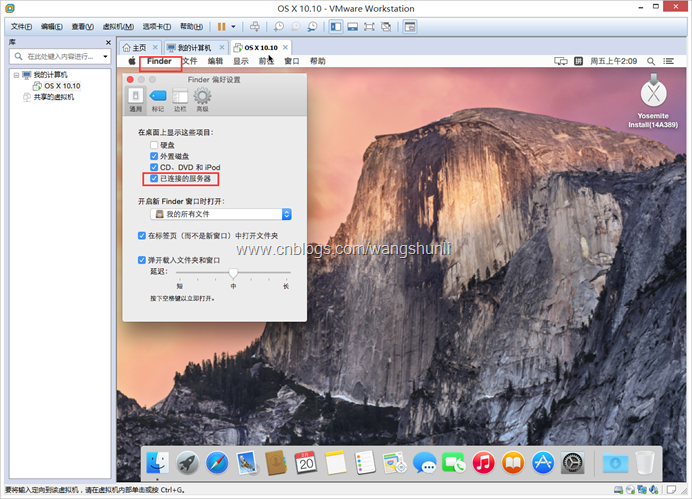
点击Finder选择偏好设置
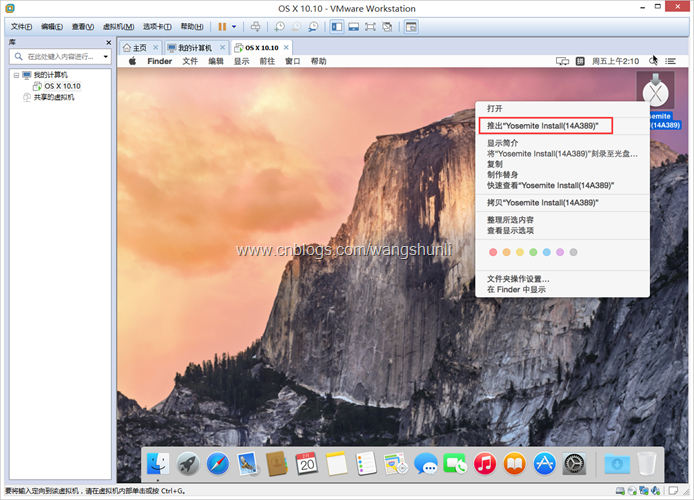
右击安装盘,然后将其推出
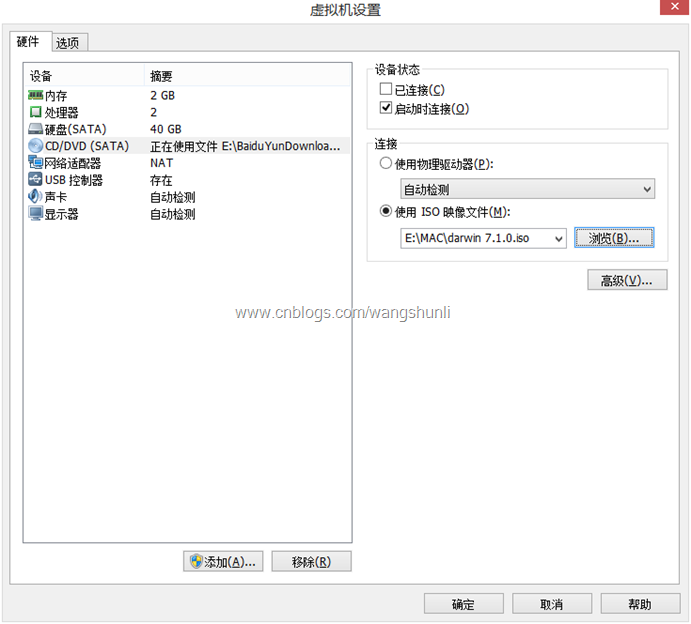
按下图依次设置:
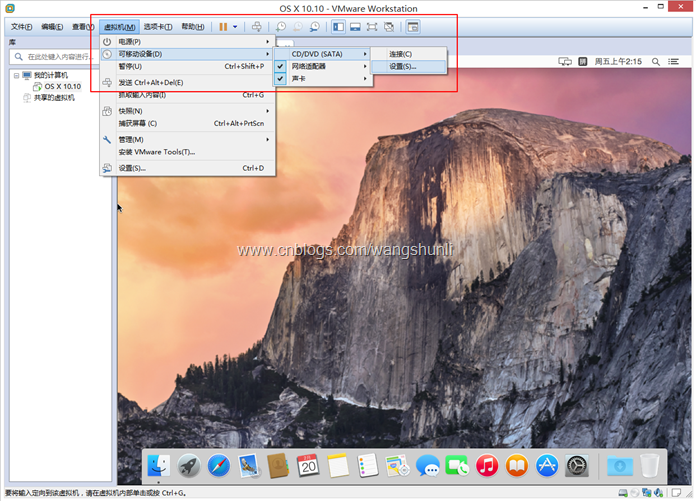
点击浏览选择Darwin7.1.0即可
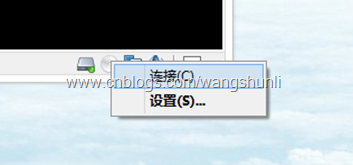
点击右下角光盘图标,选择连接即可:
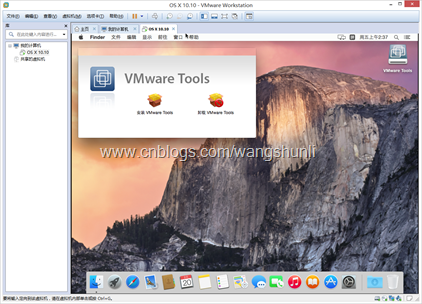
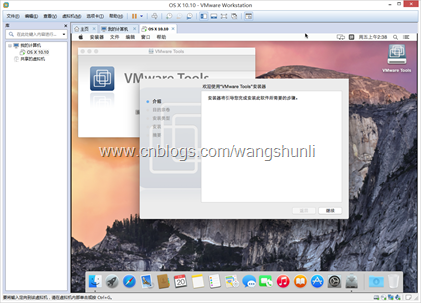
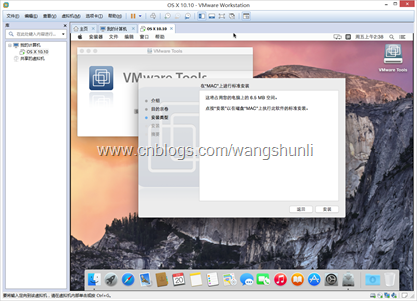
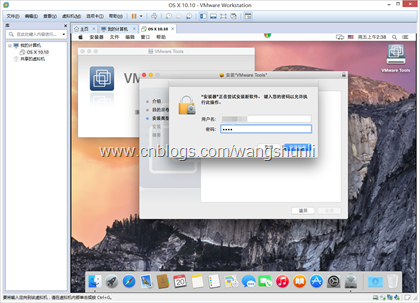
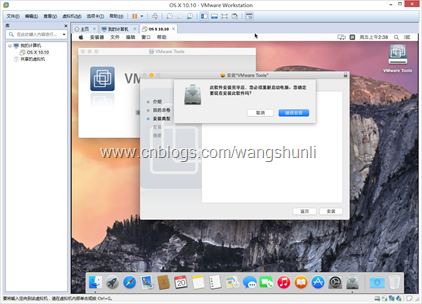
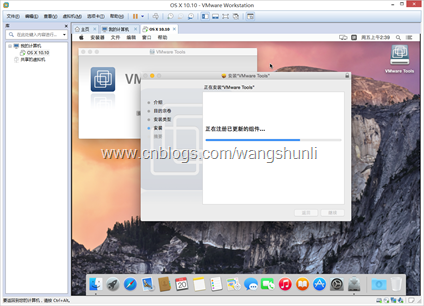
1.6.2、安装VMTool:
重新启动。
1.6.3、设置共享文件夹
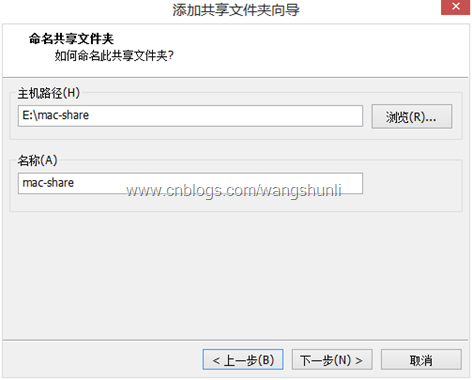
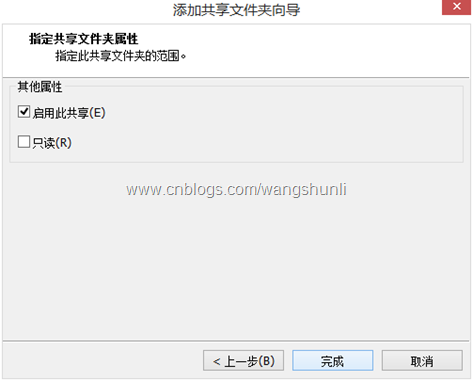
共享文件夹的说明:由于虚拟机无法访问本机的硬盘,所以需要设置共享文件夹来方便虚拟机读取电脑的物理内存。
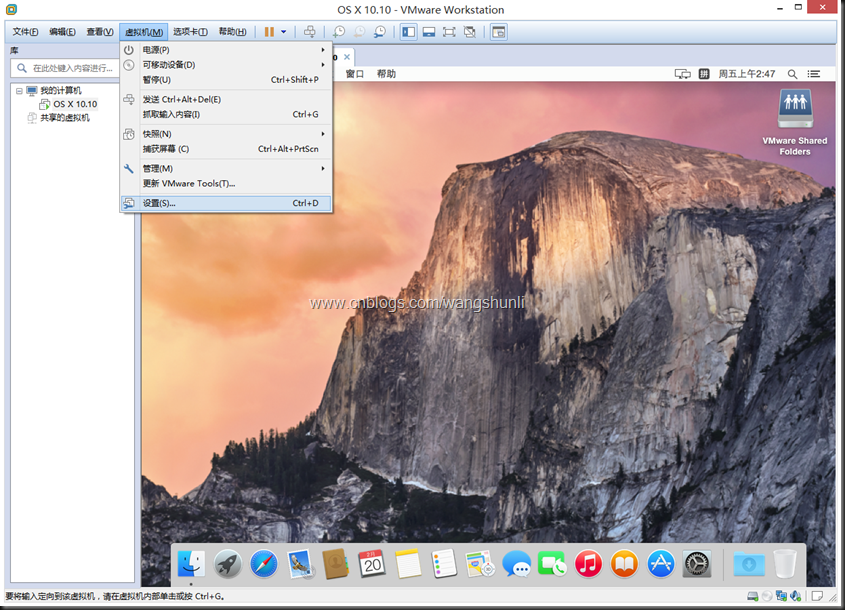
点击虚拟机,选择设置
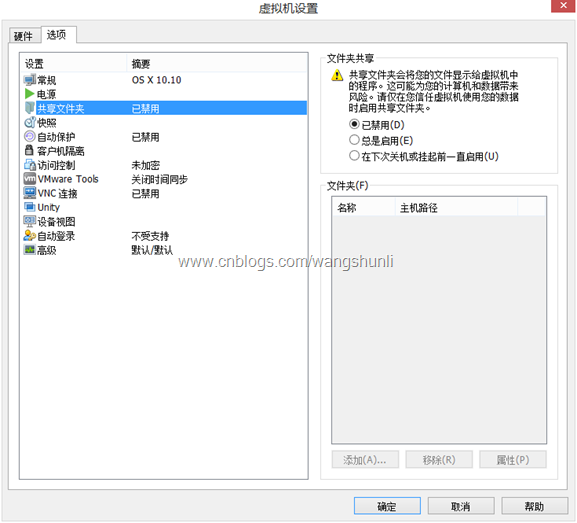
如下图选择总是启用:
至此完成。
欢迎访问我的的博客:www.wshunli.com
-------------------
已迁移文章:
VMware 12安装Mac OS X 10.10
http://www.wshunli.com/posts/65583447.html
Tomcat安装配置


