SpringCloud基础组件完结--第七章
第七章 SpringCloud-Hello案例开发-Feign-声明式调用
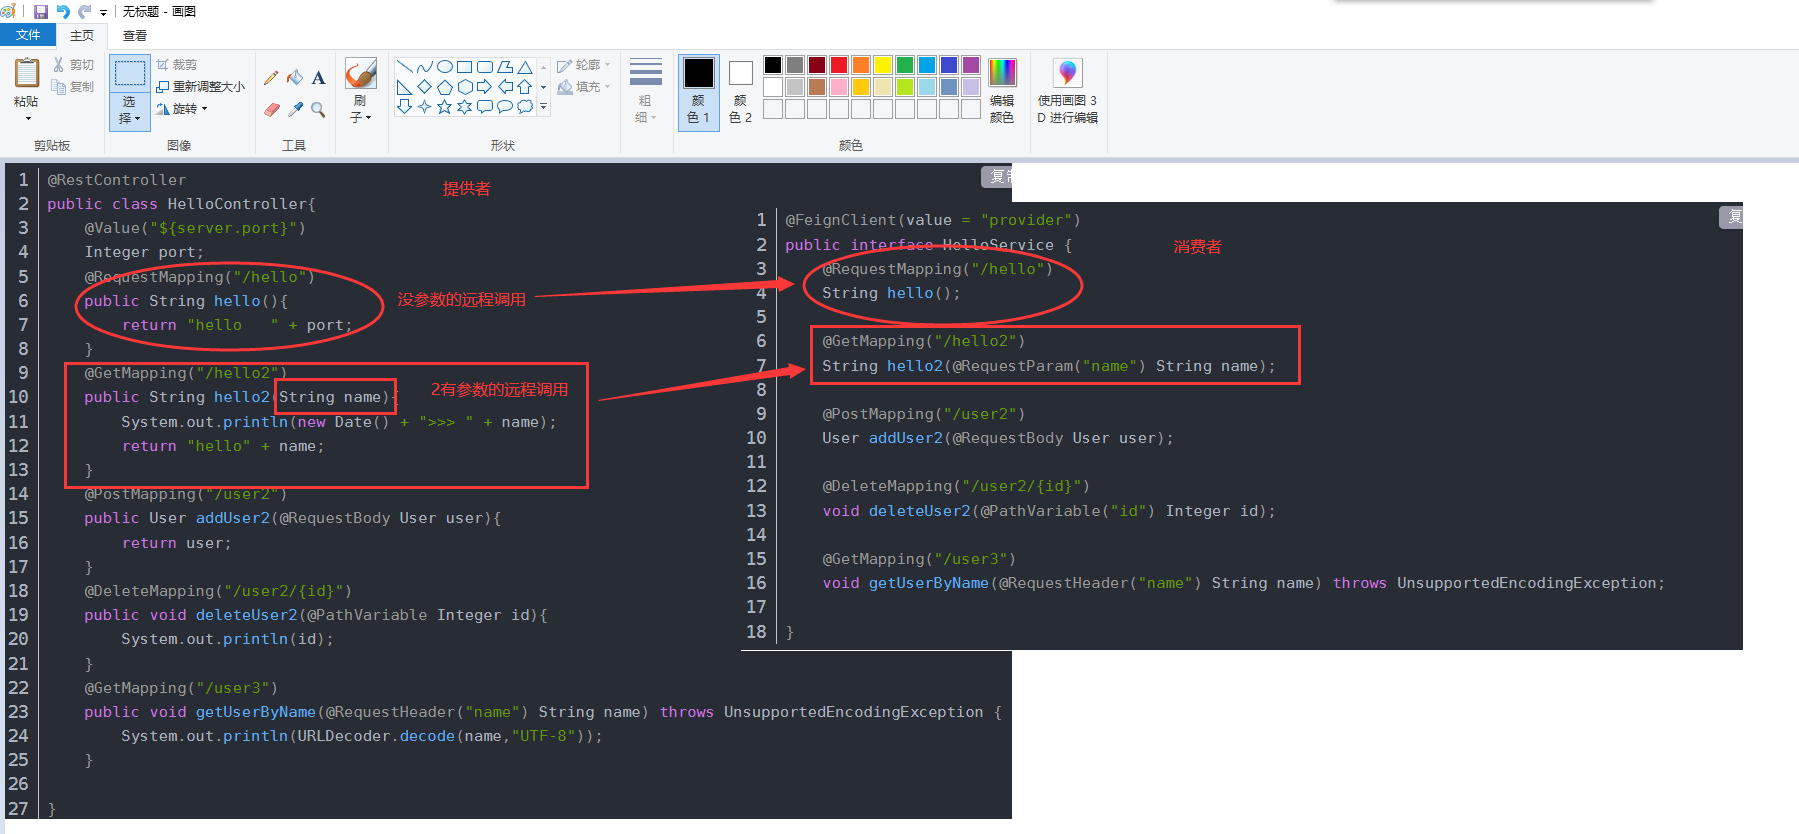
7.1 Feign声明式调用
准备工作:
copy 之前的cloud-consumer-user模块,在夫工程下粘贴-》粘贴完成后因为他不是maven工程,所以需要让他生成一下(注意生成前先把artifactId 改成你的项目名)
 <artifactId>cloud-consumer-user</artifactId>改为
 <artifactId>cloud-consumer-user-feign</artifactId>
接着右键user-feign的pom.xml -》Add as Maven Project让他构建maven工程
构建完成后接着把复制过来的pom.xml 里的ribbon依赖删掉,因为openfeign自带ribbon
 <!-- 引入ribbon实现远程调用和负载均衡功能 -->(删掉)
 <dependency>
     <groupId>org.springframework.cloud</groupId>
     <artifactId>spring-cloud-starter-netflix-ribbon</artifactId>
 </dependency>
然后把config配置类删掉
UserService 实现类中 删掉
准备工作完成
OpenFeign更优雅的远程调用
7.2 引入eureka-Discovery、web、Feign模块
 <dependency>
 <groupId>org.springframework.cloud</groupId>
 <artifactId>spring-cloud-starter-openfeign</artifactId>
 </dependency>
导入完成需要
7.2.1 开启@EnableDiscoveryClient服务发现
user-feign中程序入口加上
7.2.2 提供个端口
spring
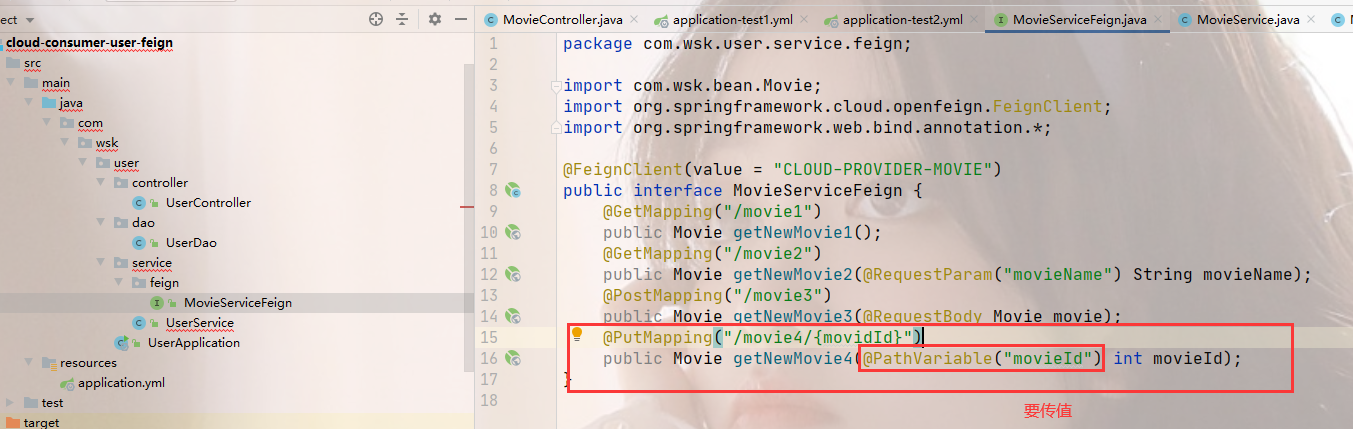
7.2.3 创建个接口MovieServiceFeign
声明式的远程调用,因为都会在统一的接口中来管理远程调用的方法,所以叫做声明式远程调用 因为就单独的声明了一个接口
-
user-feign下service新建feign实现接口MovieServiceFeign
package com.wsk.user.service.feign;
import org.springframework.cloud.openfeign.FeignClient;
-
接着user-feign程序入口加上@EnableFeignClients注解(第三行)
-
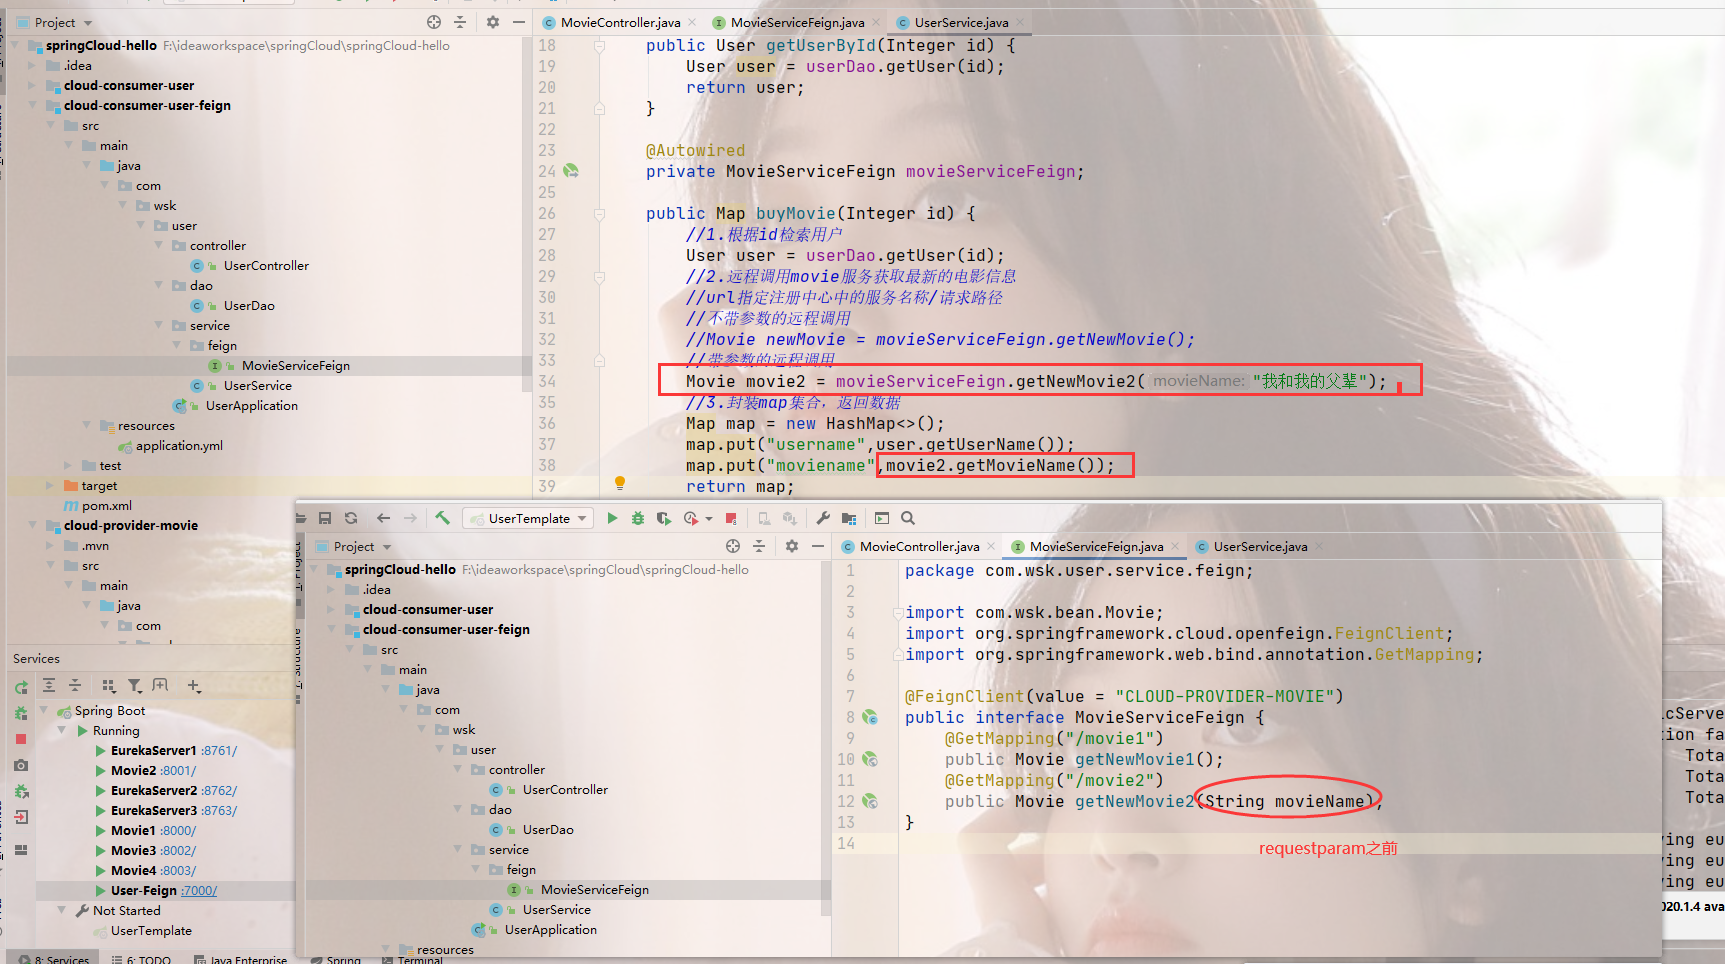
紧接着开始写接口代码(找MovieController代码)
复制一下粘贴到MovieServiceFeign接口,并修改
-
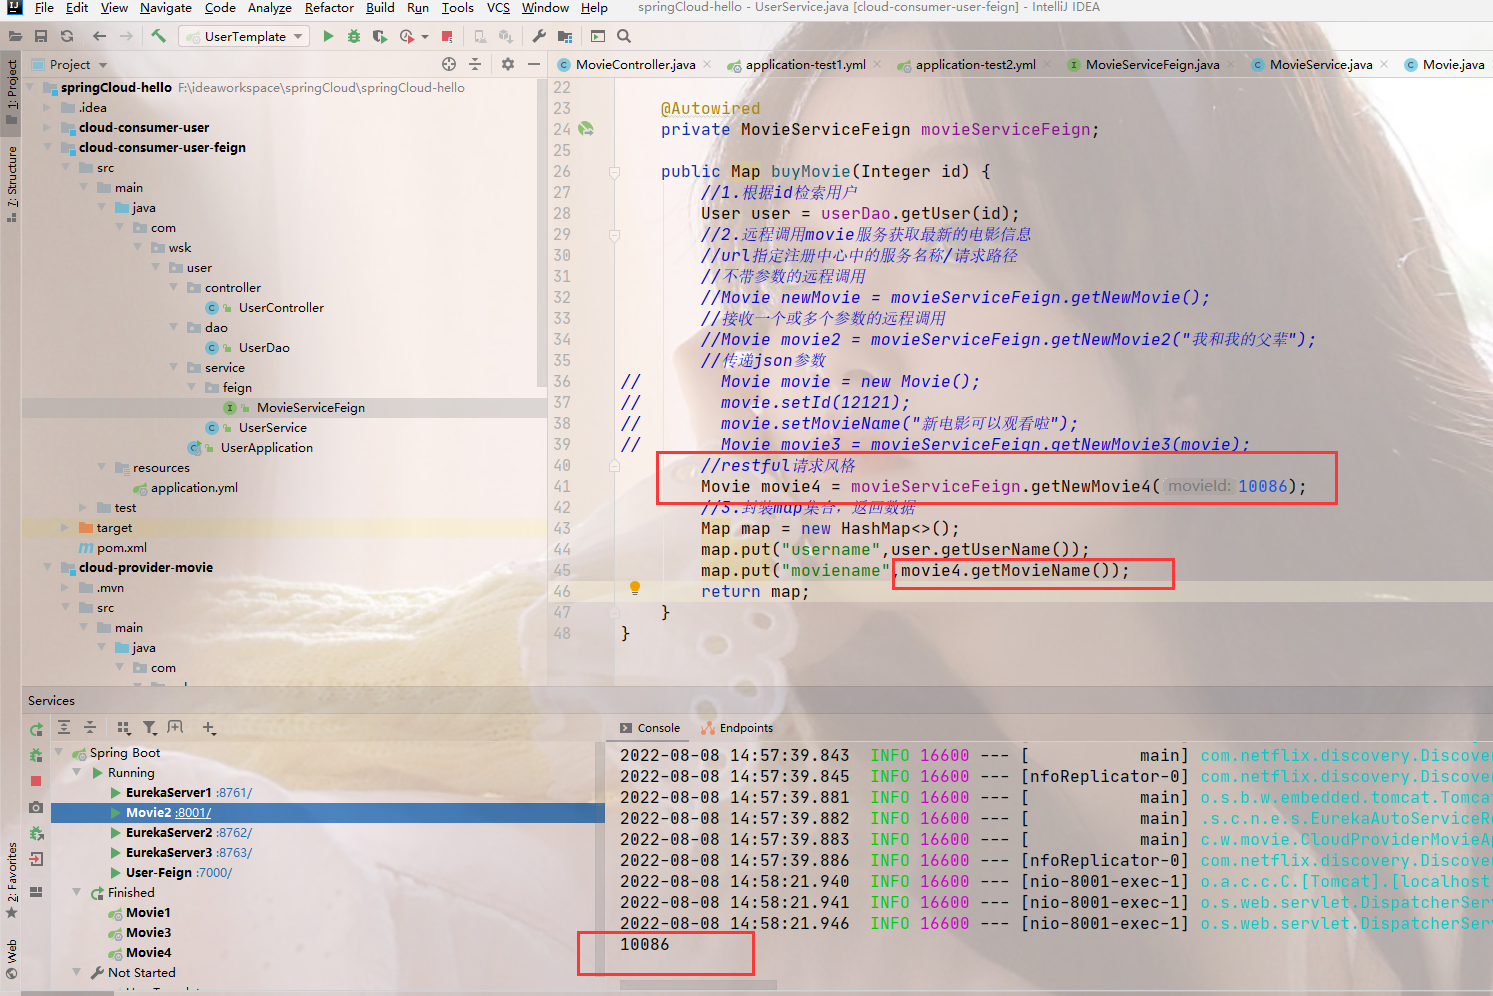
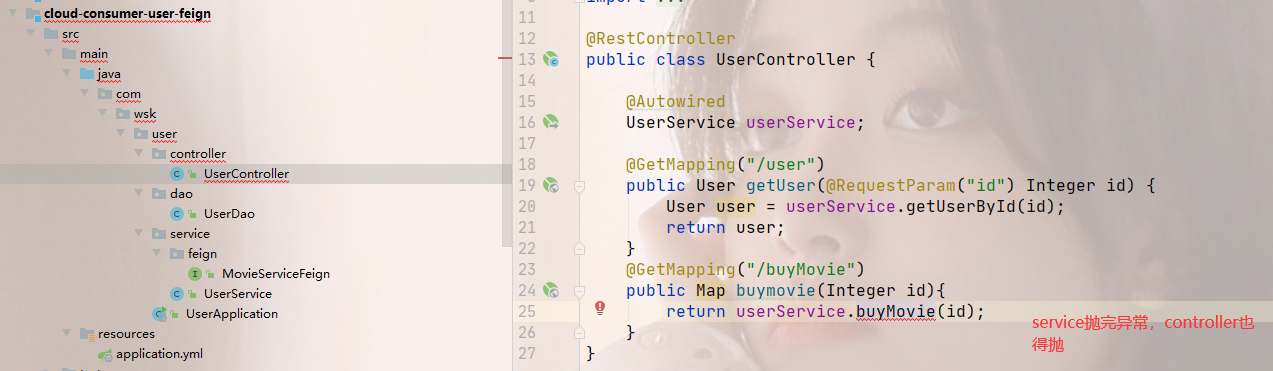
完成user-feign中 service层的操作(注入MovieServiceFeign,new一下,返回数据)
到这

OpenFeign内置负载均衡,默认是轮询处理
openFeign调用传参数总结:(重要)
https://blog.csdn.net/x123453316/article/details/108879921
openFeign参数传递
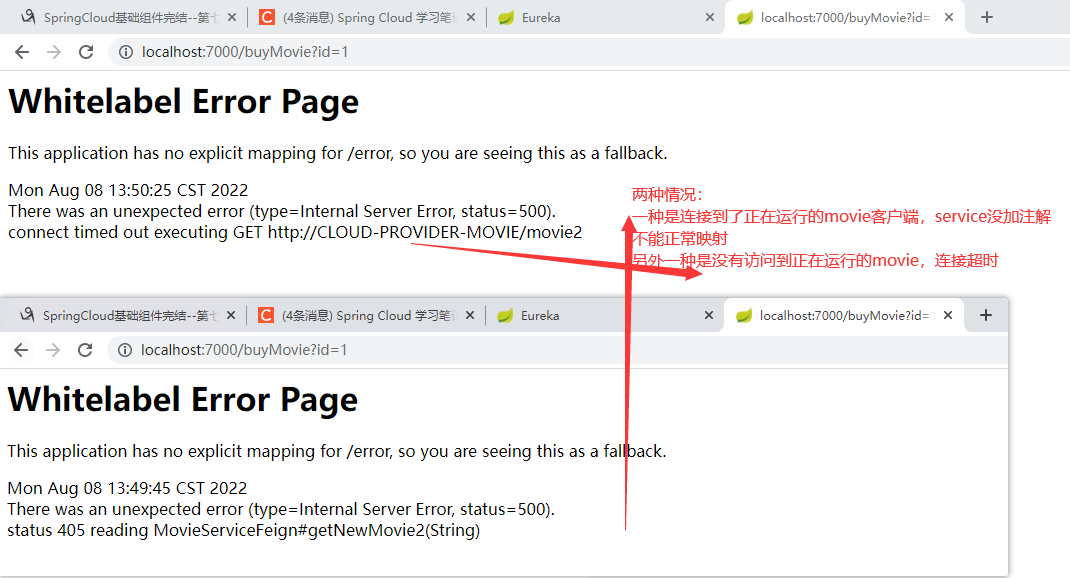
OpenFeign 传递参数,一定要绑定参数名,即有参数要加上 @RequestParam 注解,如果通过
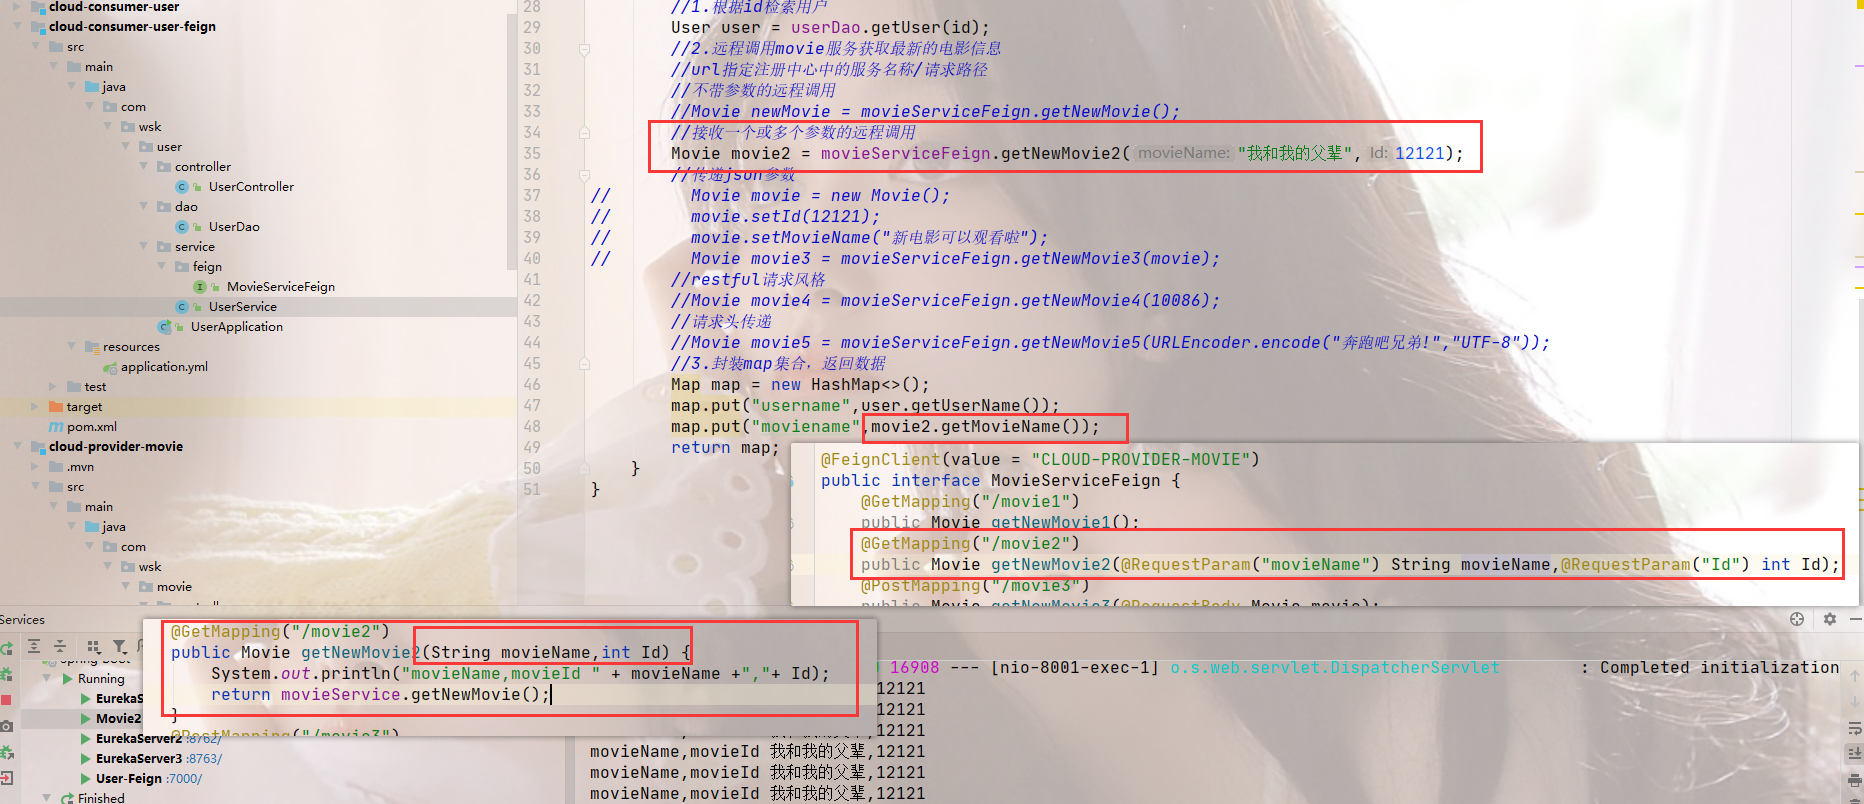
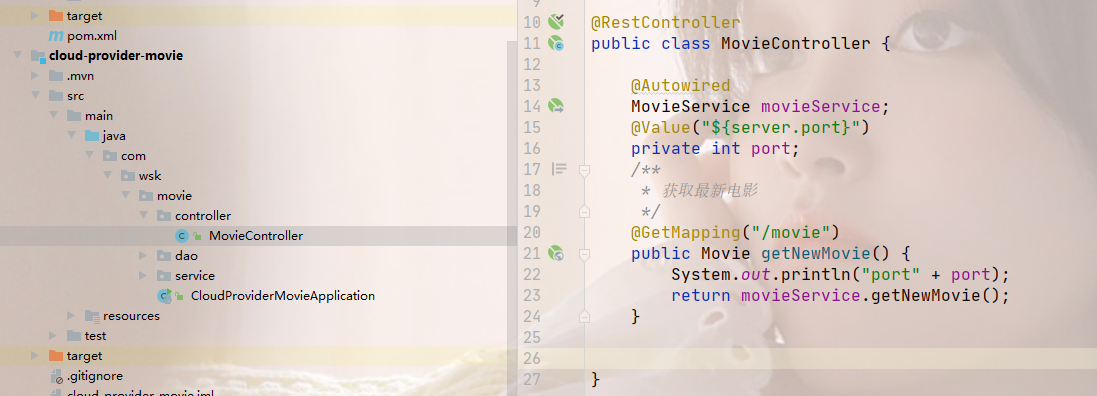
练习:(MovieController改变前)
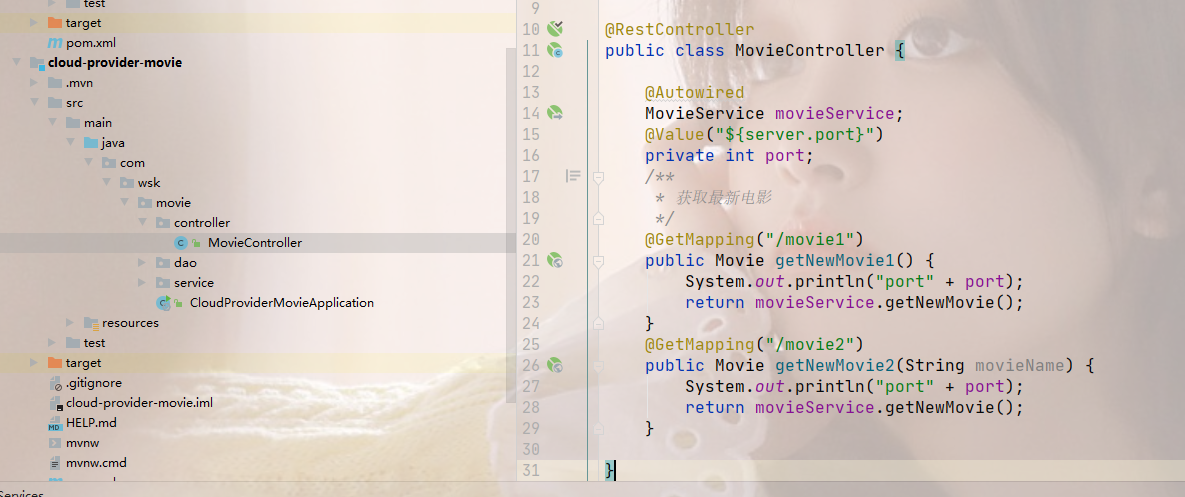
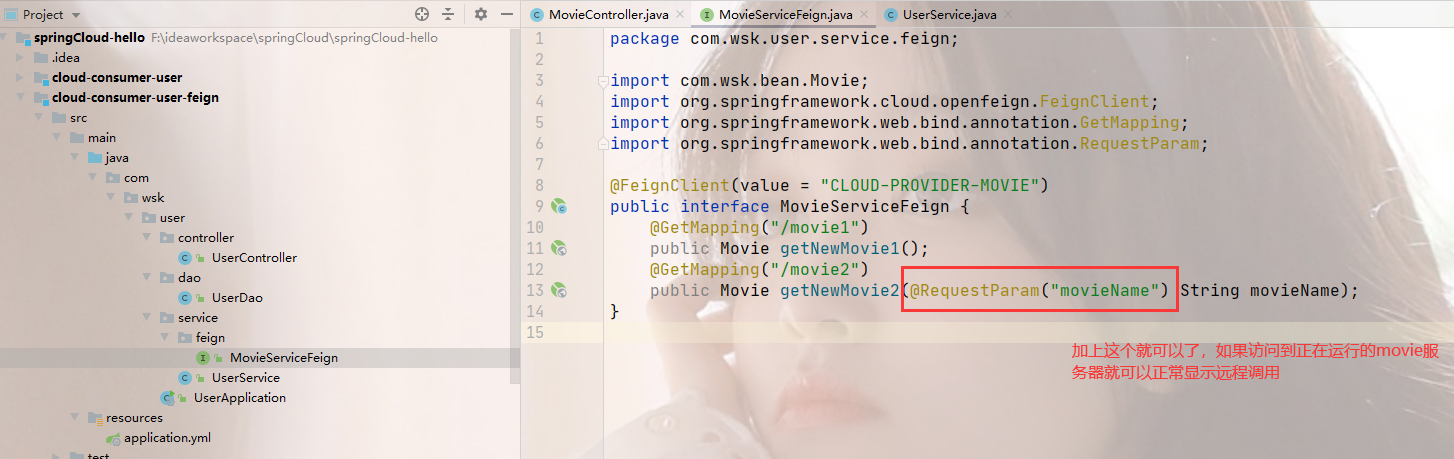
改变后:
接着
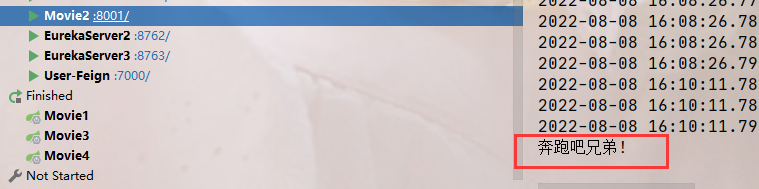
停掉三台movie服务,eureka自我保护机制会出来,重新运行user-feign
加上

第三种接收json数据
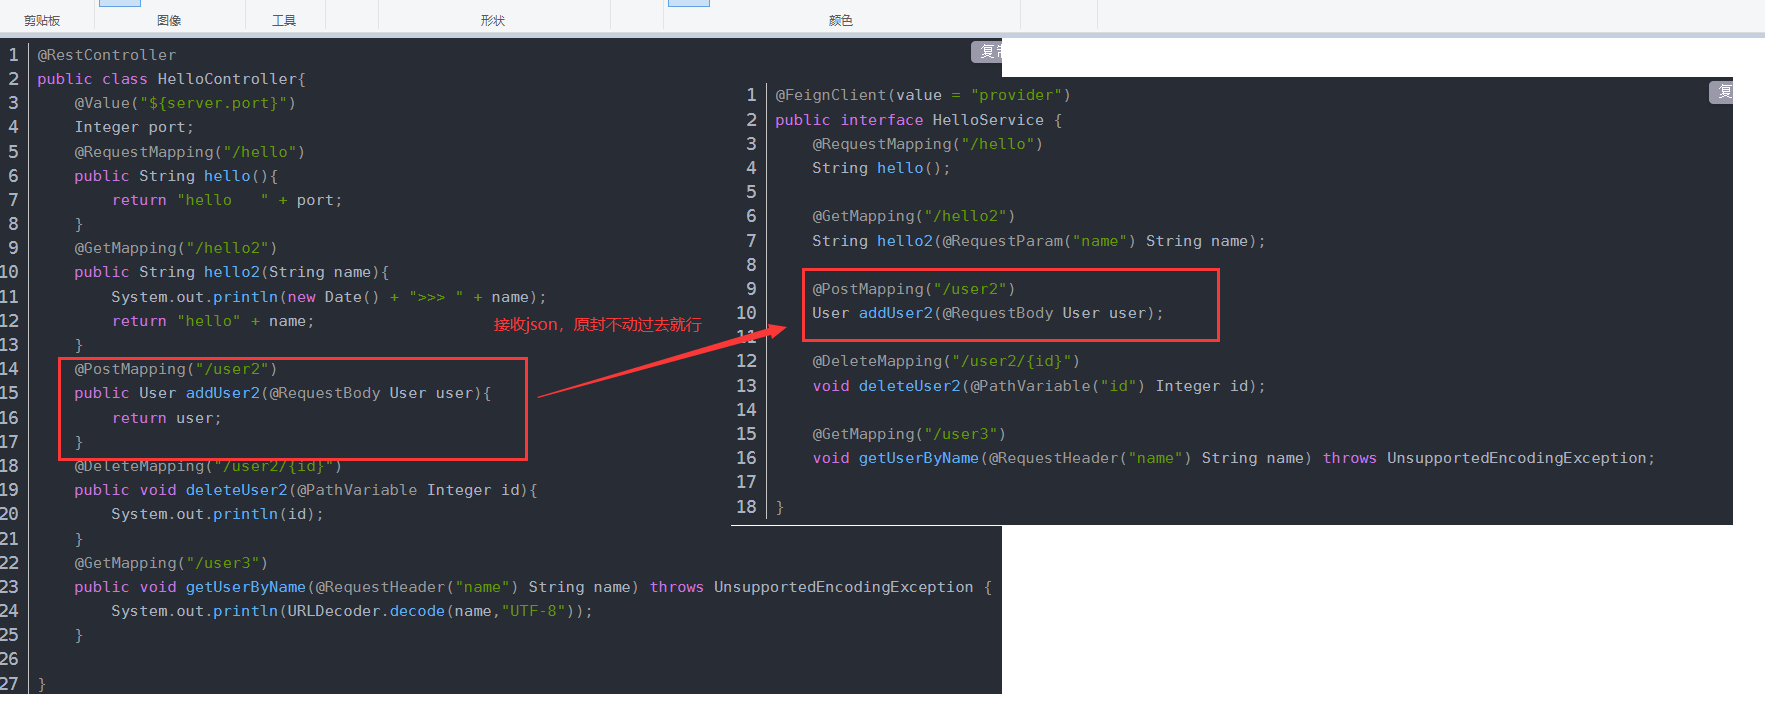
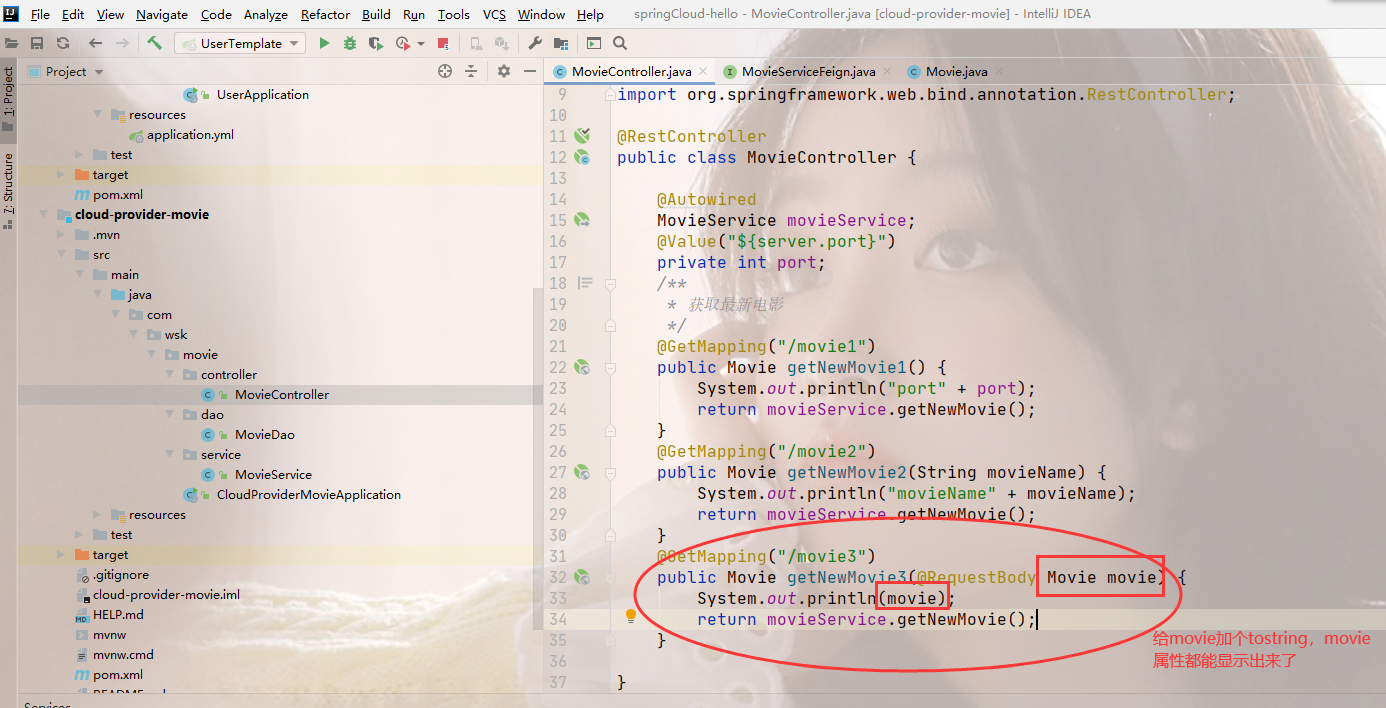
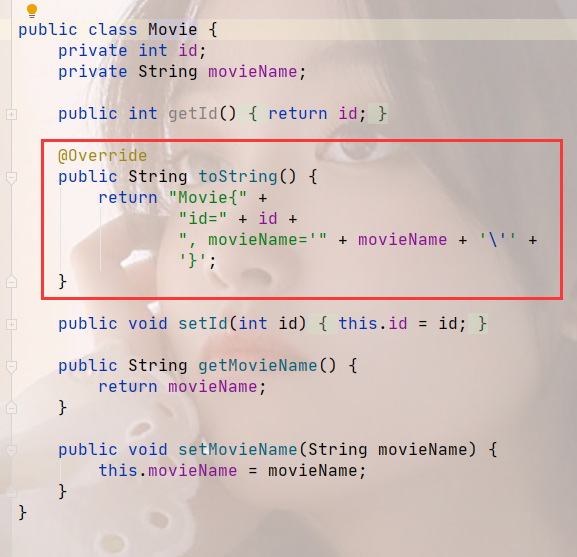
因为要传的是json,get请求不行,所以我们要用post请求
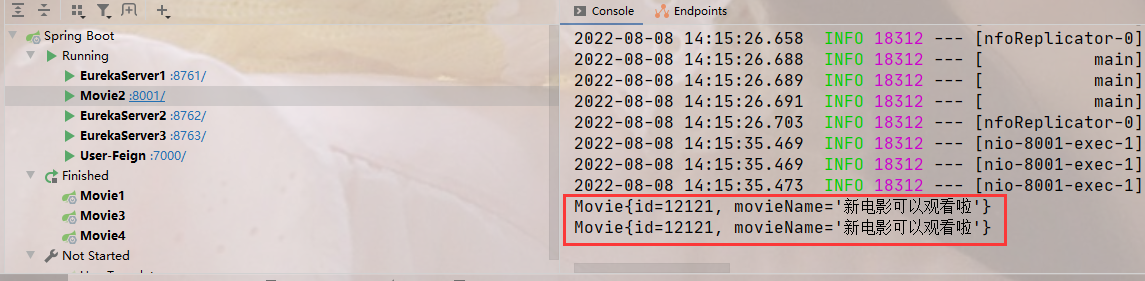
请求修改一下,改完刷到运行的movie服务器

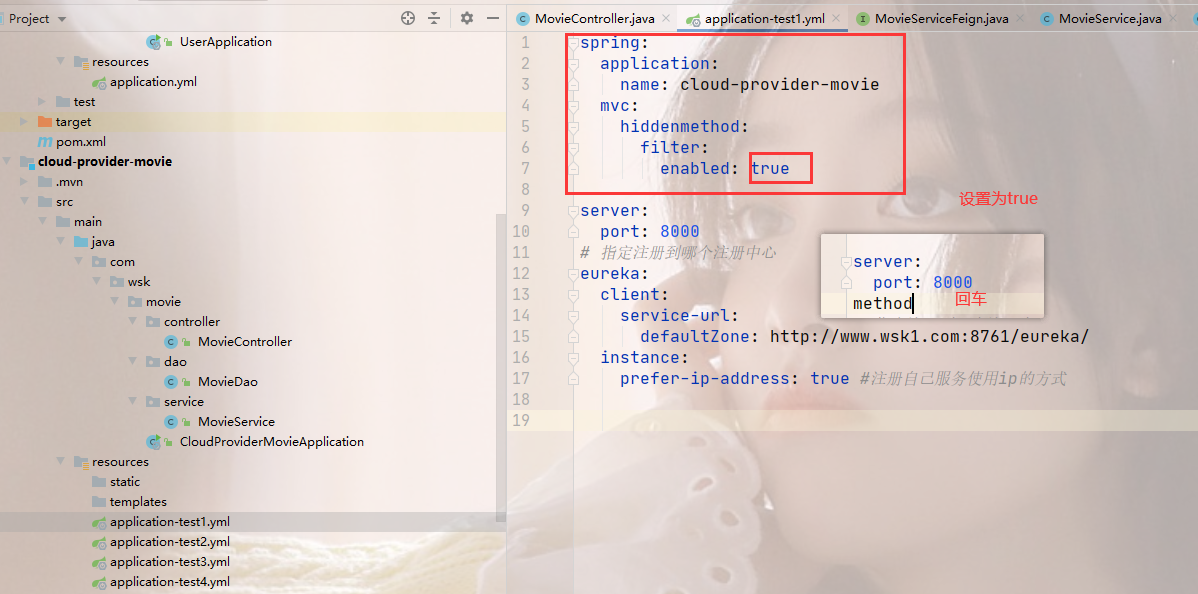
第四种 restful风格
resuful默认请求put,delete
但是springboot默认接收不到put,delete请求,所以我们要改配置文件
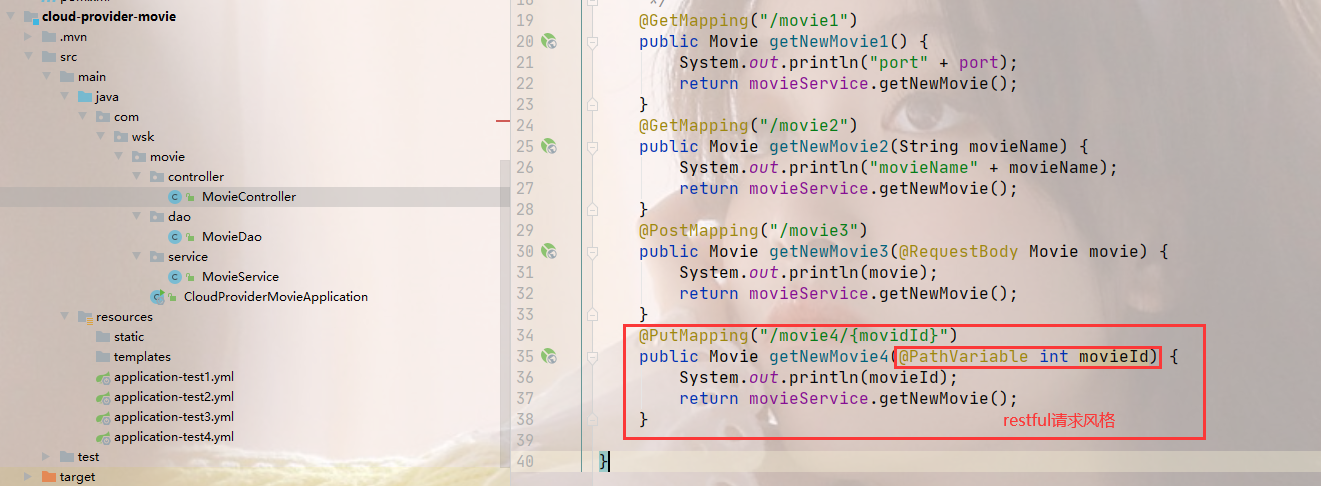
注意:上边截图代码movieId,我写成movidId了,记得改一下就好了
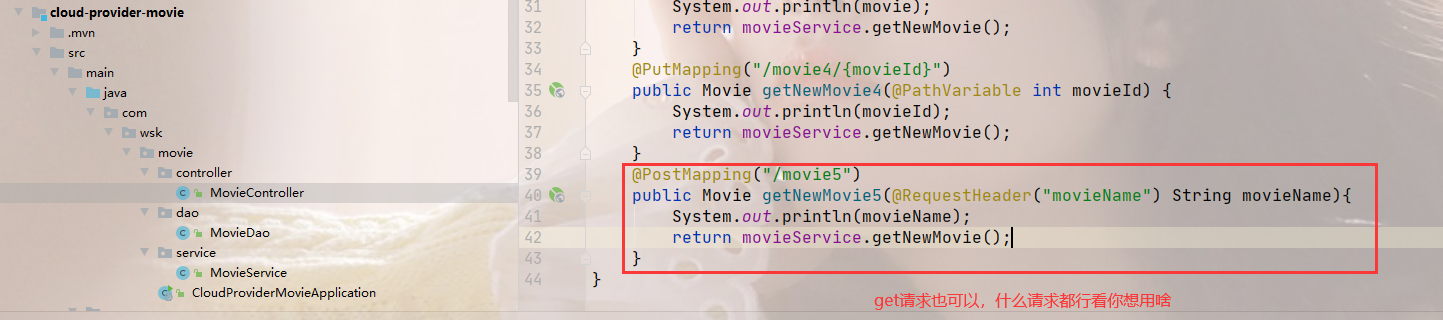
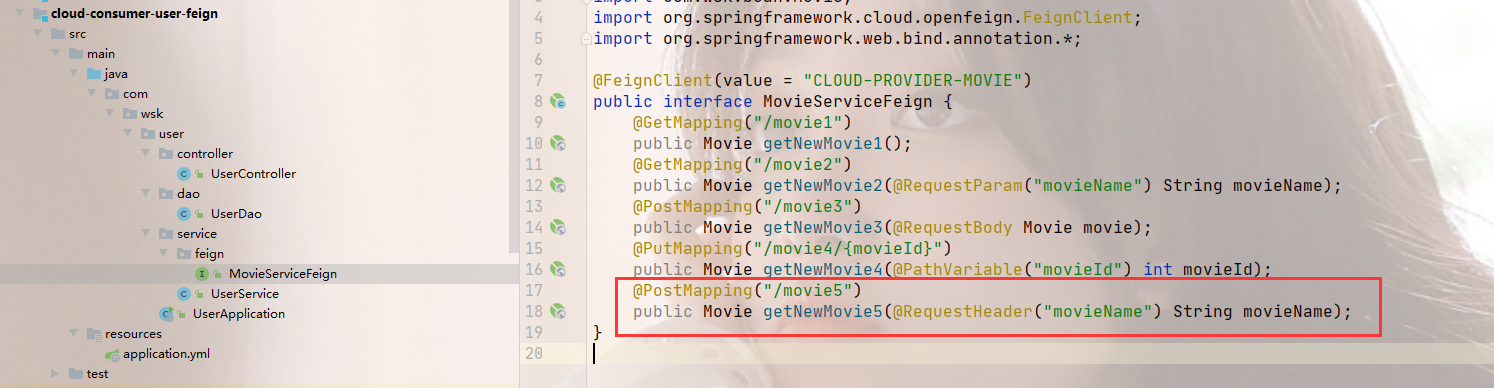
第五种 请求头传递参数

@RequestHeader
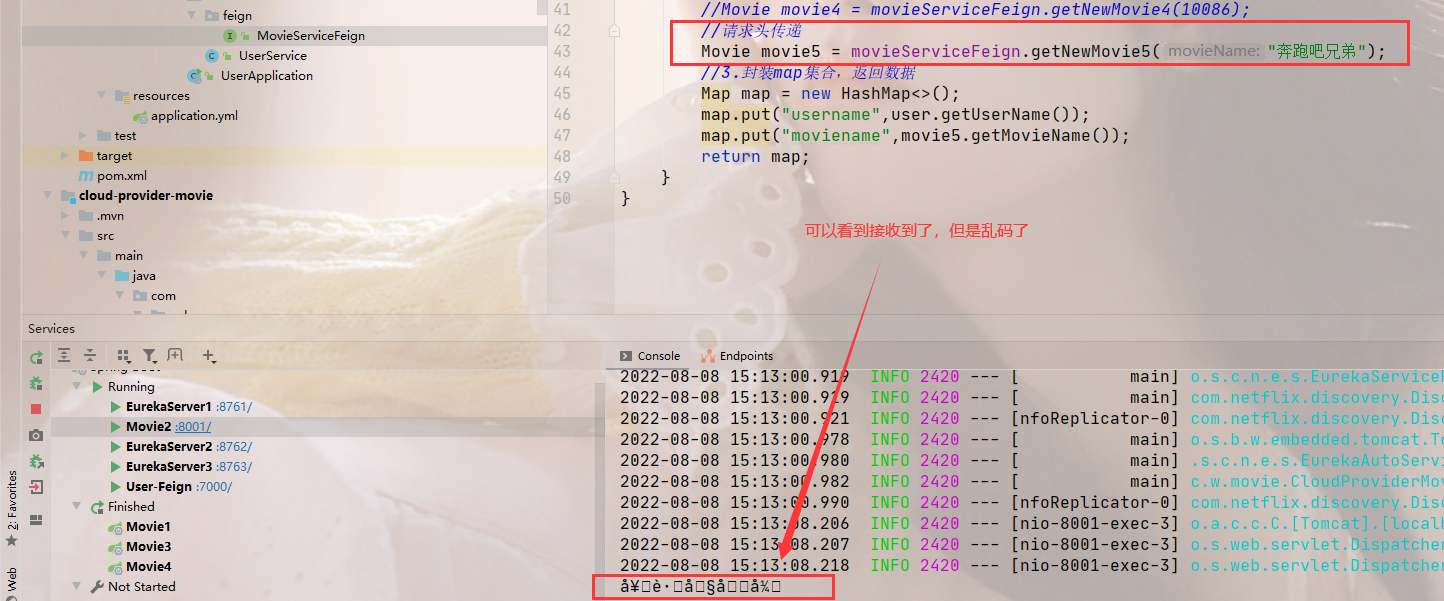
接下来转转码

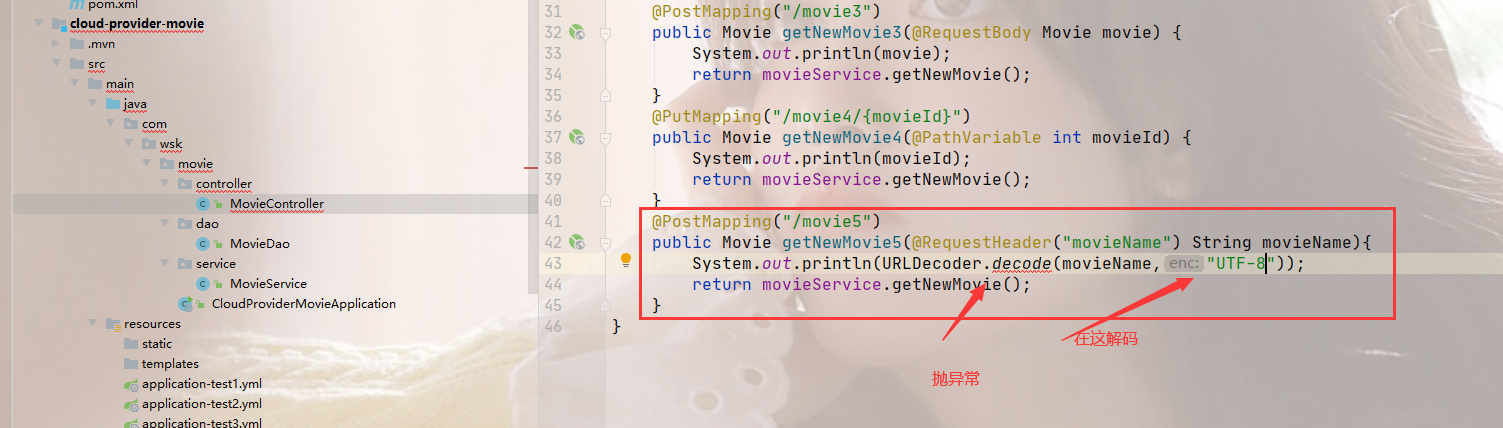
接着MovieController转码
收到了给他解解码
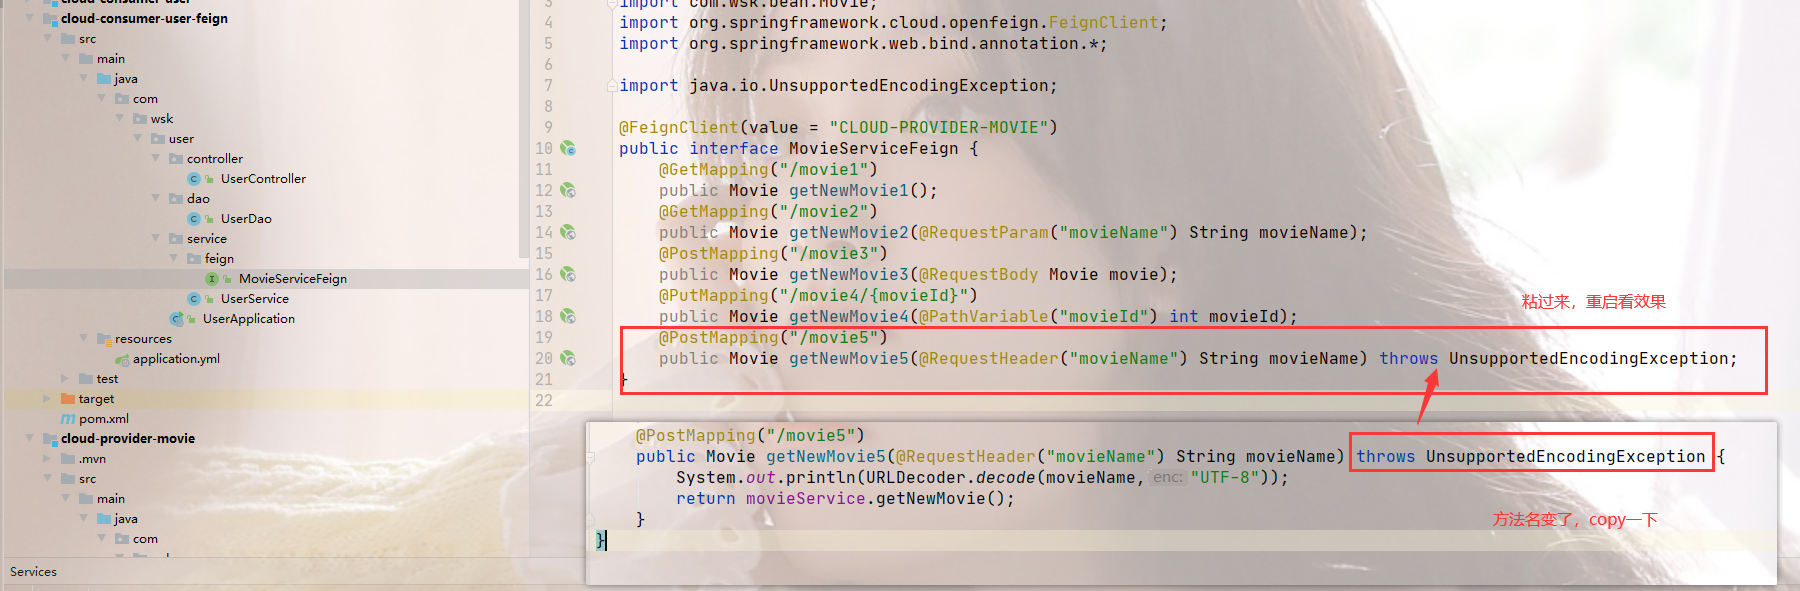
解码成功
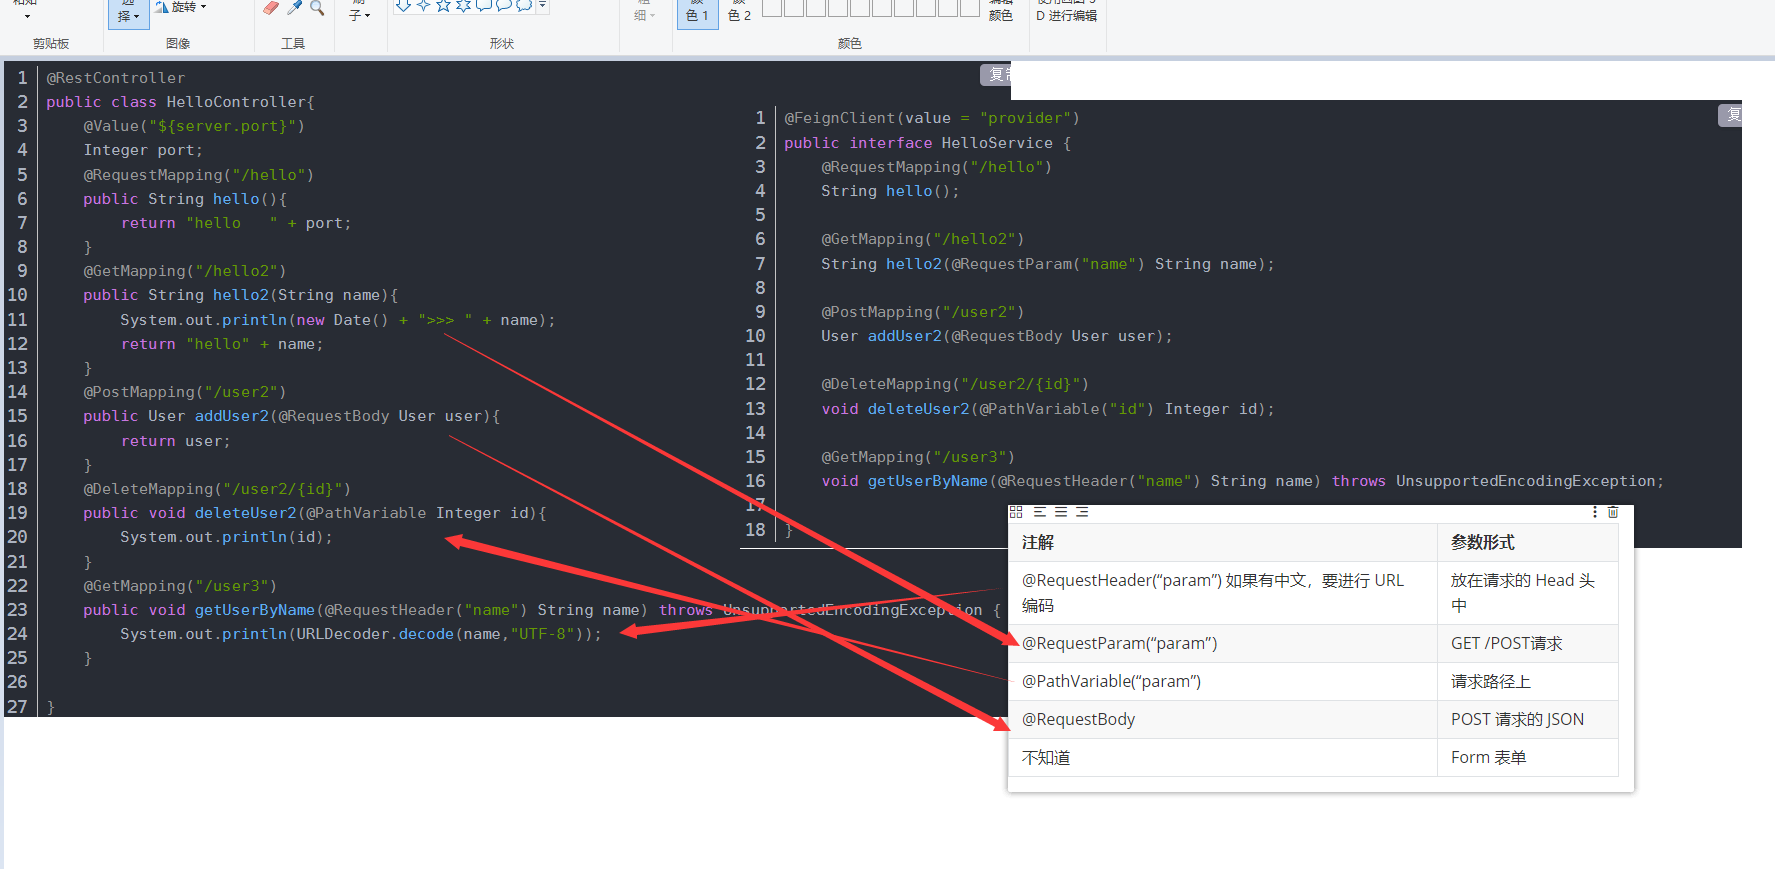
总结:
| 注解 | 参数形式 |
|---|---|
| @RequestHeader(“param”) 如果有中文,要进行 URL 编码 | 放在请求的 Head 头中 |
| @RequestParam(“param”) | GET /POST请求,传多个参数,注解用多次 |
| @PathVariable(“param”) | 请求路径上 |
| @RequestBody | POST 请求的 JSON |
| 不知道 | Form 表单 |
扩展,传多行参数