nacos服务注册
这篇文章介绍一下如何在nacos中注册服务,主要步骤有:一.启动nacos,二.搭建alibaba spring cloud脚手架。三.配置,服务注册。
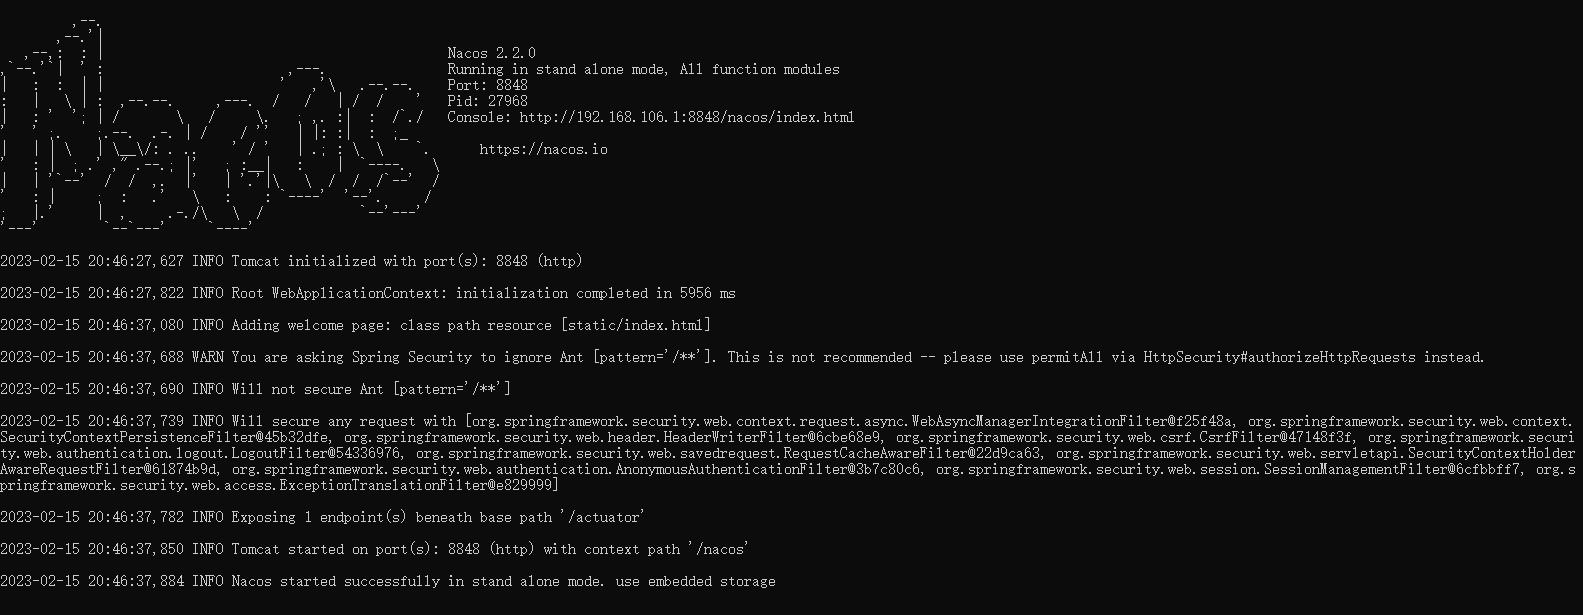
一.启动nacos
以单机模式启动nacos:.\startup.cmd -m standalone
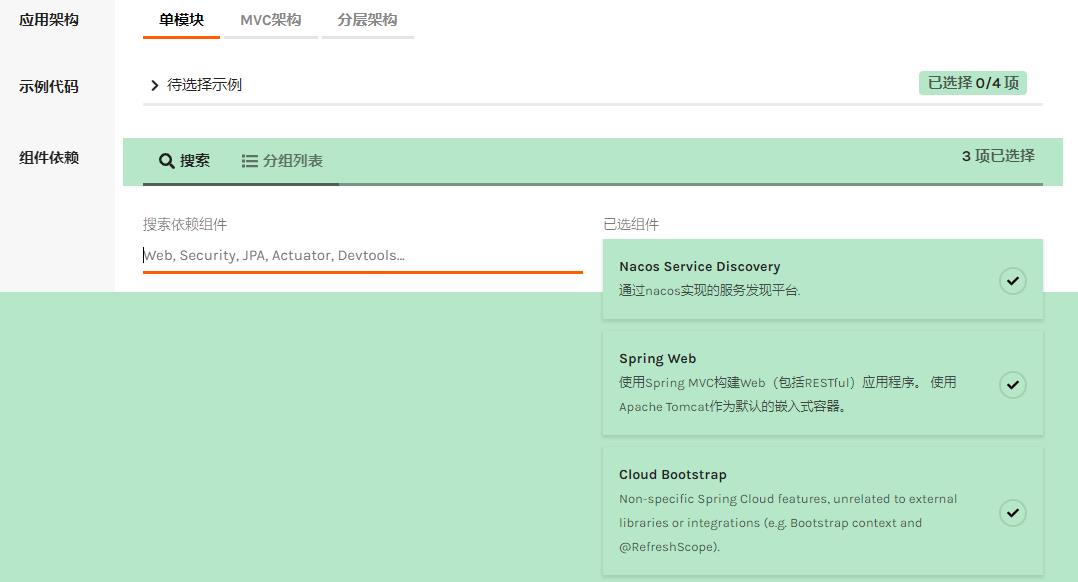
2.搭建alibaba spring cloud脚手架
访问https://start.aliyun.com/bootstrap.html,GroupID: com.alibaba.cloud,Artifact:nocos-discovery-provider-sample,选择依赖:Nacos Service Discovery,Spring Web,Cloud Bootstrap.
pom文件如下:
<?xml version="1.0" encoding="UTF-8"?>
<project xmlns="http://maven.apache.org/POM/4.0.0" xmlns:xsi="http://www.w3.org/2001/XMLSchema-instance"
    xsi:schemaLocation="http://maven.apache.org/POM/4.0.0 https://maven.apache.org/xsd/maven-4.0.0.xsd">
    <modelVersion>4.0.0</modelVersion>
    <parent>
        <groupId>org.springframework.boot</groupId>
        <artifactId>spring-boot-starter-parent</artifactId>
        <version>2.6.11</version>
        <relativePath/> <!-- lookup parent from repository -->
    </parent>
    <groupId>com.alibaba.cloud</groupId>
    <artifactId>nocos-discovery-provider-sample</artifactId>
    <version>0.0.1-SNAPSHOT</version>
    <name>nocos-discovery-provider-sample</name>
    <description>Demo project for Spring Boot</description>

    <properties>
        <java.version>1.8</java.version>
        <spring-cloud-alibaba.version>2021.0.4.0</spring-cloud-alibaba.version>
        <spring-cloud.version>2021.0.4</spring-cloud.version>
    </properties>

    <dependencies>
        <dependency>
            <groupId>org.springframework.boot</groupId>
            <artifactId>spring-boot-starter-web</artifactId>
        </dependency>
        <dependency>
            <groupId>com.alibaba.cloud</groupId>
            <artifactId>spring-cloud-starter-alibaba-nacos-discovery</artifactId>
        </dependency>
        <dependency>
            <groupId>org.springframework.cloud</groupId>
            <artifactId>spring-cloud-starter</artifactId>
        </dependency>

        <dependency>
            <groupId>org.springframework.boot</groupId>
            <artifactId>spring-boot-starter-test</artifactId>
            <scope>test</scope>
        </dependency>
    </dependencies>

    <dependencyManagement>
        <dependencies>
            <dependency>
                <groupId>org.springframework.cloud</groupId>
                <artifactId>spring-cloud-dependencies</artifactId>
                <version>${spring-cloud.version}</version>
                <type>pom</type>
                <scope>import</scope>
            </dependency>
            <dependency>
                <groupId>com.alibaba.cloud</groupId>
                <artifactId>spring-cloud-alibaba-dependencies</artifactId>
                <version>${spring-cloud-alibaba.version}</version>
                <type>pom</type>
                <scope>import</scope>
            </dependency>
        </dependencies>
    </dependencyManagement>

    <build>
        <plugins>
            <plugin>
                <groupId>org.apache.maven.plugins</groupId>
                <artifactId>maven-compiler-plugin</artifactId>
                <version>3.8.1</version>
                <configuration>
                    <source>1.8</source>
                    <target>1.8</target>
                    <encoding>UTF-8</encoding>
                </configuration>
            </plugin>
            <plugin>
                <groupId>org.springframework.boot</groupId>
                <artifactId>spring-boot-maven-plugin</artifactId>
            </plugin>
        </plugins>
    </build>

</project>
3.配置,服务注册
在application.properties中配置相应的nacos设置,配置文件如下:
spring.application.name=nocos-discovery-provider-sample
spring.cloud.nacos.discovery.username=nacos
spring.cloud.nacos.discovery.password=nacos
spring.cloud.nacos.discovery.server-addr=localhost:8848
spring.cloud.nacos.discovery.namespace=public
server.port=8080
启动类:
package com.alibaba.cloud.nocosdiscoveryprovidersample;

import org.springframework.boot.SpringApplication;
import org.springframework.boot.autoconfigure.SpringBootApplication;

import org.springframework.cloud.client.discovery.EnableDiscoveryClient;


@SpringBootApplication
@EnableDiscoveryClient
public class NocosDiscoveryProviderSampleApplication {

    public static void main(String[] args) {
        SpringApplication.run(NocosDiscoveryProviderSampleApplication.class, args);
    }

}
注意加上标注@EnableDiscoveryClient
尝试写一个服务:
package com.alibaba.cloud.nocosdiscoveryprovidersample.controller;

import org.springframework.web.bind.annotation.GetMapping;
import org.springframework.web.bind.annotation.PathVariable;
import org.springframework.web.bind.annotation.RestController;


@RestController
public class ServiceController {

@GetMapping("/echo/{message}")
    public String echo(@PathVariable String message) {

     return "[echo] :"+message;
}
}
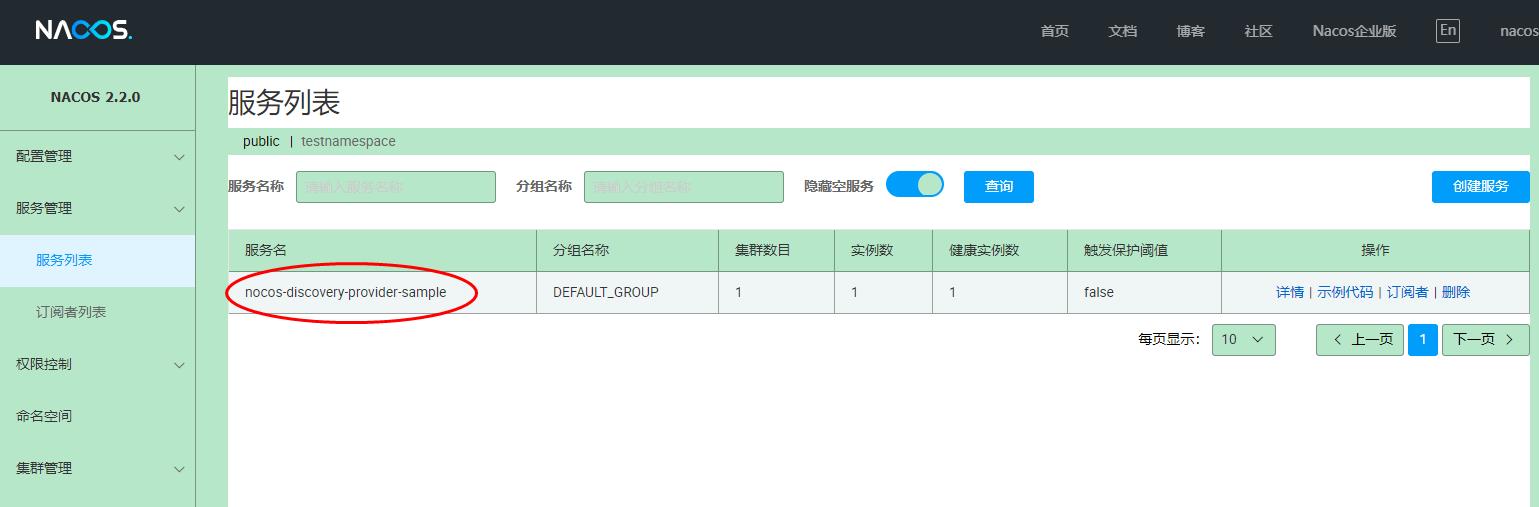
启动,查看nacos后台,如果看到如下所示,则代表服务注册成功:

 浙公网安备 33010602011771号