Bechmarksql
使用方法
1、配置JDK环境
JDK最好是1.5以上的版本
JAVA_HOME=/usr/java/jdk1.6.0_22
PATH=$PATH:$JAVA_HOME/bin
2.准备工作
把要测试的数据库的JDBC DRIVER放到./BenchmarkSQL-2.3.2/lib目录下

在run/目录下的 runSQL.sh 、 loadData.sh 、 runBenchmark.sh三个文件中加入要测试的数据库的JDBC DRIVER的位置,如下图所示:


3.测试步骤
(1)配置数据库的JDBC连接信息
[root@host3 run]# cp oracle.properties kdbnew.properties
[root@host3 run]# vi kdbnew.properties
driver=com.inspur.jdbc.KdDriver
conn=jdbc:inspur:thin:@localhost:8629:kdb
user=sys
password=kdb
(2)创建初始表
[root@host3 run]# ./runSQL.sh kdbnew.properties sqlTableCreates
(3)添加初始数据
./loadData.sh tibero.properties numWarehouses= 10
注意:等号与后面的数字之间一定要添加一个空格
10warehouse=1G
numWarehouse指的是仓库数(具体含义见上篇博文),默认为1,导入9张表的数据大小大概70多M,当 numWarehouse为10时,数据大小可以近似当作1GB数据。
(4)创建索引
./runSQL.sh kdbnew.properties sqlIndexCreates
(5)开始测试
./runBenchmark.sh kdbnew.properties
在没有建索引的情况下不会产生tpmc值,太慢了
注意:在执行此命令之前,先用root用户执行xhost +,普通用户才可能显示图形界面
不要忘记设置图形界面的仓库数时要与第3步中设置的数量相符;此外,测试的结果报告除了显示在图形界面有显示以外,还在run/reports目录下有备份,随时可以查阅
如果图形化界面无法显示:
[root@host3 ~]# cd /etc/ssh
[root@host3 ssh]# ls
moduli sshd_config ssh_host_dsa_key.pub ssh_host_key.pub ssh_host_rsa_key.pub
ssh_config ssh_host_dsa_key ssh_host_key ssh_host_rsa_key
[root@host3 ssh]# more sshd_config
# The default is to check both .ssh/authorized_keys and .ssh/authorized_keys2
# but this is overridden so installations will only check .ssh/authorized_keys
AuthorizedKeysFile .ssh/authorized_keys
#AllowAgentForwarding yes
#AllowTcpForwarding yes
#GatewayPorts no
X11Forwarding yes
#X11DisplayOffset 10
#X11UseLocalhost yes
#PrintMotd yes
#PrintLastLog yes
#TCPKeepAlive yes
#UseLogin no
UsePrivilegeSeparation sandbox # Default for new installations.
# no default banner path
#Banner none
# override default of no subsystems
Subsystem sftp /usr/libexec/openssh/sftp-server
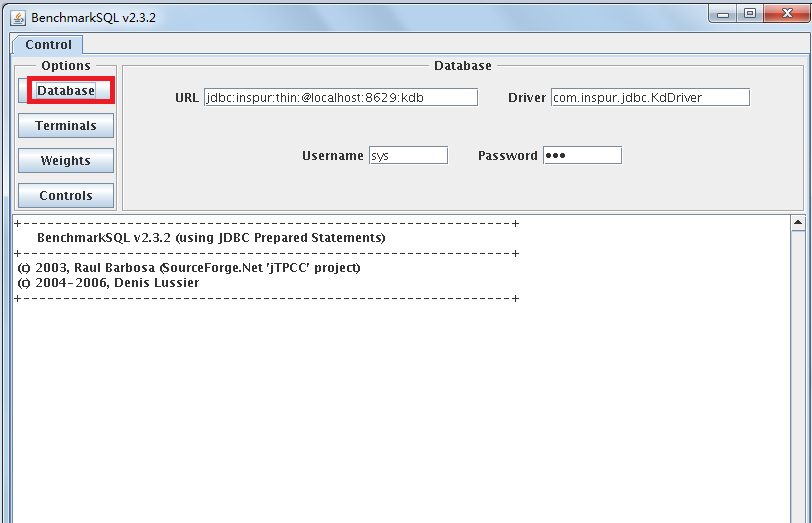
Control-Database:配置所要链接的数据库,默认会读取之前我们修改的配置文件,故此处不用动
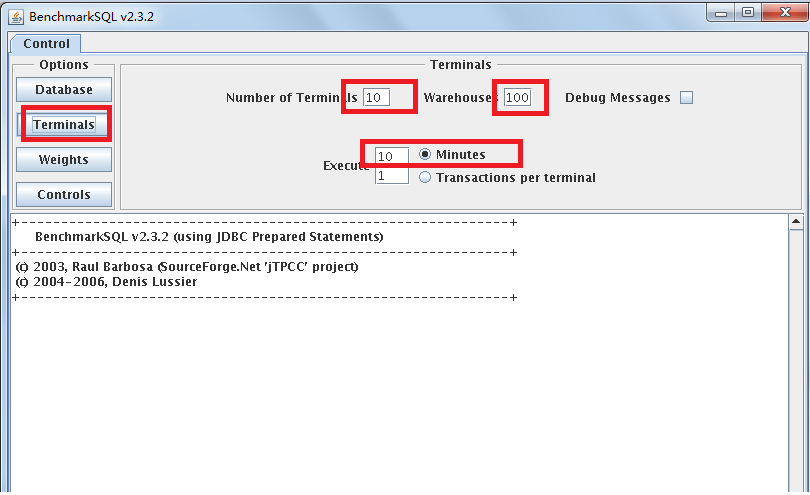
Control-Terminals:配置终端数,仓库数,是否显示Debug信息,选择执行是分钟还是每终端事务数
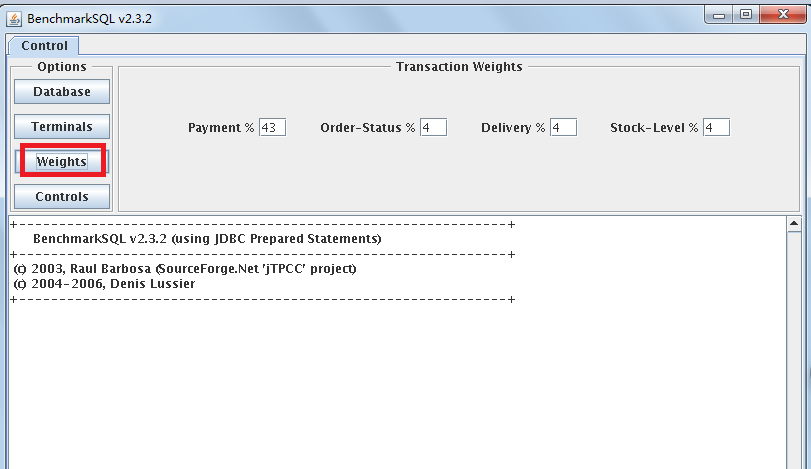
Control-Weights:配置TPC-C测试中五种事务的比重(界面中只要配置4种),一般按默认比例测试即可
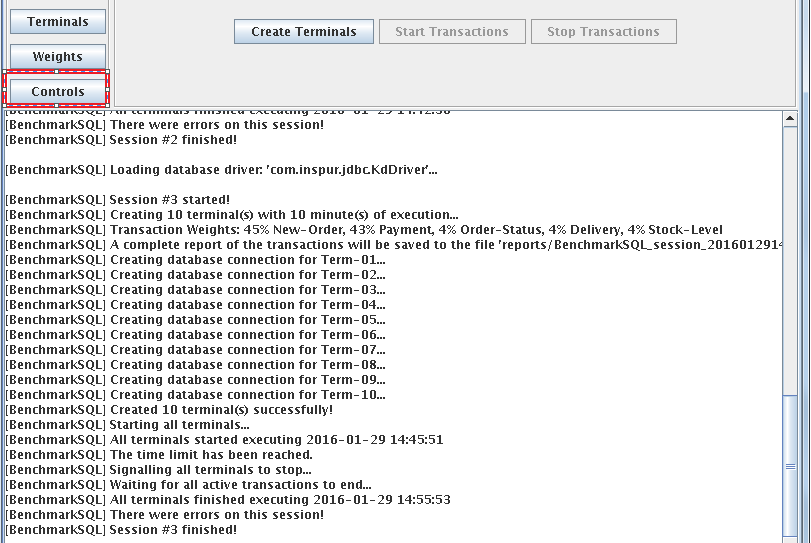
[BenchmarkSQL] Session #1 started!
[BenchmarkSQL] Creating 10 terminal(s) with 10 minute(s) of execution...
[BenchmarkSQL] Transaction Weights: 45% New-Order, 43% Payment, 4% Order-Status, 4% Delivery, 4% Stock-Level
[BenchmarkSQL] A complete report of the transactions will be saved to the file 'reports/BenchmarkSQL_session_20160129150651.txt'
[BenchmarkSQL] Creating database connection for Term-01...
[BenchmarkSQL] Creating database connection for Term-02...
[BenchmarkSQL] Creating database connection for Term-03...
[BenchmarkSQL] Creating database connection for Term-04...
[BenchmarkSQL] Creating database connection for Term-05...
[BenchmarkSQL] Creating database connection for Term-06...
[BenchmarkSQL] Creating database connection for Term-07...
[BenchmarkSQL] Creating database connection for Term-08...
[BenchmarkSQL] Creating database connection for Term-09...
[BenchmarkSQL] Creating database connection for Term-10...
[BenchmarkSQL] Created 10 terminal(s) successfully!
[BenchmarkSQL] Starting all terminals...
[BenchmarkSQL] All terminals started executing 2016-01-29 15:06:54
[BenchmarkSQL] The time limit has been reached.
[BenchmarkSQL] Signalling all terminals to stop...
[BenchmarkSQL] Waiting for all active transactions to end...
[BenchmarkSQL] All terminals finished executing 2016-01-29 15:16:54
[BenchmarkSQL] There were errors on this session!
[BenchmarkSQL] Session #1 finished!
run/reports下的后面的截取:
Measured tpmC =60000*149708/600157
Session Start 2016-01-29 15:06:54
Session End 2016-01-29 15:16:54
Transaction Count 333804
注意:
1. 测试完后在界面下方会显示简要的测试结果,包括平均tpmC值(每分钟执行的事务数),当前tpmC值,内存使用情况等等;出结果以后尽量记录下来,因为之后如果乱点界面按钮的话,测试结果将会被重写(感觉是一个bug);
2.运行过程中如果想要修改终端数等参数,最好关闭GUI界面,重新运行runBenchmark.bat
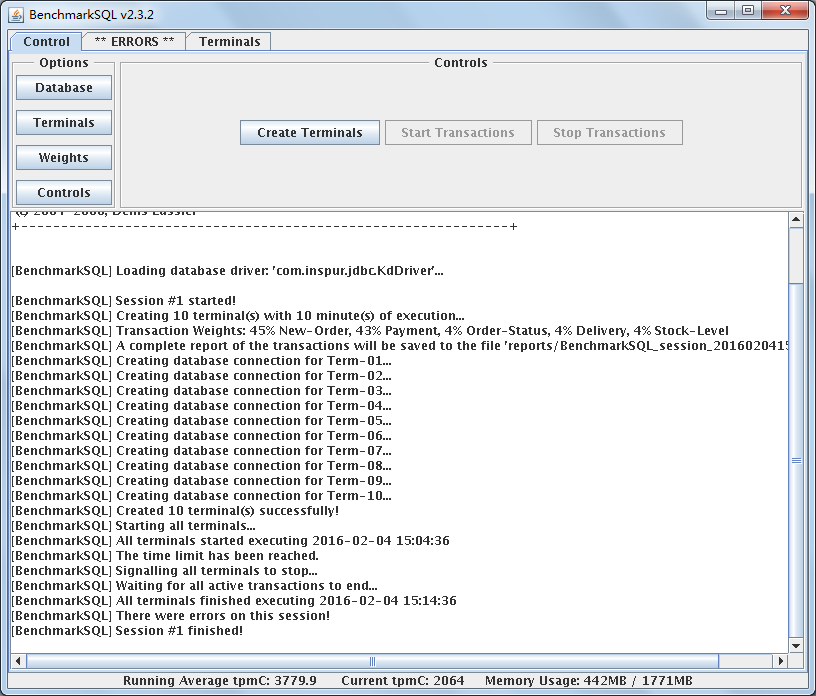
tpmc值越高说明联机处理事务能力越强
导入数据后如果再用原来的导入数据的方法追加数据的话,数据会被覆盖


