ActiveMQ的安装与使用(单节点)
1、 安装 JDK 并配置环境变量(略)
JAVA_HOME=/usr/local/java/jdk1.7.0_72
2、 下载 Linux 版的 ActiveMQ
$ wget http://apache.fayea.com/activemq.tar.gz
3、 解压安装
$ tar -zxvf activemq.tar.gz
如果启动脚本 activemq 没有可执行权限,此时则需要授权(此步可选)
$ cd /home/wangfg/activemq/bin/
$ chmod 755 ./activemq
4、 防火墙中打开对应的端口
ActiveMQ 需要用到两个端口
一个是消息通讯的端口(默认为 61616)
一个是管理控制台端口(默认为 8161)可在 conf/jetty.xml 中修改,如下:
<bean id="jettyPort" class="org.apache.activemq.web.WebConsolePort" init-method="start"> <!-- the default port number for the web console -->
<property name="host" value="0.0.0.0"/> <property name="port" value="8161"/>
</bean>
# vi /etc/sysconfig/iptables
添加:
-A INPUT -m state --state NEW -m tcp -p tcp --dport 61616 -j ACCEPT -A INPUT -m state --state NEW -m tcp -p tcp --dport 8161 -j ACCEPT
重启防火墙:
# service iptables restart
5、 启动
$ cd /home/wangfg/activemq/bin $ ./activemq start
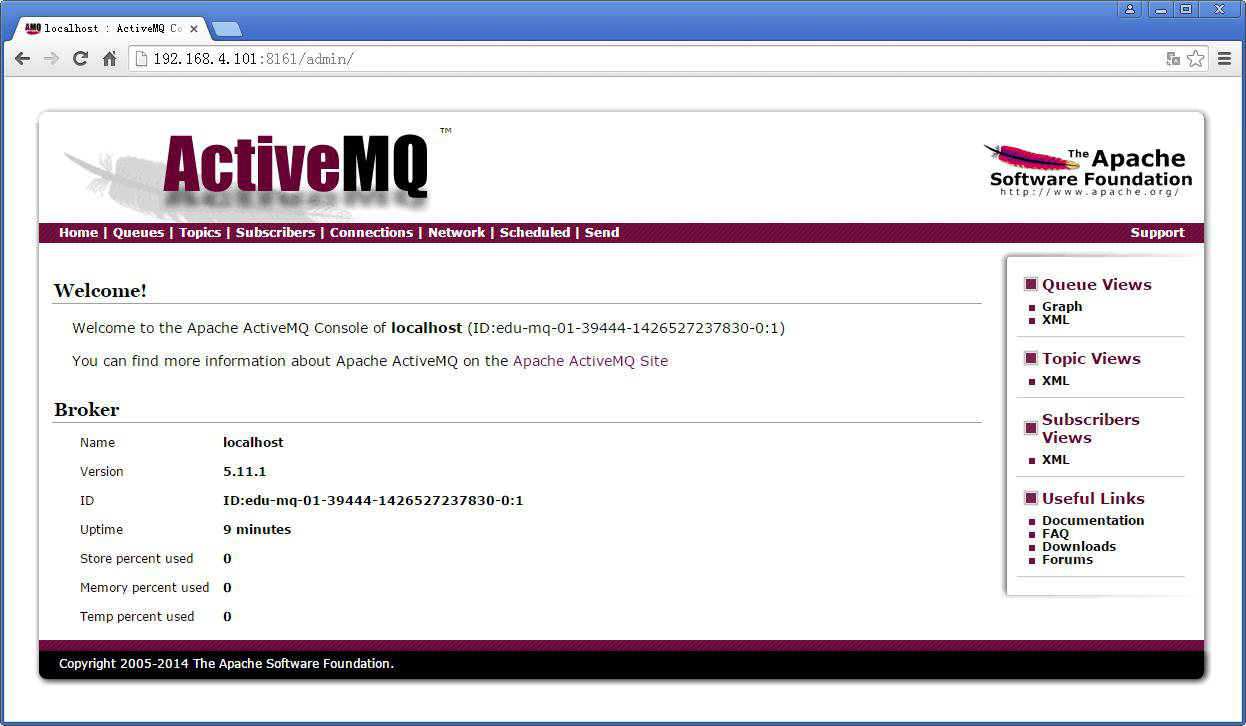
6、 打开管理界面:http://127.0.0.1:8161

默认用户名和密码为:admin/admin
登录后进入

7、 安全配置(消息安全)
ActiveMQ 如果不加入安全机制的话,任何人只要知道消息服务的具体地址(包括 ip,端口,消息地址
[ 队列或者主题地址 ] , ) ,都可以肆无忌惮的发送、接收消息。关于 ActiveMQ 安装配置
ActiveMQ 的消息安全配置策略有多种,我们以简单授权配置为例:
在 conf/activemq.xml 文件中在 broker 标签最后加入以下内容即可:
$ vi /home/wangfg/activemq/conf/activemq.xml
<plugins>
<simpleAuthenticationPlugin>
<users>
<authenticationUser username="wangfg" password="123456" groups="users,admins"/>
</users>
</simpleAuthenticationPlugin>
</plugins>
定义了一个 wangfg 用户,密码为 123456,角色为 users,admins
设置 admin 的用户名和密码: $ vi /home/wangfg/activemq/conf/jetty.xml
<bean id="securityConstraint" class="org.eclipse.jetty.util.security.Constraint"> <property name="name" value="BASIC" />
<property name="roles" value="admin" /> <property name="authenticate" value="true" />
</bean>
确保 authenticate 的值为 true(默认)
控制台的登录用户名密码保存在 conf/jetty-realm.properties 文件中,内容如下: $ vi /home/wangfg /activemq/conf/jetty-realm.properties
# Defines users that can access the web (console, demo, etc.)
# username: password [,rolename ...]
admin: 123456, admin
注意:用户名和密码的格式是
用户名 : 密码 ,角色名
重启:
$ /home/wangfg /activemq/bin/activemq restart
设置开机启动:
# vi /etc/rc.local
加入以下内容
## ActiveMQ
su - wangfg -c '/home/wangfg /activemq/bin/activemq start'


 浙公网安备 33010602011771号