
centos7 虚拟机模板
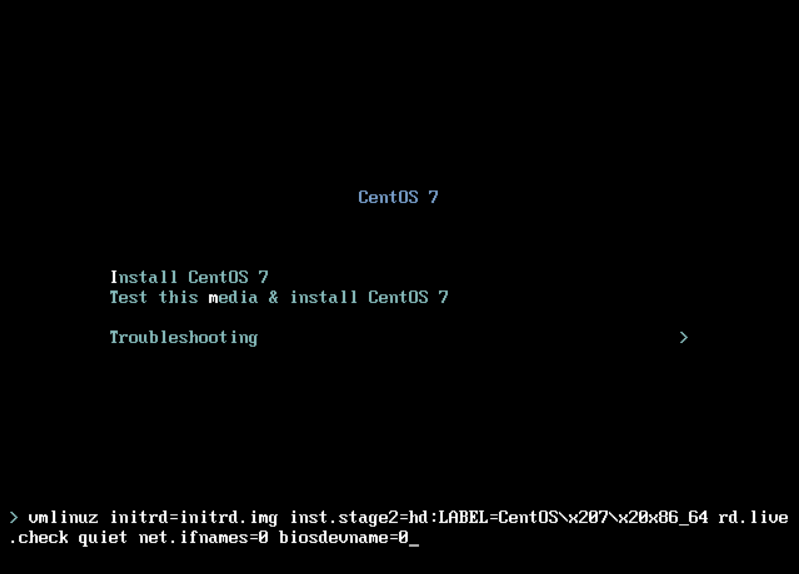
修改网卡名称为 eth0
ifnames=0 biosdevname=0
-
网卡配置
[root@jenkins-s3 ~]# cat /etc/sysconfig/network-scripts/ifcfg-ens192 TYPE="Ethernet" PROXY_METHOD="none" BROWSER_ONLY="no" BOOTPROTO="none" DEFROUTE="yes" IPV4_FAILURE_FATAL="no" NAME="ens192" DEVICE="ens192" ONBOOT="yes" IPADDR="192.168.0.119" PREFIX="24" IPADDR2="192.168.0.118" PREFIX="24" GATEWAY="192.168.0.1" DNS1="192.168.0.249" -
更新yum源
curl -q -# https://mirrors.aliyun.com/repo/Centos-7.repo >/etc/yum.repos.d/CentOS-Base.repo
yum  clean all && yum makecache
yum -y install epel-release glibc glibc-devel libstdc++ gcc gcc-c++ autoconf automake make wget net-tools lrzsz tree nmap dos2unix nc \ lsof tcpdump bridge-utils htop iftop iotop sysstat nethogs vim telnet curl tar \ gettext iptables zlib zlib-devel openssl openssl-devel libffi-devel \ openldap-devel git iperf3 jq bind-utils \ bash-completion bash-completion-extras drbd-bash-completion stress-ng pam-devel -
关闭防火墙和 selinux
setenforce 0 sed -i -e s/SELINUX=enforcing/SELINUX=disabled/1 -e s/SELINUX=permissive/SELINUX=disabled/1 /etc/selinux/config systemctl stop firewalld.service systemctl disable firewalld.service -
时间同步
yum install chrony -y sed -i '/^server/d' /etc/chrony.conf;echo "server ntp.aliyun.com" >>/etc/chrony.conf systemctl start chronyd chronyc tracking -
调整文件描述符
cat >>/etc/security/limits.conf<<EOF # 为所有用户设置软限制,每个进程可以打开的最大文件描述符数量为 65536 * soft nofile 65536 # 为所有用户设置硬限制,每个进程可以打开的最大文件描述符数量为 65536。 * hard nofile 65536 # 为所有用户设置软限制,每个用户可以拥有的最大进程数为 32000。 * soft nproc 32000 # 为所有用户设置硬限制,每个用户可以拥有的最大进程数为 32000。 * hard nproc 32000 # 为所有用户设置硬限制,允许锁定的内存量无限制。 * hard memlock unlimited # 为所有用户设置软限制,允许锁定的内存量无限制。 * soft memlock unlimited EOF cat >> /etc/systemd/system.conf<<EOF DefaultLimitNOFILE=65536 DefaultLimitNPROC=32000 DefaultLimitMEMLOCK=infinity EOF -
调整内核参数
[root@seagullloki01-uat-s2 ~]# cat /etc/sysctl.conf net.ipv4.ip_forward = 1 net.bridge.bridge-nf-call-iptables = 1 net.bridge.bridge-nf-call-ip6tables = 1 net.bridge.bridge-nf-call-arptables = 1 net.ipv4.tcp_tw_recycle = 0 net.ipv4.tcp_tw_reuse = 0 net.core.somaxconn = 65535 net.netfilter.nf_conntrack_max=1000000 vm.swappiness = 0 vm.max_map_count=655360 fs.file-max=1000000 net.ipv4.tcp_keepalive_time = 150 net.ipv4.tcp_keepalive_intvl = 6 net.ipv4.tcp_keepalive_probes = 5 net.ipv4.conf.all.promote_secondaries = 1 net.ipv4.ip_no_pmtu_disc = 1 net.ipv4.icmp_echo_ignore_broadcasts = 1 net.ipv4.conf.all.accept_redirects = 0 net.ipv4.tcp_timestamps = 1 net.ipv4.icmp_ignore_bogus_error_responses = 1 net.ipv4.tcp_max_syn_backlog = 838860 net.ipv4.tcp_fin_timeout = 60 net.ipv4.conf.all.send_redirects = 0 vm.min_free_kbytes = 16384 vm.vfs_cache_pressure = 100 vm.dirty_ratio = 40 vm.page-cluster = 3 kernel.shmmni = 4096 kernel.sysrq = 1 net.ipv4.tcp_syncookies = 1 fs.inotify.max_user_watches = 1048576 fs.inotify.max_user_instances = 1024 net.ipv4.conf.all.rp_filter = 1 net.ipv4.neigh.default.gc_thresh1 = 80000 net.ipv4.neigh.default.gc_thresh2 = 90000 net.ipv4.neigh.default.gc_thresh3 = 100000 fs.aio-max-nr = 50000000 -
调整ssh客户端超时时长
ClientAliveInterval,指定了服务器端向客户端请求消息的时间间隔, 默认是0,不发送。
每一分钟,sshd都和ssh client打个招呼,检测它是否存在,不存时即断开连接。ClientAliveCountMax,指如果发现客户端没有响应,则判断一次超时,这个参数设置允许超时的次数,比如10。sed -i -e '/ClientAliveInterval/d' -e '/ClientAliveCountMax/d' /etc/ssh/sshd_config|grep ClientAliveCountMax echo -e "ClientAliveInterval 120\nClientAliveCountMax 3" >>/etc/ssh/sshd_config systemctl restart sshd# 永不超时 export TMOUT=0 -
设置history 显示格式
echo 'export HISTTIMEFORMAT="%F-%T `whoami` "' >>/etc/profile

 浙公网安备 33010602011771号